Loading ...
Loading ...
Loading ...
2
Getting Started
37
4 Press B to select [DST] (daylight saving time),
and use CD to select Y or Z.
5 Press E.
The camera returns to the [Initial Setting] screen.
6 Press B to select [Text Size] and press D.
7
Use
AB
to select [Std.] or
[Large], and press
E
.
Selecting [Large] increases the
text size of the selected menu
items.
8 Press B to select
[Settings complete] and
press E.
The [Date Adjustment] screen
appears.
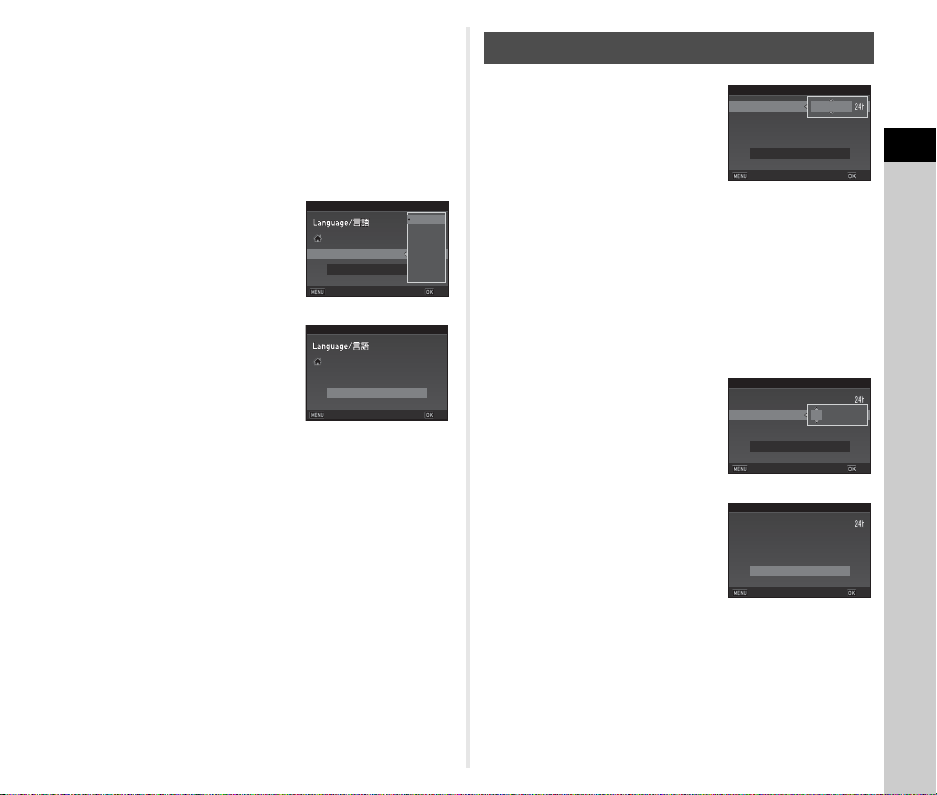
1 Press D, and use AB to
select the date format.
2 Press D, and use AB to select [24h] or [12h].
3 Press E.
The frame returns to [Date Format].
4 Press B, and then press D.
The frame moves to the month if the date format is set to
[mm/dd/yy].
5 Use AB to set the month.
Set the day, year, and time in the
same manner.
6 Press B to select [Settings
complete] and press E.
The [LCD Display] screen
appears.
Text Size
Text Size
Std.
Std.
Large
Large
New York
New York
Initial Setting
Initial Setting
Settings complete
Settings complete
Cancel
Cancel
OK
OK
Text SizeText Size Std.Std.
New YorkNew York
EnglishEnglish
Initial SettingInitial Setting
Settings completeSettings complete
CancelCancel OKOK
Setting the Date and Time
Time
Time
Date
Date
Date Format
Date Format
00:00
00:00
mm/dd/yy
mm/dd/yy
01/01/2016
01/01/2016
Date Adjustment
Date Adjustment
Settings complete
Settings complete
Cancel
Cancel
OK
OK
Time
Time
Date
Date
Date Format
Date Format
00:00
00:00
mm/dd/yy
mm/dd/yy
01/01/2016
01/01/2016
Date Adjustment
Date Adjustment
Settings complete
Settings complete
Cancel
Cancel
OK
OK
Time
Time
Date
Date
Date Format
Date Format
10:00
10:00
mm/dd/yy
mm/dd/yy
02/02/2016
02/02/2016
Date Adjustment
Date Adjustment
Settings complete
Settings complete
Cancel
Cancel
OK
OK
Loading ...
Loading ...
Loading ...