Loading ...
Loading ...
Loading ...
English - 19
05 CLEANING AND MAINTAINING
cleaning and
maintaining
your microwave
oven
Keeping your microwave oven clean improves its
performance, wards off unnecessary repairs, and
lengthens its life.
CLEANING THE EXTERIOR
It’s best to clean spills on the outside of your microwave oven
as they occur. Use a soft cloth and warm, soapy water. Rinse
and dry.
CAUTION
Do not get water into the vents. Never use abrasive
products or chemical solvents such as ammonia or
alcohol as they can damage the appearance of your
microwave.
Cleaning under your microwave oven
Regularly clean grease and dust from the bottom of your
microwave using a solution of warm water and detergent.
Cleaning the control panel
Wipe with a damp cloth and dry thoroughly. Do not use
cleaning sprays, large amounts of soap and water, abrasives,
or sharp objects on the panel as it is easily damaged.
Cleaning the door and door seals
Always ensure that the door seals are clean and that the door
closes properly. Take particular care when cleaning the door
seals to ensure that no particles accumulate and prevent
the door from closing correctly. Wash the glass door with
very mild soap and water. Be sure to use a soft cloth to avoid
scratching.
If a thin lm of water accumulates on the inside or outside of
the oven door, wipe it off with a soft cloth. A thin water lm
can accumulate when you operate the oven when humidity is
high and in no way indicates microwave leakage.
CLEANING THE INTERIOR
CAUTION
Ensure that the microwave oven has cooled down
before cleaning it to avoid injury.
CAUTION
Remove the glass tray from the oven when cleaning
the oven or tray. To prevent the tray from breaking,
handle it with care and do not put it in water
immediately after cooking. Wash the tray carefully in
warm sudsy water or in the dishwasher.
Clean the interior surfaces (oven cavity) of your microwave
oven periodically to remove any splashes or stains. To
remove hardened food articles and remove smells, place
2 cups of water (add lemon juice for extra freshness) into a
four-cup measuring glass. Run the microwave at High power
for 5 minutes or until the water boils. Let the water stand in
the oven for one or two minutes.
CLEANING THE TURNTABLE AND ROLLER
RINGS
Clean the roller rings periodically and wash the turntable
as required. You can wash the turntable safely in your
dishwasher.
STORING AND REPAIRING YOUR
MICROWAVE OVEN
If you need to store your microwave oven for a short or
extended period of time, choose a dust-free, dry location.
Dust and dampness may adversely affect the ability of the
microwave parts.
WARNING
• Do not repair, replace, or service any part of your
microwave oven yourself. Allow only a qualied
service technician to perform repairs. If the oven is
faulty and needs servicing, or you are in doubt about
its condition, unplug the oven from the power outlet
and contact your nearest Samsung service center.
• Do not use the oven if it is damaged, in particular, if
the door or door seals are damaged. Door damage
includes a broken hinge, a worn out seal, or a
distorted/bent casing.
• Do not remove the oven from its casing.
• This microwave oven is for home use only and is not
intended for commercial use.
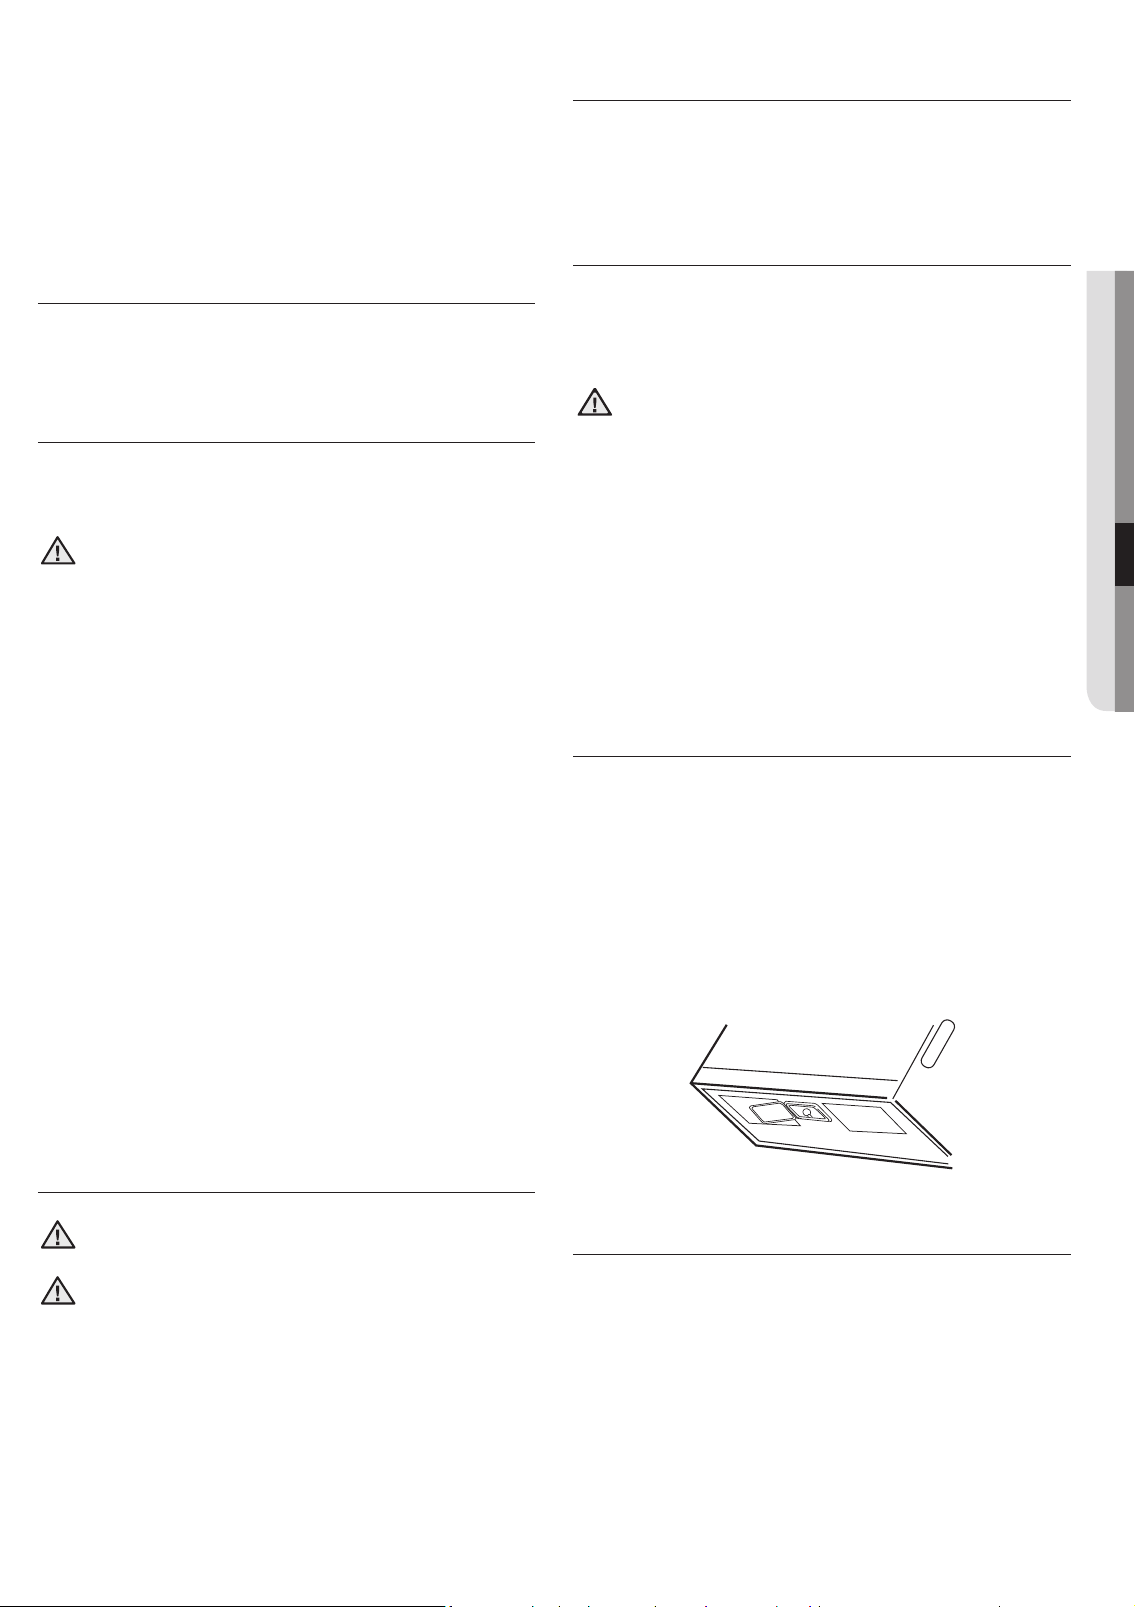
REPLACING THE COOKTOP/NIGHT LIGHT
When replacing the cooktop/night light, make sure that you
are wearing gloves to avoid injury from the heat of the bulb.
1. Unplug the oven or turn off the power at the main power
supply.
2. Remove the screw from the light cover and lower the
cover.
3. Replace the bulb with a 40 watt incandescent bulb.
4. Replace the light cover and mounting screw.
5. Turn the power back on at the main power supply or plug
the microwave in.
REPLACING THE OVEN LIGHT
When replacing the oven light, make sure that you are
wearing gloves to avoid injury from the heat of the bulb.
1. Unplug the oven or turn off the power at the main power
supply.
2. Open the door.
3. Remove the vent cover mounting screws (3 middle screws).
4. Slide the vent grille to the left, then pull it straight out.
5. Remove the charcoal lter, if present.
6. Remove the cover by pushing the hook and pulling up the lever.
7. Remove the bulb by turning it gently.
8. Replace the bulb with a 40 watt appliance bulb.
Loading ...
Loading ...
Loading ...