Loading ...
Loading ...
Loading ...
83
Before Use
Basic Guide
Advanced Guide
1
Camera Basics
2
Auto Mode /
Hybrid Auto Mode
3
Other Shooting Modes
4
P Mode
6
Playback Mode
7
Wi-Fi Functions
8
Setting Menu
9
Accessories
10
Appendix
Index
5
Tv, Av, and M Mode
Image Viewing Options
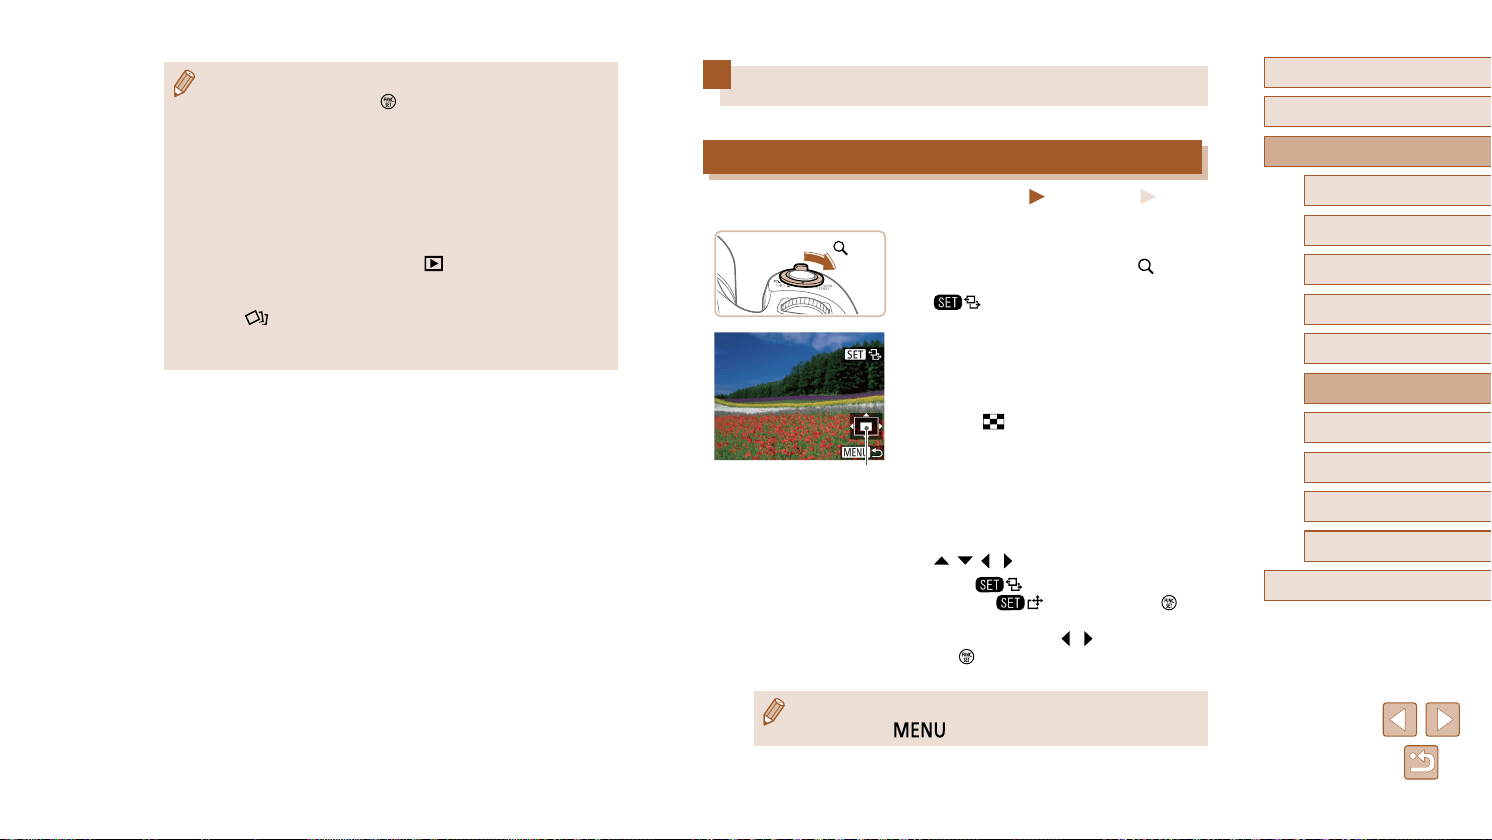
Magnifying Images
Still Images
Movies
1
Magnify an image.
● Moving the zoom lever toward [ ] will
zoom in and magnify the image, and
[ ] is displayed. You can magnify
images up to about 10x by continuing to
hold the zoom lever.
● The approximate position of the displayed
area (1) is shown for reference.
● To zoom out, move the zoom lever
toward [ ]. You can return to single-
image display by continuing to hold it.
2
Move the display position and
switch images as needed.
● To move the display position, press the
[ ][ ][ ][ ] buttons.
● While [ ] is displayed, you can
switch to [ ] by pressing the [ ]
button. To switch to other images while
zoomed, press the [ ][ ] buttons. Press
the [ ] button again to restore the
original setting.
● You can return to single-image display from magnified display by
pressing the [
] button.
(1)
● During group playback (step 3), you can use the menu functions
accessed by pressing the [
] button. You can also browse
through images quickly “Navigating through Images in an Index”
(
=
80) and magnify them “Magnifying Images” (
=
83). By
choosing [Protect All Images in Search] in “Protecting Images”
(
=
85) or [All Images in Group] in “Erasing Multiple Images
at Once” (
=
88), “Adding Images to the Print List (DPOF)”
(
=
143), or “Adding Images to a Photobook” (
=
145), all
images in the group can be manipulated at once.
● To ungroup images so that they are displayed only as single still
images, choose MENU (
=
29) > [ ] tab > [Group Images] >
[Off] (
=
29). However, grouped images cannot be ungrouped
during individual playback.
● In [
] mode, the simultaneous display after step 2 in “Enjoying
a Variety of Images from Each Shot (Creative Shot)” (
=
52) is
only shown immediately after you shoot.
Loading ...
Loading ...
Loading ...