Loading ...
Loading ...
Loading ...
118
Before Use
Basic Guide
Advanced Guide
1
Camera Basics
2
Auto Mode /
Hybrid Auto Mode
3
Other Shooting Modes
4
P Mode
6
Playback Mode
7
Wi-Fi Functions
8
Setting Menu
9
Accessories
10
Appendix
Index
5
Tv, Av, and M Mode
Sending Images Automatically
(Image Sync)
Images on the memory card that have not been transferred already can
be sent to a computer or Web services via CANON iMAGE GATEWAY.
Note that images cannot be sent only to Web services.
Initial Preparations
Preparing the Camera
Register [ ] as the destination. You can also assign [ ] to the [ ] button,
so that you can simply press the [ ] button to send any unsent images on
the memory card to a computer via CANON iMAGE GATEWAY.
1
Add [ ] as a destination.
● Add [ ] as a destination, as described in
“Registering CANON iMAGE GATEWAY”
(
=
111).
● To choose a Web service as the
destination, follow the steps in
“Registering Other Web Services”
(
=
113) to update the camera settings.
2
Choose the type of images to send
(only when sending movies with
images).
● Press the [ ] button and choose
[Wi-Fi Settings] on the [ ] tab (
=
29).
● Press the [ ][ ] buttons to choose
[Image Sync], and then press the [ ][ ]
buttons to choose [Stills/Movies].
Adding Comments
Using the camera, you can add comments to images that you send
to e-mail addresses, social networking services, etc. The number of
characters and symbols that can be entered may differ depending on the
Web service.
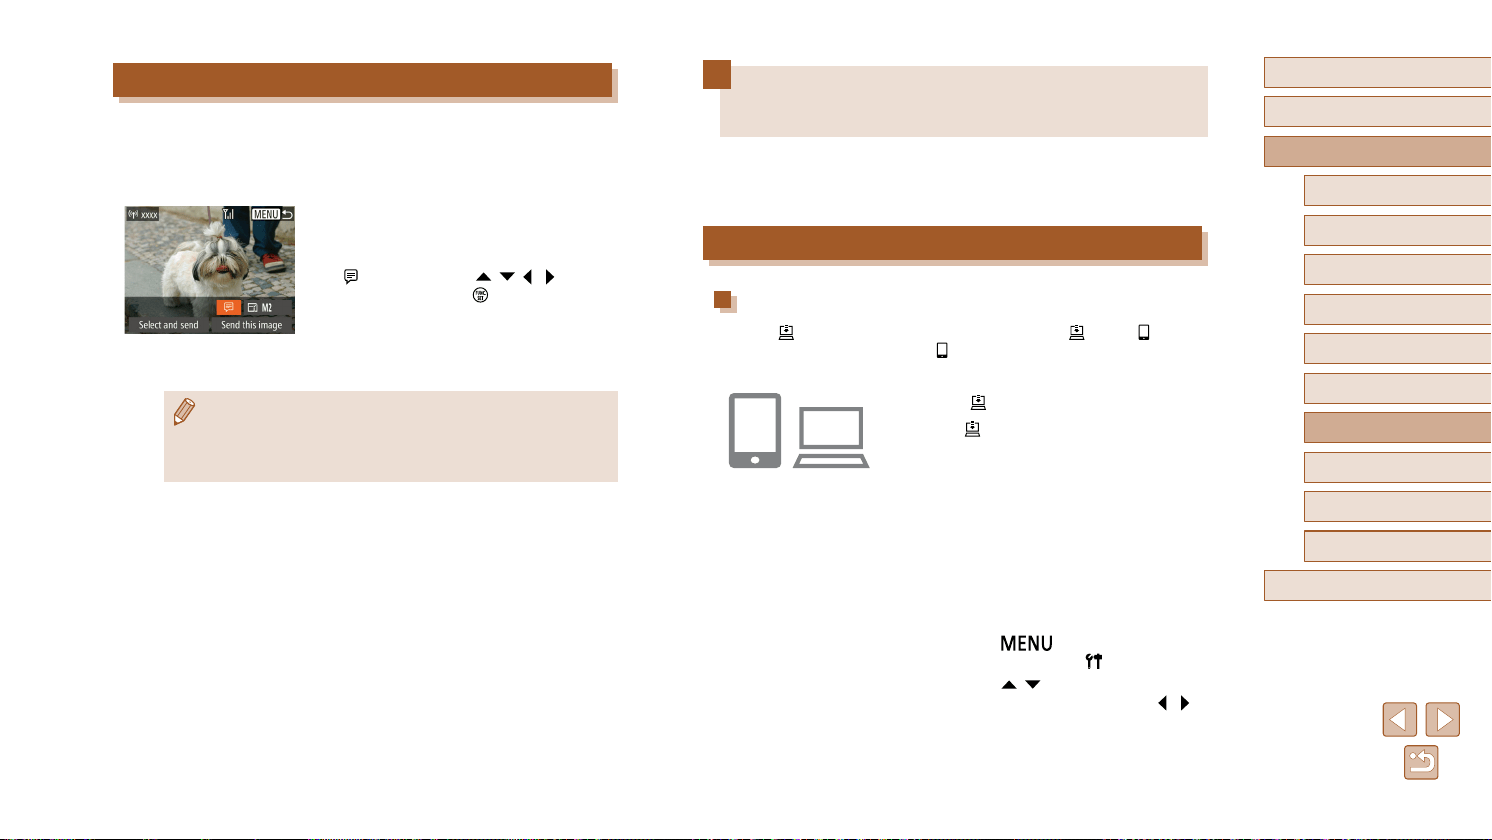
1
Access the screen for adding
comments.
● On the image transfer screen, choose
[ ] by pressing the [ ][ ][ ][ ] buttons,
and then press the [ ] button.
2
Add a comment (=
30).
3
Send the image.
● When a comment is not entered, the comment set in CANON
iMAGE GATEWAY is automatically sent.
● You can also annotate multiple images before sending them. The
same comment is added to all images sent together.
Loading ...
Loading ...
Loading ...