
Loading ...
Loading ...
3
ENGLISH
INSTALLATION INSTRUCTIONS
IN THE COMMONWEALTH OF MASSACHUSETTS
FOR YOUR SAFETY
PREPARING FOR INSTALLATION
•
This product must be installed by a licensed
plumber or gas fitter.
•
When using ball type gas shut-off valves, they
shall be the T-handle type.
•
A flexible gas connector, when used, must not
exceed 3 feet in length.
WARNING
If the information in this manual is not
followed exactly, a fire or explosion may
result causing property damage, personal
injury or death.
– Do not store or use combustible materials,
gasoline or other ammable vapors and liquids
in the vicinity of this or any other appliance.
WHAT TO DO IF YOU SMELL GAS
•
Do not try to light any appliance.
•
Do not touch any electrical switches,
•
Do not use any phone in your building.
•
Immediately call your gas supplier from a
neighbor′s phone. Follow the gas
supplier's instructions.
•
If you cannot contact your gas supplier,
call the fire department.
Installation and service must be performed
by a qualified installer, service agency or
the gas supplier.
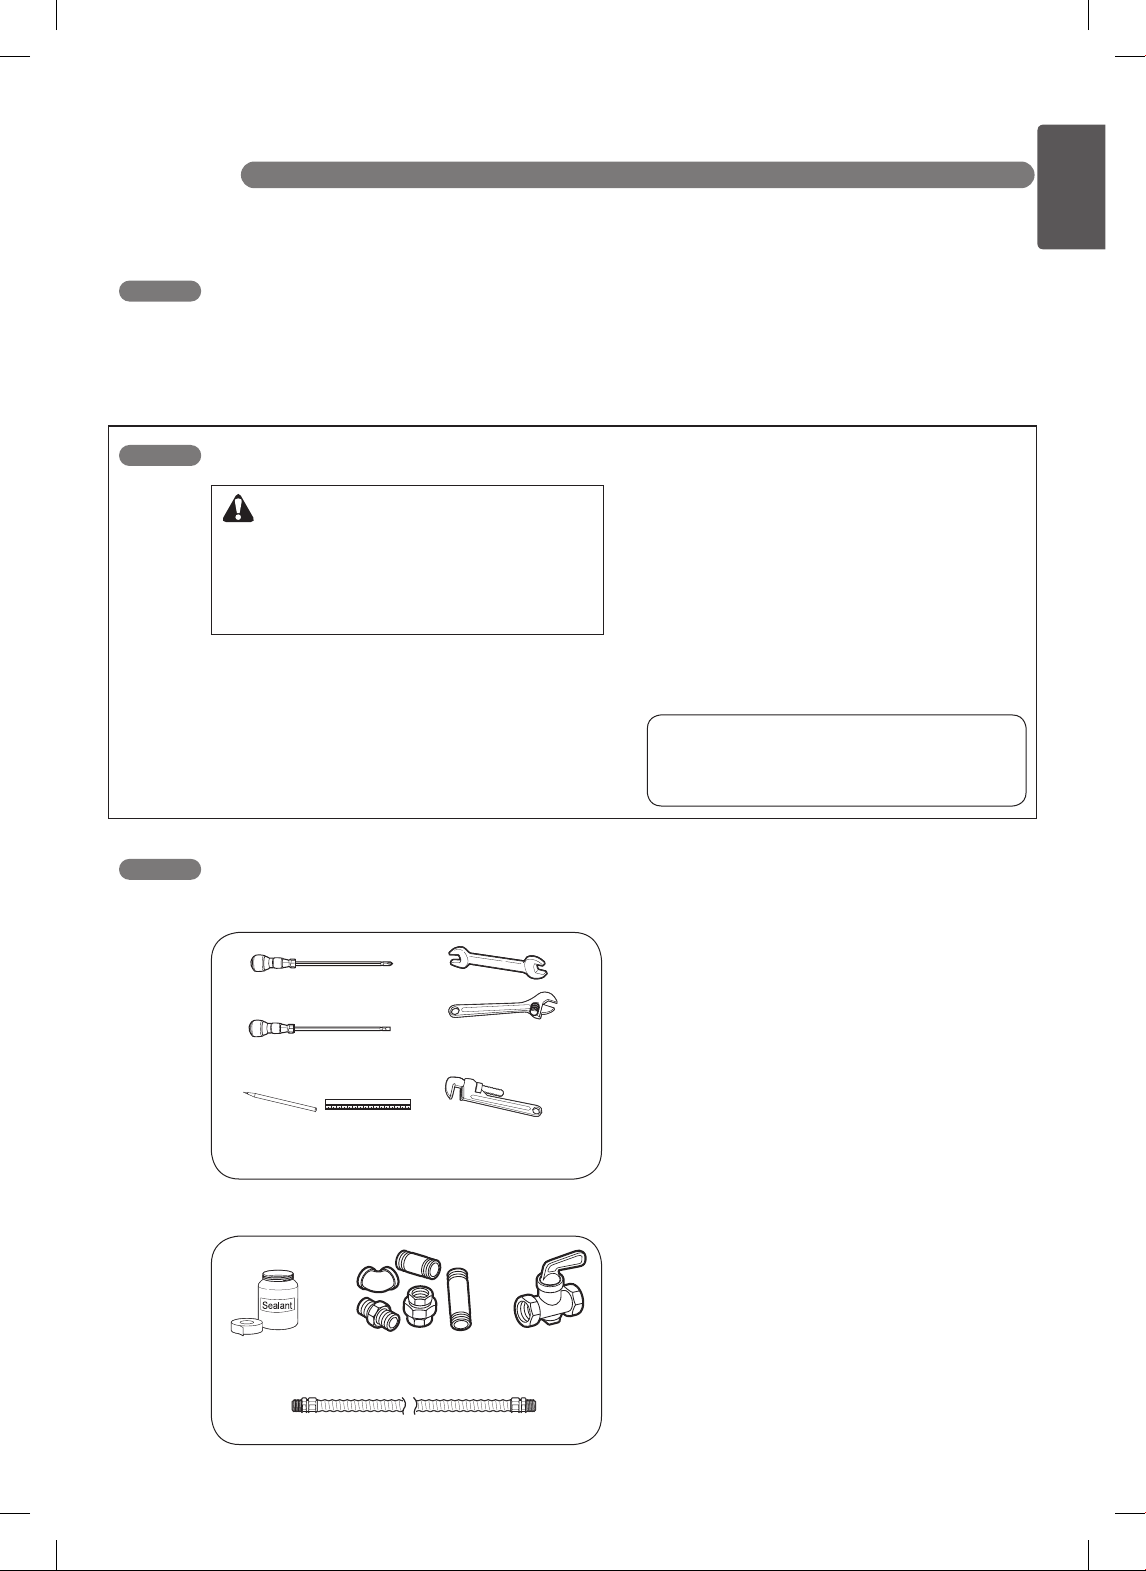
TOOLS YOU WILL NEED
Phillips screwdriver
Open-end or adjustable
wrench
Pipe wrench(2)
(one for support)
Flat-blade screwdriver
Pencil and ruler
MATERIALS YOU MAY NEED
Joint
Sealant
Pipe Fittings
Flexible Connector
Shut Off
Valve
MATERIALS YOU MAY NEED
•
Gas line shut-off valve
•
To reduce the possibility of gas leaks, apply
teflon tape or a thread compound approved for
use with LP or Natural gases to all threaded
connections.
•
Flexible metal appliance connector (5/8″ I.D.)
A 3-foot length is recommended for ease of
installation but other lengths are acceptable.
Never use an old connector when installing a
new cooktop.
•
Flare union adapter for connection to gas
supply line (3/4″ or 1/2″ NPT x 5/8″ I.D.)
•
Flare union adapter for connection to pressure
regulator on cooktop. (1/4″ NPT x 1/2″ I.D.)
•
Liquid leak detector or soapy water.
READ ALL INSTRUCTIONS BEFORE INSTALLATION
Loading ...
Loading ...
Loading ...