
Loading ...
Loading ...
Loading ...
13
ENGLISH
Adjusting Surface Burners (Except for
the Center Burner)
1. Light all surface burners except for the center
burner.
2. Turn the knob on the burner being adjusted to
LO (LOW).
3. Remove knob.
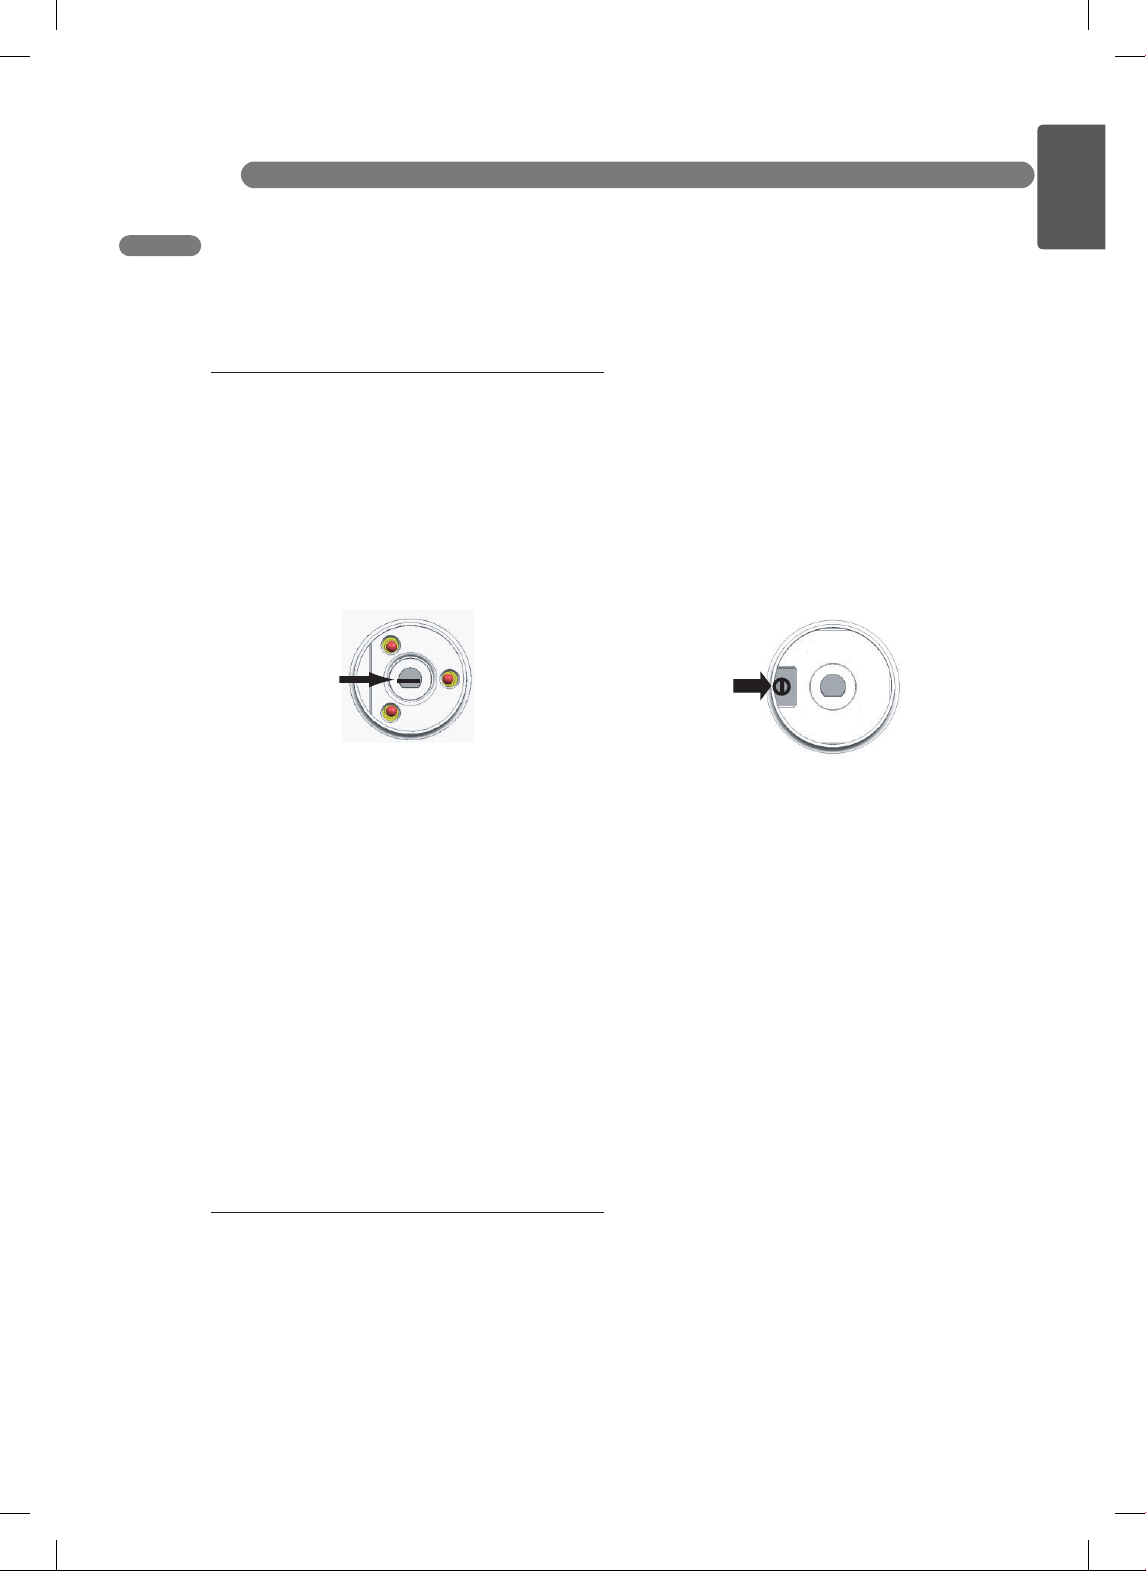
4. Insert a small, flat bladed screwdriver into the
valve stem as shown in Fig.2.
5. Turn the adjustment screw until the flame
reaches the desired size.
6. Replace the knob.
Center adjustment screw
Fig. 2
7. Test the flame stability.
Test 1 :
•
Turn the knob from HI to LOW quickly.
•
lf the flame goes out, increase the flame
size and test again.
Test 2 :
•
With the burner on a LOW setting, open and
close the oven or cabinet door quickly.
•
If the flame is extinguished by the air
currents created by the door movement,
increase the flame height and test again.
8. Repeat steps 1 - 6 for each surface burner
except for the center burner.
Adjusting the Center Burner
1. Disconnect appliance from power.
2. Remove grates, burners caps, burner heads
and knobs.
3. Remove all the screws on the cooktop with a
Phillips screwdriver.
4. Remove the cooktop by lifting it up.
5. Unclip the LED lamp module from the center
valve. Make sure the ignition switch is
positioned properly.
6. Replace the cooktop and secure the screws of
the cooktop.
7. Position center burner head, center burner
cap, center grate, and center knob.
8. Connect appliance to power.
9. Light center burner.
10. Turn the knob on the burner being adjusted
to LO (LOW).
11. Remove knob.
12. Using a small, flat bladed screwdriver insert
into the hole next to the valve stem to adjust
the outer flame as shown in Fig.3.
13. Turn the adjustment screw until the flame
reaches the desired size.
14. Replace the knob.
Adjustment screw next to the valve shaft
Fig. 3
15. Test the flame stability.
Test 1 :
•
Turn the knob from HI to LOW quickly.
•
If the flame goes out, increase the flame
size and test again.
Test 2 :
•
With the burner on a LOW setting, open and
close the oven or cabinet door quickly.
•
If the flame is extinguished by the air
currents created by the door movement,
increase the flame height and test again.
16. After setting the low flame, turn off the burner.
17. Disconnect power to the appliance.
18. Remove knobs, grates, burner caps, and
burner heads.
19. Remove all screws from the cooktop.
20. Remove the cooktop by lifting up.
21. Replace the center LED lamp module.
22. Replace the cooktop and secure all screws.
23. Replace burner heads, burner caps, grates
and knobs.
24. Connect appliance to power.
7. ADJUST THE SURFACE BURNER LOW FLAME
(SIMMER) SETTING
INSTALLATION INSTRUCTIONS
Loading ...
Loading ...
Loading ...