
Loading ...
Loading ...
Loading ...
29
Panorama Mode
With Panorama Mode, you can take a series of
pictures which will be automatically stitched into
an ultra-wide panoramic (up to 180°) picture by the
camera.
Follow the steps below:
1. Turn the Mode dial to Panorama Mode ( ).
2. Press the arrow buttons to select a desired
shooting direction. Should you not select a
direction, the default shooting direction is
“right”. 2 seconds later, the camera will be ready
to take pictures. You can also press the
button or press the shutter button halfway down
to get ready to take pictures.
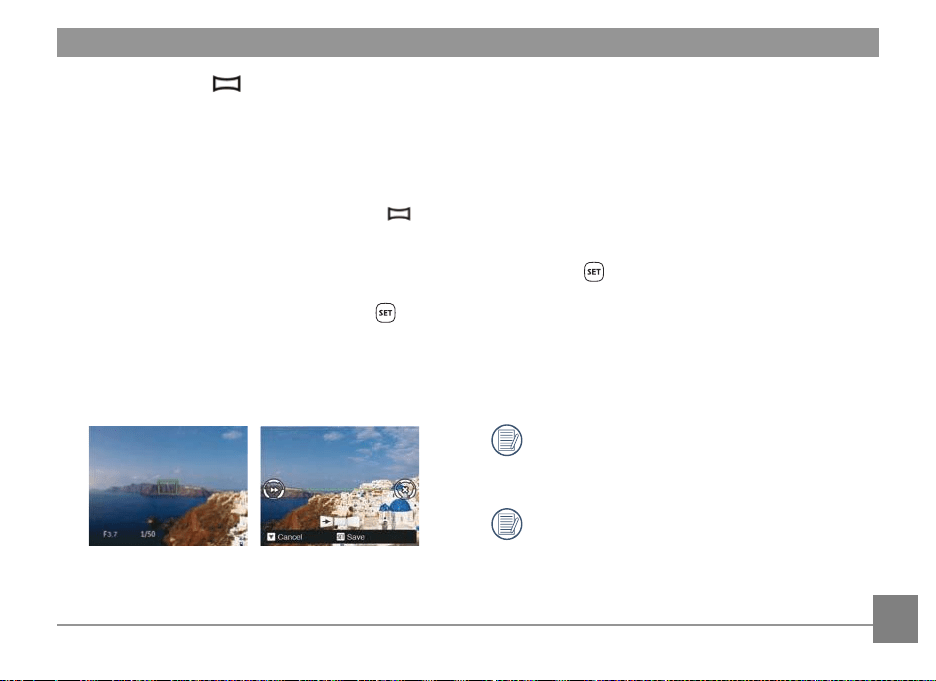
3. Compose the irst view of the panoramic
picture on the LCD and press the Shutter button
to capture the image.
4. When you inish shooting the irst photo, two
target icons will display on the LCD in the left
and right sides. Move the camera to the right
until the round target icon is directly positioned
over the square box. The box will turn green
when they overlap and the camera will
automatically take the next picture. Repeat the
same steps for additional shots. Up to 4 frames
can be stitched together.
5. If continuous pictures are less than 4 shots,
press the button and the camera will
automatically stitch the pictures together. Press
the playback button to enter playback mode to
see the eect.
6. If you take 4 pictures, the camera will stitch
the pictures together automatically. Press the
playback button to enter Playback Mode to see
the inished eect.
In Panorama Mode, the Flash, Self-Timer,
Macro Modes and Exposure Compensation
are not available. Focus Adjustment is also not
available at this time.
In the process of automatic panoramic
shooting "Improper alignment. Please try
again", means that during the process of the
camera moving, the angle is not on the green
line, and shooting and stitching cannot be
completed.
Loading ...
Loading ...
Loading ...