Loading ...
Loading ...
Loading ...

4. Find the fuse on the board. It will be located on the left side of the board. Remove the
fuse and replace it with a new one rated 500mA/250V.
5. Put the housing back together and put the rubber bumper back around the multimeter.
Replace the battery and screws back into the meter.
ADDITIONAL MAINTENANCE
Beyond replacing the batteries and fuses, do not attempt to repair or service your multimeter
unless you are qualified to do so and have the necessary calibration, performance testing and
service instruments. The recommended calibration cycle is 12 months.
To clean the terminals:
1. Turn the rotary dial to the OFF position and remove the test leads and battery.
2. Shake out any dirt that may be in the terminals, soak a new swab with isopropyl alcohol
and work around the inside of each input terminal.
3. Use a new swab to apply a light coat of fine machine oil to the inside of each terminal.
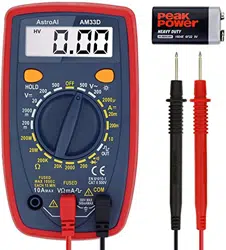
INCLUDED ACCESSORIES
● User manual
● Set of test leads
● Multi-Function Socket (DT33A only)
● TP01 K-type thermoelectric couple (DT33A & DT33C only)
● 9-volt battery, NEDA 1604 6F22 type.
1 Year Warranty Limited Warranty From AstroAI
Each AstroAI Digital Multimeter will be free from defects in material and workmanship for its
lifetime. This warranty does not cover fuses, disposable batteries and damage from neglect,
misuse, contamination, alteration, accident, or abnormal conditions of operation or handling,
including overvoltage failures caused by use outside the Multimeter’s specified rating, or normal
wear and tear of mechanical components. This warranty covers the original purchaser only and
is not transferable.
If this product is defective, please contact AstroAI Customer Support at su[email protected].