Loading ...
Loading ...
Loading ...
7
Physical Installation
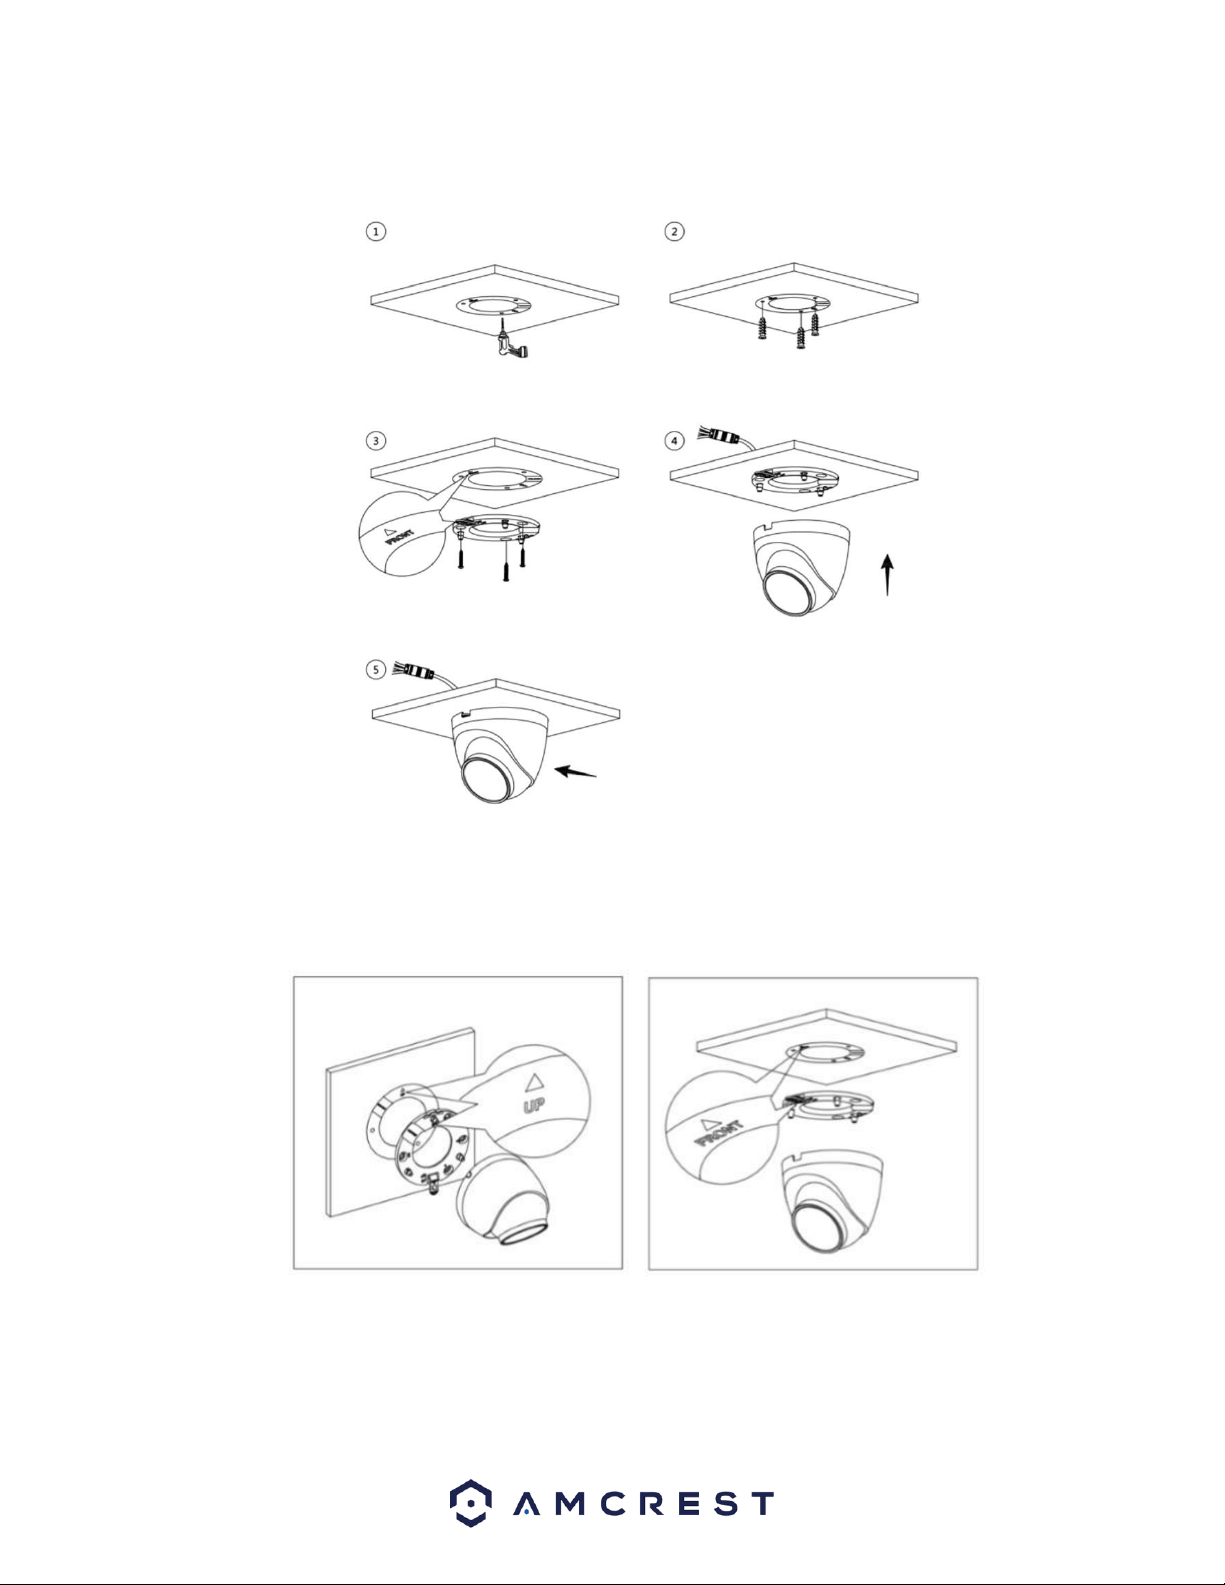
Step 1: Place the installation template sticker on the mounting surface. Then, using a drill, drill 3 installation holes. Note: Use a 1"
paddle bit in the center of the installation template if you are running the cables through the mounting surface.
Step 2: Place the included wall anchors into the installation holes.
Step 3: Align the holes on the installation bracket to the installation holes. Also make sure to align the "Front" and "Up" portions of
the bracket to the installation sticker.
Insert the screws and using a Phillips head screwdriver, secure the installation bracket to the mounting surface.
Step 4: Run the wires of the camera through the mounting surface and attach the bottom of the camera to the installation bracket.
The "Front" tab should align to the notch on the bottom of the camera. Push the camera forward to lock it onto the installation
bracket.
Loading ...
Loading ...
Loading ...