Loading ...
Loading ...
Loading ...
88
US
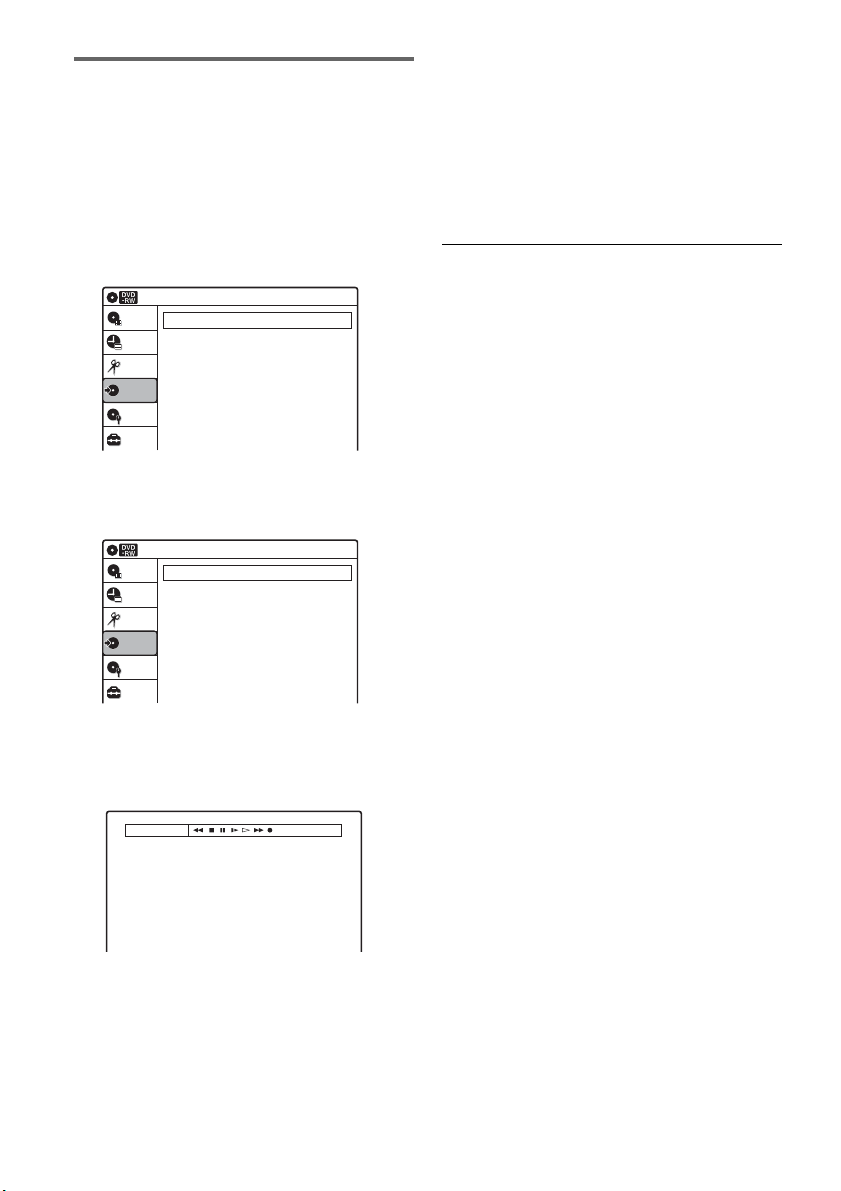
Dubbing selected scenes
You can fast forward, rewind, play in slow motion,
and stop the tape to select scenes using the on-
screen display.
1 Follow steps 1 to 6 of “Dubbing From a DV/
D8 Format Tape to a DVD” (page 87).
2 Select “Dubbing” on the System Menu,
and press ENTER.
3 Select “DV/D8 Dubbing,” and press
ENTER.
4 Select “DV/D8 Simple Dubbing,” and
press ENTER.
The “DV Tape Mode” display appears.
If “DV” or “DV Camera Mode” is displayed,
check that the DV camcorder is correctly
connected, turned on, and set to the video
playback mode.
5 Find the dubbing start point on the tape,
and stop or pause playback.
Press </, to select m, x, X, y, H, or
M on the TV screen and press ENTER to
find the point, and stop or pause with x or X.
6 Press , to select z on the TV screen, and
press ENTER.
Dubbing starts.
To stop recording
Select x on the TV screen, and press ENTER.
Note that it may take a few seconds for the
recorder to stop recording.
To turn off the display for DV/D8 dubbing
Press INPUT.
z Hint
If “DV Camera Mode” appears on the screen, you can use
z on the TV screen to record the camera image directly
on the recorder.
Dubbing
10:10 AM
Simple Dubbing
DV/D8 Dubbing
USB Dubbing
Setup
Disc Setting
Edit
Title List
Timer
Dubbing
DV/D8 Dubbing
10:10 AM
DV/D8 Simple Dubbing
DV/D8 One Touch Dubbing
Setup
Disc Setting
Edit
Title List
Timer
Dubbing
DV Tape Mode
Loading ...
Loading ...
Loading ...