Loading ...
Loading ...
Loading ...
Dubbing (TAPE y DVD)
83
US
Dubbing (TAPE y DVD)
Dubbing From a VHS Tape to
a DVD
You can easily record (dub) a VHS tape to a disc.
Before dubbing, make the necessary audio settings
on the VCR.
◆How titles and chapters are created
The recorder takes each recording on the VHS tape
and automatically divides them into titles as they
are dubbed to a disc. These titles are then further
divided into chapters at either 5 or 15-minute
intervals, according to the “DVD Auto Chapter”
setting of “Features” in the “Setup” display.
Note
To play the dubbed disc on other DVD equipment,
finalize the disc (page 66).
If you set “Auto Finalize” to “On” in the “Features” setup
(page 103), the Auto Finalize function works for DVD-
RWs (Video mode), DVD-Rs (Video mode) and
DVD+Rs after dubbing. For details, see page 67.
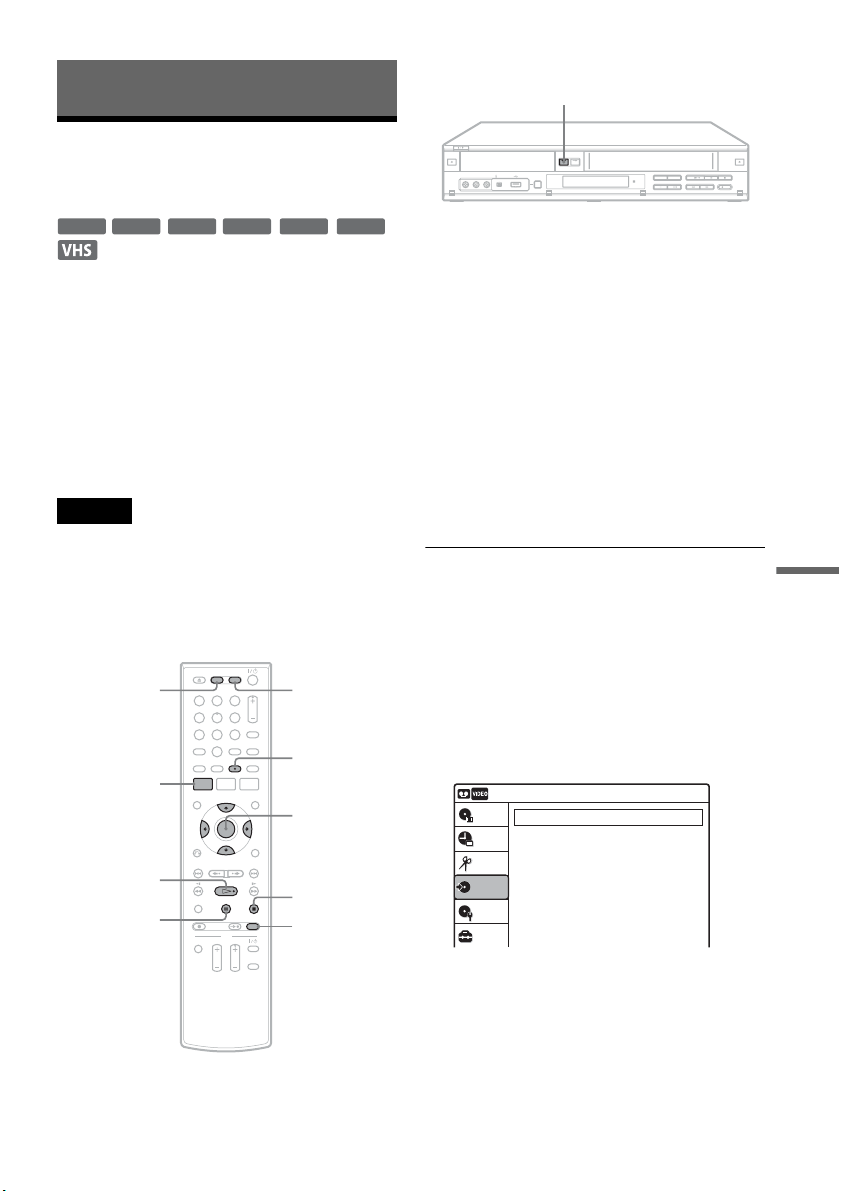
1 Press DVD and insert a recordable disc.
To select the recording mode, press REC
MODE repeatedly (see page 47).
2 Insert a source VHS tape.
3 Press VIDEO to operate the VCR.
4 Start playing the VHS tape, and then press
x STOP or X PAUSE at the point where
you want to start dubbing.
To select VCR sound, press AUDIO during
playback (see page 73).
5 Press T VIDEO on the recorder.
Dubbing starts.
To stop dubbing
Press x STOP.
Note that it may take a few seconds for the
recorder to stop dubbing.
To dub using the on-screen menu
1 After step 4 above, press SYSTEM MENU.
2 Select “Dubbing” from the System Menu, and
press ENTER.
-
RWVR
-
RW
Video
+
RW
+
R
-
RVR
-
R
Video
11 22 33
44 55 66
77 88
00
99
M/m/</,,
ENTER
REC MODE
x STOP
SYSTEM
MENU
DVD VIDEO
X PAUSE
H PLAY
AUDIO
TVIDEO
Dubbing
10:10 AM
Simple Dubbing
DV/D8 Dubbing
USB Dubbing
Setup
Disc Setting
Edit
Title List
Timer
Dubbing
,continued
Loading ...
Loading ...
Loading ...