Owner Manual Home Security Camera
Package Contents
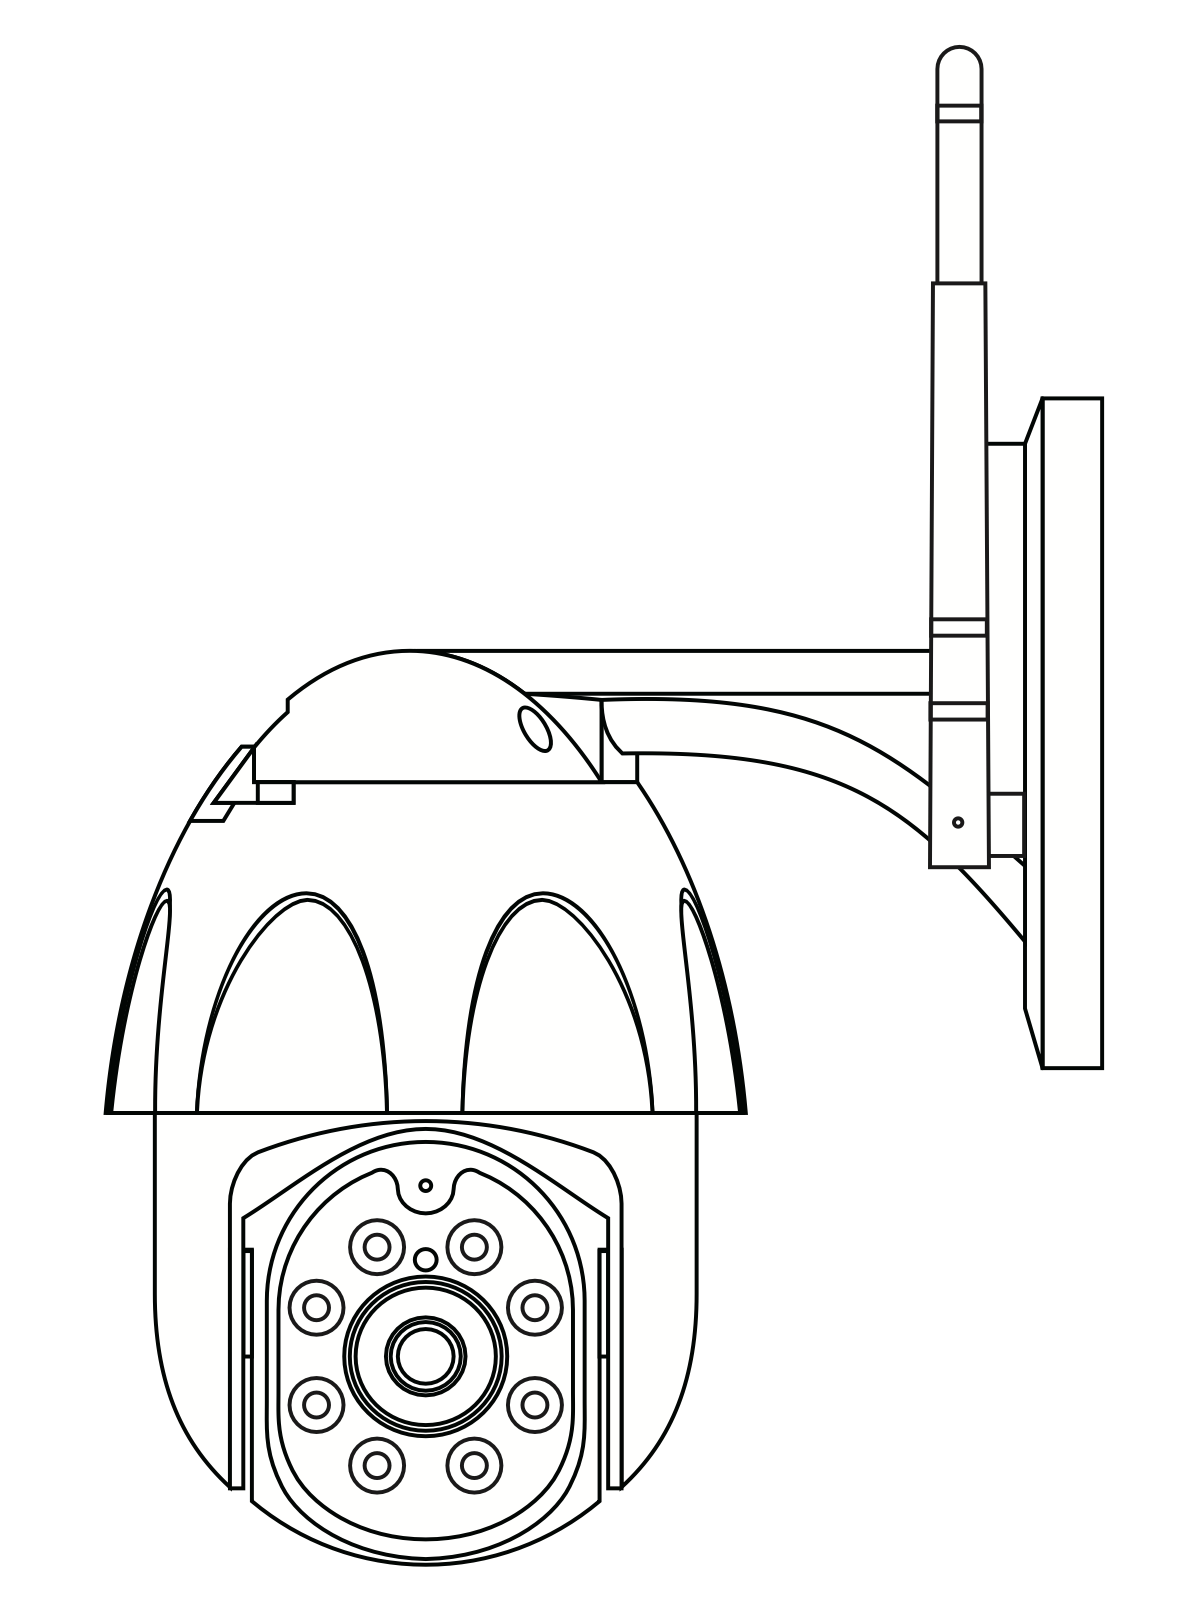
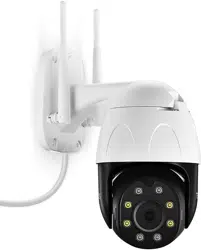
TourAlle Cam x 1
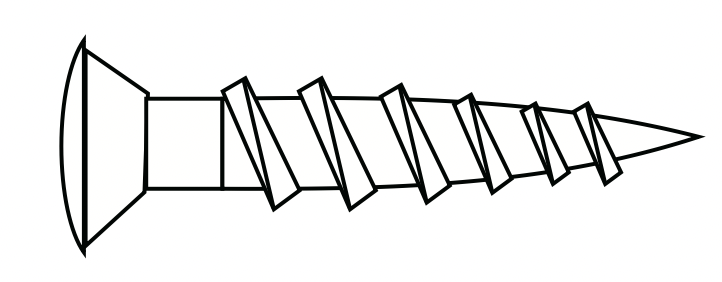
Mounting Screw x 4
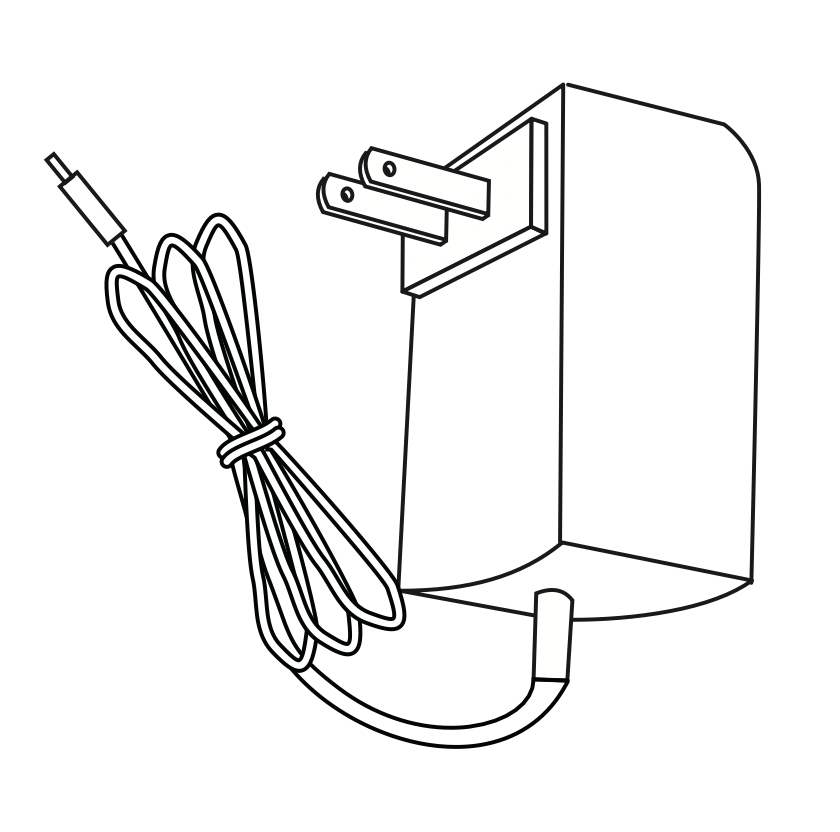
Power Adapter x 1
Ribbed Plastic Anchors x 4
Quick start Guide x 1
Basic Parameters

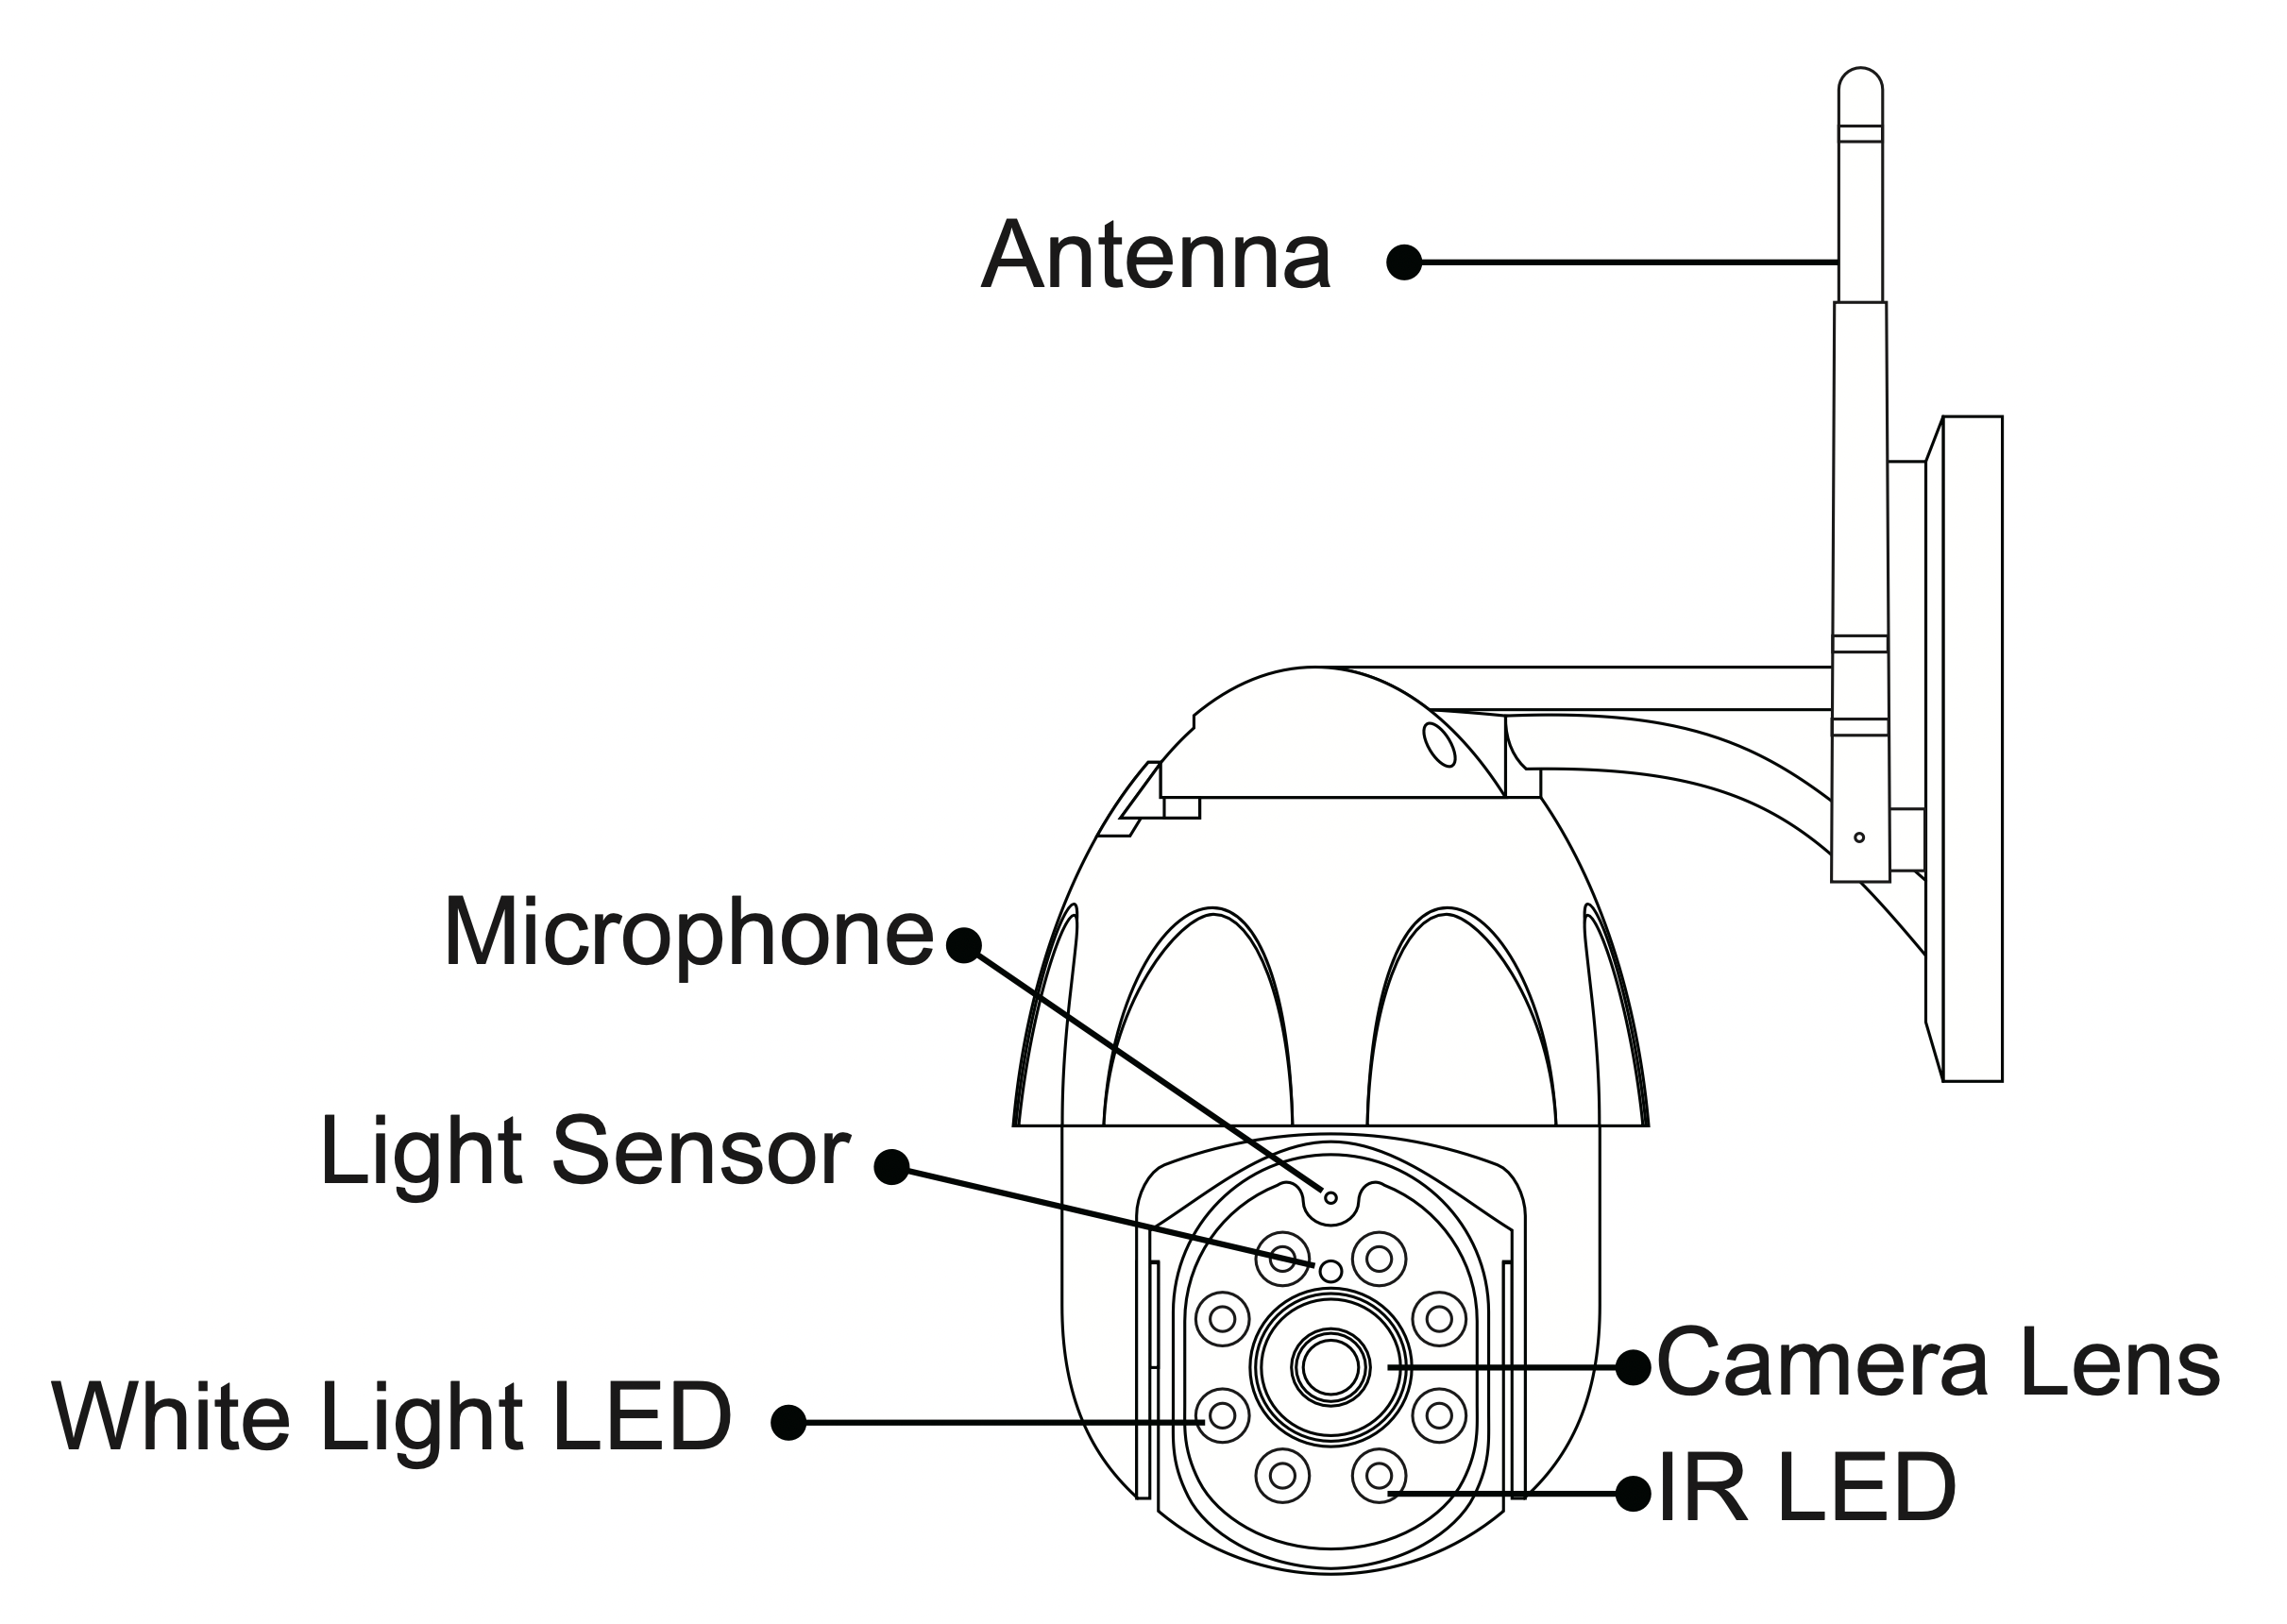
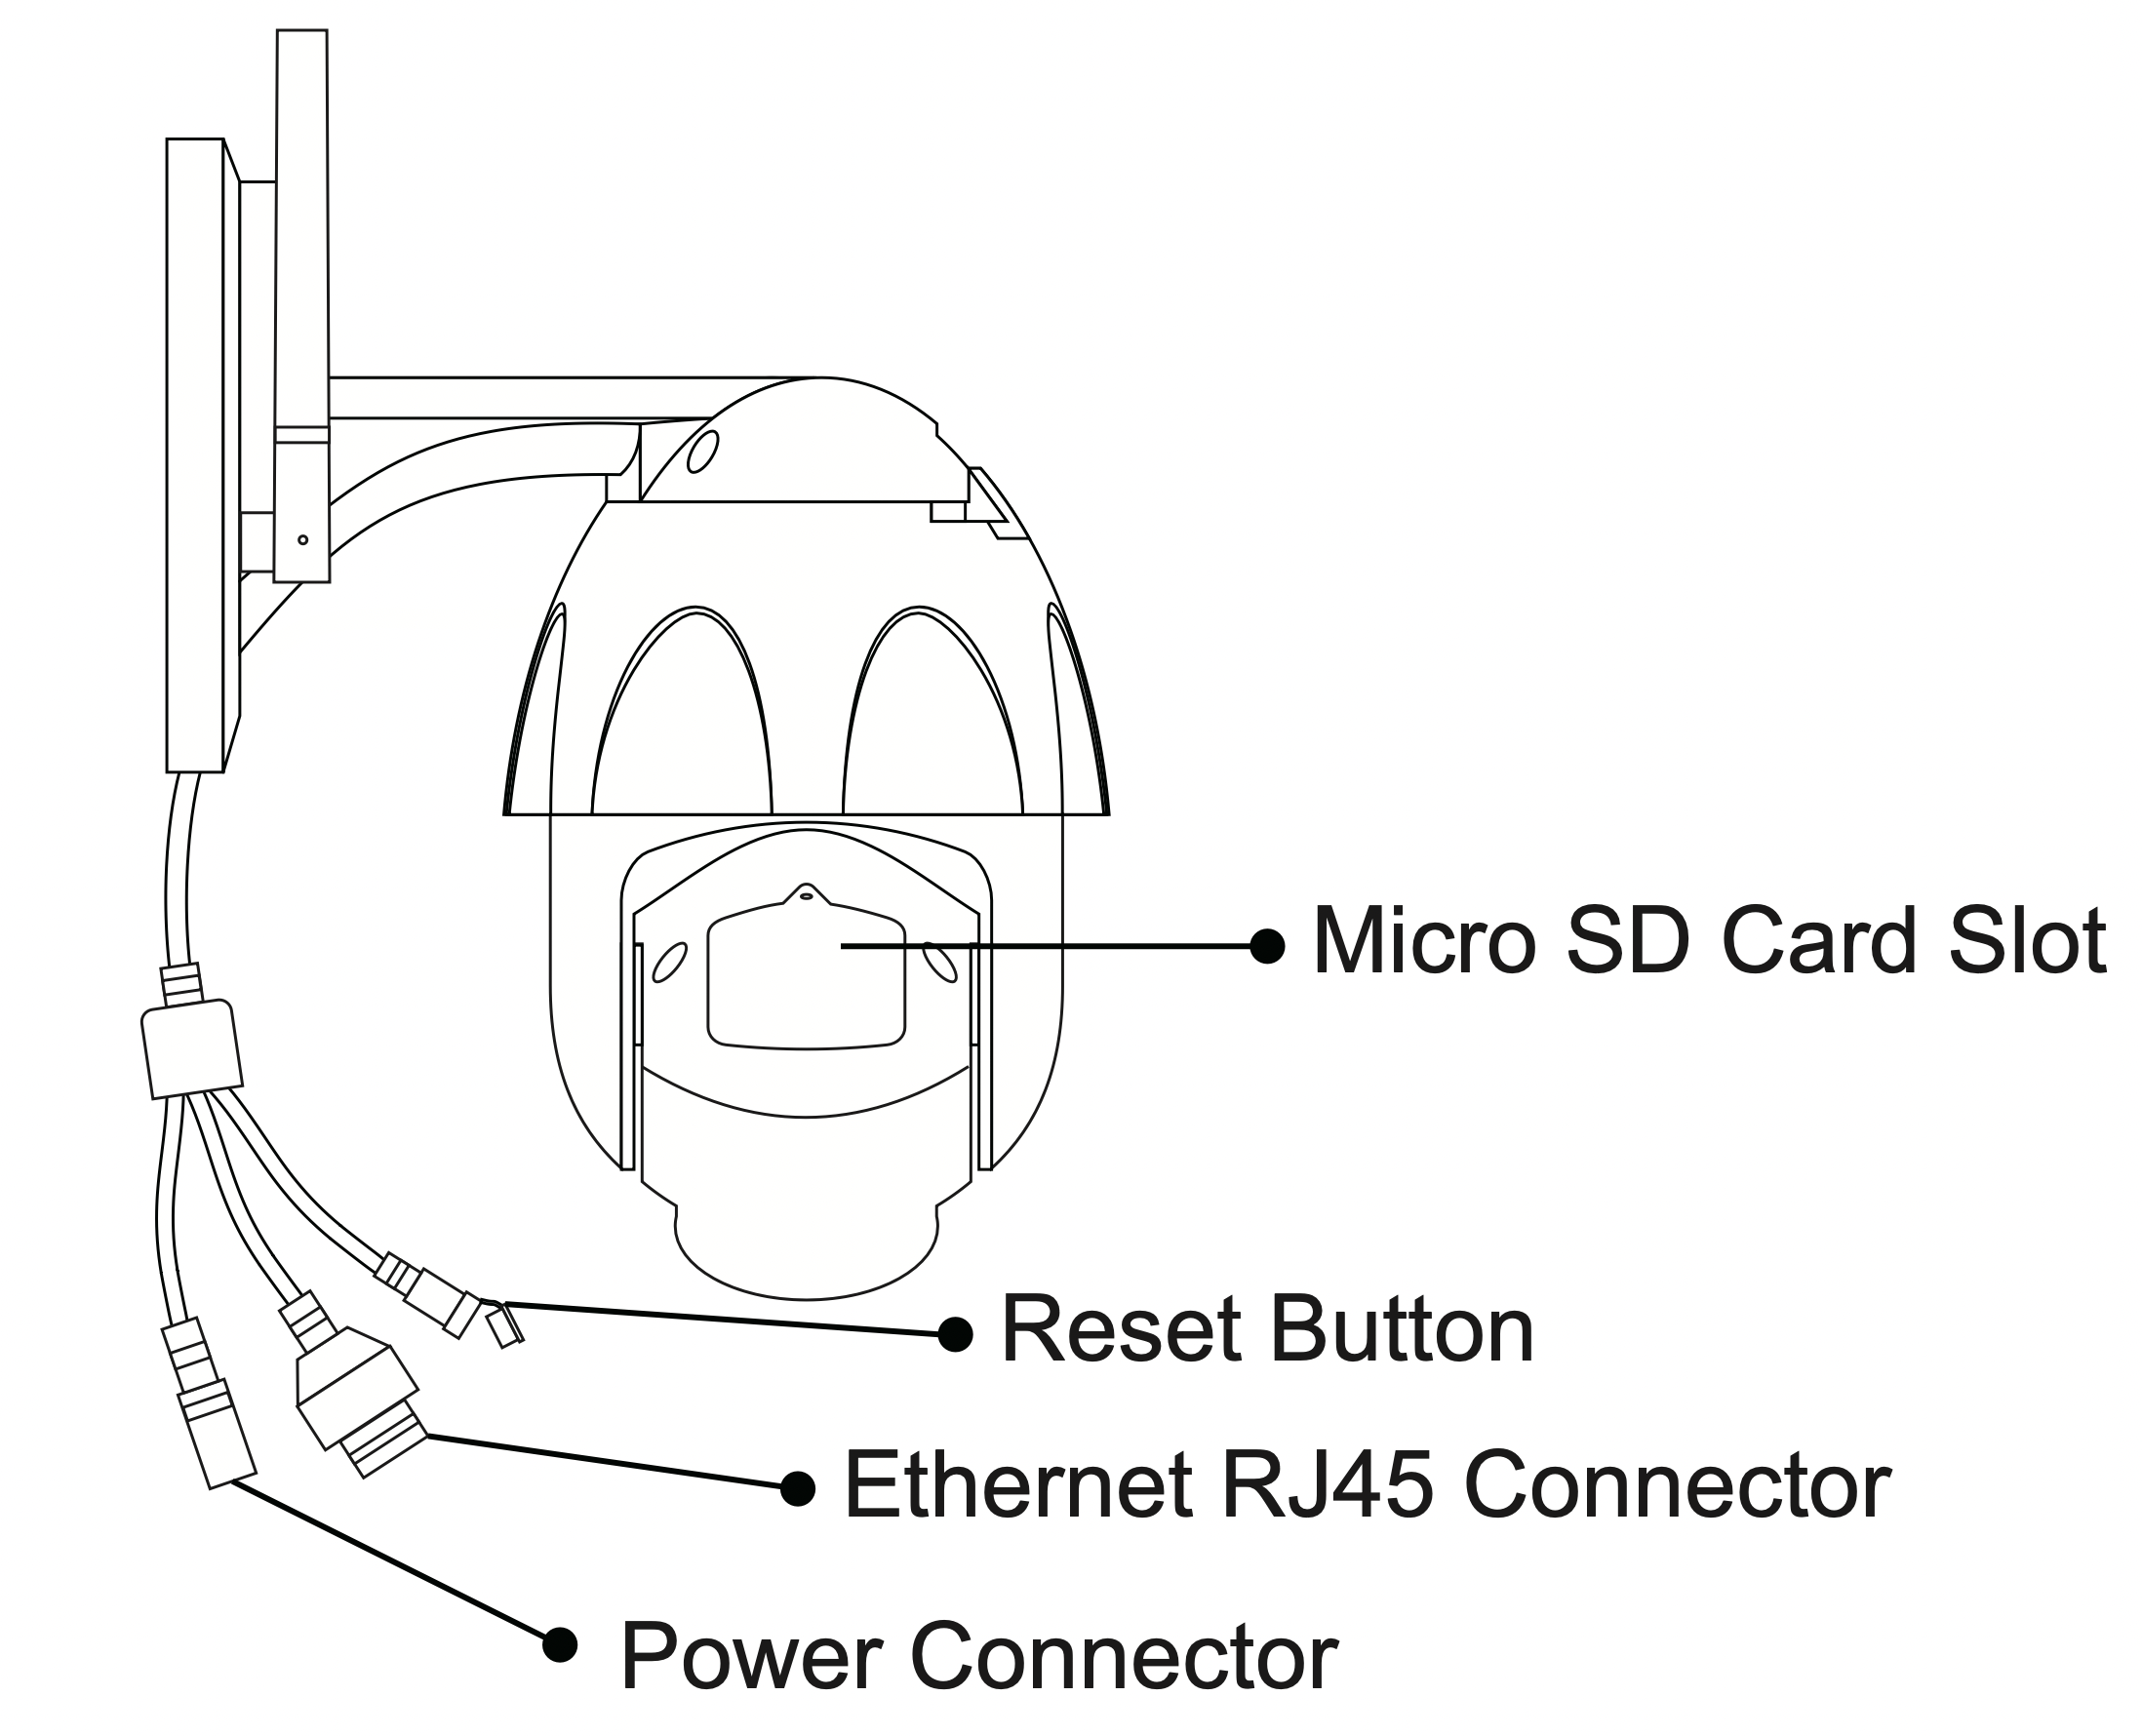
TourAlle Camera Overview
Quick Start Guide
The camera only supports 2.4G Wi-Fi with 802/b/g/n protocol, and does not support 5G Wi-Fi. Before configuring the camera Wi-Fi, please set the router parameters.
Mounting Device
- Use the base's screw holes as a template to mark the drill spots. Remove base and drill holes on the marked spots.
- Install the 4 ribbed plastic anchors into wall. Put the device on the suitable location and use the screws to fix it.(If you are mounting the device to a wooden wall, you can screw the mount directly to the wall without anchors.)

- Pay attention to the following situations when mounting:
a. Avoid direct sunlight
b. Mind any plants or objects that may obstruct the view
c. We suggest you mount within a 10 meter range of your router
Instruction
- Please read the instructions in the Quick Start Guide carefully before using the camera to avoid danger or loss.
- This manual is for use as a guide only. Graphics, pictures provided in the manual are for explanation and illustration purposes only, please refer to the actual product for specific standards. When installing the product, please make sure the product is firmly fixed.
- If the product lacks accessories or does not work properly, please contact the corresponding distributor for replacement in time and do not disassemble the product in any way. (The company assumes no responsibility for any problems caused by the modification or repair. )
Disclaimer
- The descriptions in this manual are for the current products only, there may be deviations in the process of updating product. And the company does not provide any forms of warranty; the special and indirect damages caused by the use of this manual or our products will not be compensated.
Attention
In the installation and use of the product, please strictly abide by the electrical requirements of your country and area.
Device Supported
Camera App supports Android 4.0+ or iOS 8.0+ system.
Ways to Download App
Method 1: Scan the QR code below to quickly download and install “TuyaSmart ”.

Scan QR code to download
Method 2: Search for and download " TuyaSmart " in the App Store or Google Play Store.
Register Account and Login App
When using TuyaSmart for the first time, please register and login in the following steps.
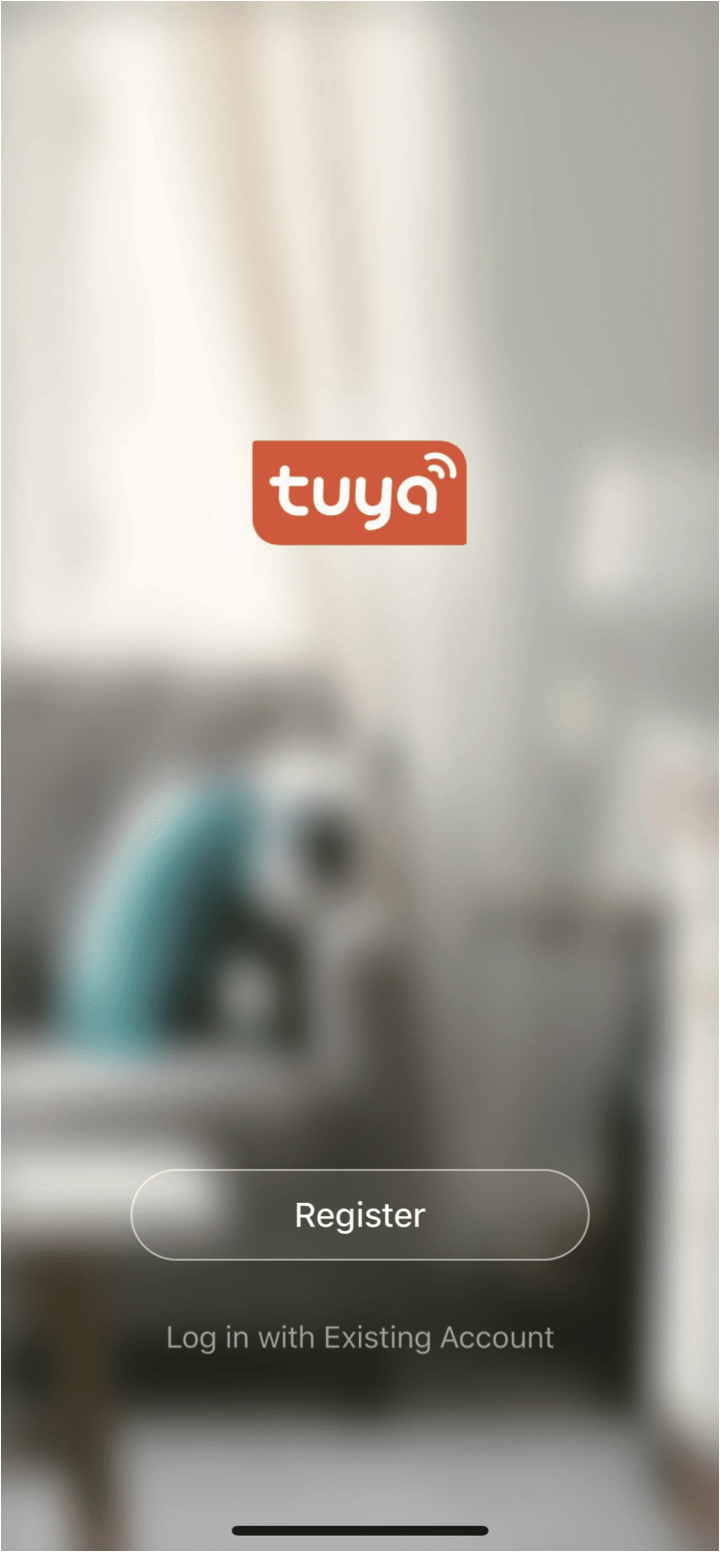
- Click “Register”
- Choose your area and enter phone number o r email

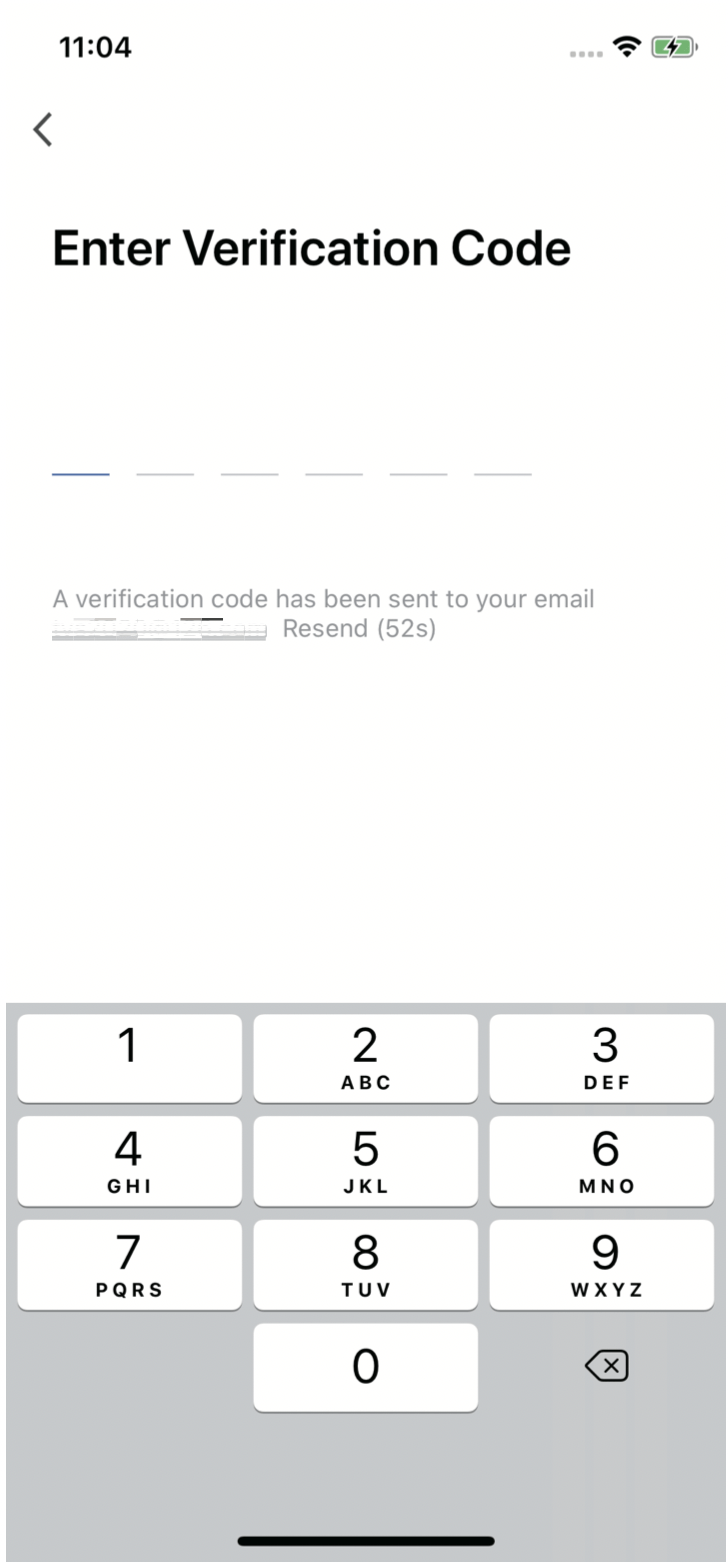
- Enter the verification code received via phone or email
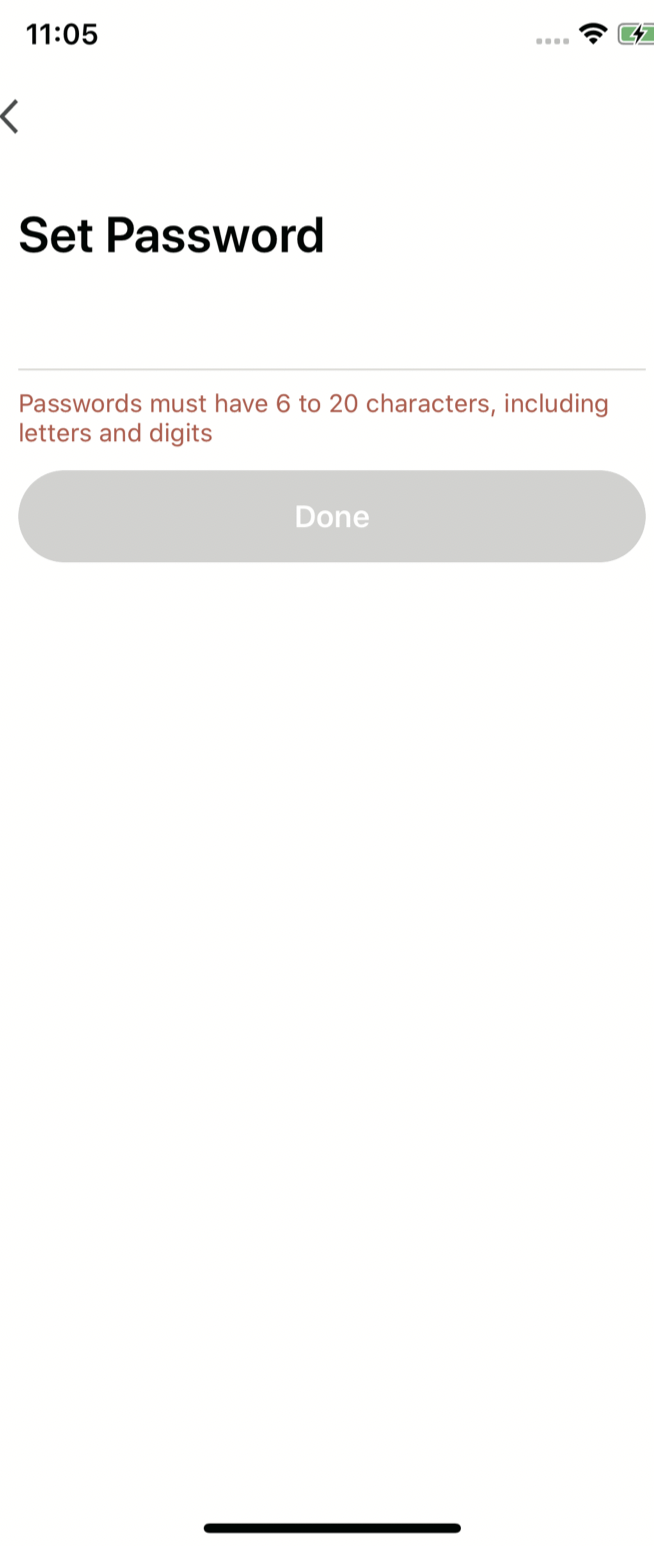
- Enter password for new account

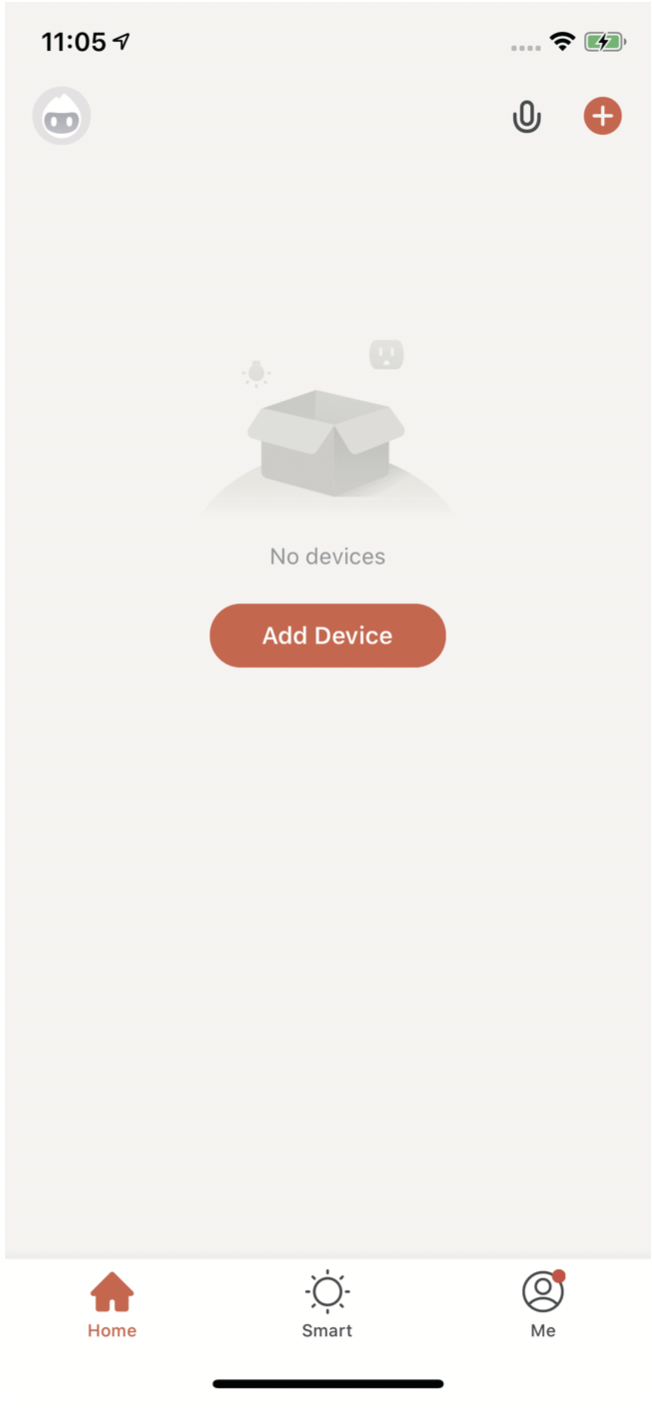
Successfully registered
Ways to Connect Camera to App
Turn on the power of the camera, connect the camera to App after the camera finishes self-test.
There are 3 ways to connect camera to App: connect via QR Code, connect via Wi-Fi and connect via Ethernet cable.
Method 1: Connect via QR Code
After the camera is powered on ,open the App and use the camera lens to scan the QR code on App.
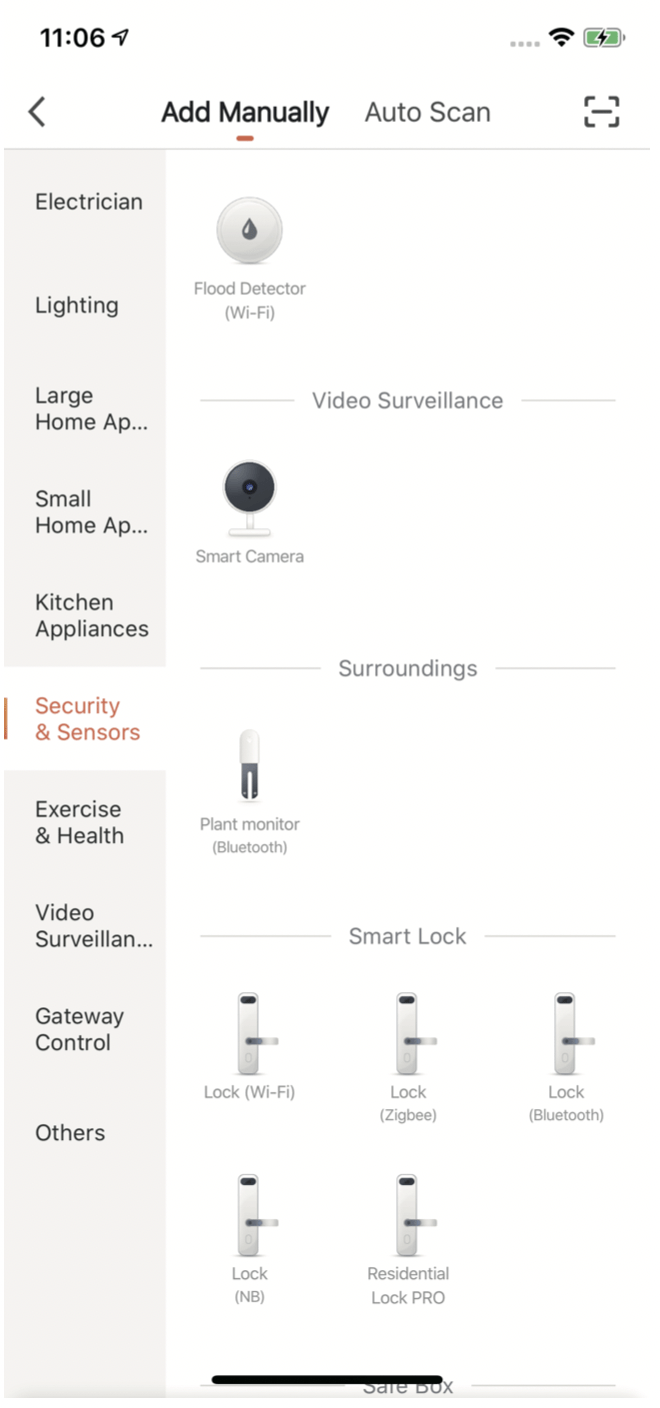
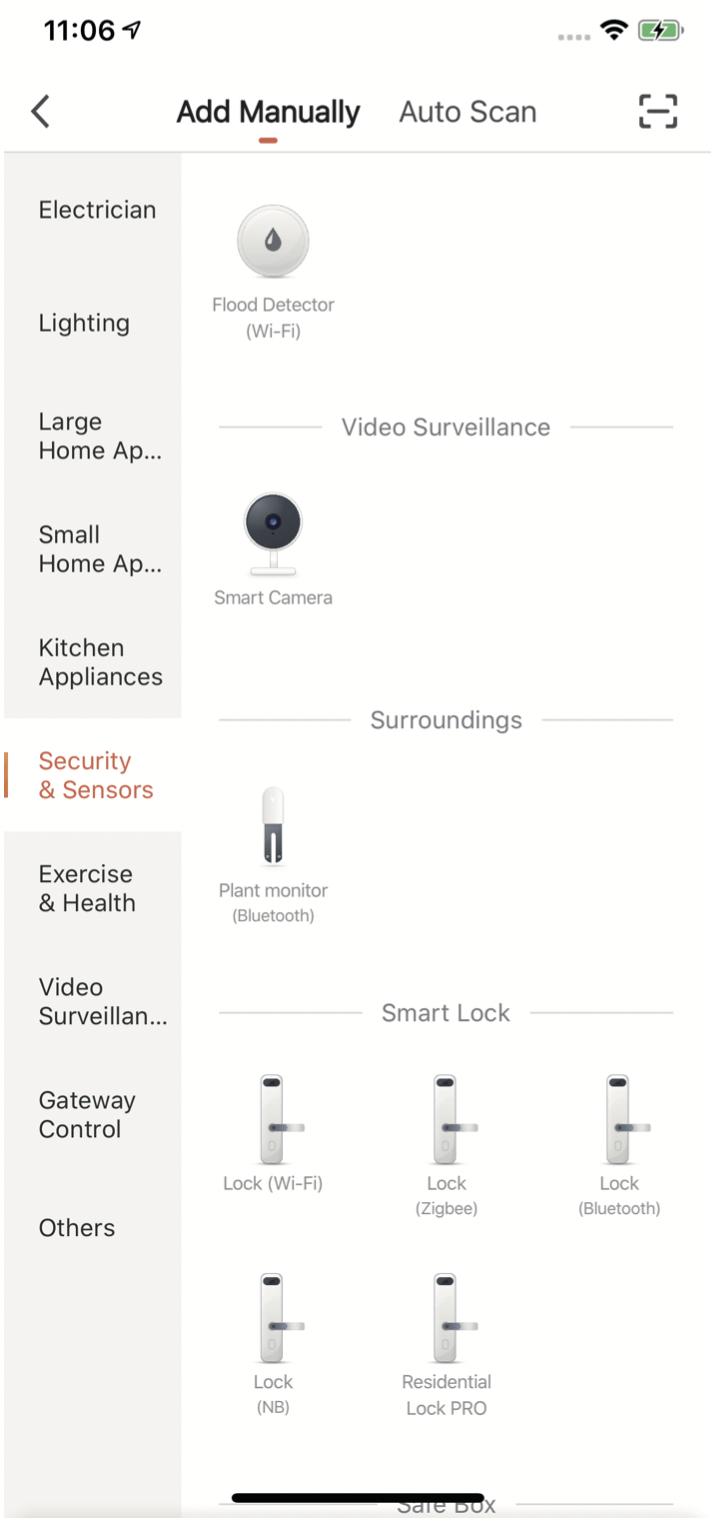
- Click “+” or “Add Device”
- Choose “Smart Camera” in “Secur ity&Sensor”
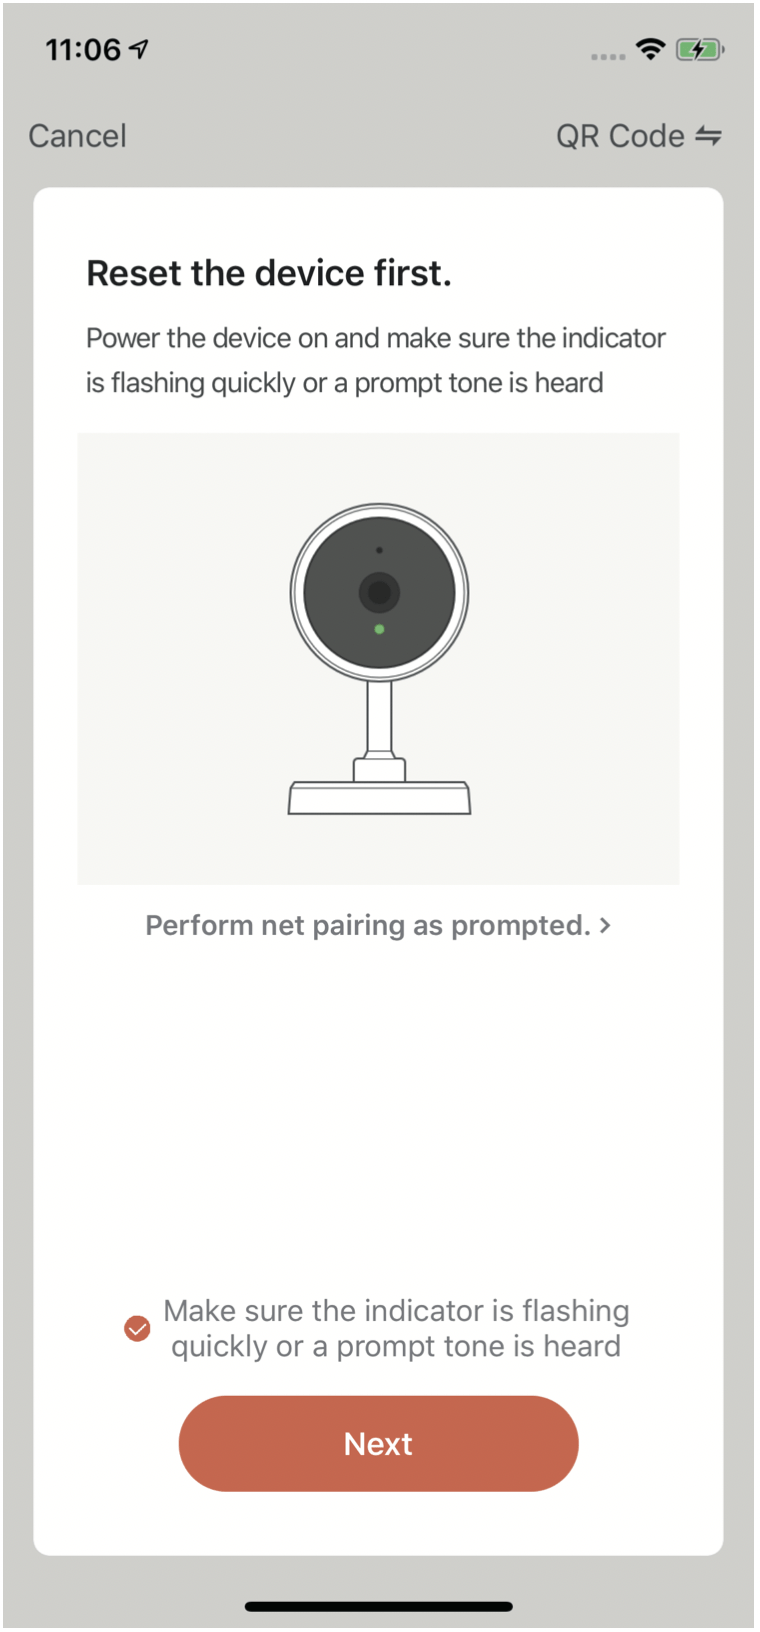
- Click "Next" after hearing the prompt tone.
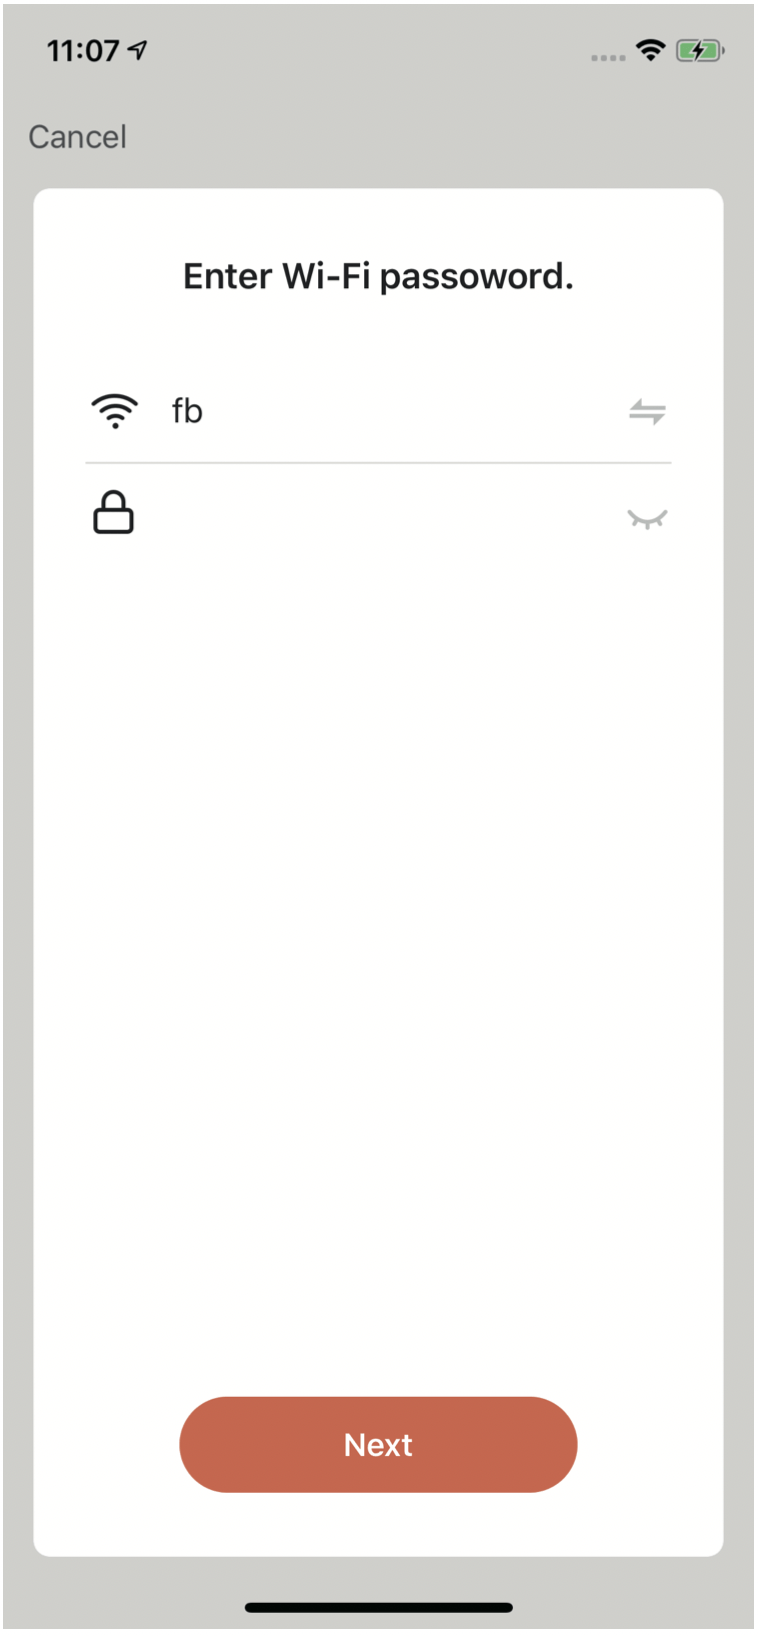
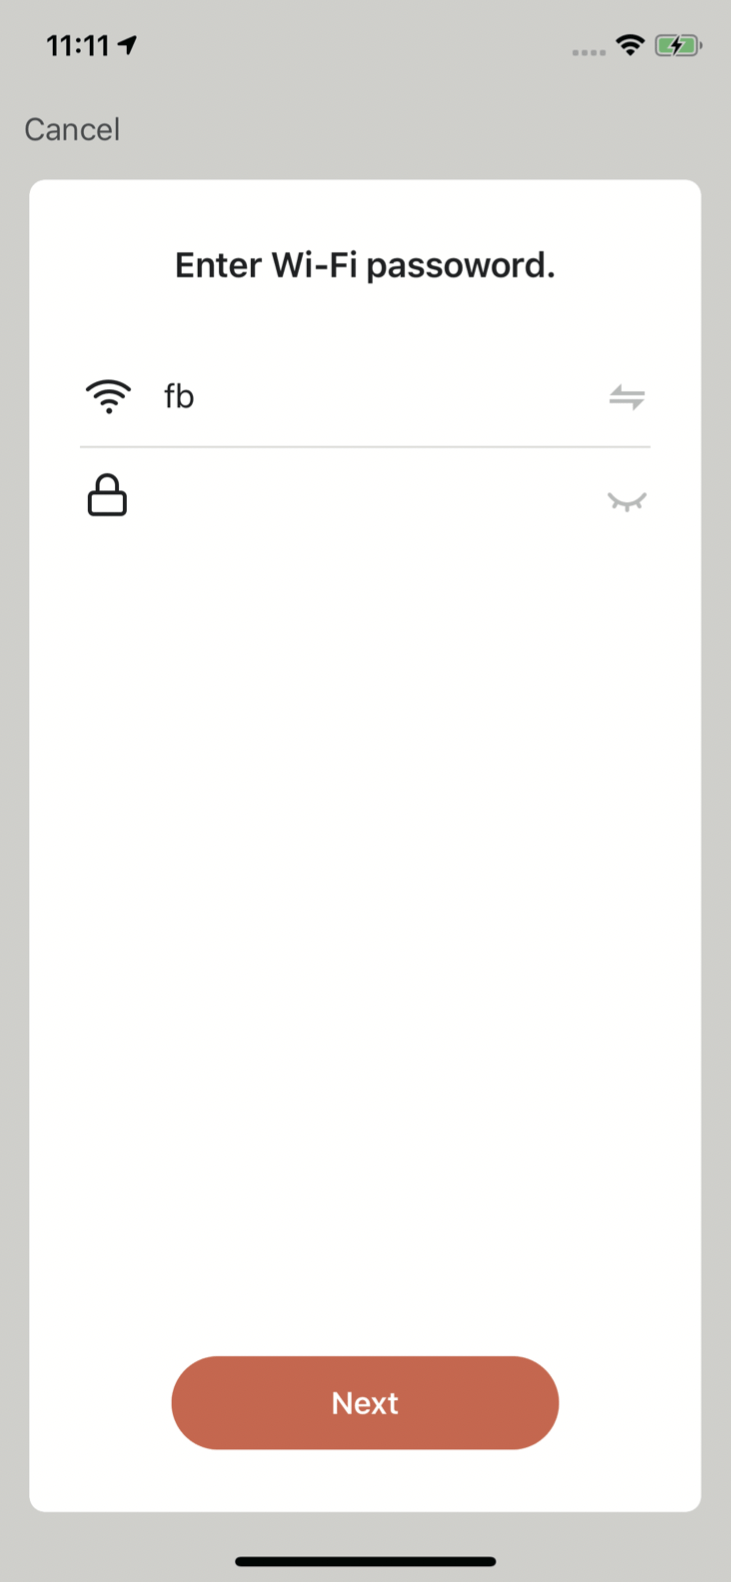
- Enter Wi-Fi password
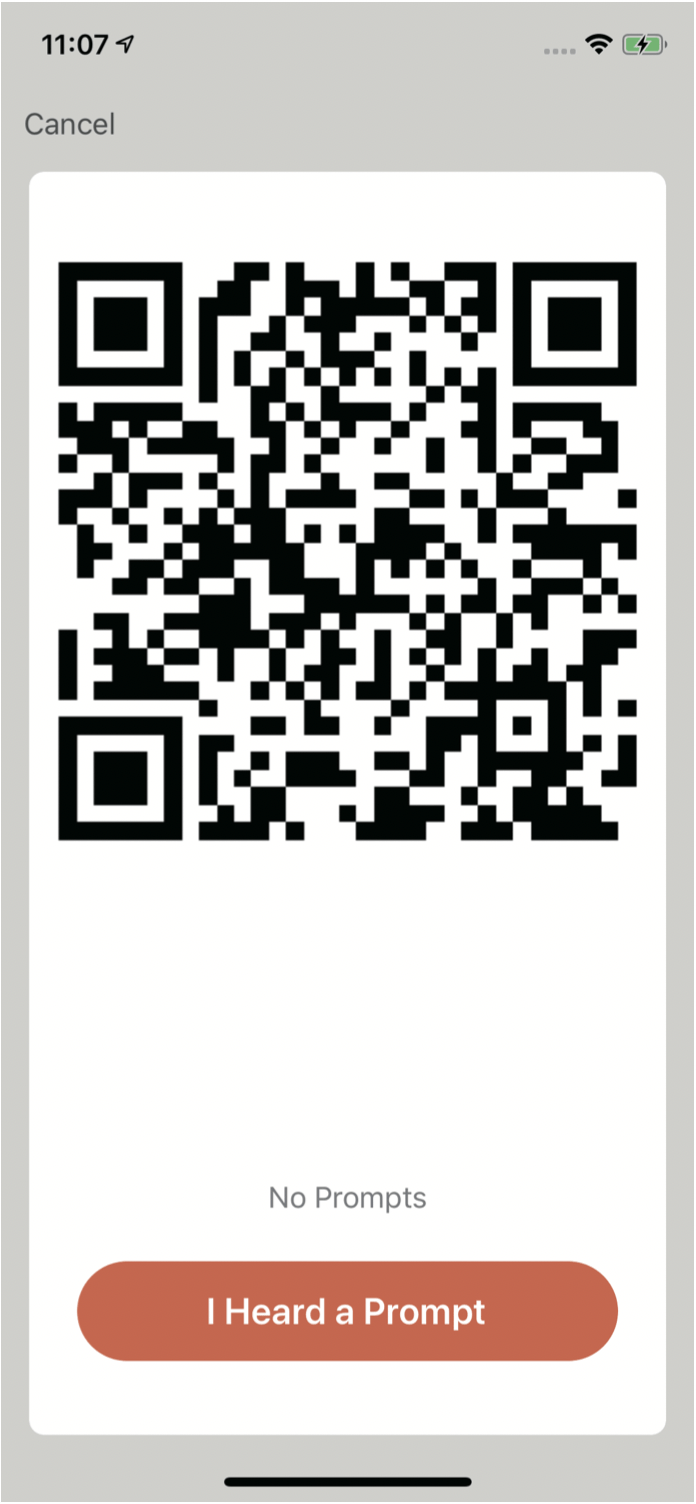
- Click "Continue" to let the QR code display on your mobile phone.
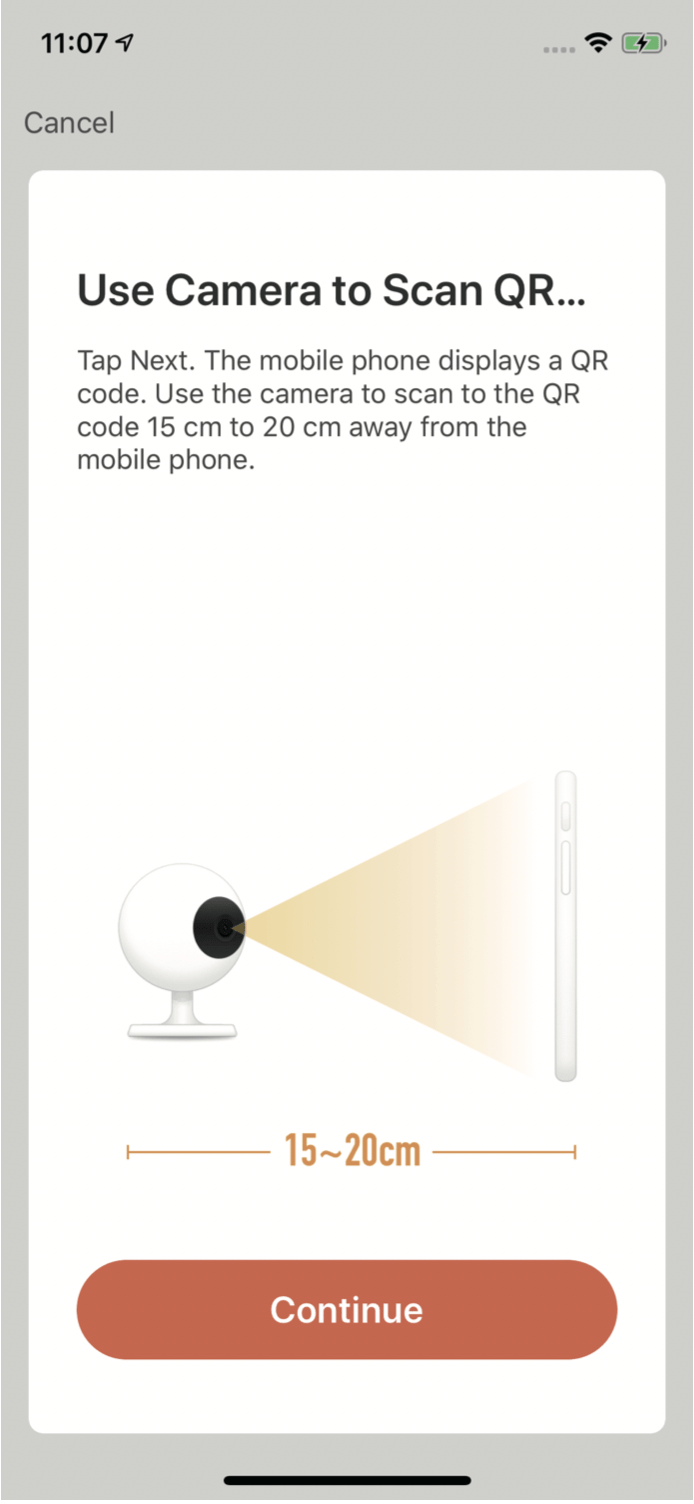
- Put the QR code in front of camera to scan. Click "I Heard a Prompt" after hearing it.
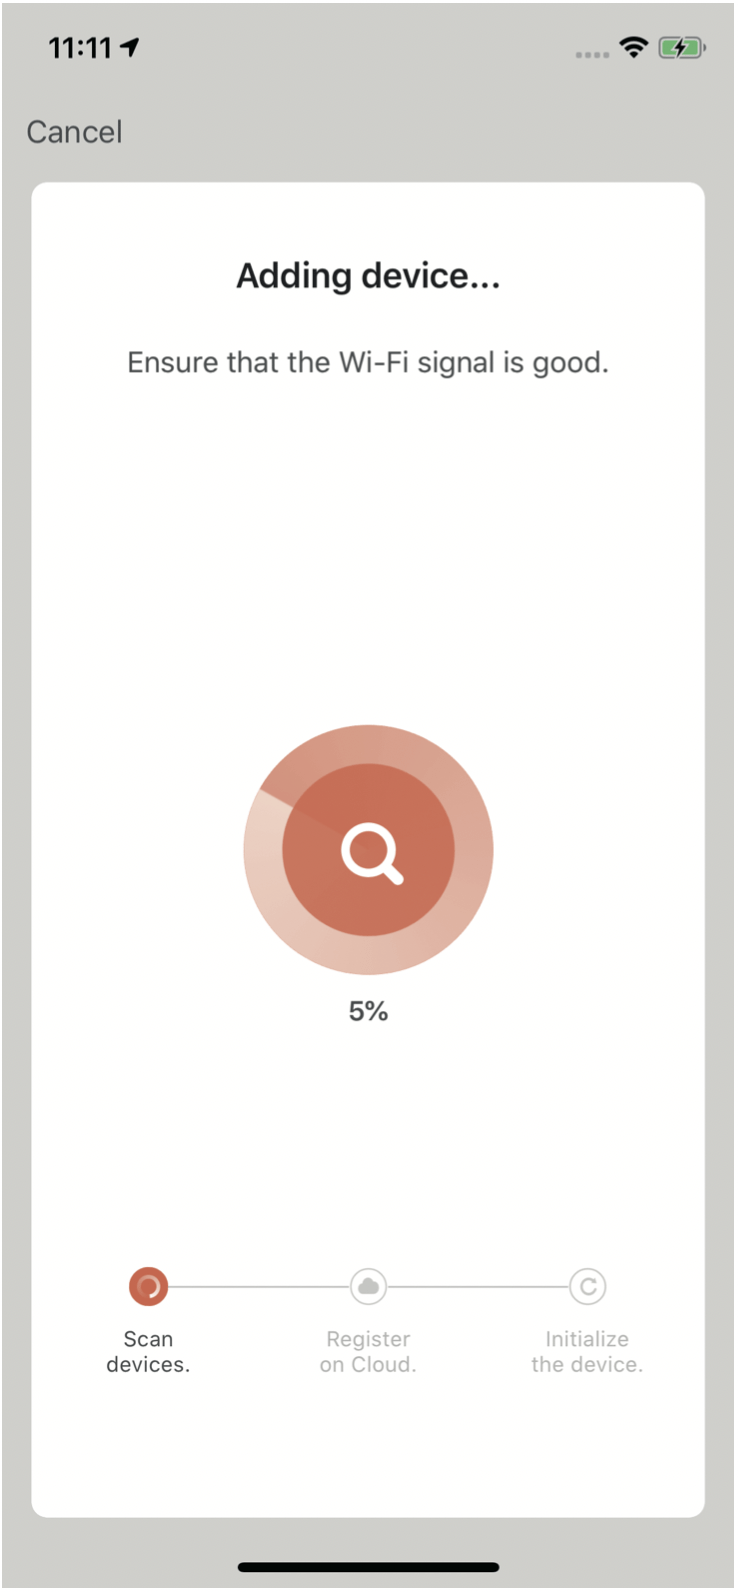
- Please patiently wait for the process

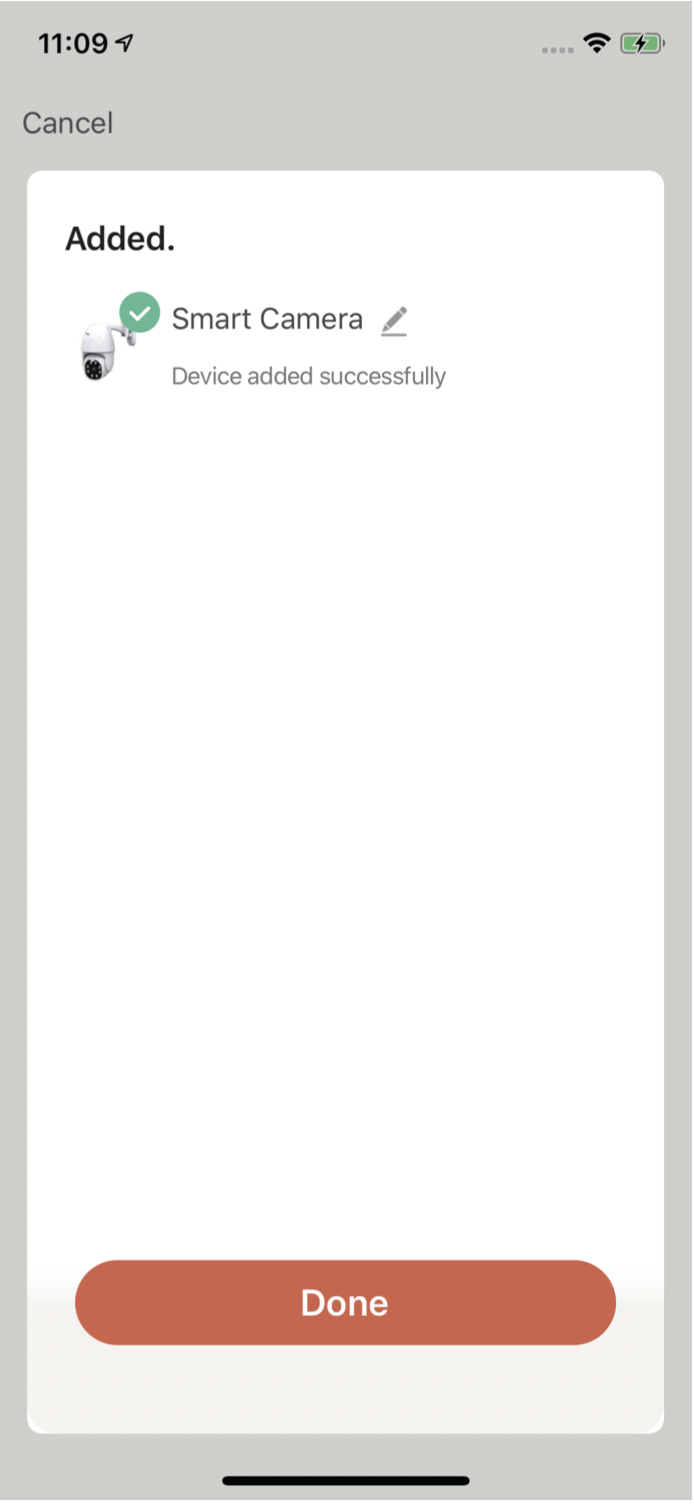
- Device added successfully.
Method 2: Connect via Wi-Fi
After the camera is powered on ,open the App and add camera via Wi-Fi following the steps.
- Click “+” or “Add Device”.

- Choose ”Smart Camera” in “Security & Sensor”.
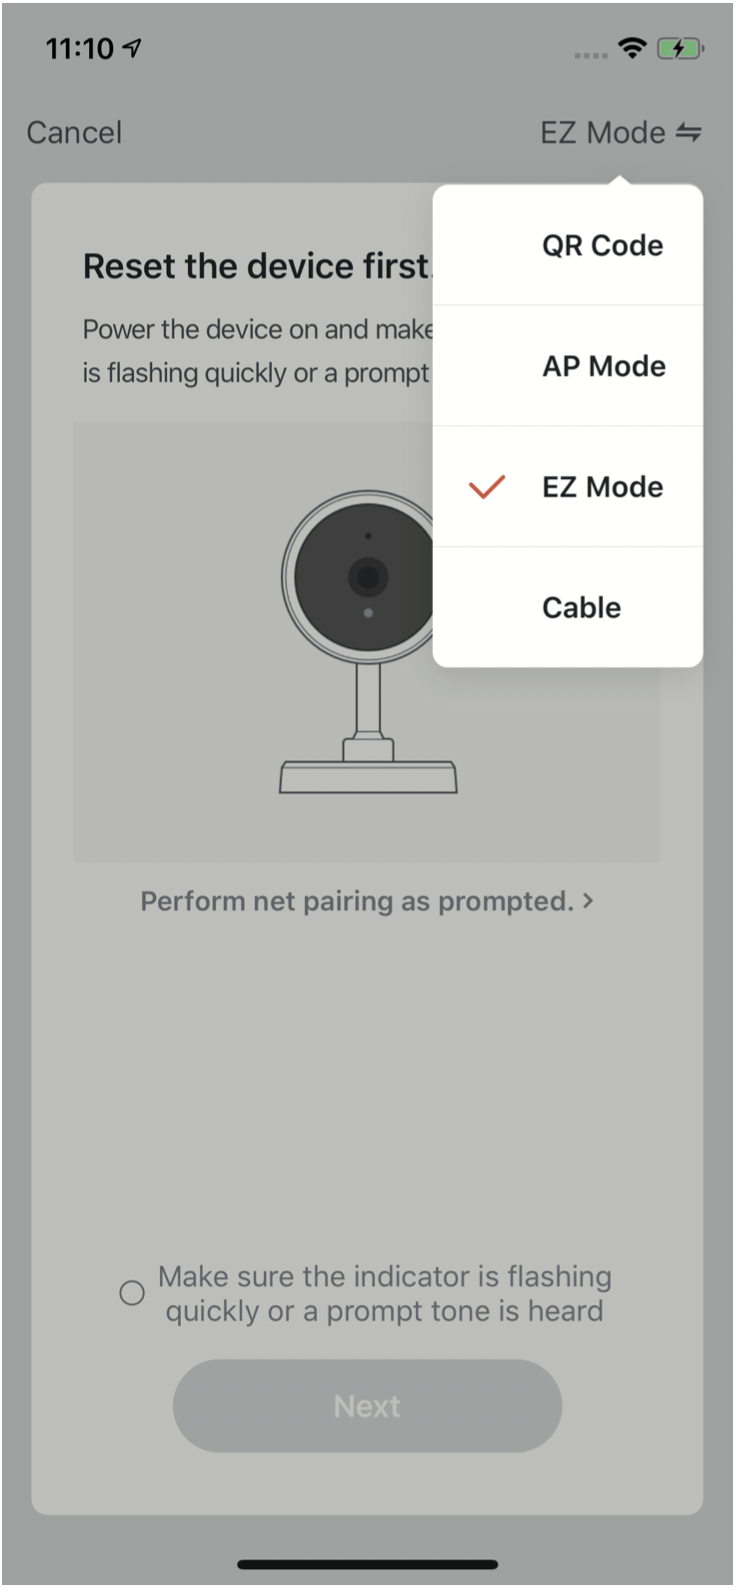
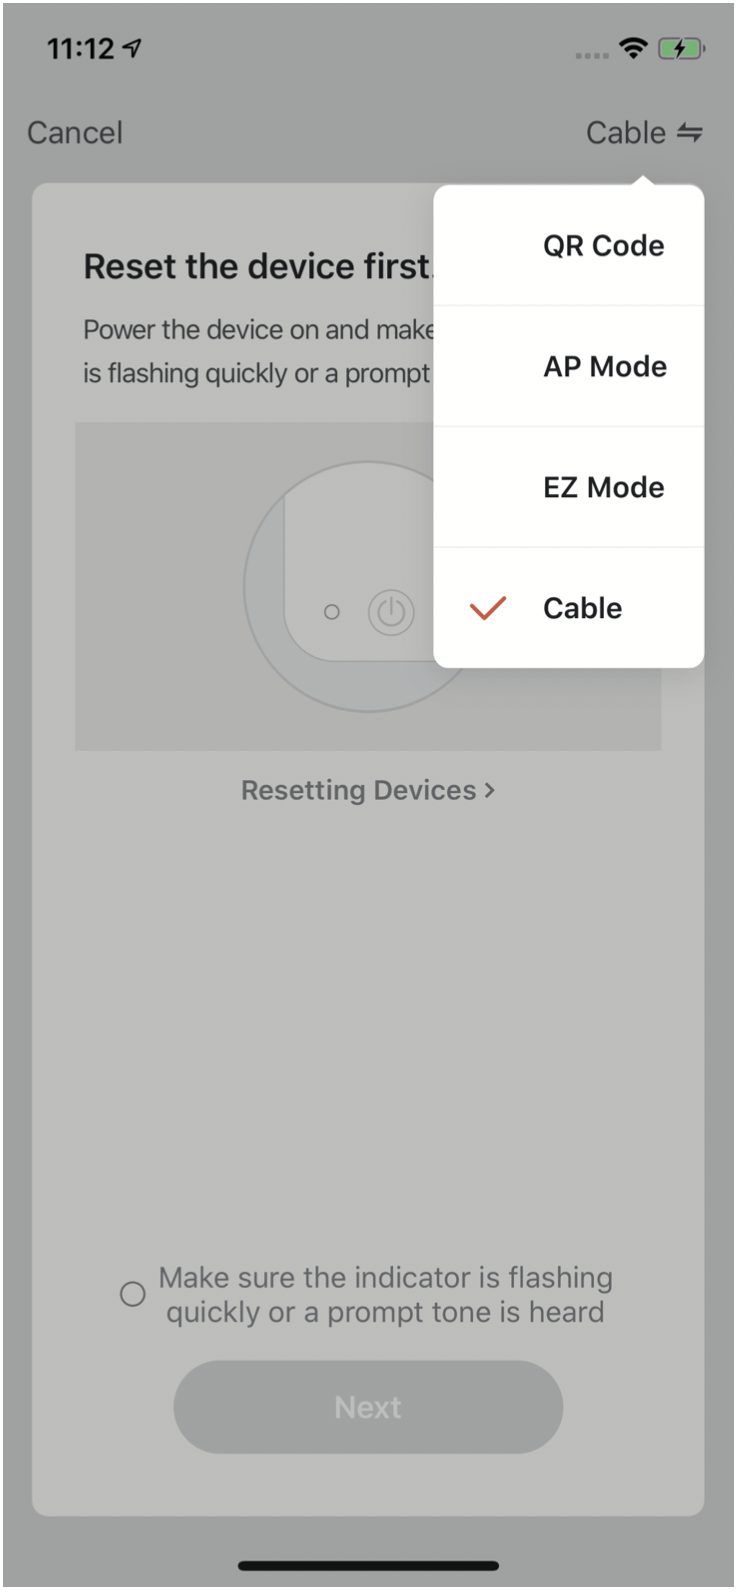
- Click “QR Code” on the upper right corner to switch into “ EZ Mode”. Click "Next" after hearing the prompt tone.
- Enter Wi-Fi password.
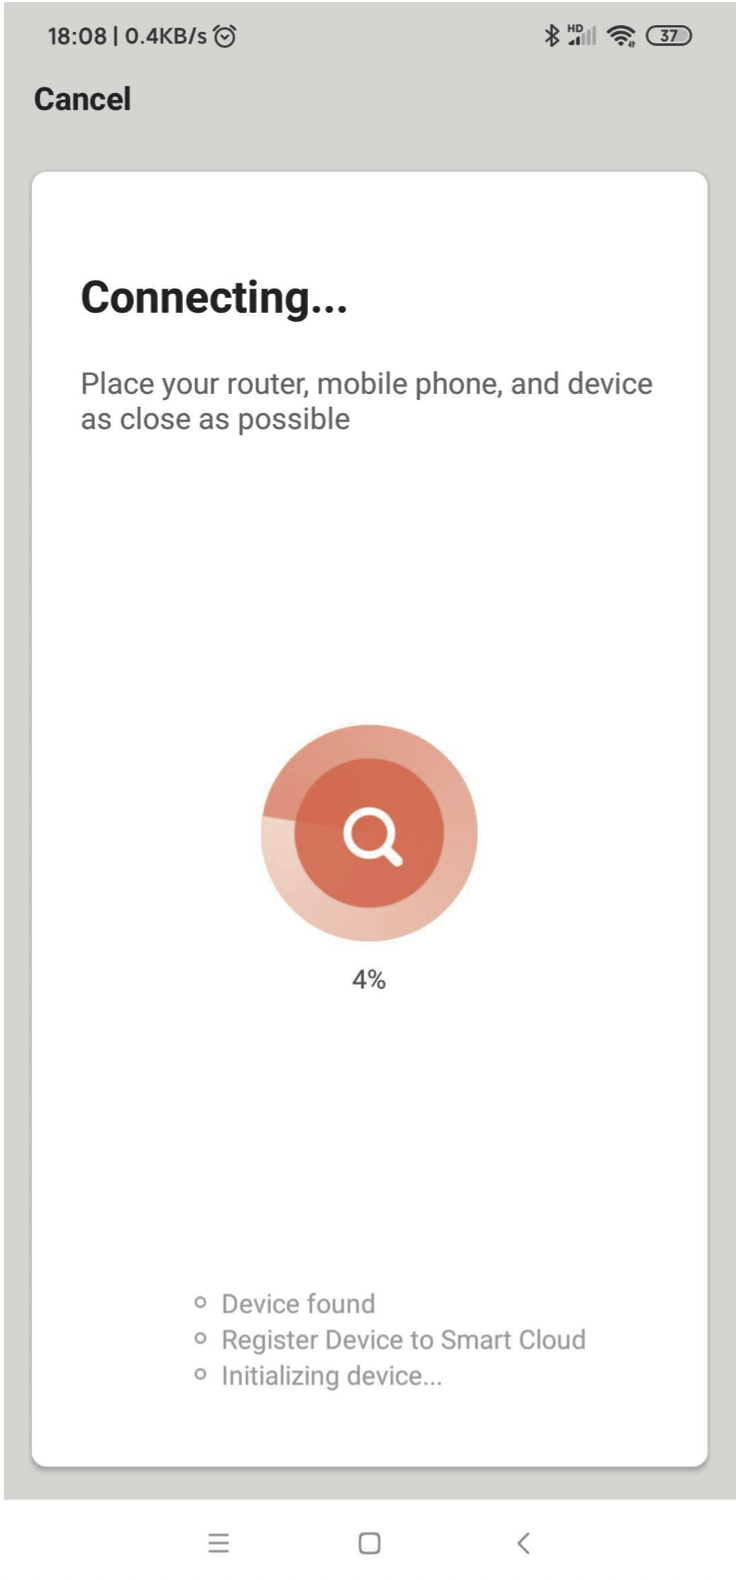
- Please patiently wait for the process.
- Device added successfully.

Method 3: Connect via Ethernet cable
After the camera is powered on ,open the App and add camera via Ethernet cable following the steps.
- Click “+” or “Add Device”.

- Choose ”Smart Camera” in “Security & Sensor”.

- Click “QR Code” on the upper right corner to switch into “ Cable”. Click "Next" after hearing the prompt tone.
- Please patiently wait for the process.
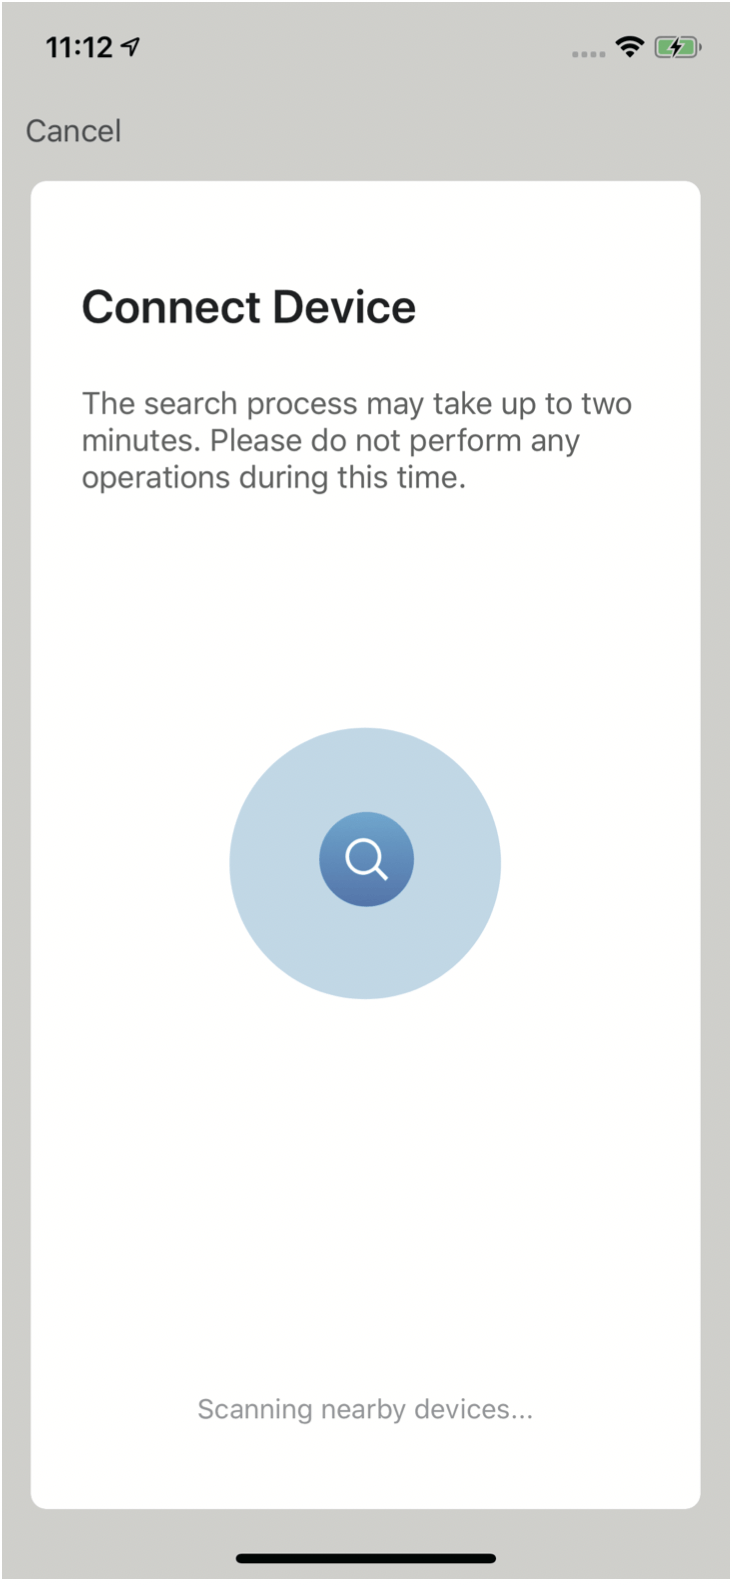
- Click “+” to add the selected device

- Place your router, mobile phone and device as close as possible.
- Device added successfully.