Loading ...
Loading ...
Loading ...
75
Still image printing (PictBridge printer)
g Press MENU.
The Print screen appears.
• Setting items not available for a particular
printer are not displayed.
h Select [Quantity] with v/V,
select the number of images
with b/B.
You can select the number up to 20.
All the images selected are printed in
the specified number.
i Select [OK] with V/B, then
press z.
The images are printed.
Do not disconnect the USB cable
while the mark is indicated on
the LCD screen.
To cancel printing
In Step 4, select [Cancel] or in Step 9,
select [Exit].
To print all the images indicated
with the mark
In Step 4, select [DPOF image]. All the
images indicated with the mark are
printed in the specified number, regardless
of the image displayed.
To print all the images in the
folder
In Step 4, select [All In This Folder], then
press z.
To insert the date and time on
images
In Step 8, select [Date], then select the
date format with b/B. You can select from
[Day&Time] or [Date]. When you chose
[Date], the date will be inserted in the order
set in “Setting the date and time” (page 18).
However, this function may not be provided
depending on the printer.
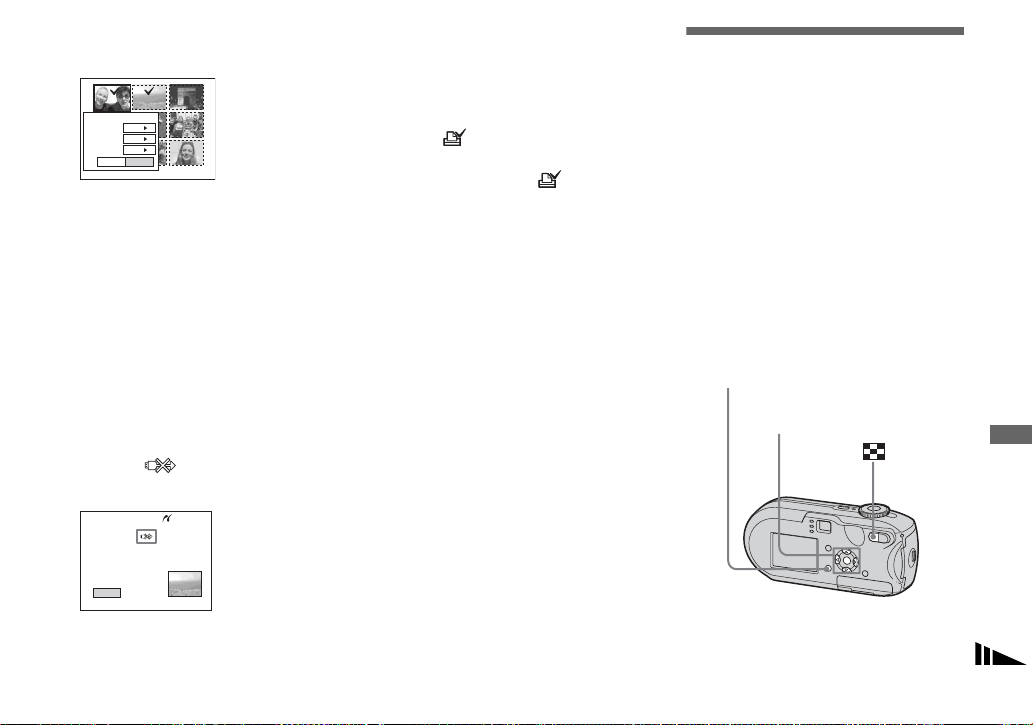
Printing index-images
You can print some images side-by-side.
We refer to this function as an index print*.
You can lay single images side-by-side in a
specified number and print them (see “On
the single screen”), or lay different images
side-by-side to make a set by combining
multiple different images and print the set in
the specified number of copies (see “On the
Index screen”).
Set up the camera following the procedure
on page 72, and connect the printer.
* An index print function may not be provided
depending on a printer.
Exit OK
1
Print
Off
Off
Quantity
Date
Index
Exit
2/3
Printing
Control button
MENU
Loading ...
Loading ...
Loading ...