1019614-R01
EN – Installation instructionsDishwasher
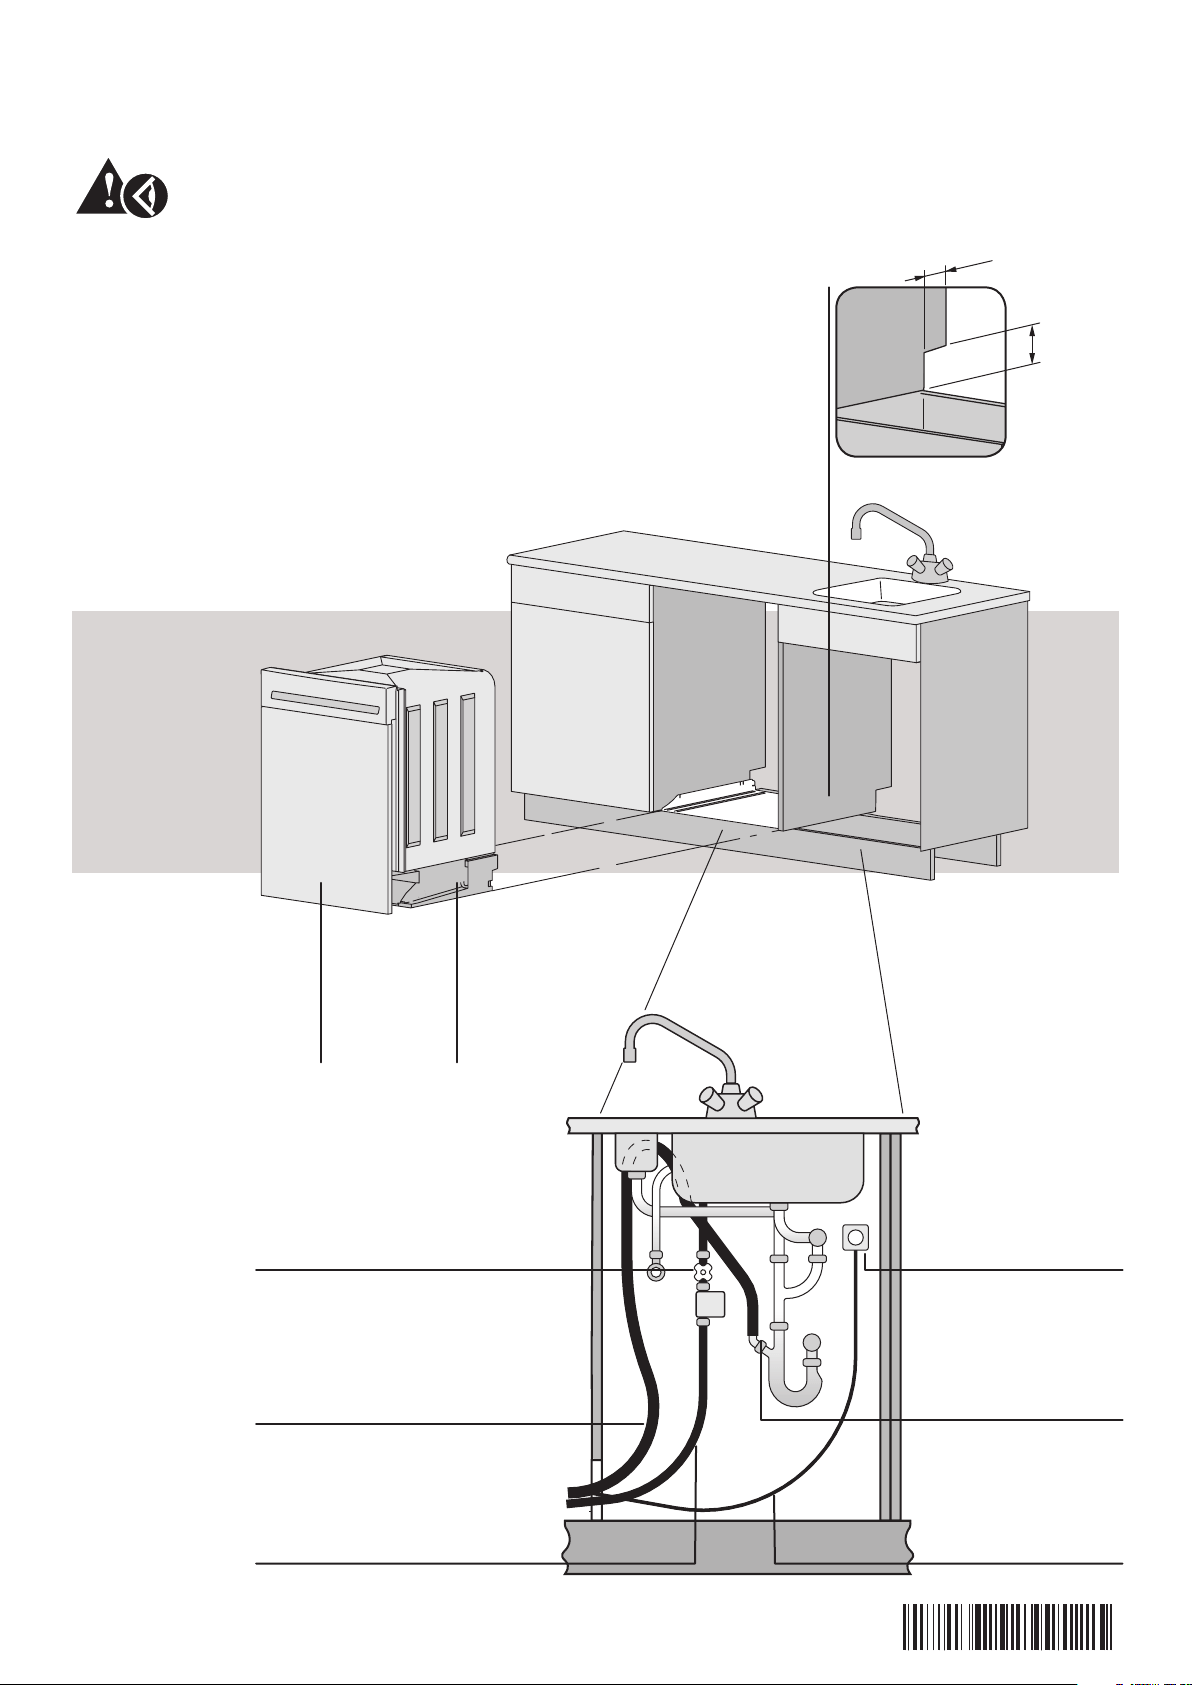
>40 × 80 mm
>80
>40
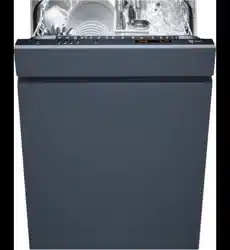
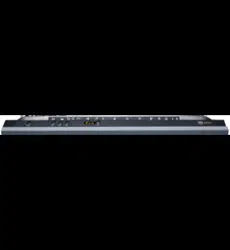
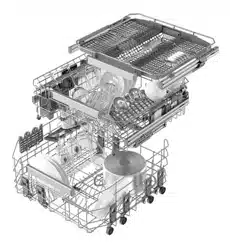
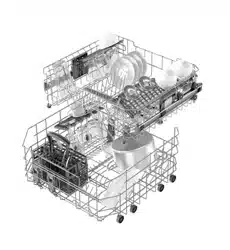
Appliance components
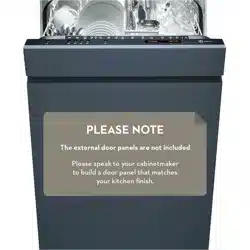
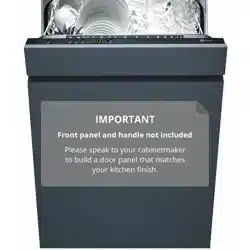
Front panel/decorative system Base
Recess for pipes
Water tap
Drain pipe
Aqua-Stop/inlet pipe
Power socket
Drain trap connection
Mains connection
Before installation, please read the safety precautions on the reverse side!

EN – Installation instructionsDishwasher
1019614-R01
Only move unpacked appliances using gloves. Do not lift appliance when on the plinth.
Electrical connections must be made by trained electricians in accordance with the guidelines and standards for low voltage installations and
the specifications of the local electricity supply companies. A plug-in appliance may only be connected to a socket outlet with earthing contact,
installed according to specifications. An all-pole mains isolating device with 3 mm contact opening should be provided in the house wiring system.
Switches, plug and socket devices, circuit breakers and fusible cut-outs which are accessible after installation and which have all-poles switching are
permissible as isolating devices. Effective earthing and separately installed neutral and earth conductors ensure safe and fault-free operation. After
installation, live parts and cables with basic insulation must not be accessible. Old installations should always be checked. Refer to the identification
plate for specifications for the required mains voltage, current type and fuses. Application height of the appliance: up to max. 2000 m above sea level.
Do not press on the sides or top of the appliance.
Extending the water supply and drain pipes and mains cable is not permitted. Consult customer services if you want to make alterations like this.
Always observe the local water supply authority’s regulations.
Ventilation outlets in the base must be kept free and not be obstructed (e.g. by carpet).
Do not tip appliance over.
Any old water supply and drain pipes must always be replaced with new ones.
EN Safety precautions
1019614-R01
EN – Installation instructionsDishwasher
1.
Water inlet
Disconnect feeder
Working pressure
Inlet pipe, Aqua-Stop
Water outlet pipe
Water/electrical connection
<60 °C
1–10 bar
1,5 m
G¾"
1,6 m
ø 22 mm
0,1–1 MPa
Minimum ambient temperature
+5 °C
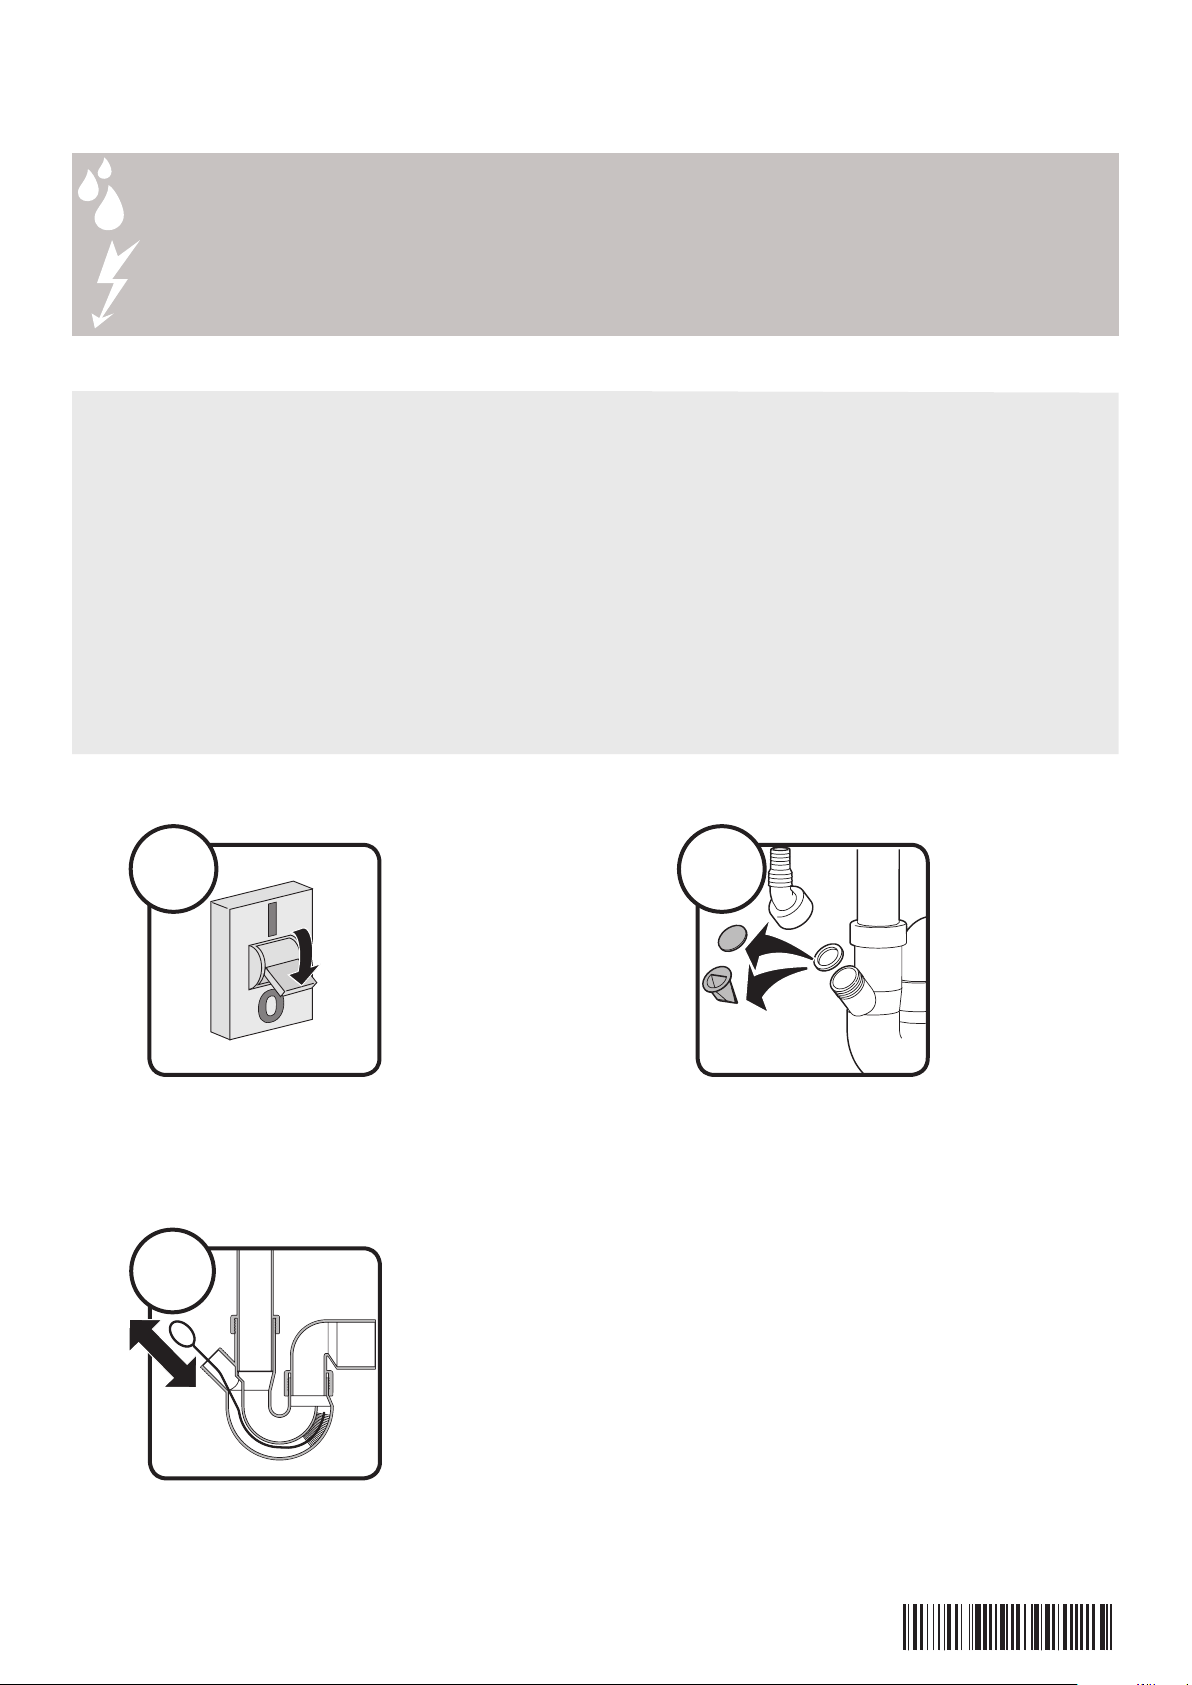
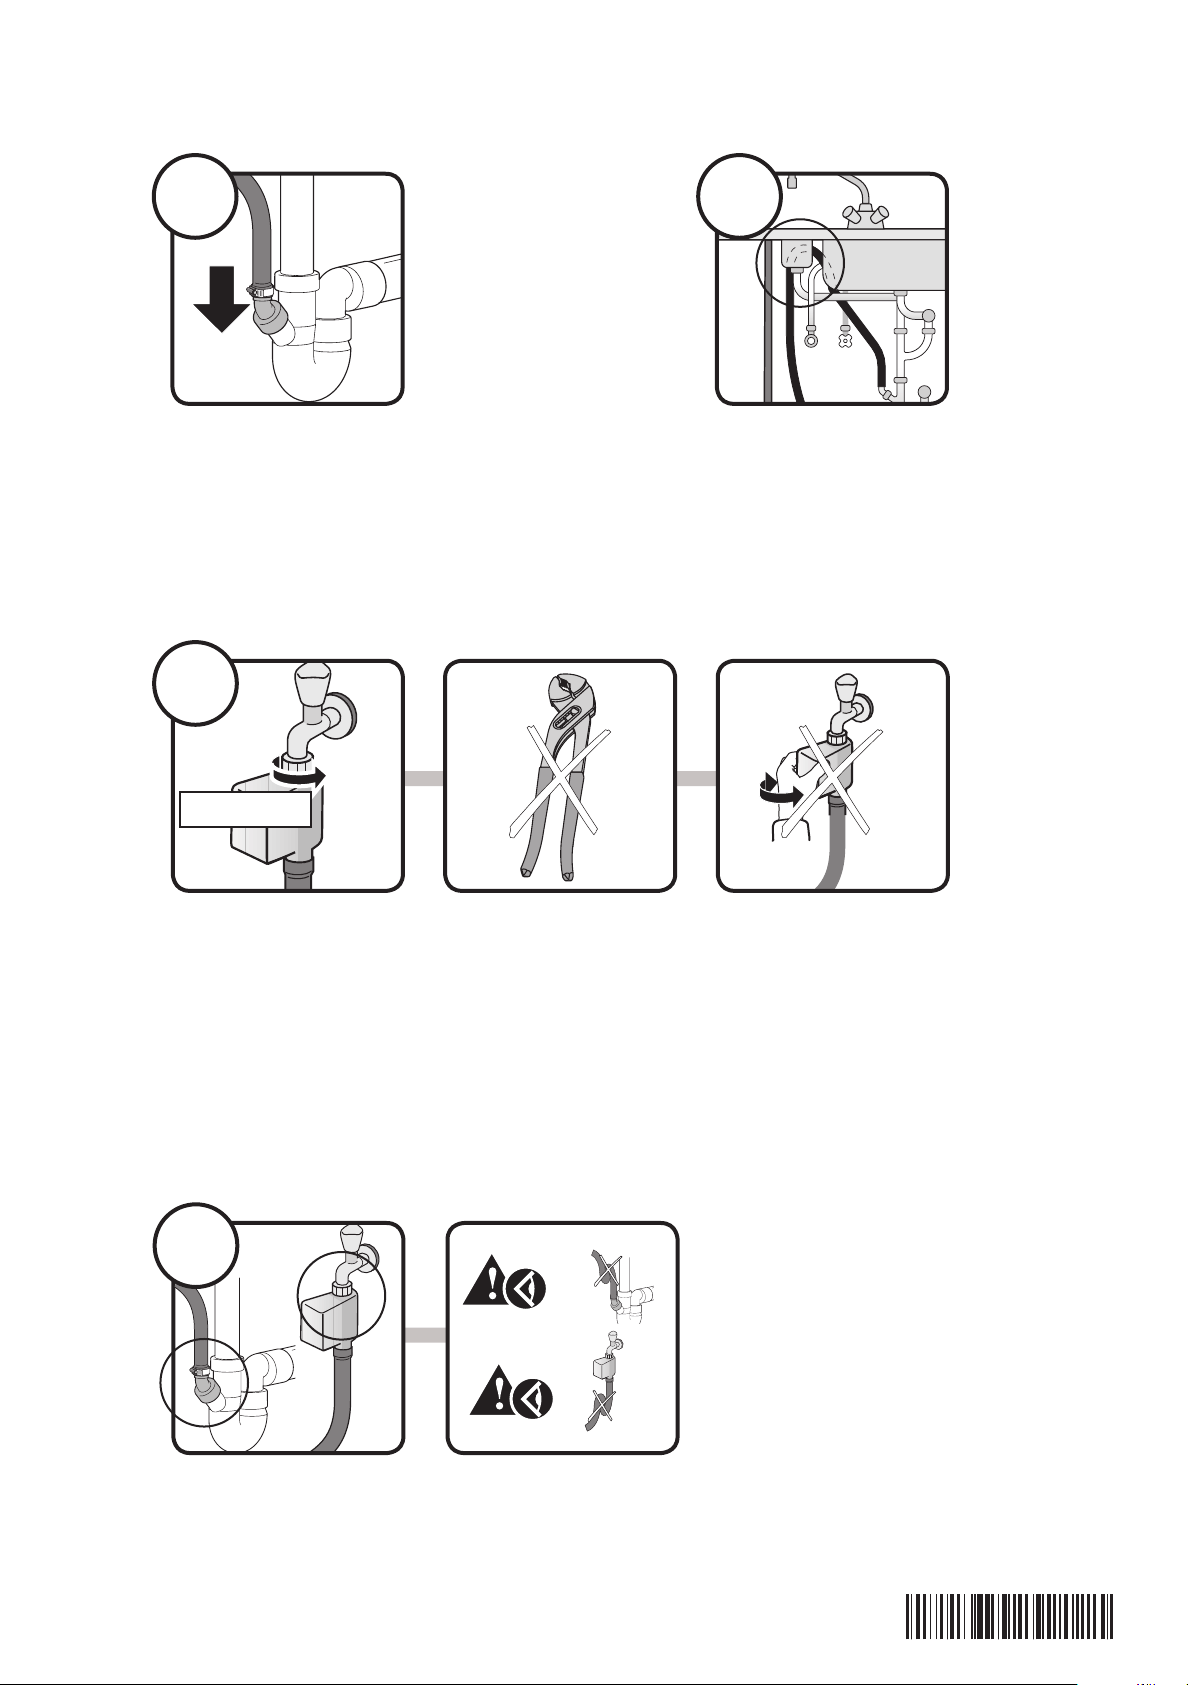
2.
3.
Clean drain trap. E.g. with flexible brush
If available:
Remove Dummy and the non-return valve
EN – Installation instructionsDishwasher
1019614-R01
4.
Connect drain hose with drain trap
Fix drain hose with clamp
5.
Fix drain hose at the top with assembly set
7.
6.
max. 10 Nm
Connect Aqua-Stop onto the tap
Internal diameter of connection lead min. 18 mm
For water pressure at <1 bar: Set to «low water pressure» according to service documents
Check the connection for leaks. Do not bend drain hose and the inlet hose
1019614-R01
EN – Installation instructionsDishwasher
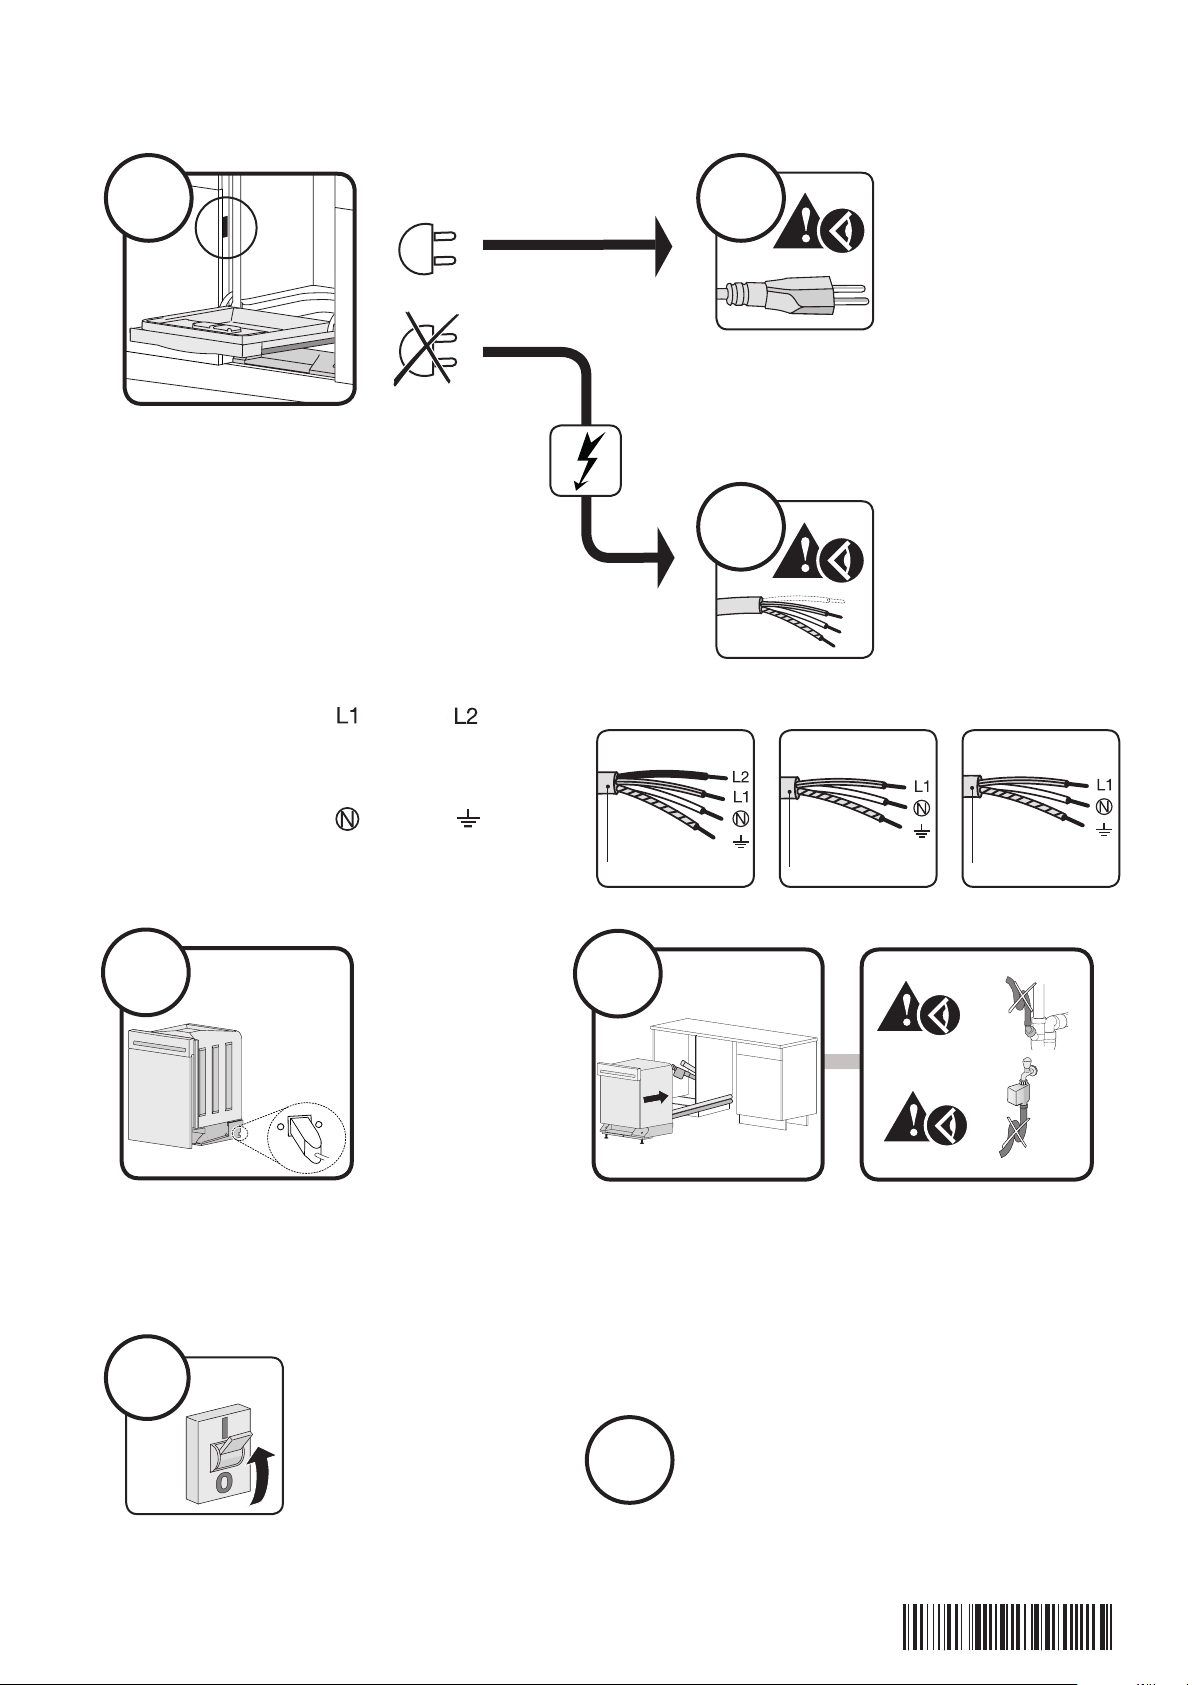
12.
9b
13.
9a8.
230 V~ 50 Hz, 16 A
3 × 1,5 mm²
230 V~ 50 Hz, 10 A
3 × 1 mm²
400 V 2N~ 50 Hz, 10 A
4 × 1 mm²
Installation test
Connect up to building supply
Plug in
Check connection values.
The building connection must match the
information on the identification plate.
Connection values:
black
Connect feeder again
brown
blue yellow/green
10
11
If available: Connect V-ZUG-Home
Tighten hoses and cables
Do not bend drain hose and the inlet hose
EN – Installation instructionsDishwasher
1019614-R01
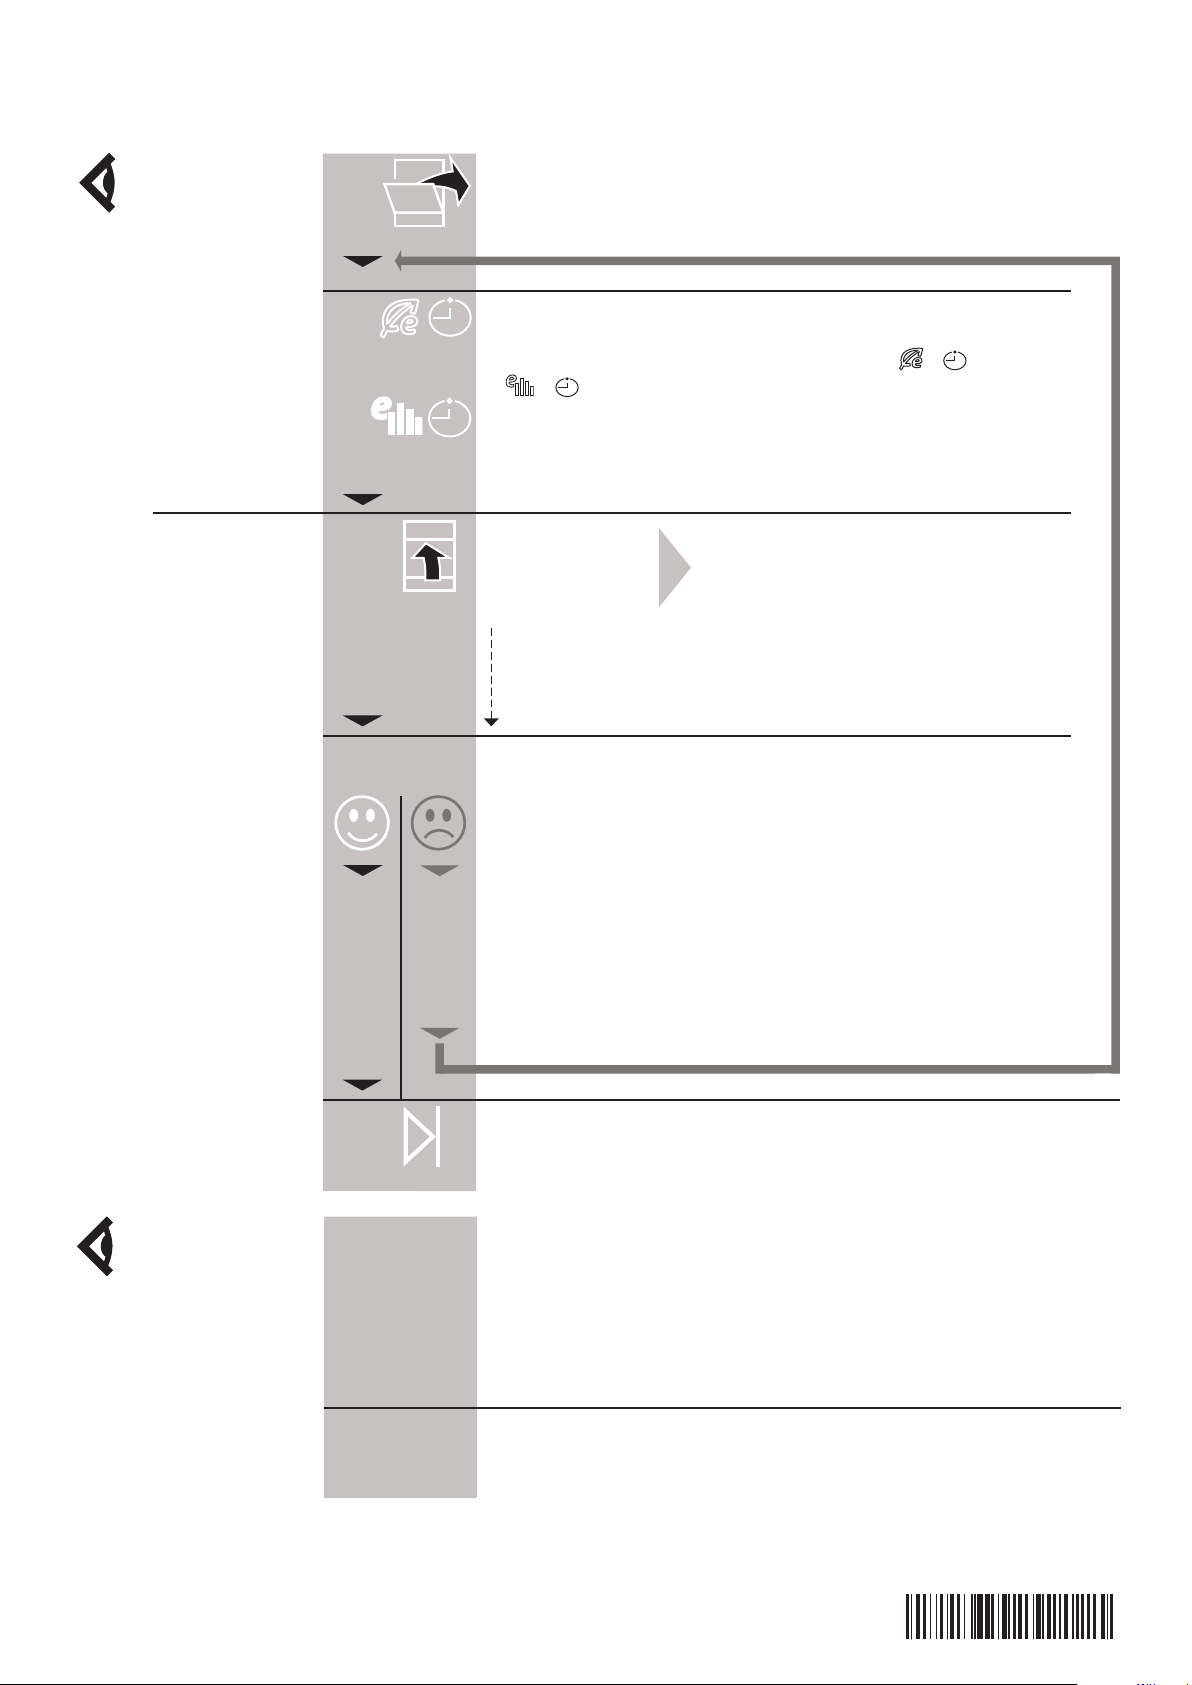
1.
5.
2.
3.
A2
A9 U1/U2
4.
Empty the appliance
The installation test is complete when end of programme is displayed.
Water outlet fault
Close appliance door
within 15 seconds
It takes approx. 2 minutes
If error messages occur:
rectify fault according to the operating instructions
Installation test
The test starts in 15 seconds
Water inlet fault Voltage fault
Set the water hardness according to the «Using for the first time» section (see
operating instructions)
Select the test by pressing and holding down the + buttons
or
+
at the same time
or
1.
Carry out the remaining work steps for the initial set-up
OK!
Appliance is ready for operation
2.
1. Initial set-up