Loading ...
Loading ...
Loading ...
24 | Westinghouse Portable Power
Cleaning the Air Filter - Continued from Page 23
NOTICE
Never dispose of soap cleaning solution used to clean the air lter
by dumping the solution into a sewer, on the ground, or into ground
water or waterways. Always be environmentally responsible.
Follow the guidelines of the EPA or other governmental agencies
for proper disposal of hazardous materials. Consult local
authorities or reclamation facility.
1. Dispose of used soap cleaning solution properly.
2. Dry the air lter elements by again applying a slow
rm squeezing action.
3. Once the air lters are dry, coat the air lters with
clean engine oil (see Figure 19 below).
Figure 19
4. Squeeze the lters to remove any excess oil.
5. Install the lters back into the unit. If there are two
lters make sure the gray (ne) air lter goes in
rst followed by the black (coarse) air lter on the
outside.
6. Install the air lter cover and secure the air lter assembly.
SPARK PLUG MAINTENANCE
The spark plug must be checked and cleaned after
every 100 hours of use or 6 months and must be
replaced after 300 hours of use or every year.
1. Stop the generator and let it cool for several
minutes if running.
2. Move the generator to a at, level surface.
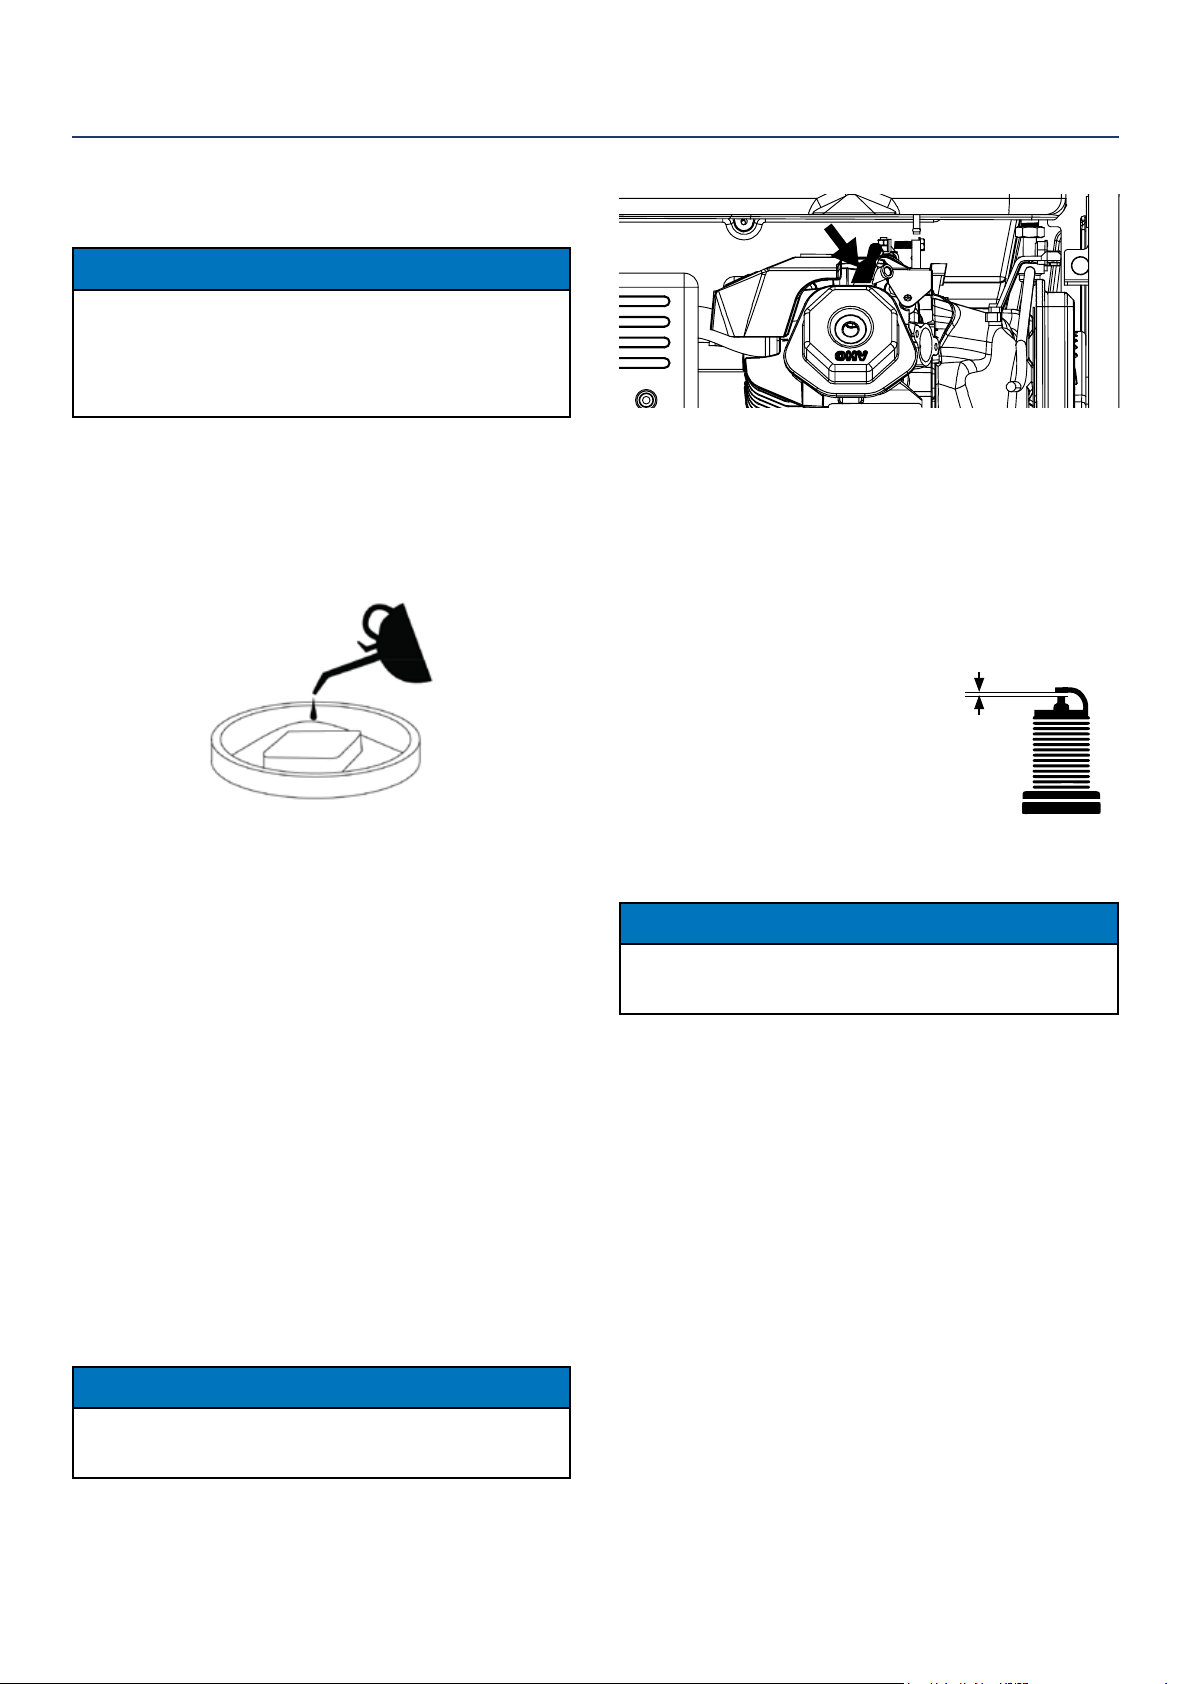
3. Remove the spark plug boot by rmly pulling the
plastic spark plug boot handle directly away from
the engine (see Figure 20).
NOTICE
Never apply any side load or move the spark plug laterally when
removing the spark plug. Applying a side load or moving the spark
plug laterally may crack and damage the spark plug boot.
Figure 20 - Remove Spark Plug Boot
4. Clean area around the spark plug.
5. Using the 13/16” spark plug socket wrench
provided, remove the spark plug from the cylinder
head.
6. Place a clean rag over the opening created by the
removal of the spark plug to make sure no dirt can
get into the combustion chamber.
• Inspect the spark plug for:
• Cracked or chipped insulator
• Excessive wear
• Spark plug gap (the acceptable
limit of 0.027–0.032 in.
[0.70 – 0.80 mm]) (see Figure 21).
NOTICE
Use only recommended spark plugs when servicing. The
manufacturer is not responsible for engine damage when using
spark plugs not recommended by the manufacturer.
7. Install the spark plug by carefully following the
steps outlined below:
a. Carefully insert the spark plug back into the
cylinder head. Hand-thread the spark plug until
it bottoms out.
b. Using the 13/16” spark plug socket wrench
provided, turn the spark plug to ensure it is fully
seated.
c. Replace the spark plug boot, making sure the
boot fully engages the spark plug’s tip.
Recommended Spark Plug Replacement:
AC Delco: 4EXLS
Autolite: 52
Champion: N9YC
Bosch: W7DC
Torch: F7TC
MAINTENANCE
SPARK PLUG GAP
Figure 21
Loading ...
Loading ...
Loading ...