Loading ...
Loading ...
Loading ...
EN - 50
4.
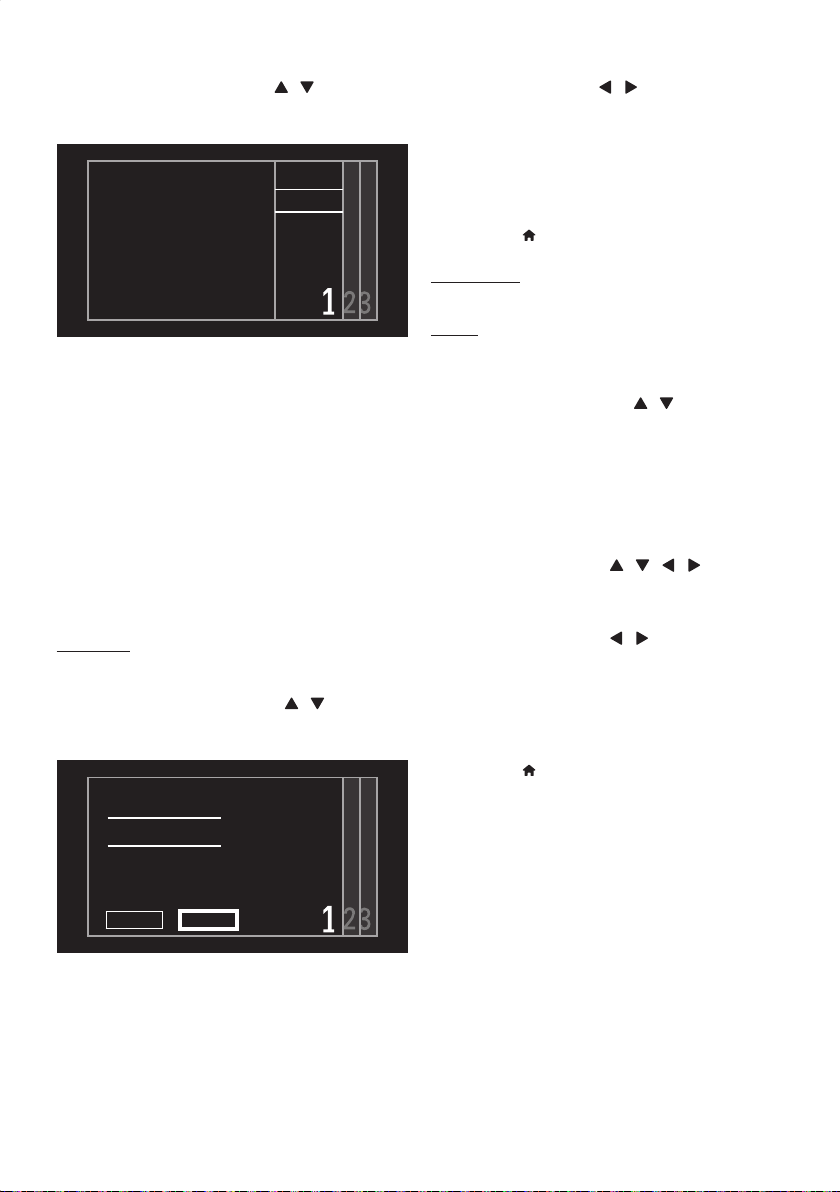
Select an Access Point to which you wish to
Connect this Unit using [
/ ] , then press
[ OK ].
• WPS Connection Method Screen will appear.
If your router has Wi-Fi protected
Setup(WPS), select Easy Connect
and press OK.
If you have non-WPS type devices
in your router network,
select Manual and press OK.
WPS code
Easy Connect
Manual
■
3 Connection Methods
You can select “WPS code”, “Easy Connect” or “Manual”.
Select an adequate Method according to your Wireless
Router and Settings.
• If you Selected an Access Point which supports WPS,
the WPS Connection Method screen will appear. Move
on to ‘WPS Code’ below.
• If you Selected an Access Point which Does Not
Support WPS and this Unit is able to recognize the
Security Method, the WEP / WPA / WPA2 Key Entry
Screen will appear. Move on to ‘Manual’ below.
• If you Selected an Access Point which Does Not
Support WPS and is Not Protected, this Unit
Automatically Establishes a Wireless Network and
perform a Connection Test. Then the Test Result will
be Displayed. Refer to ‘Connection Test’ on page 55.
WPS Code
This Method lets you Configure the Wireless Network using
WPS Code method (also known as PIN Code method).
5.
Select “WPS code” using [ / ] , then
press [ OK ].
• Confirm the 8-digit PIN Code displayed on screen.
In the Settings mode on your Router, enter the Router’s 8-digit
WPS PIN Code below.
XXXXXXXX
Within 2 minutes after entering the PIN Code come back to
this Unit to select “Connect” and press OK.
Back Connect
6.
Log on to your Wireless Router and enter
the 8-digit PIN Code in it.
• For how to log on and set up your Wireless Router,
please refer to its User Manual.
7.
Return to this Unit within 2 minutes, select
“Connect” using [
/ ] , then press
[ OK ].
• Network Connection will Automatically be Established,
then Connection Test will Start and the Test result will
be Displayed. Refer to ‘Connection Test’ on page 55.
8.
Press [ OK ] to Complete the Network
Setup.
• Press [ (home) ] Repeatedly to Exit.
Easy Connect
Refer to ‘Easy Connect’ on page 49.
Manual
This Method lets you Configure the Wireless Network by
entering the Security Key to the selected Access Point.
5.
Select “Manual” using [ / ] , then press
[ OK ].
• WEP / WPA / WPA2 Key Entry Screen will appear.
6.
Enter the Security Key using the On screen
Keyboard.
• For details on how to use the On screen Keyboard,
refer to ‘Guide to the On Screen Keyboard’ on page 45.
7.
Select “OK” using [ / / / ] , then
press [ OK ].
• Confirmation Message will Appear.
8.
Select “Yes” using [ / ] , then press
[ OK ].
• Connection Test will Start and the Test Result will be
Displayed. Refer to ‘Connection Test’ on page 55.
9.
Press [ OK ] to Complete the Network
Setup.
• Press [ (home) ] Repeatedly to Exit.
Continued on next page.
EEC30UHPhilipsSmartDVRv1EN.indb50EEC30UHPhilipsSmartDVRv1EN.indb50 2013/09/1315:38:542013/09/1315:38:54
Loading ...
Loading ...
Loading ...