Loading ...
Loading ...
Loading ...
EN - 22
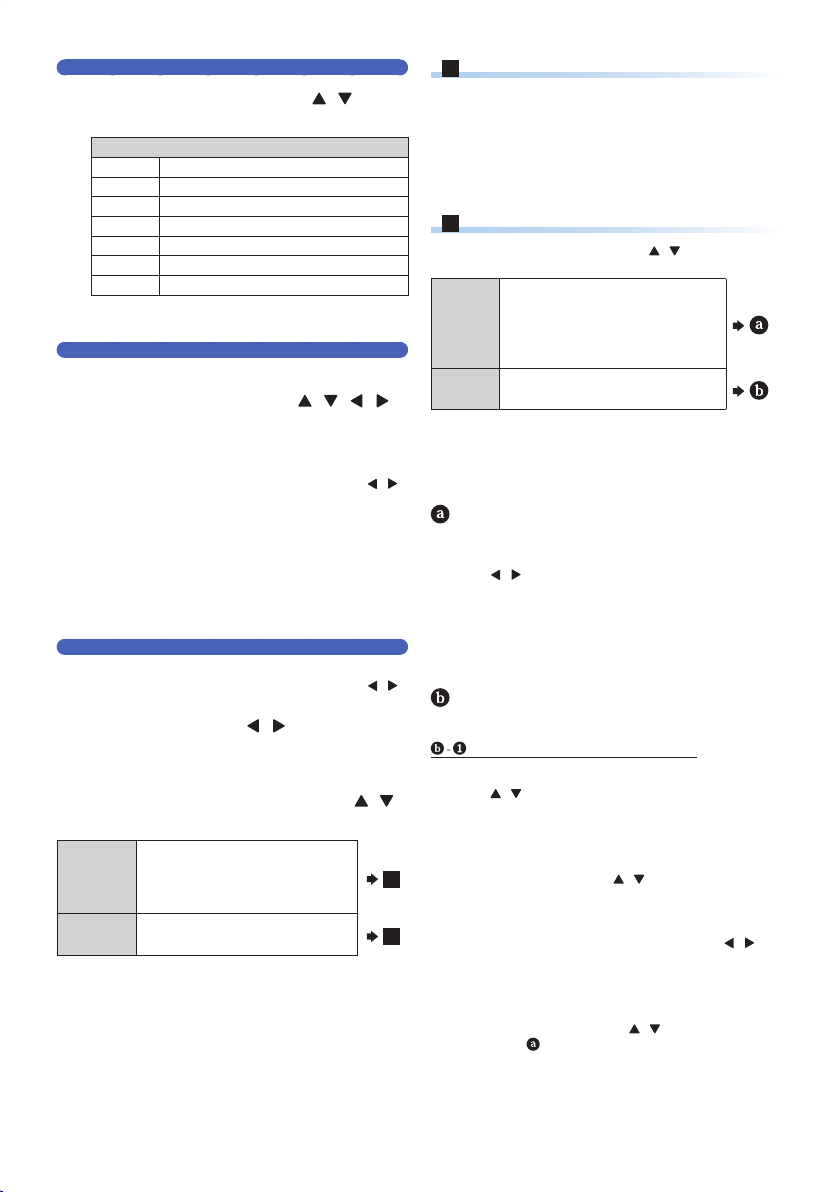
Time Zone
6.
Select your Time Zone using [ / ] , then
press [ OK ].
Time adjustment for each Time Zone
Atlantic GMT (Greenwich Mean Time ) - 4 hours
Eastern GMT (Greenwich Mean Time ) - 5 hours
Central GMT (Greenwich Mean Time ) - 6 hours
Mountain GMT (Greenwich Mean Time ) - 7 hours
Pacific GMT (Greenwich Mean Time ) - 8 hours
Alaska GMT (Greenwich Mean Time ) - 9 hours
Hawaii GMT (Greenwich Mean Time ) - 10 hours
• ‘Clock Setting’ screen will appear.
Clock Setting
7.
Enter Year / Month / Day / Hour / Minute
and select AM or PM using [
/ / / ] ,
then press [ OK ].
• You can also use [ the Number buttons ] to Enter
a Number.
• You can Move between the Input Fields using [
/ ] .
• If you wish to automatically set Daylight Saving Time,
leave DST ON.
• The highlight will move to “Next” upon pressing [ OK ]
at an Input field.
8.
Press [ OK ] on “Next”.
• ‘Network Setting’ screen will appear.
Network Setting
If you wish to proceed with the Network Setting, perform this
setting. If you wish to skip this setting, select “Skip” using [
/ ] ,
then press [ OK ]. Move on to ‘Auto Update Setting’ on page 23.
9.
Select “Next” using [ / ] ,then press
[ OK ].
• ‘Network Selection’ screen will appear.
10.
Select “Wired” or “Wireless” using [ / ] ,
then press [ OK ].
Wired
If you Connect this Unit to the
Network using an Ethernet cable,
select “Wired” to Connect to the
Internet.
A
Wireless
If you have a Wireless Router, select
“Wireless” to Connect to the Internet.
B
A
For “Wired” Connection
Connection Test will start automatically. Refer to ‘Connection
Test’ on page 55.
1. After Connection Test, the Test result will be
displayed. Press [ OK ] on “Info” for detailed Network
Information, then press [ OK ] on “Next” to complete
the Network Setup.
• Please move on to ‘Auto Update Setting’ on page 23.
B
For “Wireless” Connection
Select “Easy Connect” or “Scan” using [
/ ] , then press
[ OK ].
Easy
Connect
(WPS)
Select this setting if your Wireless
Router has a WPS button
*1
. It is the
easiest way to Set up a Wireless
Connection. If it fails, try “Easy Connect”
again.
*2
Scan
This Setting automatically Searches for
Wireless Networks.
*1 WPS (Wi-Fi Protected Setup) button may be called
PBC (Push Button Configuration) button on your
Wireless Router.
*2 If it Continuously fails, then refer to the Router’s
Manual for more details.
“Easy Connect (WPS)” Method
1. Press the WPS button on your Wireless Router.
2. Return to this Unit within 2 minutes, select “Connect”
using [
/ ] , then press [ OK ].
• Connection Test will start automatically.
3. After Connection Test, the Test result will be
displayed. Press [ OK ] on “Info” for detailed Network
Information, then press [ OK ] on “Next” to complete
the Network Setup.
• Please move on to ‘Auto Update Setting’ on page 23.
“Scan (Access Point Scan)” Method
• AP (Access Point) list will appear.
If the AP is compatible with WPS
1. Select an AP to which you wish to Connect this Unit
using [
/ ] , then press [ OK ].
• If you select an AP which does Not Support WPA,
WEP / WPA / WPA2 key entry Screen will appear.
Please refer to
2. C: on the next page.
2. A: “WPS code”
1 Select “WPS code” using [
/ ] , then press [ OK ].
• An 8-digit PIN Code will be shown on screen.
2 Log on to your Wireless Router and enter the 8-digit
PIN Code in it.
3 Return to this Unit, select “Connect” using [
/ ] ,
then press [ OK ].
• Step 2 and 3 need to be performed within 2 minutes.
• Connection Test will Start automatically.
2. B: “Easy Connect”
1 Select “Easy Connect” using [
/ ] , then press [ OK ].
• Refer to
“Easy Connect (WPS)” Method above.
Continued on next page.
EEC30UHPhilipsSmartDVRv1EN.indb22EEC30UHPhilipsSmartDVRv1EN.indb22 2013/09/1315:38:162013/09/1315:38:16
Loading ...
Loading ...
Loading ...