Loading ...
Loading ...
Loading ...
22
Using the dough-proving setting – Main oven
Warning:
❑ Do not use the dough-proving setting
until the oven has cooled down
completely (Room temperature).
❑ Use normal tap water only, not distilled
water.
Switching ON:
1. Carefully pour 50 millilitres of water
(
1
/
4
glass) onto the floor of the oven
cavity.
2. Place the bowl containing the dough
onto the middle of a wire shelf
positioned on level 1.
Do not cover the dough.
3. Close the oven door.
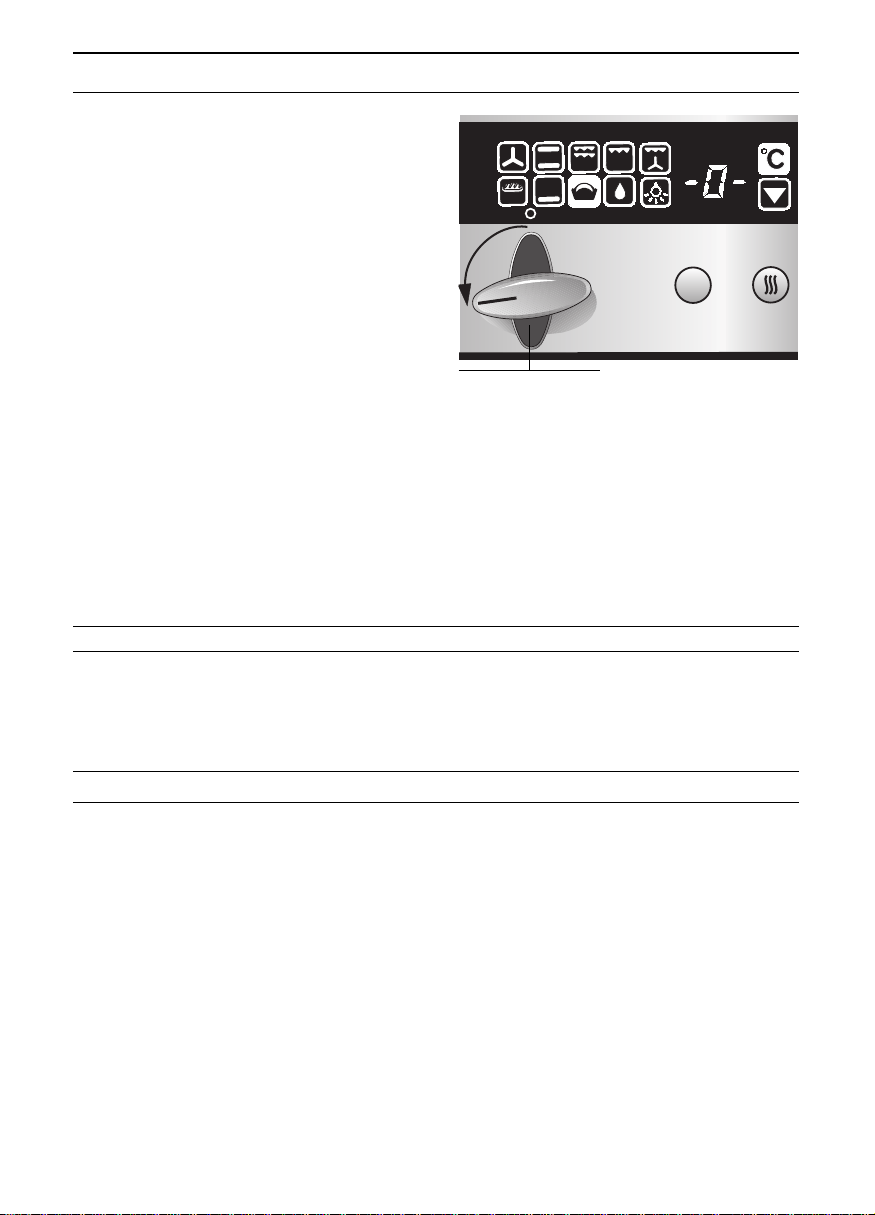
4. Turn the function selector to position
S
.
❑ The
S indicator light comes on and
–
{
– is shown in the display.
❑ The proving process is controlled
automatically.
Yeast dough Amount of flour Shelf level Proving period
Cakes up to 0500 g. 1 20 – 25 min.
Cakes up to 0500 – 750 g. 1 25 – 30 min.
Dough for plaited loaf 0500 g. 1 30 – 35 min.
Dough for plaited loaf 0750 g. 1 30 – 40 min.
Dough for normal loaf 1000 g. 1 35 – 60 min.
Yoghurt 1 litre milk 1 6 hours
Important:
❑ When making yoghurt, do not put any water in the oven.
❑ The details given in the table above are average values. They can vary according to the
type and amount of dough, as well as the condition of the ingredients, e.g. age and
quality of the yeast.
❑ Please read the enclosed cookery book for suggestions on how to make subsequent use
of the dough.
❑ Before you start baking, remove the water left inside the oven. If any traces of lime are left
behind, they can be dissolved with a little vinegar and wiped off using clear water.
❑ Never pour cold water into the oven while it is still hot.
Switching off:
Turn the function selector to the 0 position.
❑ All functions are cancelled.
Function selector
If the – { – flashes in the display after
the oven is switched off, then the oven is
still too hot.
❑ Switch the oven off.
❑ Wait until the oven has cooled to room
temperature.
❑ Select the oven setting and follow the
instructions above.
Loading ...
Loading ...
Loading ...