
Loading ...
Loading ...
Loading ...
6. Put the boundary wire or the guide wire into
position with stakes.
3.8 After the installation of the product
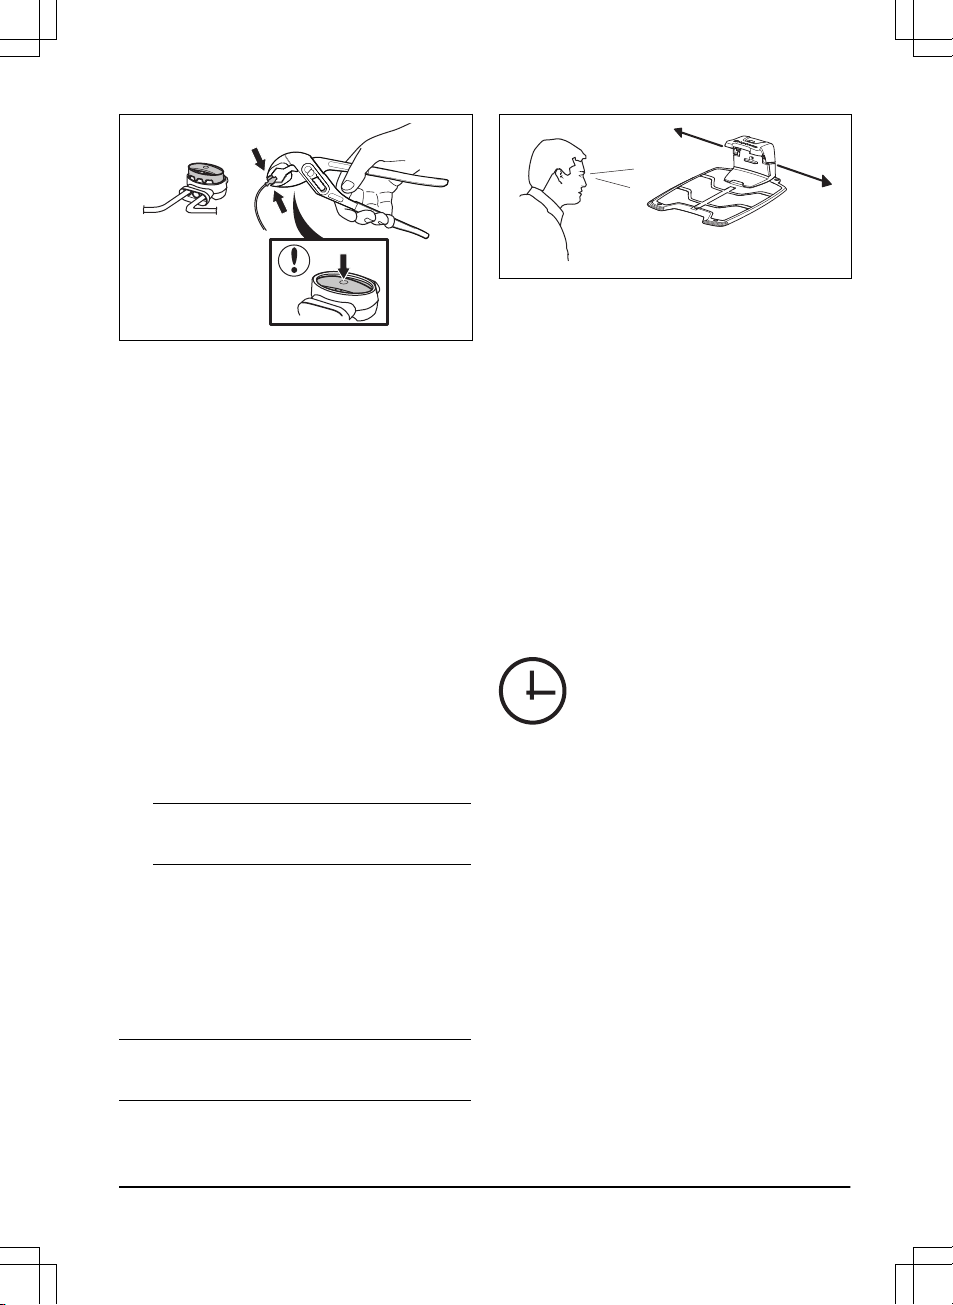
3.8.1 To do a visual check of the charging
station
1. Make sure that the indicator LED lamp on
the charging station has a green light.
2. If the indicator LED lamp does not have a
green light, do a check of the installation.
Refer to
Indicator lamp in the charging
station on page 39
and
To install the
charging station on page 19
.
3.8.2 To do the basic settings
Before you start the product for the first time, you
must do the basic settings.
1. Push the
ON/OFF button.
2. Push the arrow buttons and the OK button.
Select
language, country, date, time
and set
a PIN code.
Note: It is not possible to use 0000 as PIN
code.
3. Put the product in the charging station.
4. Push the START button and close the hatch.
3.8.3 Guide calibration
The calibration process sets as wide guide
corridor as possible to reduce the risk of tracks
forming on the lawn. Refer to
To set the starting
point on page 24
.
Note: The product always runs to the left of the
guide wire (as seen facing the charging station).
If the distance on the left side of the starting point
is less than 0.6 m / 2 ft. the calibration process is
interrupted. For the widest possible guide
corridor, make sure that the distance from the
starting point to the boundary wire is minimum
1.35 m / 4.5 ft. (perpendicular to the guide wire).
3.9 To do the product settings
The product has factory settings but the settings
can be adapted to each work area.
3.9.1 To get access to the menu
1. Push the
STOP button.
2. Use the up/down arrow buttons and the OK
button to enter the PIN code.
3. Push the MENU button.
3.9.2 To do the schedule settings
3.9.2.1 Wizard
The wizard is a quick tool to find suitable
schedule settings for your lawn.
1. Enter your estimated lawn size. It is not
possible to enter a larger lawn size than the
maximum work capacity.
2. Push the
OK button to confirm the lawn size.
By entering your lawn size the wizard
suggests either a suitable daily schedule (go
to step 4) or need input for inactive days.
3. Choose what day(s) the product should be
inactive. Use the up/down
arrow buttons to
shift between days.
4. Push the OK button to confirm the chosen
inactive day(s).
5. The wizard suggests a daily schedule for the
active days. If you want to move the
schedule interval to earlier or later in the day
then push the
arrow buttons up or down.
982 - 003 - Installation - 21
Loading ...
Loading ...
Loading ...