Loading ...
Loading ...
Loading ...
26
27
Owner's Manual Owner's Manual
1
4
Liquid Level
PRESSURE CANNING (Continued) PRESSURE CANNING (Continued)
Safe Canning Tips:
1. Do not use overripe fruit. Bad quality degrades with storage.
2. Do not add more low-acid ingredients (onions, celery, peppers, garlic, etc.)
than specied in the written recipe. This may lead to an unsafe end result.
3. Don’t use too many spices. Many spices tend to contain high levels of
bacteria, which may result in unsafe canned goods.
4. Do not add butter or fat to the recipe. Fats do not store well and may cause
premature spoilage. Never use thickeners such as our, starch, pasta, rice,
or barley.
5. Use only USDA-recommended tools and accessories.
6. Do add acid (lemon juice, vinegar or citric acid) especially to tomato products
when directed in the recipe. If necessary, you can balance the tart taste by
adding sugar.
The NuWave Nutri-Pot
®
Digital Pressure Canning Process
Though your exact experience may vary depending on the specic recipe you
are following, most recipes can be prepared by following this guide.
1. Only follow recipes that have been tested for pressure canning. Prepare the
necessary ingredients as instructed in the recipe.
2. Fill clean 16-ounce mason jars to the level.
Do not allow ingredients to exceed the level.
Always leave no less than 1 inch of head space.
3. Gently remove any lingering air bubbles
by pressing a exible, nonporous spatula
between the ingredients and the jar itself.
4. Place a clean lid onto each jar, then add a screw
band. Turn the lid clockwise and tighten in place.
NOTE: Never retighten lids after pressurizing
the jars. As the jars cool, the contents will
contract, pulling the lid rmly against the jar
to form a high vacuum and create a seal.
If the screw bands are too loose, liquid may
escape from the jars during this process, causing
the seals to fail. If the screw bands are too tight,
air cannot vent during this process, causing
food to discolor while in storage. Tightening the lids too much may
also cause the lids to buckle and the jars to break. Screw bands are not
needed on stored jars. Remove after jars have cooled. When removed,
washed, dried and stored, screw bands may be used many times. If left
on stored jars, they become difcult to remove, often rust, and may not
work properly again.
1
4
Liquid Level
1
4
Liquid Level
1 inch
head
space
7. After reading the Owner’s Manual, put the lid on the base and lock
in place. Plug the unit into the wall outlet.
8. Press the “canning” button, the Pressure Cooker will default to 20 minutes.
To change pressure time, press the “time” button then adjust accordingly.
9. When the canning process is complete, the unit will shut off. Press the
Pressure Release Button to release the pressure. Once all the steam has
escaped, carefully remove the lid.
10. Using canning tongs, remove the hot jars and place them on a heat
resistant surface and allow to cool to room temperature.
11. When jars are thoroughly cool, remove the screw bands. The lids should
be tightly sealed to the jars and when pressed in the center they should not
have any “give” or springing motion. If they do, you cannot safely store this
food for future use. It must be reprocessed immediately or refrigerated and
used within a few days.
12. Place the nished jars on shelves in a cool, clean, dry atmosphere. Properly
processed food will last for months and seasons. Jars, lids and screw bands
are reusable. Check all carefully for damage before reuse.
IMPORTANT: It is not recommended to use the NuWave Nutri-Pot
®
Digital
Pressure Cooker as a canning device at altitudes of 2,000 feet above sea level
or higher.
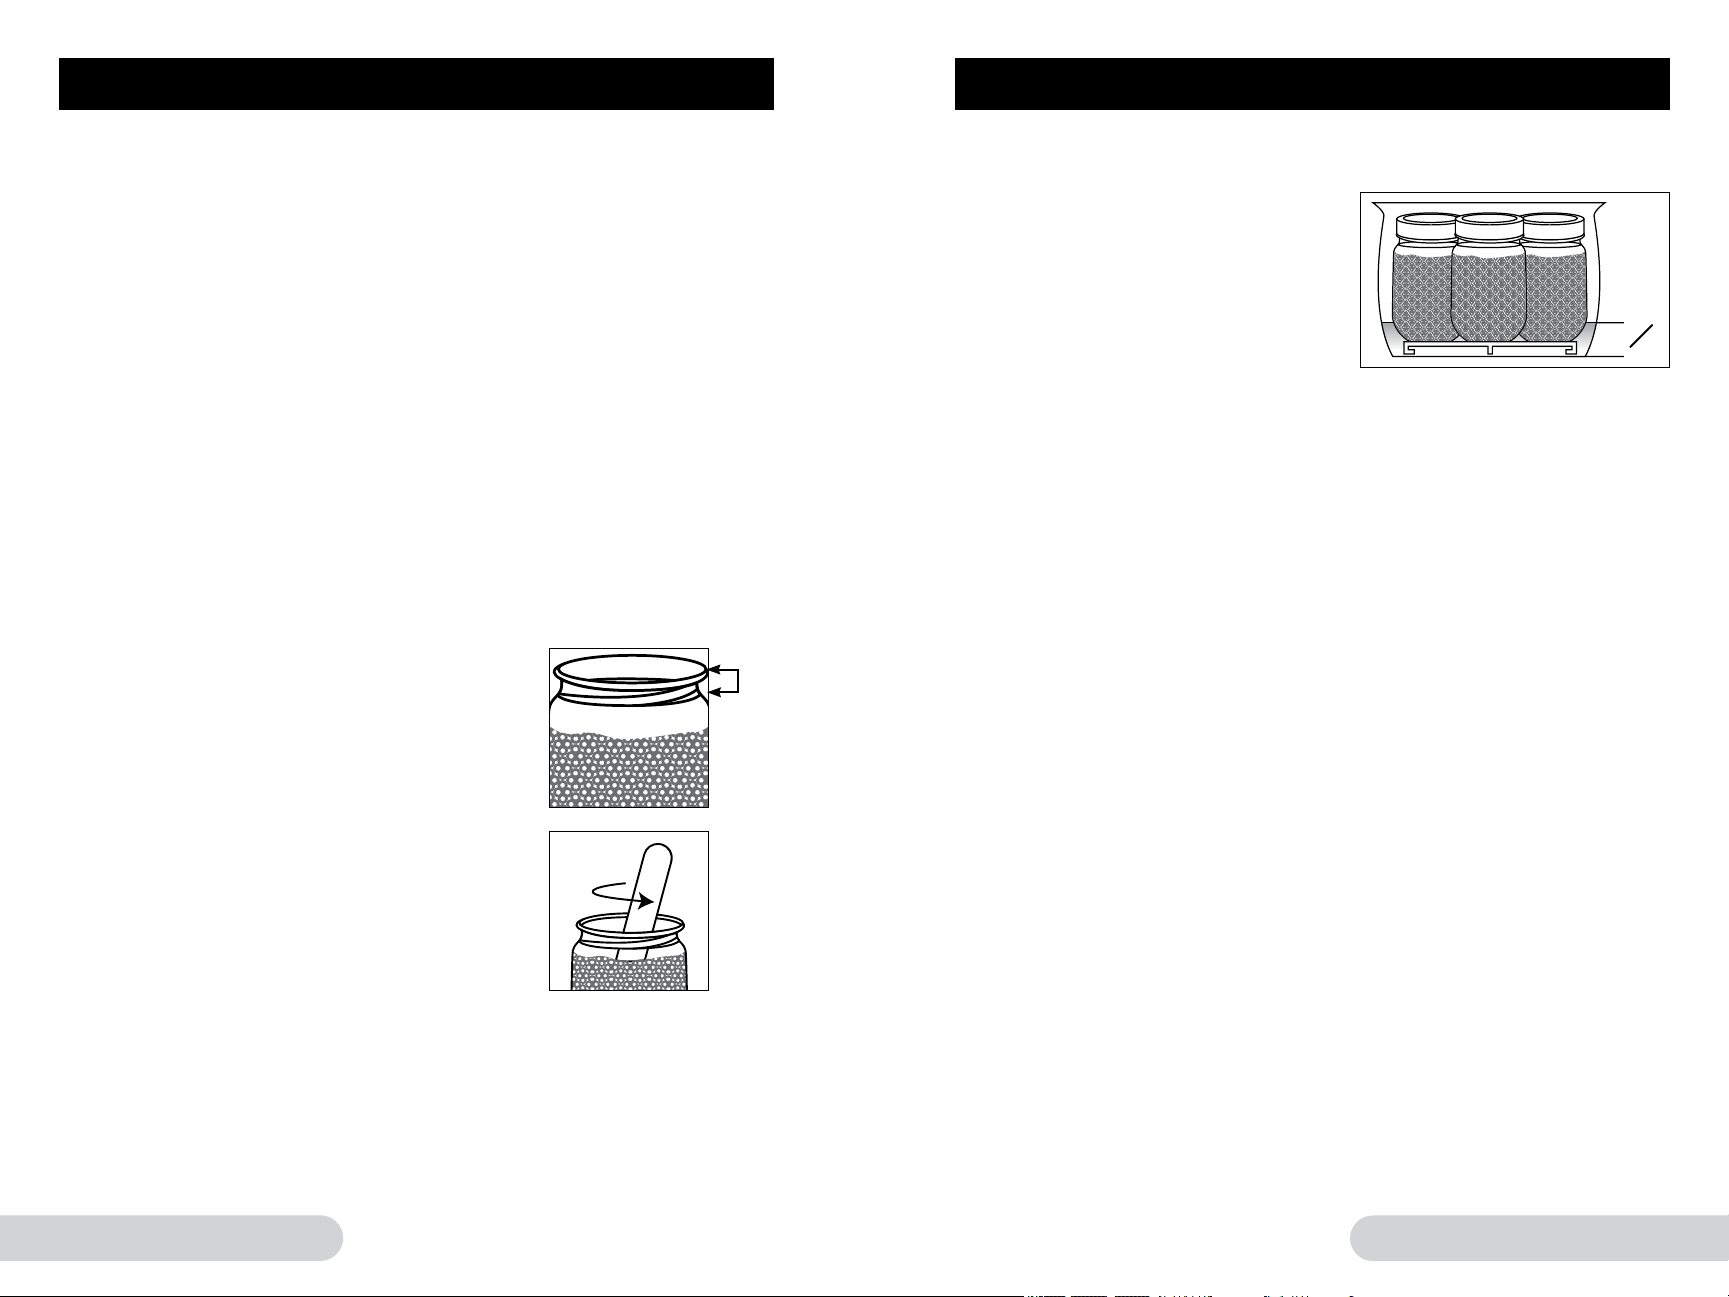
5. Place the Inner Pot in the base unit. Then put the Wire Rack in the bottom
of the Inner Pot. Place Filled, sealed Jars on Rack. Unit will hold up to four
individual 16-oz. jars (maximum).
6. Pour hot water over the jars and into
the Inner Pot until the water level
reaches 1/4 of the way up the sides
of the jars. For four individual 16-oz
cans, this would be about 6 cups of
water. When processing fewer jars,
more water would be needed.
Loading ...
Loading ...
Loading ...