Loading ...
Loading ...
Loading ...
56
EN
Shooting
2
One-touch white balance
Measure white balance by framing a piece of paper or other white object under the lighting
that will be used in the fi nal photograph. This is useful when shooting a subject under natural
light, as well as under various light sources with different color temperatures.
1
Select [P], [Q], [W] or [X] (one-touch white balance 1, 2, 3 or 4) and
press the INFO button.
2
Photograph a piece of colorless (white or gray) paper.
• Frame the object so that it fi lls the display and no shadows fall it.
• The one-touch white balance screen appears.
3
Select [Yes] and press Q.
• The new value is saved as a preset white balance option.
• The new value is stored until one-touch white balance is measured again. Turning the
power off does not erase the data.
% Tips
• If the subject is too bright or too dark or visibly tinted, the message [WB NG Retry] will be
displayed and no value will be recorded. Correct the problem and repeat the process from
Step 1.
Making fi ne adjustments to white balance (white balance
compensation)
You can set and fi nely adjust the compensation values for both auto white balance and
preset white balance.
1
Press Q and select the white balance that you want to correct.
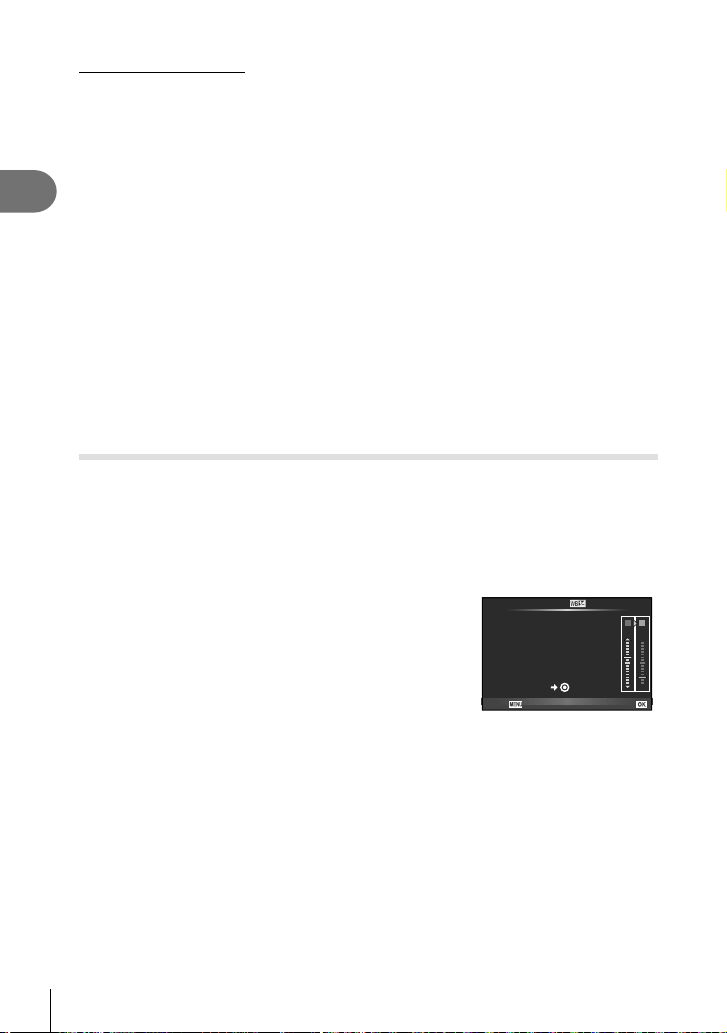
2
Use the front dial to select the compensation axis and the rear dial to change
the compensation value.
For compensation on the A axis (Red-Blue)
Move the bar in the + direction to emphasize red tones
and in the – direction to emphasize blue tones.
For compensation on the G axis (Green-Magenta)
Move the bar in the + direction to emphasize green
tones and in the – direction to emphasize magenta
tones.
+2
A
-
5
G
WB Preview
Back
Auto
Set
$ Notes
• To check the corrected white balance, press R. A sample image shot with the current
white balance settings will be displayed.
• To set the same white balance in all white balance modes, use [All >] (P. 105).
Loading ...
Loading ...
Loading ...