Loading ...
Loading ...
Loading ...
◎ If you use your oven for an extended period of time, condensation may form. Wipe it using a soft cloth.
◎ There is a rubber seal surrounding the oven opening which guarantees its perfect functioning. Check the
condition of this seal on a regular basis. When necessary, clean it and avoid using abrasive products or
objects to do so. Should it become damaged, please contact your nearest After-sales Service Centre. We
recommend you avoid using the oven until it has been repaired.
◎ Never line the oven bottom with aluminium foil, as the consequent accumulation of heat could
compromise the cooking and even damage the enamel.
◎ Clean the glass door using non-abrasive products or sponges and dry it with a soft cloth.
Do not use harsh abrasive cleaners or sharp metal scrapers to clean the oven door glass since they can
scratch the surface, which may result in shattering of the glass.
Inside the oven door:
Clean the surface with a cloth moistened with hot water and non abrasive liquid detergent, then rinse and dry
thoroughly.
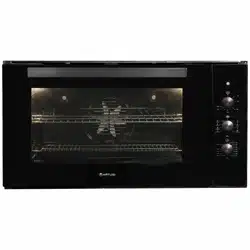
Replacing the Lamp in the Oven
◎ Turn off the supply of power to the oven by turning off the omni-polar switch connecting it to the mains,
or by removing the plug if it is accessible;
◎ Unscrew the glass cover attached to the lamp holder;
◎ Unscrew the lamp and replace it with another high-temperature lamp (300 ℃ ) with the
following characteristics:
- Voltage: AC230V
- Wattage: 25W
- Socket: G29
◎ Remount the glass cover and reconnect the appliance to the power supply.
WA RN IN G:Ensure that the appliance is switched off before replacing the lamp to avoid the possibility of
electric shock.
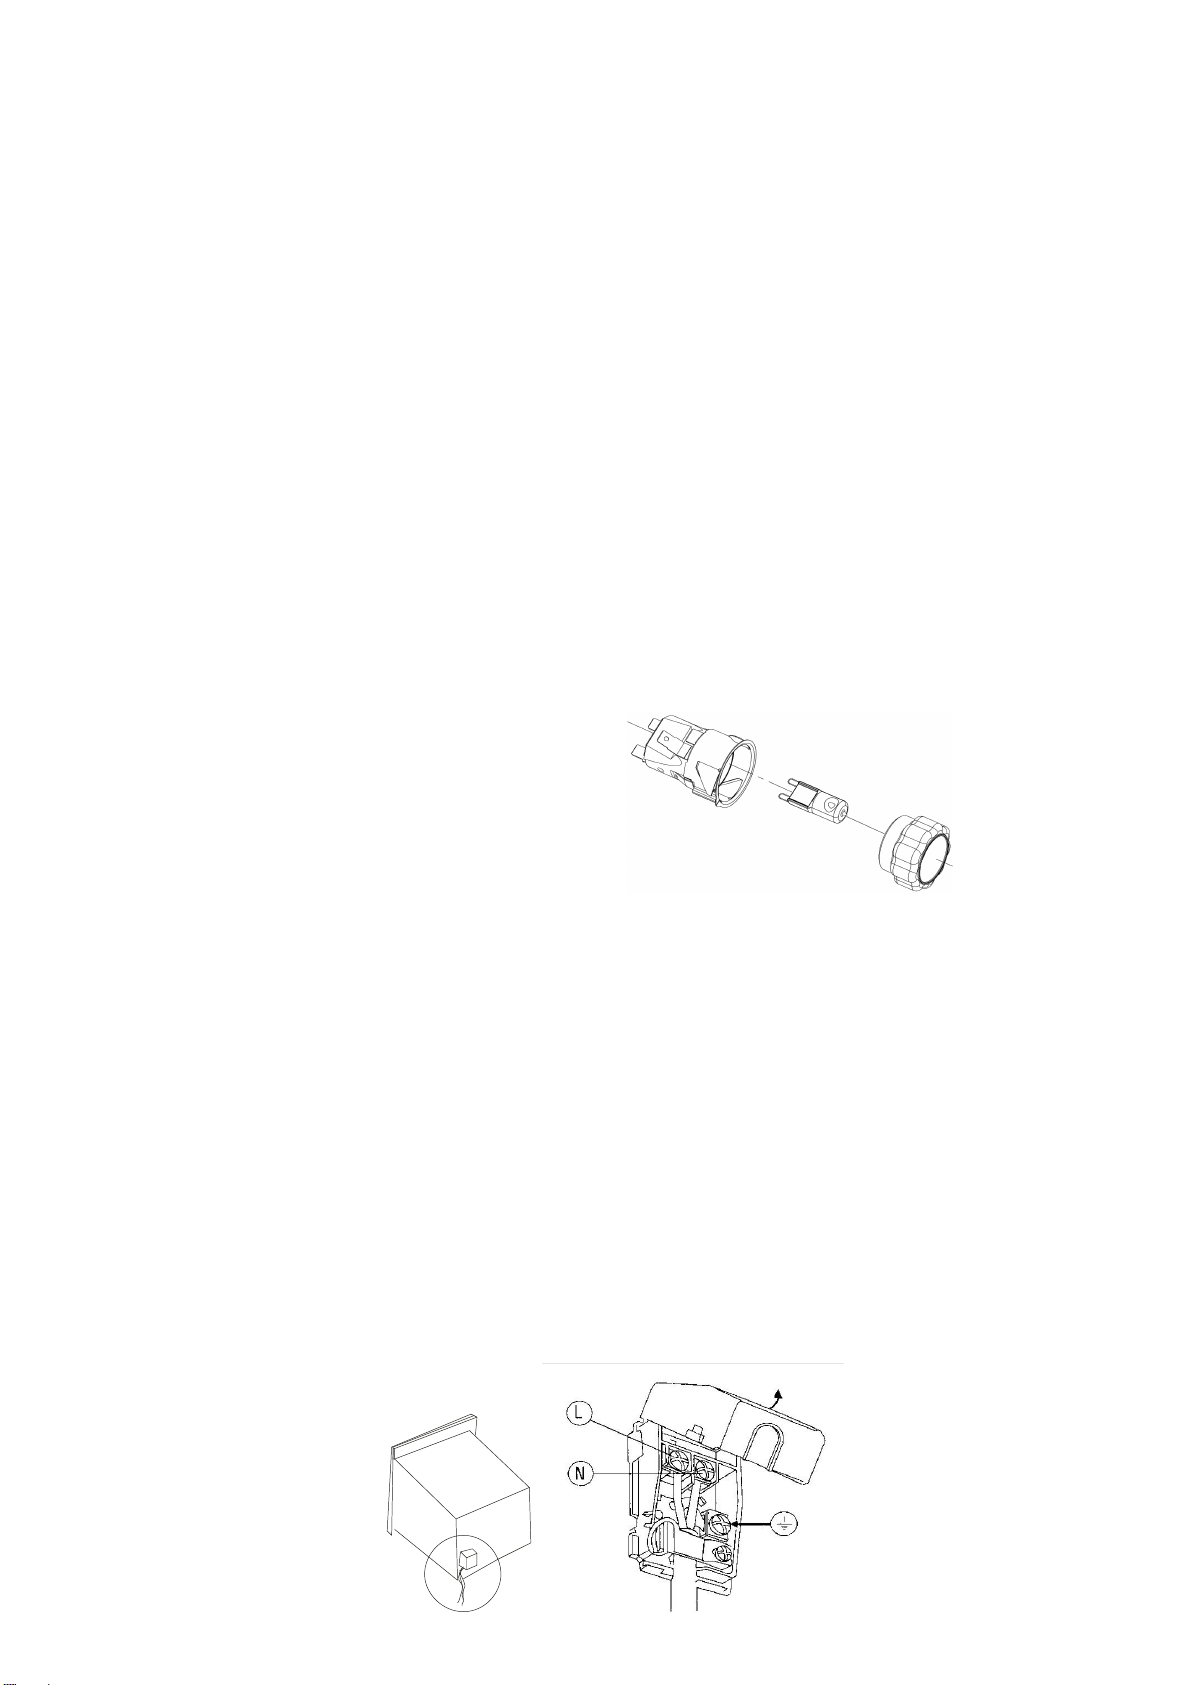
Fitting on a power supply cable
Opening the terminal board:
Using a screwdriver, prise on the side tabs of the terminal board cover;
Pull open the cover of the terminal board
To install the cable, proceed as follows:
Remove the wire clamp screw and the three contact screws L-N
Fasten the wires beneath the screwheads using the following color scheme; Blue( N) Brown( L), Yellow-
Green
Fasten the supply cable in place with the clamp and close the cover of the terminal board.
Loading ...
Loading ...
Loading ...