Loading ...
Loading ...
Loading ...
20
Note
•
If you select a language which is not available
on a disc, this unit uses the default language of
the disc.
Audio Setup
1 Press SYSTEM MENU button.
2 Select to access the [Audio Setup]
options.
• [HDMI Audio]: Selects HDMI audio
format when this unit is connected
through HDMI or disables HDMI audio
output for the TV.
• [Audio Sync]: Set the delay time for audio
output when you play a video disc.
• [Night Mode]: Select quiet or full dynamic
sound. Night mode decreases the volume
of loud sound and increases the volume
of soft sound (such as speech).
Note
•
For settings related to HDMI, the TV must be
connected through HDMI.
• Night mode is only available for Dolby
encoded DVD.
Video Setup
1 Press SYSTEM MENU button.
2 Select to access the [Video Setup]
options.
• [T V Type]: Select video output
format(PAL, Multi or NTSC).
• [TV Display]: Set screen display
format(Pan Scan, Letter Box or Wide
Screen).
• [Picture Settings]: Select a predened
color setting or set the color manually.
• [HDMI Setup]: When you connect this
unit and TV with HDMI cable, select
the best HDMI setup that your TV can
support.
8 Setup
1 After you press the button SYSTEM
MENU.
» The system menu appears. Click the
symbol to access each setup.
Note
•
You cannot change a menu option that is
grayed out.
• To return to the previous menu, press . To
exit the menu, press SYSTEM MENU again.
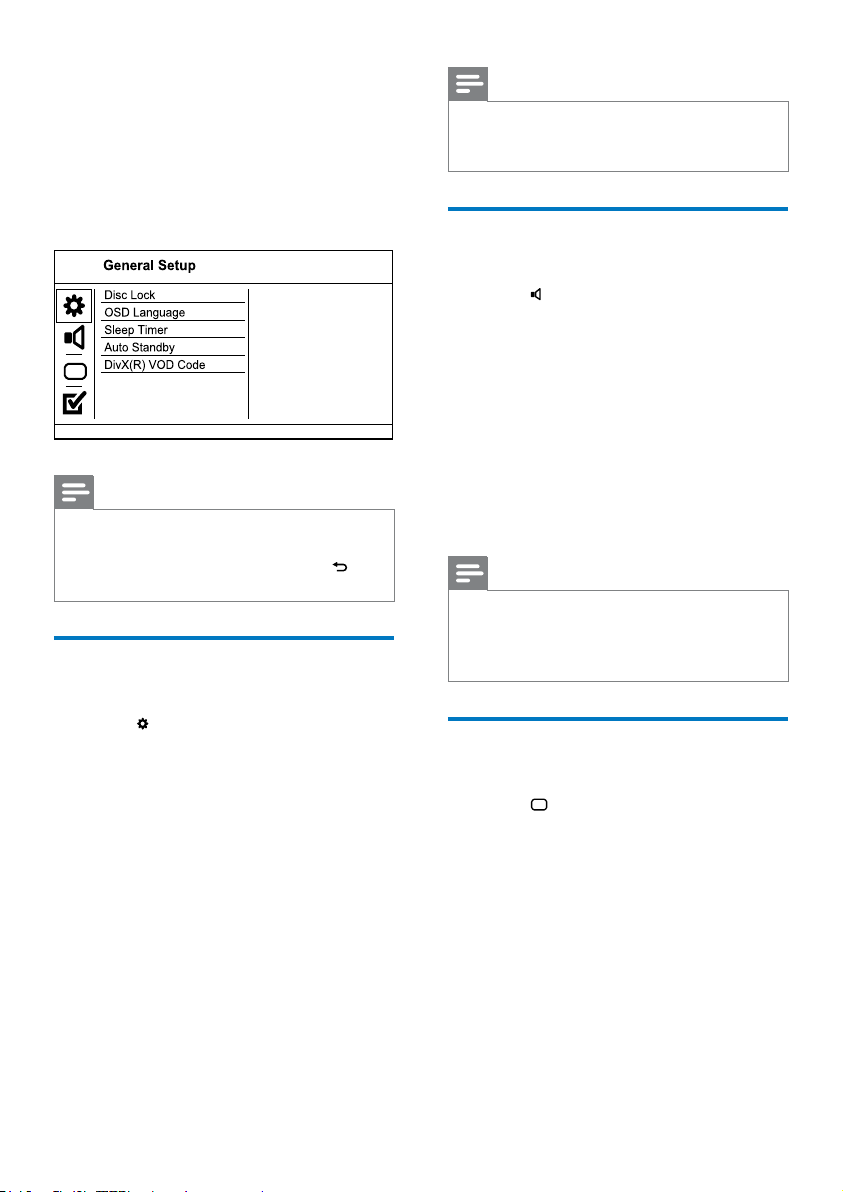
General setup
1 Press SYSTEM MENU button.
2 Select to access the [General Setup]
options.
• [Disc Lock]: Turn Disc lock.
• [Display Dim]: Change the brightness of
the display panel of the unit.
• [OSD Language]: Select an on-screen
display menu language.
• [Screen Saver]: Enable or disable screen
saver mode. If enabled, the screen enters
idle mode after 5 minutes of inactivity (for
example, in pause or stop mode).
• [Sleep Timer]: Enable a countdown timer
to switch this unit to standby mode after
a specic period of time.
• [DivX(R) VOD Code]: Get registration
code of DivX Video On Demand
Registration.
EN
Loading ...
Loading ...
Loading ...