Loading ...
Loading ...
Loading ...
INSTALLING THE BRACKET
STEP 6:
Your Nebia by Moen will stay securely in place
with a waterproof adhesive.* To achieve the
best bond, clean your shower walls with alcohol
pads and dry thoroughly — removing all soap
residue. In Step 7, you will expose the adhesive.
*Optional mounting screws and anchors
provided. See optional steps on page 10.
STEP 7:
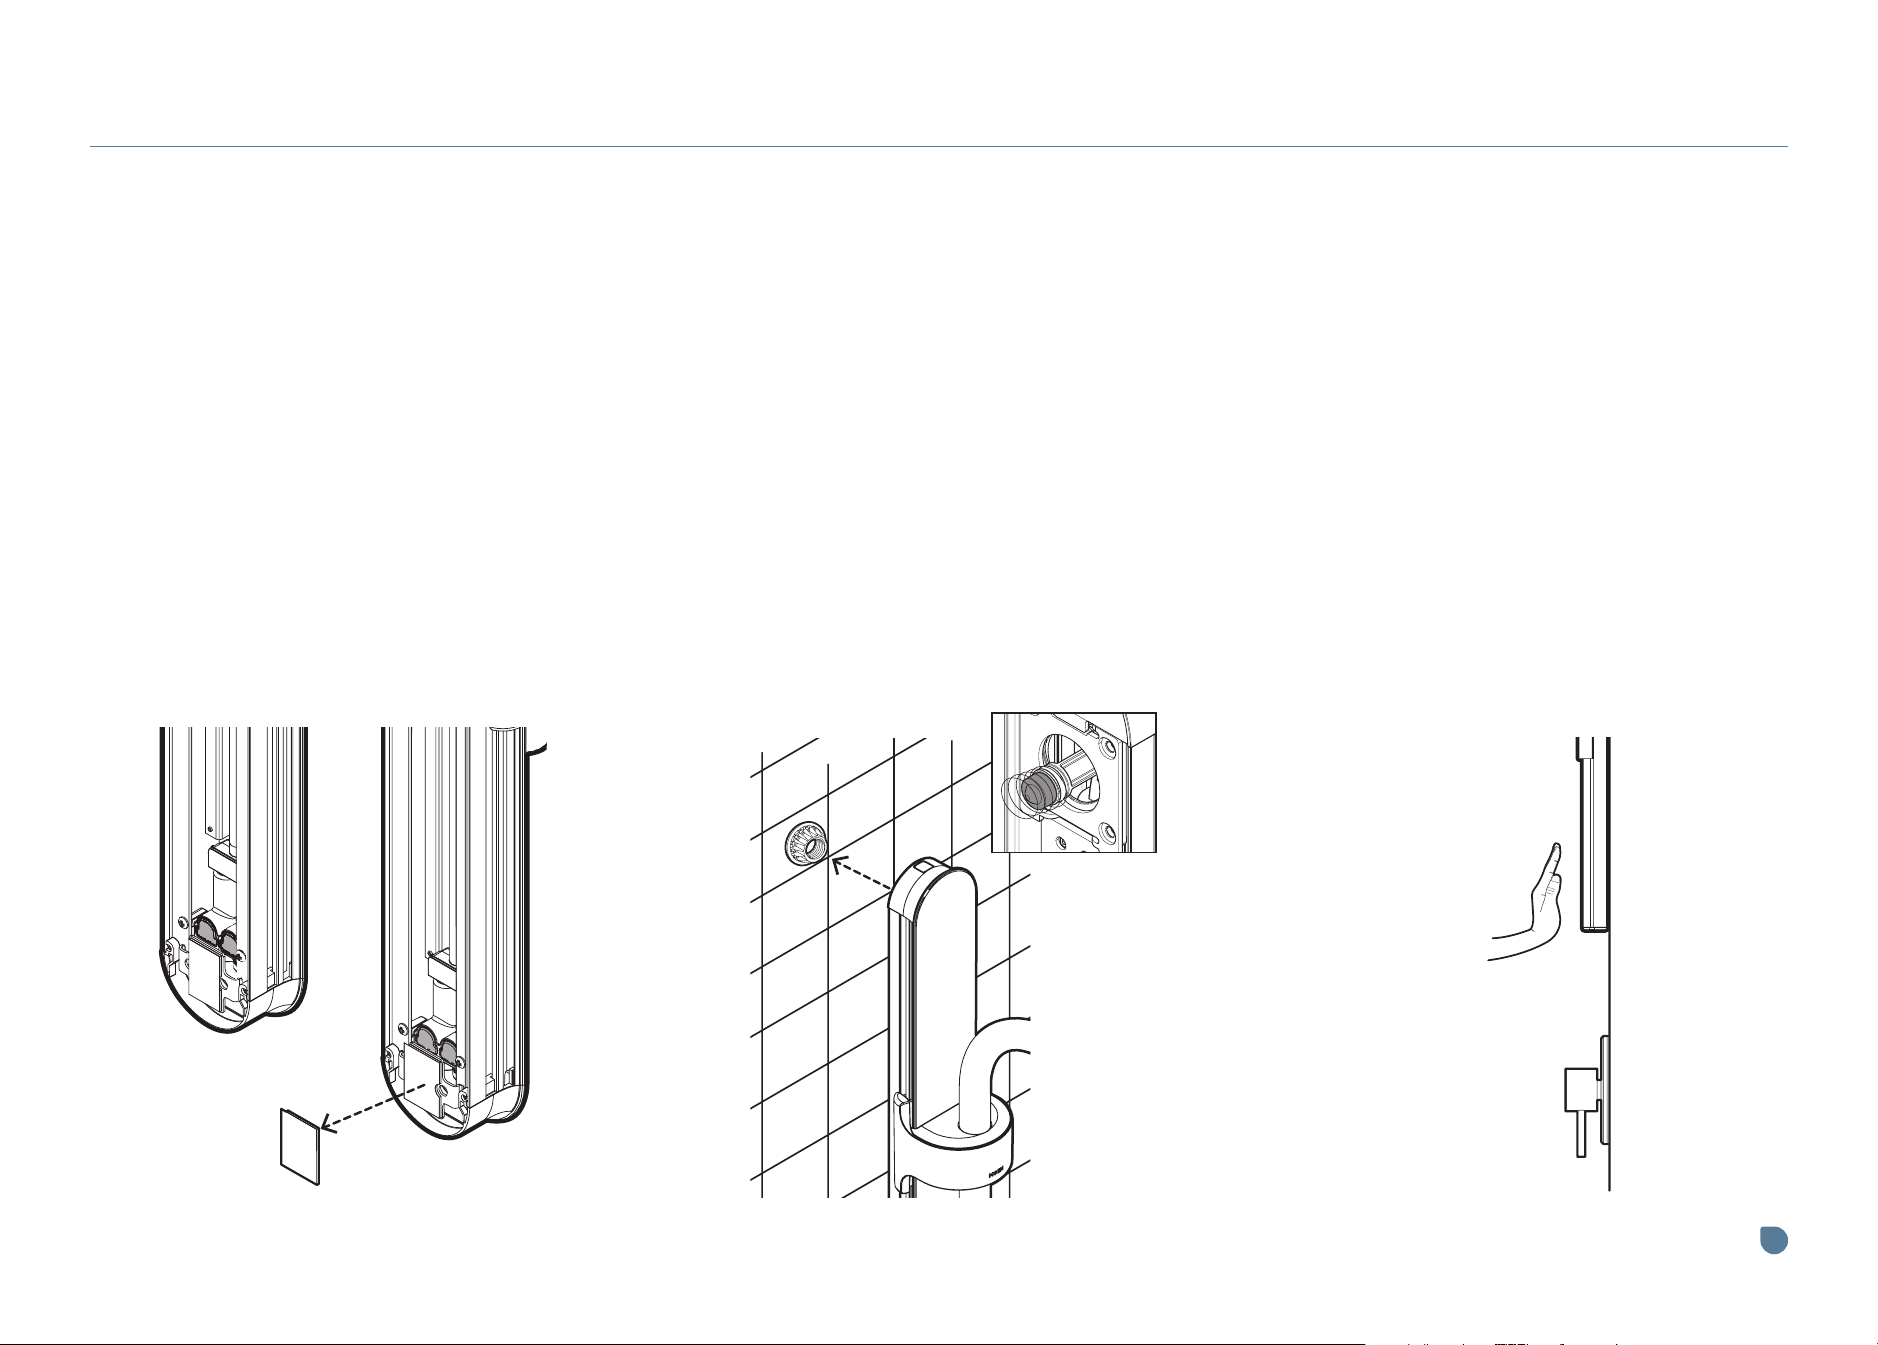
Now it’s time to connect Nebia by Moen to the
wall. First, double check that your filter screen
and spring are present before installing. Next,
remove the adhesive liner on the back of the
bracket. Pick up the bracket at the top — being
careful not to prematurely stick the adhesive
strip to the wall. Push the inlet on the back into
the collar you installed earlier. No screwing or
twisting is needed. Continue to push until you
hear a “click.”
If you’re having trouble clicking the base into place, or you don’t
hear the “click,” pull the base away from the wall, unscrew the
collar about ¼ turn, and try again.
STEP 8:
The water connection is complete. Now adjust
the bracket until it’s straight and level. Push the
adhesive against the wall for about 1 minute to
secure. For optimal adhesive strength, allow to
cure 24 hours before showering.
Inlet on back
of bracket
6
Visit moen.com/nebia for tips and videos.
Loading ...
Loading ...
Loading ...