Loading ...
Loading ...
Loading ...
en-US
19
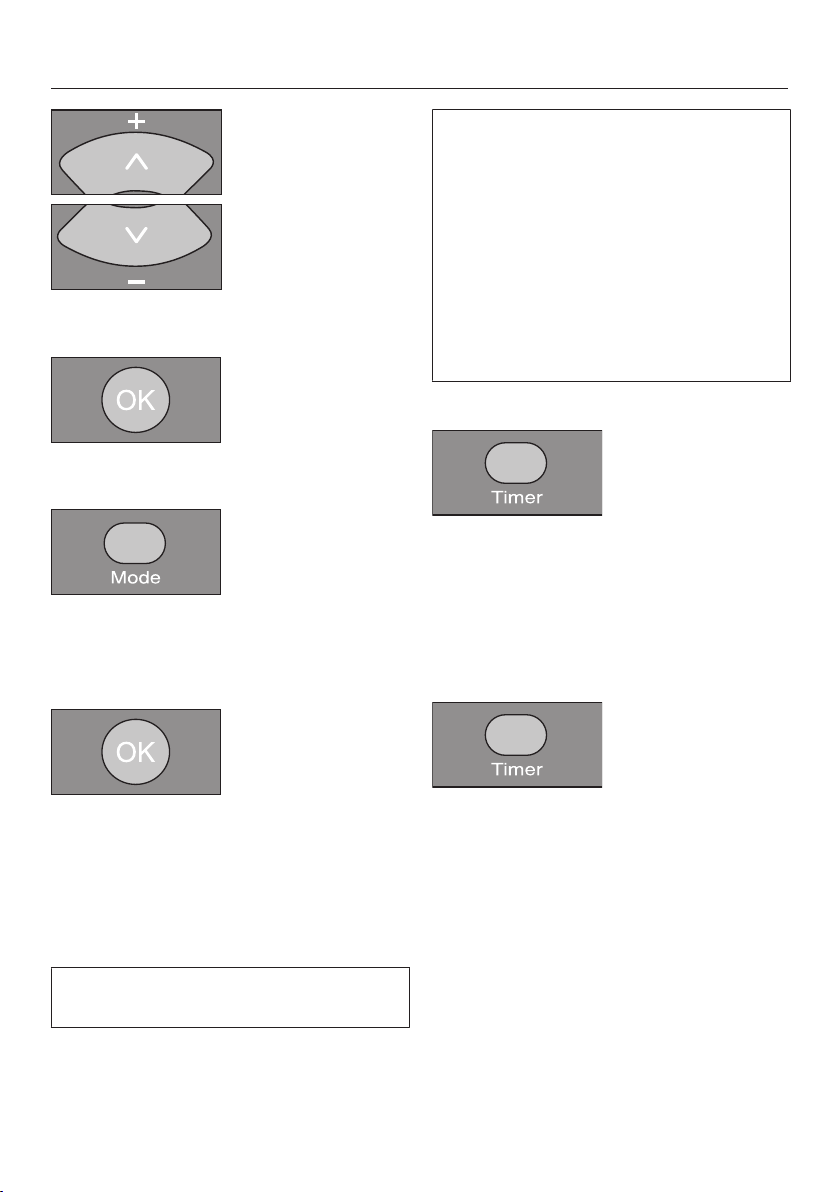
Press the + or - direction button to
set the minutes you want.
Press the OK button to confirm your
selection.
Press the Mode button repeatedly
until the symbol for the vacuuming
mode you want flashes on the dis-
play.
Press the OK button to confirm your
selection.
The settings are shown for approx.
three seconds on the display. The robot
vacuum cleaner will now start to vac-
uum at the same time each day.
If the timer indicator is lit up in the
display, then the timer is activated.
To alter the entries, proceed as de-
scribed above.
Tip: You can save up to seven individ-
ual combinations for the “start time –
vacuuming mode” if you set the timer
using a mobile device, see section
“Scout RX2 App”.
Please note that the robot vacuum
cleaner always follows the save com-
mands which were set most recently,
regardless of whether the settings
were configured using the remote con-
trol or with a mobile device.
Deactivating the timer
Press the Timer button on the remote
control briefly.
The timer indicator goes out on the
display.
Activating the timer / displaying a set
start time
Press the Timer button on the remote
control briefly.
The timer indicator lights up in the
display and the set start time is shown
briefly in the indicator field. The robot
vacuum cleaner will start to vacuum at
the set time.
Deactivating the acoustic signals
Acoustic signals are set as standard.
You can deactivate and then reactivate
them.
Loading ...
Loading ...
Loading ...