Loading ...
Loading ...
Loading ...
1. Remove the valve cap from the tire valve.
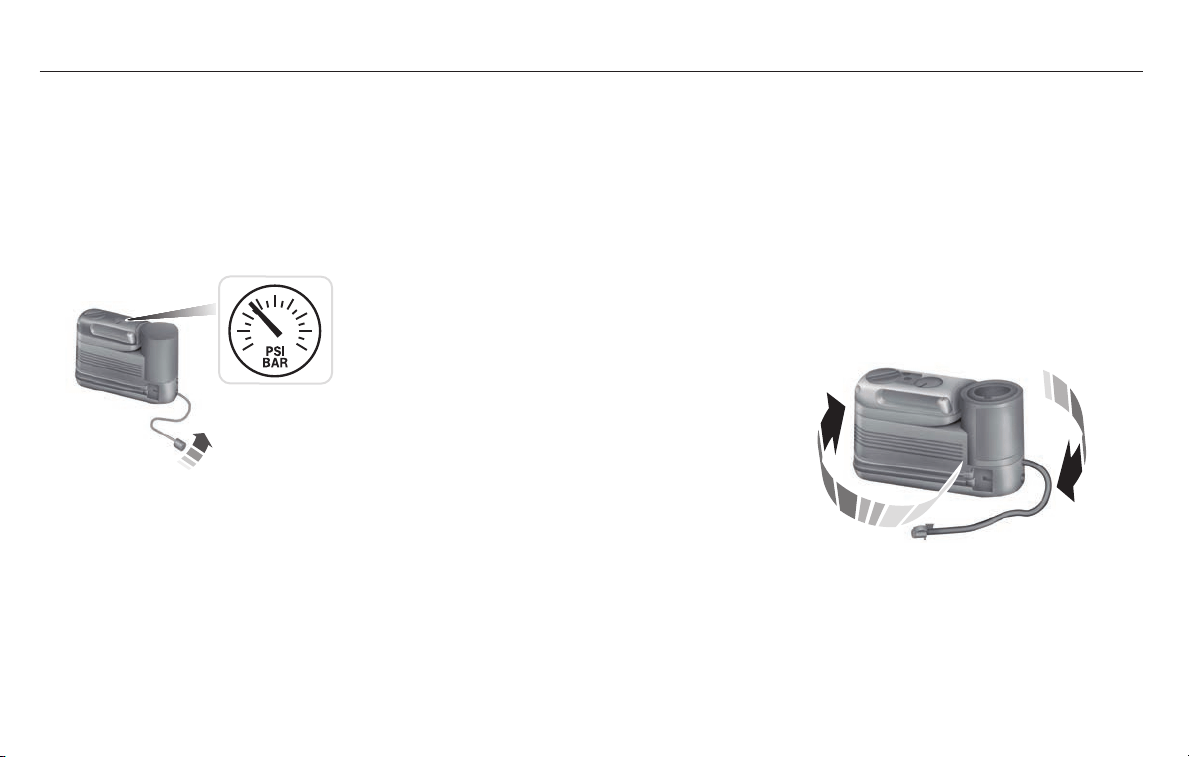
2. Unhook the black hose from the side of
the compressor and fasten firmly on the
valve stem by turning clockwise.
3. Push and turn the dial clockwise to the
air position. Turn on the kit by pressing
the on button.
E144622
4. Adjust the tire to the recommended
inflation pressure from the tire label
located on the driver door or door jamb
area. The tire pressure has to be checked
with the compressor in the OFF position
to get the correct tire pressure reading.
5. Turn the compressor off by pressing the
on/off button.
6. When the tire pressure reading with the
compressor in the off position is correct,
disconnect the hose, re-install the valve
cap on the tire valve, unplug the
compressor, and return the kit to the
stowage area.
What to do after the Tire has been
Sealed
After using the kit to seal your tire, you will
need to replace the sealant canister and
clear tube (hose). You can obtain and replace
sealing compound and spare parts at an
authorized Ford dealer or tire dealer. Empty
sealant bottles may be disposed of at home.
However, liquid residue from the sealing
compound should be disposed by your local
Ford Motor Company dealer or tire dealer,
or in accordance with local waste disposal
regulations.
Note: After the sealing compound has been
used, the maximum vehicle speed is 50 mph
(80 km/h) and the maximum driving distance
is 120 mi (200 km). The sealed tire should
be inspected immediately.
Note: After sealant use, the tire pressure
monitoring system sensor and valve stem
on the wheel must be replaced by an
authorized Ford dealer.
You can check the tire pressure any time
within the 120 mi (200 km) by performing the
procedure from Second stage: Checking tire
pressure listed previously.
Removal of the sealant canister from the
kit
E144623
1. Unwrap the clear tube from the
compressor housing.
318
Wheels and Tires
Loading ...
Loading ...
Loading ...