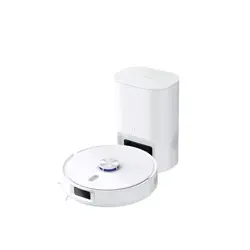
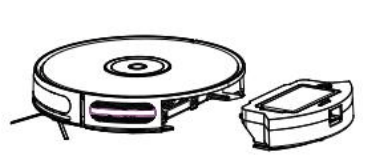
Muzili G9070 robot Vacuum Cleaners
Product's Documents
Below are documents related to this product, you can read online or download:
- Owner's manual - (English) Read Online | Download pdf
| LED light | Status |
| Purple light flashes | Charging |
| Blue light ON | Standby/cleaning/fully charged |
| Light OFF | Robot is OFF. To save power, the light automaticallyturns off when robot is not docked tothecharging dock and it is inactive within5minutes. |
| Red light flashes or ON | Error/low battery |
Quick Start
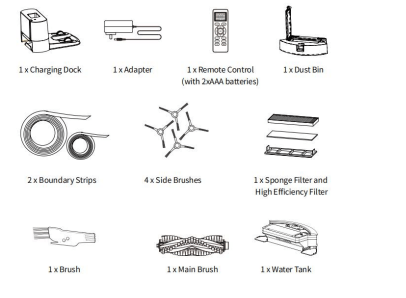
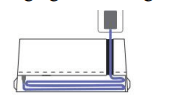
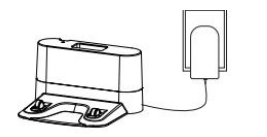
1. Plug in the charging dock, and take the rest wire into the trunking at the bottomof charging dock.
Note: If you don’t put the rest wire into the trunking, it may stuck the robot whilecharging or cleaning.
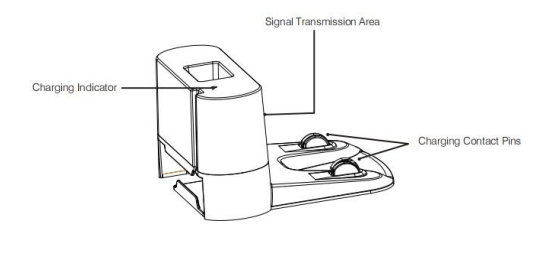
2. Charging Dock Position
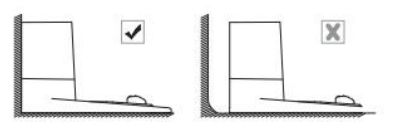
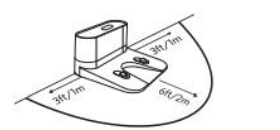
Note: Please make sure the the indicator light is on when the charging dockisplugged in, otherwise the robot can not be charged.
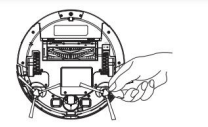
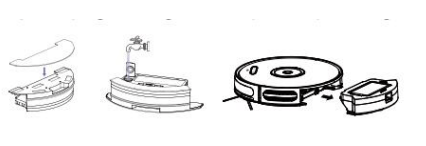
3. Install Side Brushes: Attach side brushes to the bottom of robot by pressing a brush into each slot
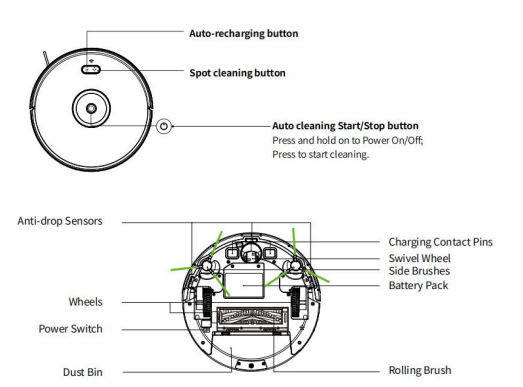
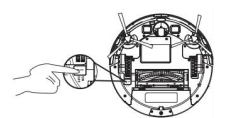
4. Turn on the main power switch on the bottom of robot.
5. Activate the Robot
 power button illuminates, robot is ready for use.
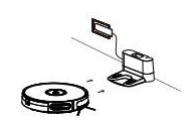
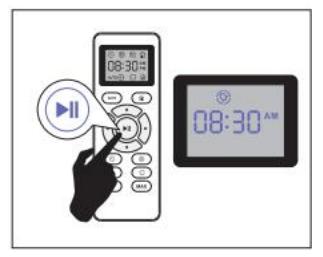
6. Start Cleaning Cycle
power button once to wake up the robot. power button again or press the  button on remote control tostart a cleaning cycle
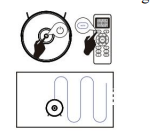
7. Pause
button or press the  button on remote control. button on remote control.
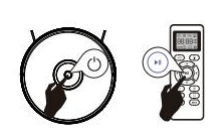
8. Power OFF

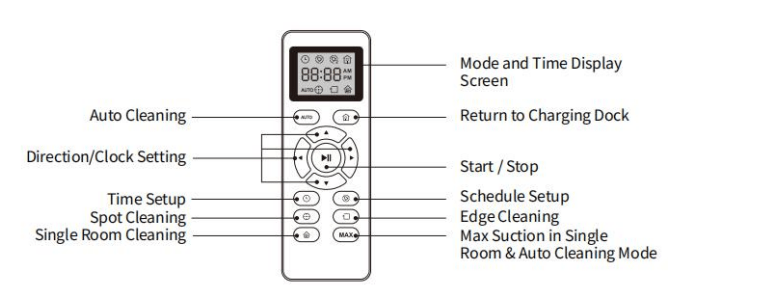
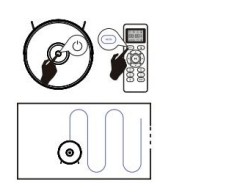
1. Auto Cleaning
button on robot or press the button on remote control tostart auto cleaning.Warm Tips: During the recharging process, there may be a phenomenon that thecharging dock cannot be found. At this time, the robot will flash red light and “BEEP”four times. Please manually put the robot onto the charging dock to charge.
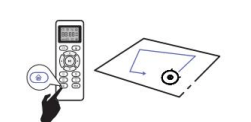
2. Spot Cleaning
 (Spot) on the remote control.
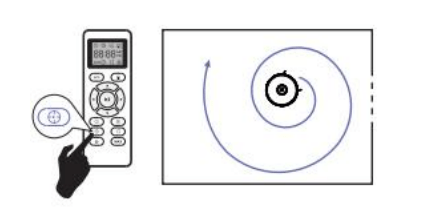
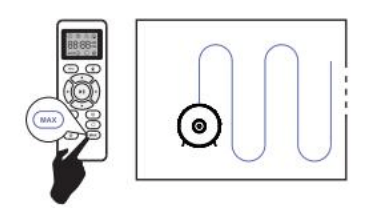
3. Max. Vacuuming: Cleaning Robot increases its vacuum power to provide a deeper clean when press the  button on remote control, max. vacuuming cleaning if off by default.
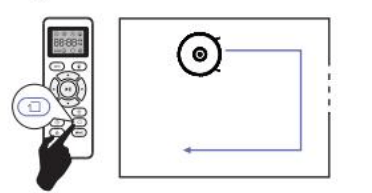
4. Edge Cleaning: After robot finishes cleaning the open areas of your floor, it uses edge clean to ensure that it has cleaned along walls and around furniture Legs. If you prefer a quicker edge cleaning, press the  button on remote control.
5. Single Room Cleaning: Press the  button on the remote control to start random cleaning.
Warm Tips: In this mode, the robot will keep cleaning for about 30 minutes andthenstop. Please close the door to ensure the robot will not go out the room.
6. Floor Mopping Cleaning: Robot is equipped with a water tank so that it can clean your home in floor moppingcleaning mode.
Robot has cleaning schedule settings which allow you to customize when Robot cleans your home.
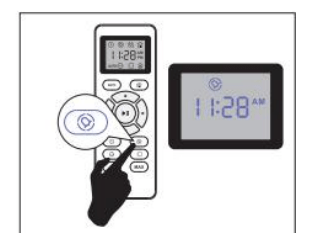
1. Set the Remote Control’s Clock
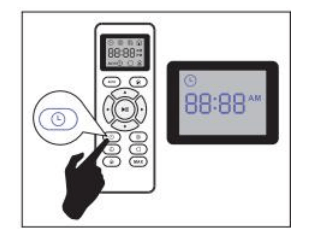
Press  button on remote control, and then the hour section begins to flash intheclock display setting window.
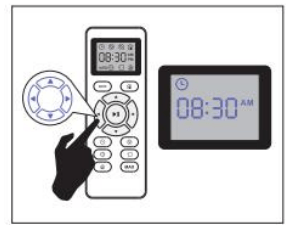
Press the  or
or  button to select the minute or hour section. Press
  or button to select the desired figures.
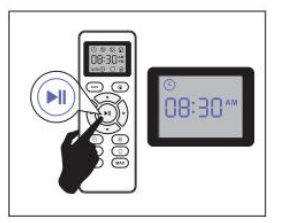
And then press the  button, the robot will “BEEP” when the clock setting completed.
2. Setting Cleaning Schedule
Press  button on remote control, and then the hour section begins to hash inthecleaning schedule display setting window.
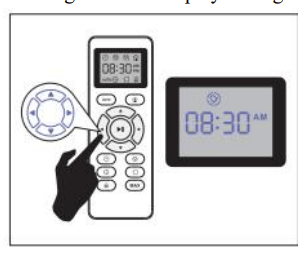
Press the or button to select the minute or hour section. Press or  button to select the desired figures.
And then press the button, the robot will “BEEP” when the cleaning schedulesetting is completed.
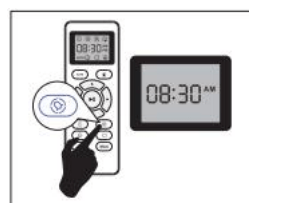
3. Cancel the Cleaning Schedule: Press and hold button approximately 4 seconds on remote control, the robot will “BEEP” when the cleaning schedule
| Robot part | Cleaning | Replacement frequency |
| Dust bin | After each use | --- |
| Filters | Once every week | Every 2 months |
| Rolling brush | Once every week | Every 6-12 months |
| Side brushes | Once every month | Every 3-6 months (or when visibly worn) |
| Brush guard | Once every month | Every 3-6 months (or when the silicone rubber strip on the brush guardis visibly worn) |
| Sensors | Once every month | --- |
| Charging pins | Once every month | --- |
| Swivel wheel | Once every month | --- |
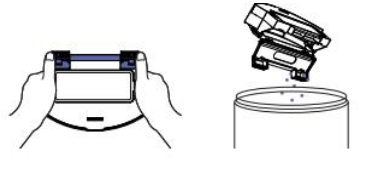
1. Press bin release button to remove the bin.
2. Open bin’s door to empty it.
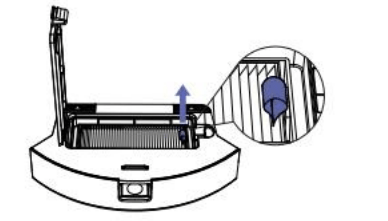
1. Remove filter by grasping the white tab
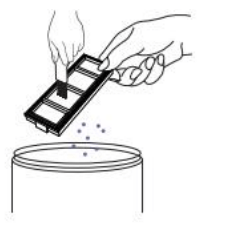
Shake off debris by tapping the filter against your trash container.
1. Take out the rolling brush, clean the vacuuming aisle by a cloth.
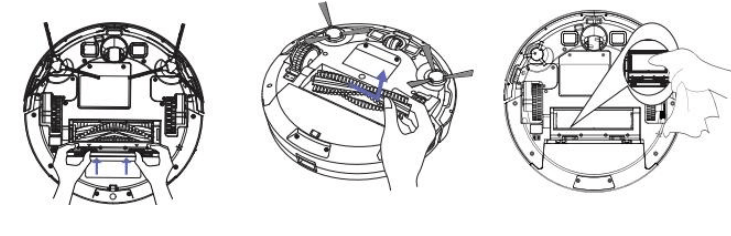
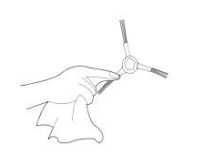
2. Clean the rolling brush. Cut down the hair winded in the rolling brush withtheprovided cleaning tool’s knife.

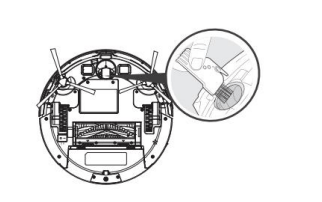
3. Remove the side brush, use a cloth to remove the dust from the brush.
4. Pull out the swivel wheel, then clean the swivel wheel with the cleaning tool.
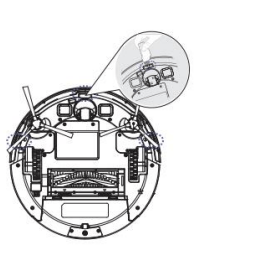
5. Dust off the cliff sensors to maintain the best performance
Robot will tell you something is wrong with a two-tone distress sound. The indicator will also blink or light red. Refer to the chart as below to resolve the robot’s problem. If the problem is not resolved, please contact our COST FREE customer service teamfor more assistance.
Warm Tips: For some errors, rebooting the robot may resolve the problem. To reboot the robot, press the power button on the bottom on robot, you will hear an audibletone signifying a successful reboot
Robot blinks and says -- Likely cause -- What to do
1. Always red indicator light
| BEEP once | Front caster wheel is stuck. | Clean the front caster wheel and press the power button to restart the robot |
| BEEP twice | Robot’s side brush is probably stuck | Clean the side brushandpress the power buttontorestart the robot. |
| BEEP triple | Robot’s vacuum fan is stuck or its filter is clogged. | Remove and empty robot’s bin and clean robot’s filter. Then, briskly tap the bintoloosen any remainingtrapped debris. |
| BEEP quartic | Robot’s rolling brush can’t turn. | Remove and clean robot’s rolling brush and cap |
2. Flash red indicator light
| BEEP once | Gyroscope error. | Keep the robot at a stable place to restart and do not move the machine. |
| BEEP twice | Bumper is stuck. | Check whether the bumper is flexible. |
| BEEP triple | Robot’s cliff sensors are dirty, it is hanging over a drop, or it is stuck on a dark surface. | If the robot is hanging over a drop, or on a darksurface, please start inanew location. Otherwise, wipe its cliff sensors withadry cloth. |
| BEEP quartic | Low power or charging error. | The voltage of robot is toolow and needs manuallycharging. |
1. Robot cannot be activated.
2. The remote control does not work.
3. Robot stops working suddenly.
4. You can’t schedule cleaning
5. Suction power is weak.
6. Robot can’t be charged.
7. Robot can’t return to the charging dock.
8. The rolling brush doesn’t rotate.
9. Robot movements or travel paths are abnormal.