Loading ...
Loading ...
Loading ...
13
Before using the oven for the first time
In this section, you can find out what you must do before using
your oven to prepare food for the first time. First read the
section on Safety information.
Setting the time
Once the oven has been connected, the 0 symbol and four
zeros are shown flashing on the display panel. Set the time.
1. Press the 0 button.
The display shows the time
‚ƒ:‹‹.
2. Set the time with the buttons @ or A.
The programmed time is displayed after a few seconds.
Heating up the oven
To remove the new cooker smell, heat up the oven when it is
empty and closed. An hour of Top/bottom heating
% at
240 °C is ideal for this purpose. Ensure that no packaging
remnants have been left in the cooking compartment.
Keep the kitchen ventilated the whole time the oven is on.
1. Use the function selector to set Top/bottom heating %.
2. Set the temperature selector to 240 °C.
After an hour, switch off the oven. To do so, turn the function
selector to the off position.
Cleaning the accessories
Before you use the accessories for the first time, clean them
thoroughly with hot soapy water and a soft dish cloth.
Making settings on the hob
Your hob is equipped with four gas burners. The following
information explains how to light the gas burners and set the
size of flame.
Advance cleaning of burner cup and cap
Clean the burner cap (1) and cup (2) with water and washing-
up liquid. Dry the individual parts carefully.
Place the burner cup and cap back on the burner shell (5).
Ensure that the igniter (3) and flame safety pin (4) are not
damaged.
The nozzle (6) must be dry and clean. Always position the
burner cap exactly over the burner cup.
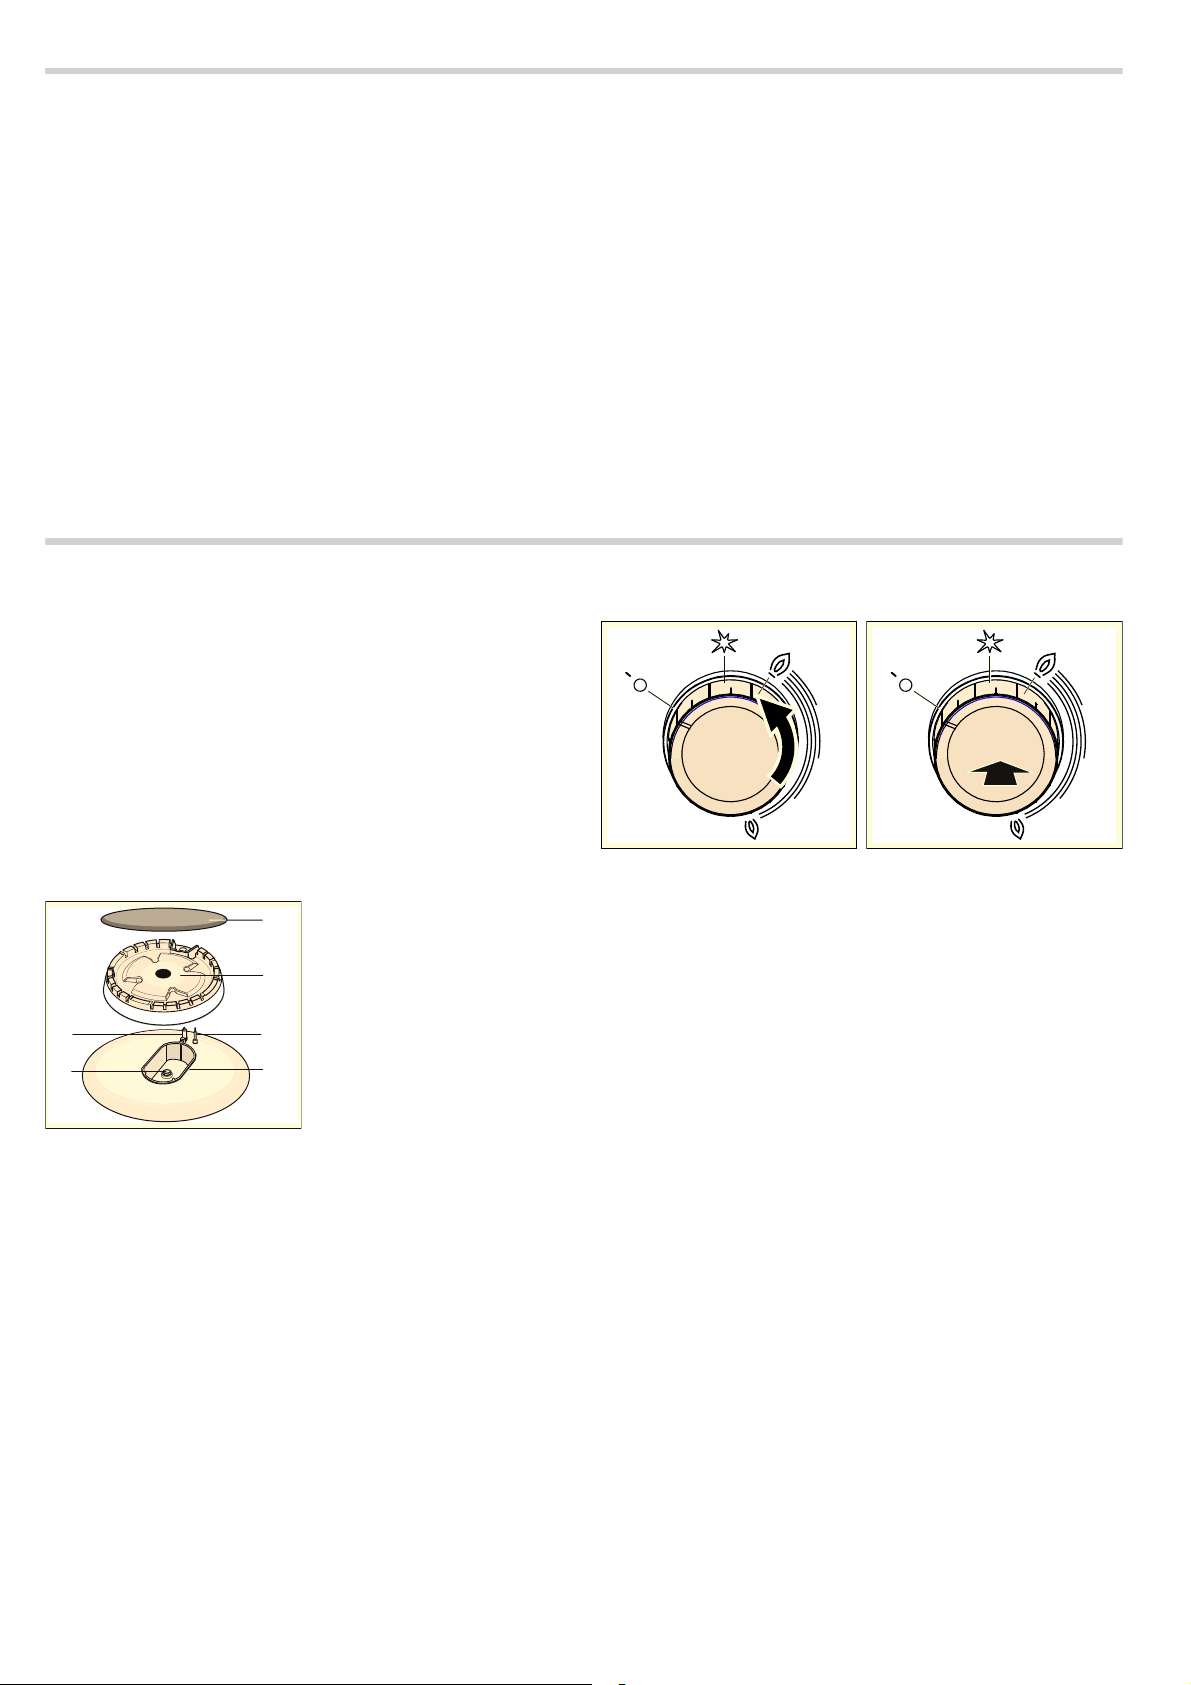
Igniting the gas burners
Always position the burner cap exactly onto the burner cup. The
openings in the burner cup must remain unobstructed at all
times. All parts must be dry.
1. Open the upper cooker cover. The upper cover must remain
open whilst the cooker is in operation.
2. Turn the control for the required hotplate anti-clockwise to the
ignition position
8. This starts the ignition process.
3. Press and hold the hotplate control for 1-3 seconds. Gas
begins to flow out and the gas burner ignites.
The safety pilot is activated. If the gas flame goes out, the gas
supply is automatically cut off by the safety pilot.
4. Set the required flame size. Between the Off þ setting and the
— setting, the flame is not stable. Therefore, always choose a
setting between the large flame
— and small flame ˜.
5. If the flame goes out again, repeat the process from step 2.
6. To finish cooking, turn the hotplate control clockwise to the
Off
þ position.
The hotplate control should not be turned to the ignition
position for longer than 15 seconds. If the burner does not light
within 15 seconds, wait at least one minute. Then repeat the
ignition process.
: Caution!
If, after switching the cooker off, you turn the burner control
while the cooker is still hot, gas will escape. If you do not turn
the hotplate control to the ignition position
8 within 60
seconds, the gas supply will be cut off.
The gas burner does not ignite
If there is a power cut or if the ignition plugs are damp, you can
light the gas burners with a gas lighter or a match.
Loading ...
Loading ...
Loading ...