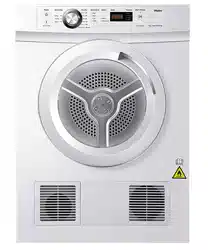
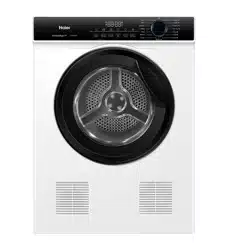
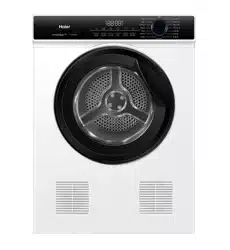
Owner's Guide Washer & Dryer
CONTROL PANEL
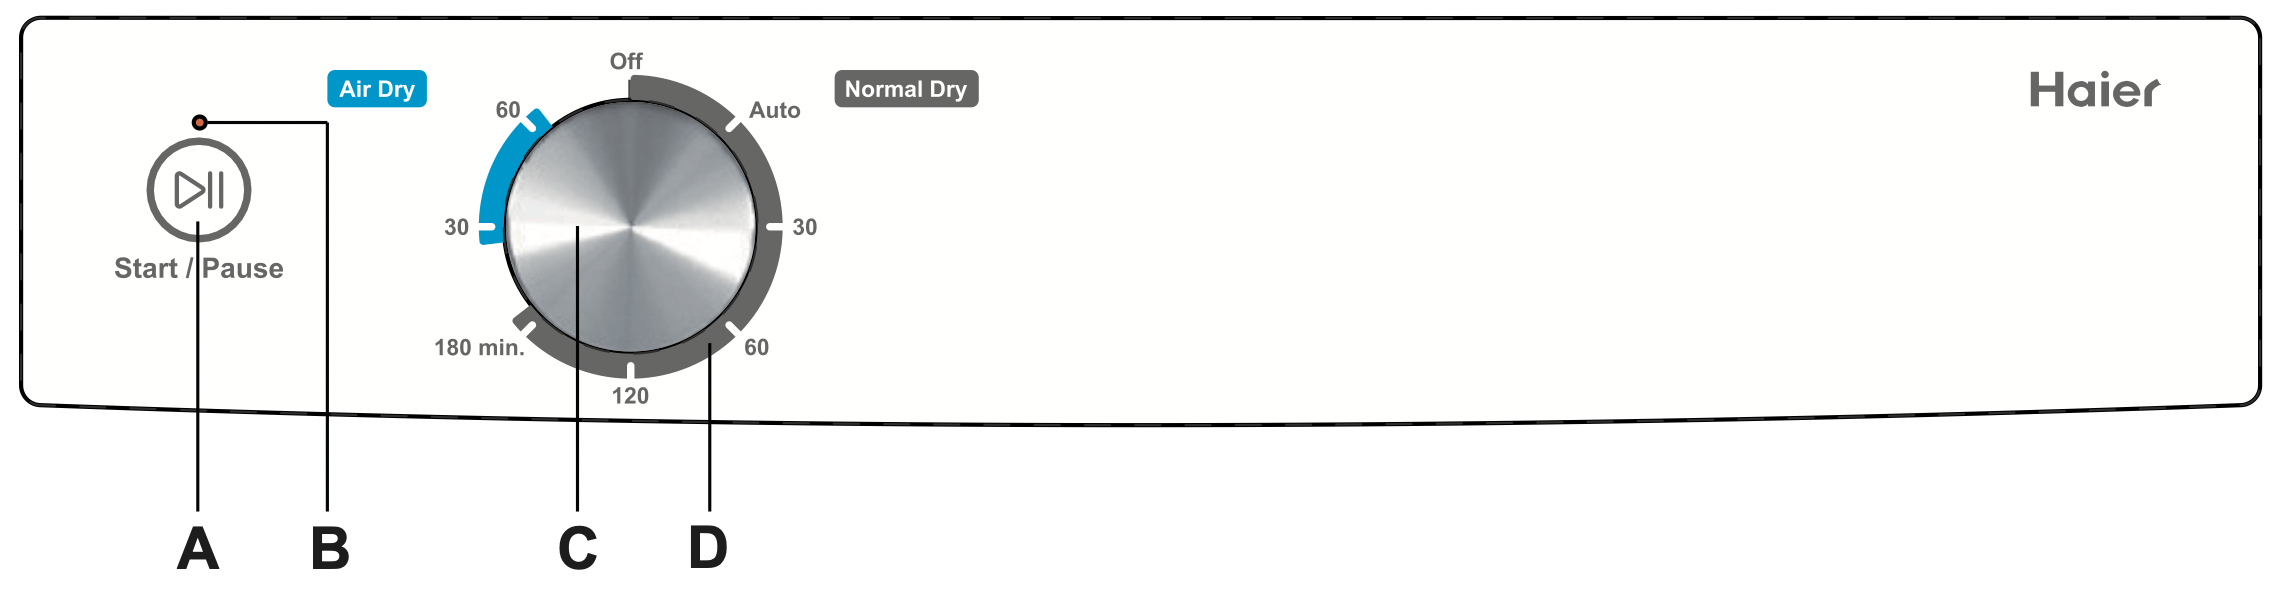
A. Start / Pause button
After selecting your desired drying cycle by turning the cycle knob, press the ‘Start / Pause’ button to start the cycle, and press it again to pause the cycle.
B. Indicator light
The light will flash when you select a cycle, and it will stop flashing and remain lit when you start the cycle. It will flash rapidly if a fault occurs.
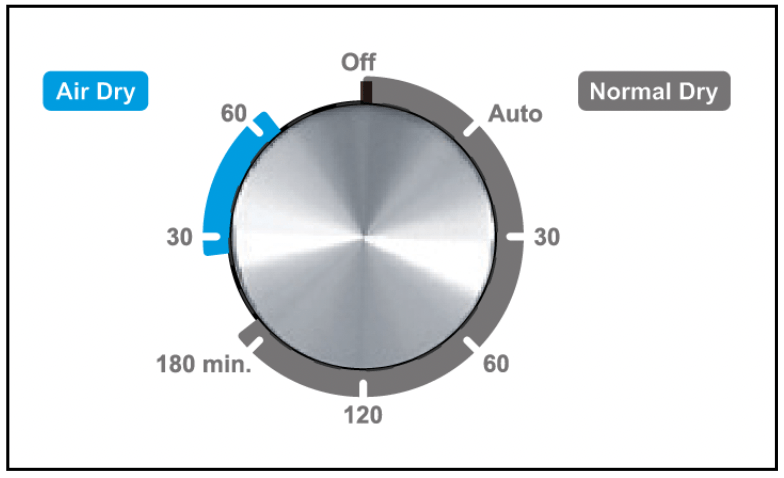
C. Control dial
Rotate the dial to select your select desired drying cycle or turn off the dryer.
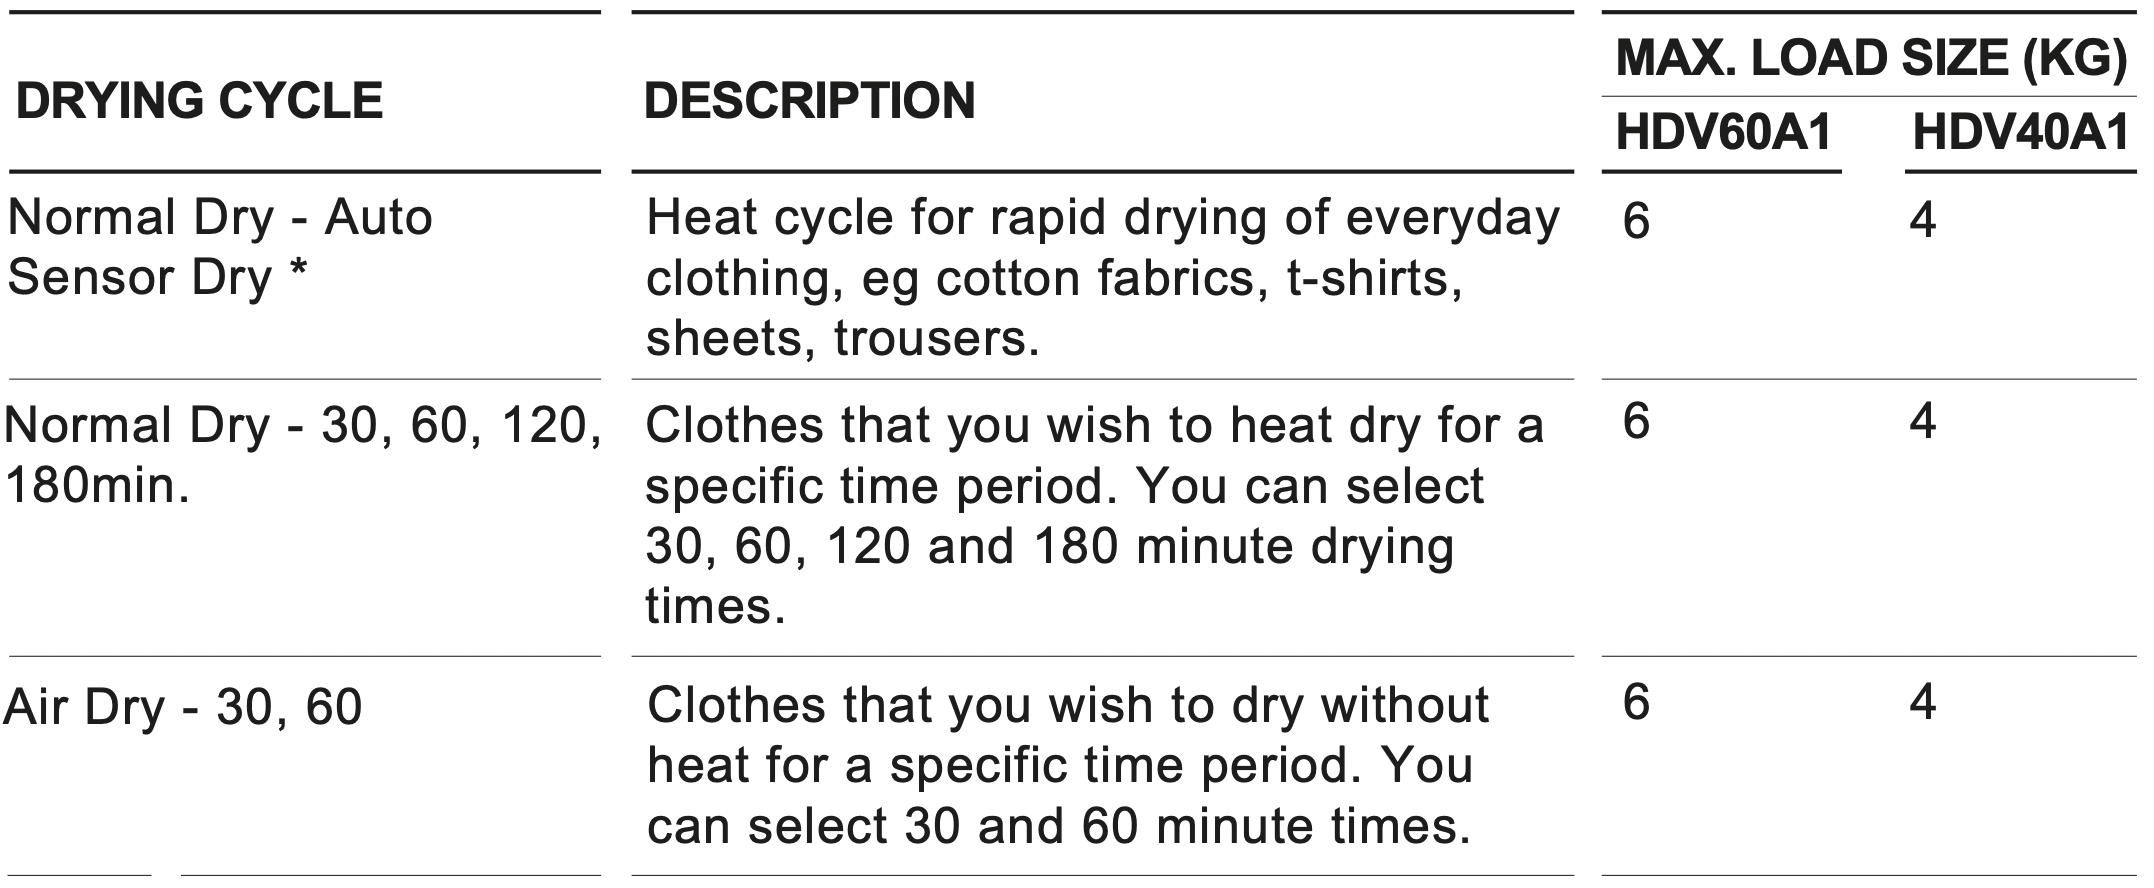
D. Drying cycle
There are two drying types with your dryer, normal dry and air dry. Normal dry is the heat cycle and air dry is the timed cycle with no heat. When the cycle finishes, the drum will rotate periodically and cool air will be circulated through the load to minimise wrinkling and creasing for 1 hour or until door is opened.
USING YOUR DRYER
IMPORTANT!
- Check the lint filter is clean before every load. Ensure it is replaced correctly before using your dryer.
- Sort and load items into the dryer drum, ensuring no items are in the way of the door.
- Close the door.
- Ensure your dryer connect to an appropriate power supply(220V-240V, 50Hz).
Preparing your load
- Check whether the loads have been spun by washing machine.
- Check pockets for items that could damage your clothes or get caught in the dryer.
- Close zippers, hooks, fastenings, and remove loose bra wires. These may damage both your dryer and your clothes.
- Make sure that the laundry is suitable for drying in the tumble dryer. You can find some information on the laundry labels.
Loading the dryer
Garments need to be loaded correctly to minimise creasing and wrinkling, and to ensure the load is dried evenly. Make sure there is plenty of room for the garments to tumble freely while drying.
To reduce tangling and creasing
- Load items individually.
- Shake clothes out and load individually to help items dry evenly.
- Launder permanent press garments separately, eg business shirts.
- Allow enough room in the dryer for clothes to tumble freely.
- Hang garments as soon as the drying cycle is complete to reduce the need for ironing.
IMPORTANT!
- Do not overload your dryer, as this may damage your dryer and clothes.
- Never put dripping wet clothes in or on top of the dryer as excess water may cause an electrical hazard.
- Do not place an item in your dryer unless the care label specifically states it is safe to do so.
- Always follow the instructions on the care label.
- Do not dry curtains in your dryer. Sunlight makes them brittle and they may disintegrate during drying.
Selecting program
Select you desired drying cycle by turning the control dial.
Start the dryer
Press ‘Start / Pause’ button to start your dryer.

Complete the cycle
When the cycle finishes, your dryer will stop rotating and the indicator light will flash, you can open the door and remove the laundry.
If you cannot remove the items immediately after the cycle ends, the dryer will automatically initiate “wrinkle free” operation for 1 hour. The drum will rotate periodically and cool air will be circulated through the load to minimise wrinkling and creasing. To stop the “wrinkle free” operation, you can press the ‘Start / Pause’ button or opening the door and unload, than turn off the dryer.
Turn off the dryer
Turn off the dryer by turning the cycle knob to “Off” position.
IMPORTANT!
- If you wish to stop the dryer before the cycle has finished you MUST remove the clothes IMMEDIATELY and spread them out to cool. DO NOT leave the clothes in the dryer or bunched up in a clothes basket. Take extreme care as the drum and the load items may be extremely hot.
- Failure to follow the advice in this guide may result in damage to your garments and your expectations of drying performance may not be met.
- Do not dry shoes or other rubber items in you dryer.
When you have finished using your dryer
- Unplug the dryer from the power socket.
- Wipe around the door to remove any remaining condensation and/or foreign matter.
- Clear the lint filter.
CLEANING YOUR DRYER
Cleaning your dryer
Before you start cleaning your dryer, ensure that it is disconnected from the power (ie unplug the dryer from the power socket).
Cleaning the control panel and outer surfaces of the dryer
Use a soft damp cloth to wipe all surfaces, then wipe dry. Avoid using chemical or scouring cleaners, as these will damage the paint and plastic surfaces of your dryer.
Cleaning the inside of your dryer
It is important that you occasionally clean the inside of your dryer. If the drum has any residual dirt or lint stuck to it, remove this and wipe it clean with a damp cloth. Do not leave any metal objects in the drum, as these may cause rust.
Cleaning the lint filter
- Lint is generally formed during wearing and washing. Fibres (ie lint) released from clothes during the drying cycle are collected in the lint filter.
- It is important to clean the lint filter after every load, as the lint produced in the drying process can become a fire hazard if it is allowed to accumulate in or around your dryer.
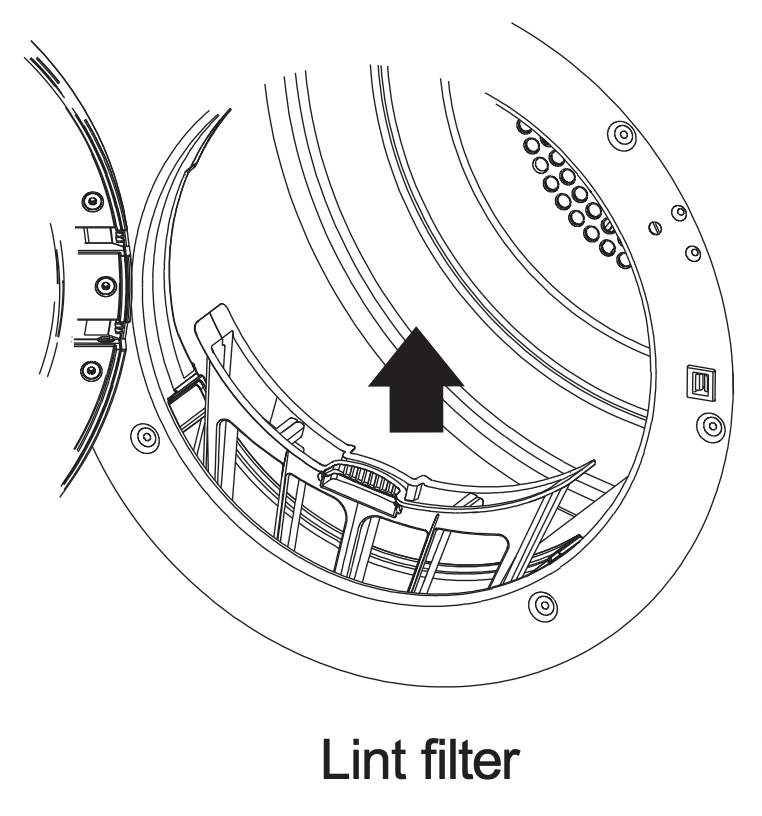
- The lint filter is located in the door opening (at the bottom).
- Lint becomes a fire hazard if left to build up, and will reduce the efficiency of your dryer.
To clean the filter:
- Open the dryer door.
- Remove the lint filter by pulling it up and out of the filter slot.
- Open it out and wipe the surface clean with your hand.
- Close the lint filter and place it back in the opening. Ensure the filter is fitted correctly back in place before operating the dryer.
IMPORTANT! If the lint filter becomes damaged, contact your Haier Repairer to arrange for a replacement filter. Do not operate your dryer with a damaged lint filter or without the filter in place, as this will cause damage to your dryer.
TROUBLESHOOTING
The following is a list of problems you may encounter when using this appliance and some suggestions that may help to correct the problem. If you still have problems, please contact your Haier Repairer.
| PROBLEM |
POSSIBLE CAUSES
|
WHAT TO DO |
|
Dryer stops working mid-cycle.
|
Power failure.
|
Check the power supply and restart the desired cycle. |
| Dryer has been paused. |
Touch the ‘Start / Pause’ button to restart the cycle.
|
|
Dryer door is open.
|
Ensure the door is firmly shut. |
| Dryer is taking too long/results were not satisfactory. |
Drying cycle selected not appropriate for the load.
|
Select an appropriate cycle for the load. |
| Dryer overloaded for the cycle. |
Do not overload your dryer. Try dividing the load in half and dry half at a time.
|
| Lint filter is blocked. |
Clean the lint filter.
|
|
Load overly wet at the start of cycle.
|
Remove more water from the load before placing it in the dryer, eg select a faster spin on your washer, a speed appropriate for your load.
|
|
Clothes getting too hot or damaged.
|
Cycle selected not appropriate for the load.
|
Ensure the clothes are appropriate for the cycle selected. |
|
Items removed from dryer before the end of cycle cool down had finished.
|
Removing items before cool down may damage clothing if it is not spread out and exposed to cooler air once removed from the dryer. |
|
Instructions on care label not followed.
|
Follow the instructions on the care label of the items. |
|
Used a ‘Time Dry’ cycle and did not monitor the dryness of clothes during the cycle.
|
Ensure that clothes are checked for dryness during the cycle when using the timed programmes to avoid over drying. |
| Noises / vibration. |
Dryer is not installed on a stable surface.
|
Ensure the dryer is installed on a flat, stable surface. |
|
Dryer is overloaded.
|
Remove some items from the dryer. |
| Creasing. |
Dryer is overloaded.
|
Remove some items from the dryer. |
|
Linting.
|
Lint filter not cleaned or replaced. |
Ensure the lint filter is cleaned after every cycle and replaced correctly.
|
| Indicator light flashes rapidly |
Dryer door is open.
|
Ensure the door is firmly shut. |
|
A fault occurs
|
Contact your Haier Repairer. |