Loading ...
Loading ...
Loading ...
Setting Oven Controls 47
Setting Self Clean
Do not leave small children unattended near the appliance.
During the self clean cycle, the outside of the oven can become
very hot to touch and can cause burns.
Do not force the oven door open when self clean is active. This
can damage the automatic door-locking system. Use caution
when opening the door after self cleaning. The oven may still be
very hot and can cause burns. To avoid possible burns, stand to
one side of the oven when opening the oven door to allow hot air
or steam to escape. The self clean feature will not operate if the
lower or upper oven is on.
IMPORTANT! The kitchen area should be well ventilated. Use
an open window, ventilation fan, or exhaust hood during the first
self clean cycle to help eliminate the normal odors associated
the initial clean cycle.
To start a self clean:
Once active, the door lock motor will begin locking the oven
door. DOOR will blink in the display.
• Do not try to open the door when the DOOR message is
blinking or once it is on (allow about 15 seconds for the
oven door to completely lock).
• Once the oven door is locked the CLn message will appear
in the display for the entire self clean cycle.
When the self clean cycle is finished:
Use caution when opening the oven door after self cleaning. The
oven may still be very hot and can cause burns. To avoid
possible burns, stand to the side of the oven when opening the
oven door to allow hot air or steam to escape. The oven bake
and broil elements may appear to have cooled after they have
been turned off. The elements may still be hot, and burns may
occur if these elements are touched before they have cooled.
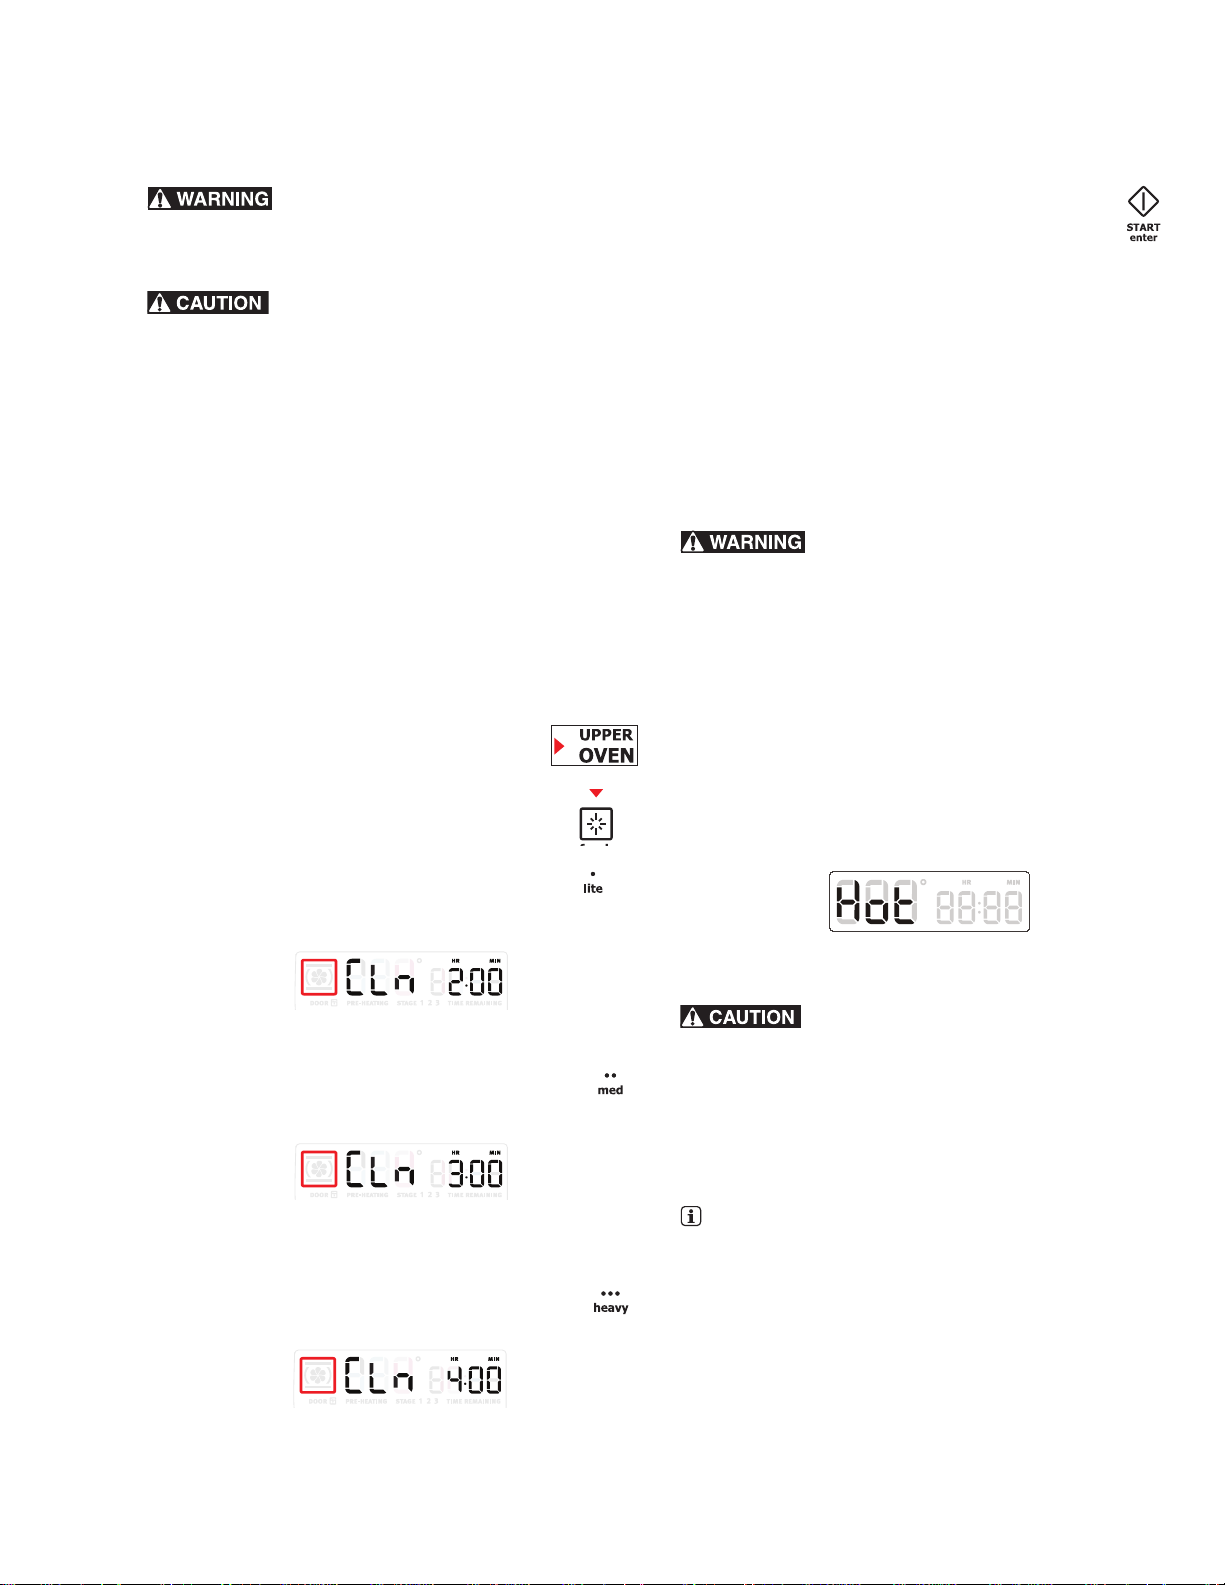
1. The time of day and Hot will show in the display
(Figure 49).
2. Once the oven has cooled (about 1 hour) and Hot is no lon-
ger displayed, the door lock message will flash. When this
message stops flashing in the display, the door has finished
unlocking and may be opened.
The oven bake and broil elements may appear to have cooled
after they have been turned off. The elements may still be hot
and burns may occur if these elements are touched before they
have cooled.
3. After the oven has cooled, wipe away any residue or pow-
dered ash from the oven interior using a damp cloth or
paper towel.
A self clean cycle will not start if the control lock feature is
active. If a self clean cycle was started but did not finish due to a
power outage, your oven may not have completely cleaned.
1. Ensure the oven is empty and remove all oven racks. Be
sure the clock is set with the correct time of day and the
oven door is completely closed.
2. Press UPPER OVEN to light up the avail-
able cooking modes keys.
3. Press clean.
4. The self clean feature allows you to
choose one of three time options. Press
lite for a 2-hour clean (Figure 46); or
Figure 46: 2 hour lite clean
5. Press med (normal) for a 3-hour clean
(Figure 47); or
Figure 47: 3 Hour normal clean
6. Press heavy for a 4-hour clean (Figure 48).
Figure 48: 4 Hour heavy clean
7. Press START enter to begin cleaning.
Figure 49: Hot oven (door still locked)
Loading ...
Loading ...
Loading ...