Loading ...
Loading ...
Loading ...
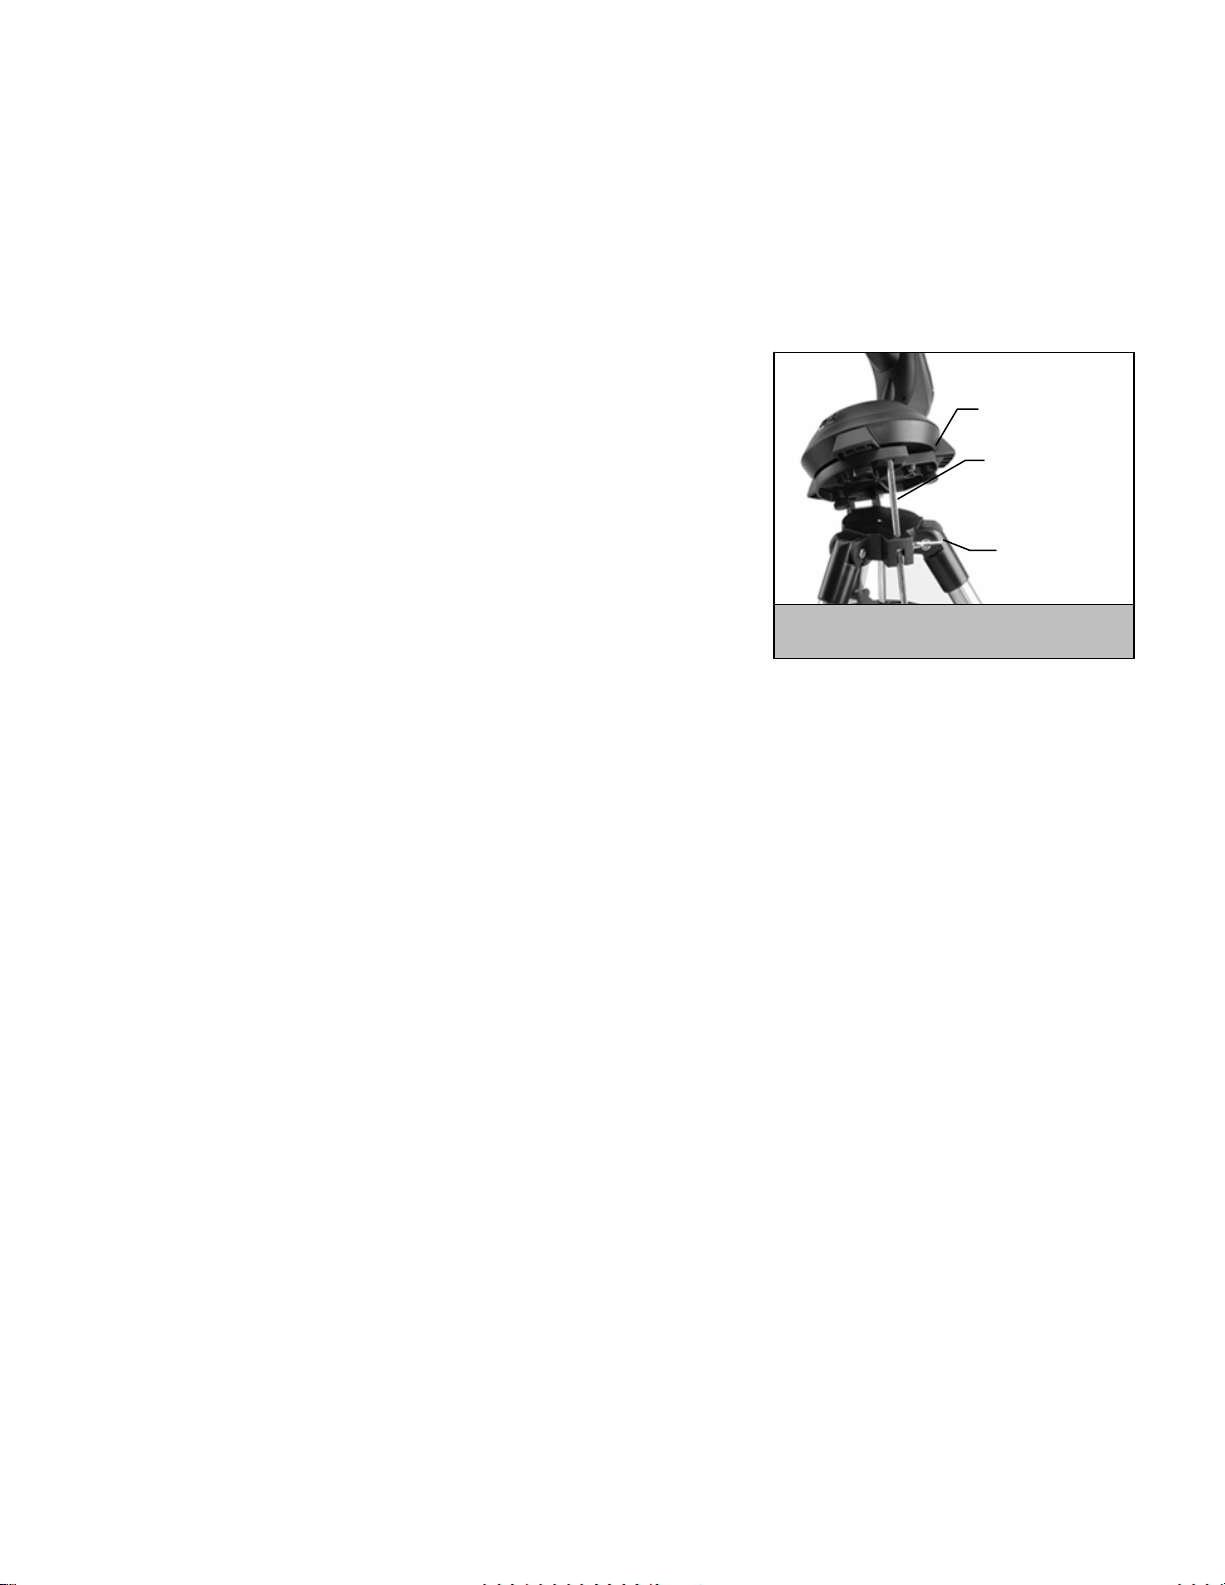
Based on your current alignment, NexStar will slew to where it thinks Polaris should be. Use the tripod’s tilt plate
adjustment to place Polaris in the center of the eyepiece. Do not use the hand control’s direction buttons to position Polaris.
Once Polaris is centered in the eyepiece, press ENTER; the polar axis should then be pointed towards the North Celestial
Pole.
Photography with the NexStar
After looking at the night sky for a while you may want to try photographing it. In
addition to the specific accessories required for celestial photography, there is the
need for a camera - but not just any camera. The camera does not have to have
many of the features offered on today's state-of-the-art equipment. For example,
you don't need auto focus capability or mirror lock up. Here are the mandatory
features a camera needs for celestial photography. First, a “B” setting which
allows for time exposures. This excludes point and shoot cameras and limits the
selection to SLR cameras, the most common type of 35mm camera on the market
today.
Latitude
Adjustment Rod
Latitude
Adjustment
Lock
Figure 6-4
Setting the latitude on the wedge
Tilt Plate
Second, the “B” or manual setting should NOT run off the battery. Many new
electronic cameras use the battery to keep the shutter open during time exposures.
Once the batteries are drained, usually after a few minutes, the shutter closes,
whether you were finished with the exposure or not. Look for a camera that has a
manual shutter when operating in the time exposure mode. Olympus, Nikon,
Minolta, Pentax, Canon and others have made such camera bodies.
The camera must have interchangeable lenses so you can attach it to the telescope and so you can use a variety of lenses for
piggyback photography. If you can't find a new camera, you can purchase a used camera body that is not 100-percent functional.
The light meter, for example, does not have to be operational since you will be determining the exposure length manually.
You also need a cable release with a locking function to hold the shutter open while you do other things. Mechanical and air
release models are available.
A
A
t
t
t
t
a
a
c
c
h
h
i
i
n
n
g
g
a
a
C
C
a
a
m
m
e
e
r
r
a
a
t
t
o
o
t
t
h
h
e
e
N
N
e
e
x
x
S
S
t
t
a
a
r
r
Attaching a camera to the NexStar requires the use of the optional T-adapter (#93633-A) and a T-ring specific to the brand of
camera being used. See Optional Accessories section in this manual. To attach the photographic accessories:
1. Remove the visual back from the rear cell .
2. Thread the T-adapter securely onto the rear cell of the telescope.
3. Thread the T-ring onto the exposed end of the T-adapter.
4. Remove any lens from the body of your camera.
5. Attach the camera body to the T-ring by aligning the dot on the side of the T-ring with the dot on the camera body and
twisting.
33
Loading ...
Loading ...
Loading ...