Loading ...
Loading ...
Loading ...
41EN
Recording
Playback EditingIntroduction Connections Basic Setup Function Setup Others
41EN
BASIC RECORDING & ONE-TOUCH TIMER RECORDING
If you are recording to the HDD, press [HDD] first, then
proceed to step 2.
If you are recording to a disc, press [DVD] first.
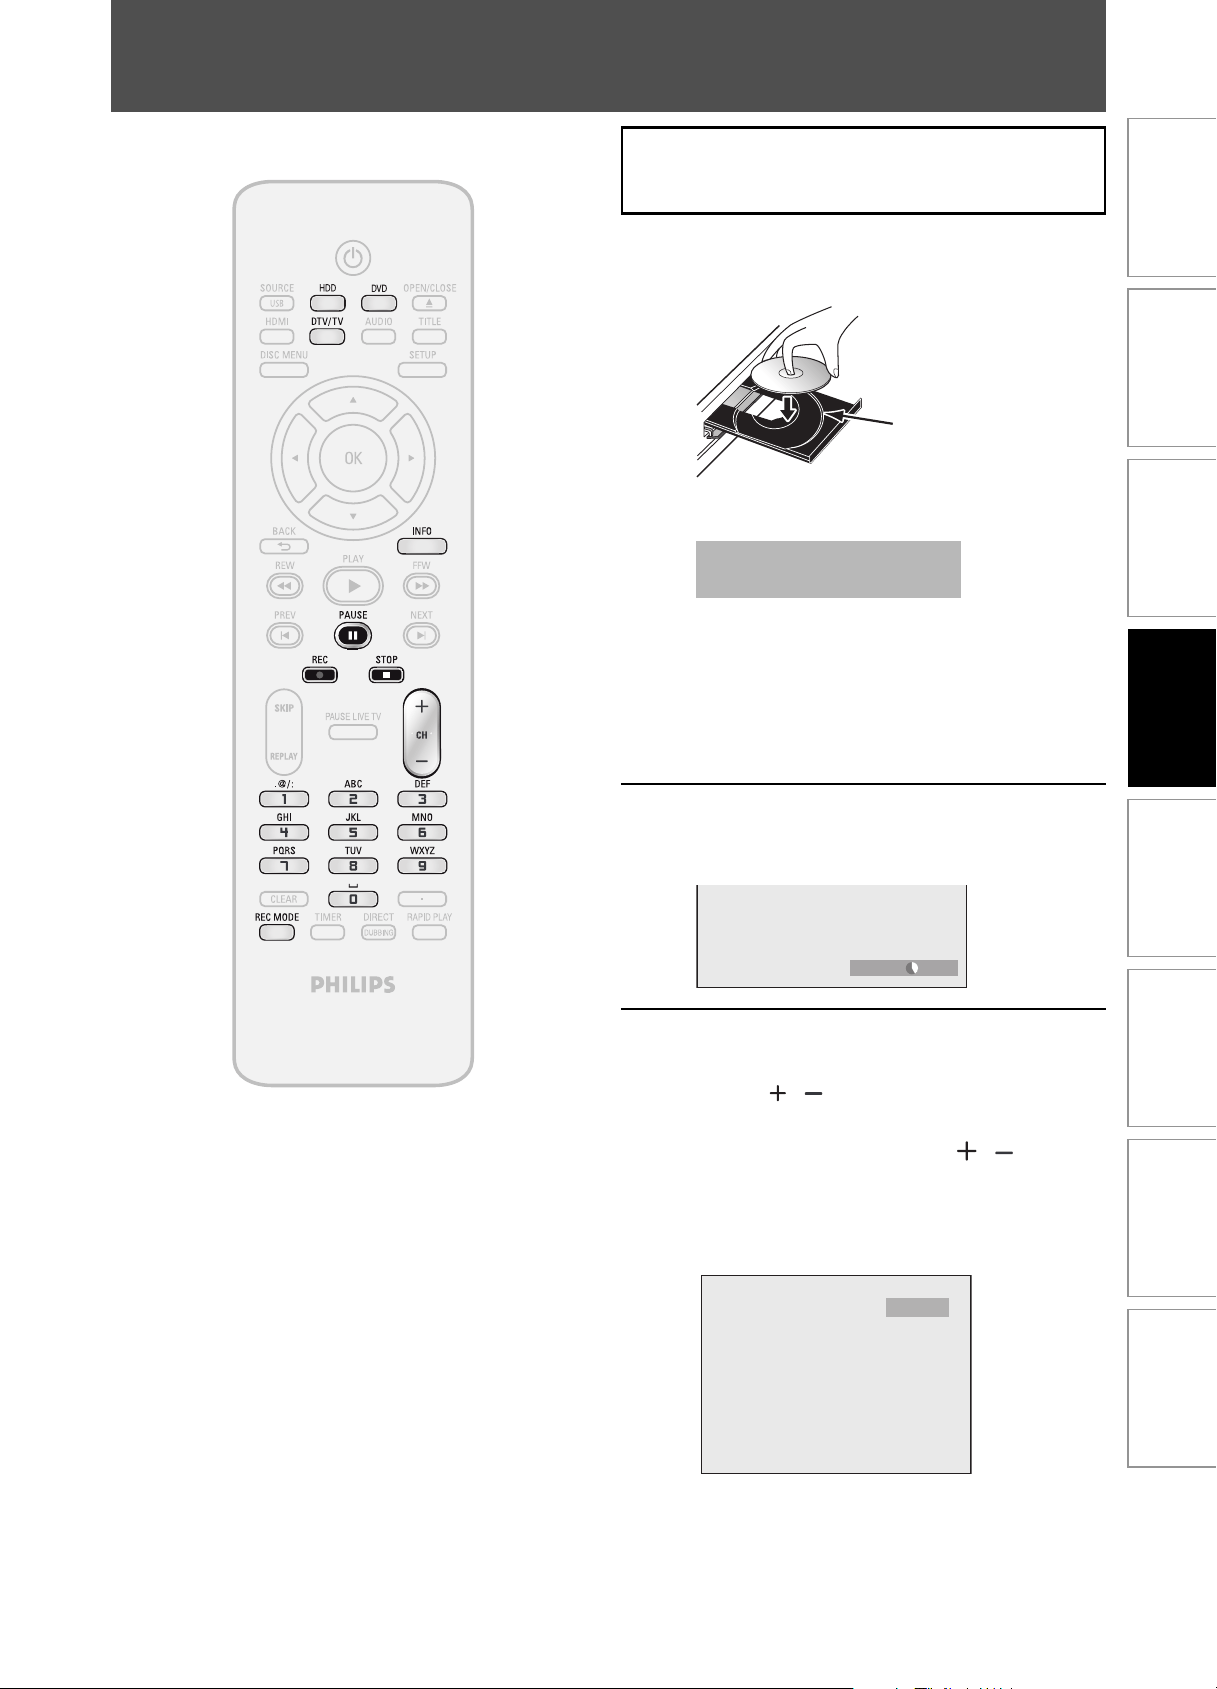
1
Insert a recordable disc (refer to page
25 on how to insert a disc).
Align the disc to
the disc tray guide.
* Make sure the disc is compatible with this unit.
(Refer to page 38 for the list of compatible discs.)
It may take a while to load
the disc.
• When inserting a brand-new DVD+RW/DVD-
RW, the unit automatically starts to format.
( Except when HDD is recording, or when there
is a timer program which starts in 15 minutes.)
• If titles have been recorded on the disc, the
title list is displayed. Press [STOP C] to exit the
title list.
2
Press [REC MODE] to select a
recording mode.
Refer to “Recording Mode” on page 39.
DVDSP 0h58m
3
Select the appropriate external input
channel by pressing [SOURCE / USB]
or [CH
/ ].
Press [DTV/TV] to select analog TV or
digital TV, then use [CH
/ ] or [the
Number buttons] to select a desired
channel to record.
Refer to “Switching Analog Mode/Digital Mode”
and “Channel Selection“ on page 32.
CH 12
Follow the steps to record TV programs.
Instructions continue on the next page.
HDD & DVD RECORDER
E2H40UD_v4.indd 41E2H40UD_v4.indd 41 2008/06/02 13:35:102008/06/02 13:35:10
Loading ...
Loading ...
Loading ...