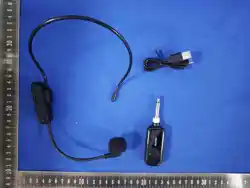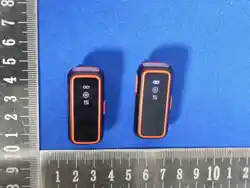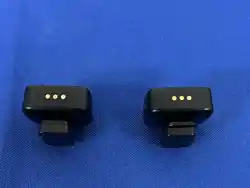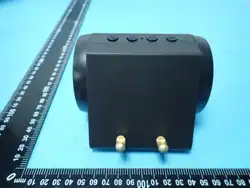
无线领夹麦克风
中国制造
说明书
产品介绍
ID图示
使用方法 UI功能
麦克风发射端
包装清单
包装清单内容
感谢您选择我们产品
本产品为智能无线领夹麦克风,可提供专业级别录音输出,
即插即用,无需APP,多种用途:可实现网络直播、视频Vlog
拍摄、节目访谈、采访录音、视频数学等场合的使用。
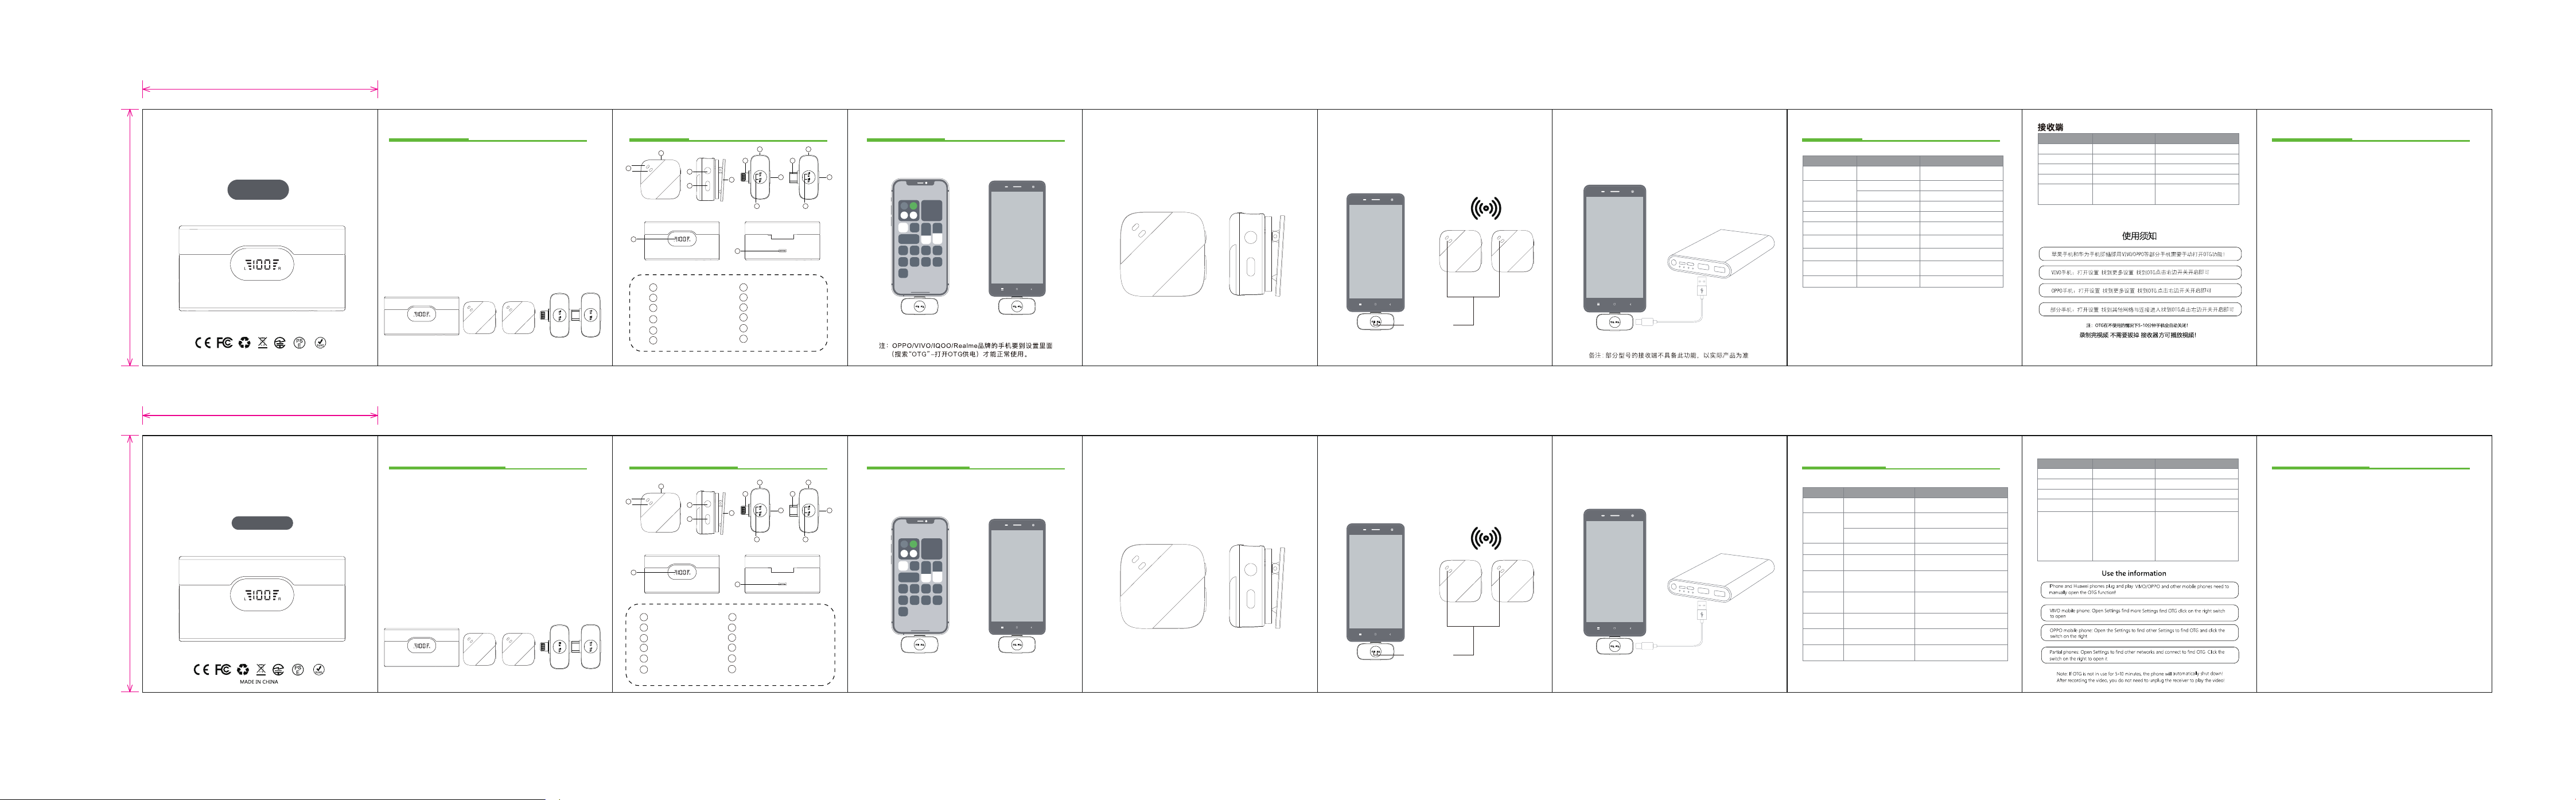
无线领夹麦克风有三部分构成,充电仓,麦克风发射端,接收端。
(如下图所示)
录音孔
连接指示灯1/2
开/关机键
麦克风夹
Type-C接口
苹果接口
功能键
(充电仓) (发射端) (接收端)
2
1
3
4
5
7
6
8
9
10
接收端指示灯
功能键
11
接收端充电口
第一步:首先先把接收端从充电仓拿出来,然后一头插入手机第一步:首先先把接收端从充电仓拿出来,然后一头插入手机
充电的接口。
第二步:接着充电仓拿出发射端麦克风就会自动连接。 第三步:接收端和发射端连接指示灯常亮,即连接成功,可以
打开手机相机、直播视频等APP即可使用麦克风收音。
特别说明:
第⑧的使用方法如下:如果直播时,手机电量不足的情况下,
直接通过接收端的接口给予手机充电。
指示灯常亮
(1)充电仓
(2)麦克风发射端
(5)充电线
(4)接收端
(7)用户说明书
Wireless Microphone
User Manual
Introduction
ID Diagram
How to use About UI
(transmitter)
(receiver)
Step 1: First, take the receiver out of the charging case,
and then plug one end into the charging port of the
mobile phone.
Special Note:
For the use of ⑧ port: If the phone is low power during Live,
it can be recharged directly through ⑧ port.
Thank you for choosing our product.
This product is an intelligent wireless lavalier microphone,
which can provide professional-level recording output.
It is plug-and-play, no APP is required. It has multiple uses:
it can be used in live streaming, video Vlog shooting,
program interviews, interview recording, video teaching
and other scenarios.
The wireless lavalier microphone consists of three parts:
charging case, microphone transmitter, receiver。
(As shown in the figure below)
Note: Some models do not have this function. Refer to
the actual product for definitive functionality.
Packing List
Packaging List Content
(1) Charging Case
(2) Microphone Transmitter
(3) Receiver
(4) Charging Cable
(5) User Manual
(power case)
Note: oppo / vivo / iqoo / realm brand mobile phones can be
used normally only when they go to the settings
(search "OTG" - turn on OTG power supply)
1
2
3
4
5
7
6
10
11
12
10
9 9
88
充电仓电量指示灯
充电仓Type-C充电口
12
Recording Hole
Connection Indicator 1/2
Microphone Clip
Type-C Interface
Lightning interface
2
1
3
4
5
7
6
8
9
10
Receiver Indicator Light
11
Receiver Charging Port
Charging Case Battery Indicator Light
Charging Case Type-C Charging Port
12
充电的接口。
长按2S开关机键开机
功能/状态 操作 灯效
关机
长按2S开关机键
3分钟未和RX连接自动关机
连接指示灯交替闪
指示灯熄灭
无灯闪
连接指示灯常亮
连接指示灯交替闪
AI降噪
静音
当电池电压低于3.1V时
将自动关机
低电关机
充电红灯,充满灭灯
放入充电仓充电
低电报警
与RX配对
断开连接
开机自动配对
拔掉RX或者TX关机
单击功能键开启AI降噪
/关闭降噪(默认AI降噪)
双击功能键开启静音
再次双击关闭静音
当电池电压低于3.3V
红灯5秒闪烁一次
开启:连接指示灯亮
关闭:连接指示灯呼吸灯
开启:指示灯常亮
关闭:恢复之前状态
Microphone Transmitter
Power on
Power Off
Pair with RX
Disconnect
AINoise
Reduction
Mute
Low Battery
Alert
Low Battery
Shutdown
Charging
Function How to use Light
Press and hold the power
button for 2 seconds
Press and hold the power
button for 3 seconds
Auto-pairs when powered on
Unplug RX or power off TX
Single-press function key to
toggle AI noise reduction
(default: on)
Double-press the function
key to enable mute; double-
press again to disable
When battery voltage
drops below 3.3V
Auto power off when battery
voltage drops below 3.1V
Place into the charging case
Red light on while charging; turns
off when fully charged
Connection indicator stays steadily lit
Connection indicator flashes
alternately
Enabled: Connection indicator stays on
Disabled: Connection indicator breathes
Enabled: Indicator stays steadily lit
Disabled: Reverts to previous state
Red light flashes once every 5 seconds
Auto power off if disconnected
from RX for 3 minutes
Connection indicator flashes
alternately
Indicator light turns off
No light flash
Step 2: Then take the transmitter microphone out of the
charging case, and it will connect automatically.
Step 3: The connection indicator lights of the receiver and
the transmitter stay on, which means the connection is
successful. You can open apps such as the mobile phone
camera and live video apps to use the microphone for
audio recording.
The indicator
light stays on
1
2
3
4
5
7
6
10
11
12
10
9 9
88
功能/状态
操作 灯效
开机
关机
指示灯熄灭
指示灯常亮
指示灯慢闪
指示灯慢闪
一档:指示灯闪一下
二档:指示灯闪两下
三档:指示灯闪三下
与TX配对
断开连接
音量
插入手机充电端口即可开机
从手机上拔出接收端
开机自动配对
TX关机或者远距离跟RX端断开
按一下功能键
Power on/off / key function key
function key
Indicator flashes slowly
Level 1: The indicator
light flashes once
Level 2: The indicator
light flashes twice
Level 3: The indicator
light flashes three times
Receiver
Function
Power on
How to use Light
Connect mic
Disconnect
Volume
plug into phone
unplug off
auto-pairing
remains on
unplug or power off
Press the function
key once
Power off
flashing
65mm
71mm
65mm
71mm

FCC Warnning:
This equipment has been tested and found to comply with the limits for a Class B digital device,
pursuant to part 15 of the FCC Rules. These limits are designed to provide
reasonable
protection against harmful interference in a residential installation. This equipment generates,
uses and can radiate radio
frequency
energy
and,
if
not
installed
and
used
in
accordance
with
the
instructions,
may cause
harmful
interference
to
radio
communications.
However,
there
is
no
guarantee
that interference
will
not
occur
in
a
particular
installation.
If
this
equipment
does
cause
harmful interference to radio or television reception, which can be
determined by turning the equipment off
and
on,
the
user
is
encouraged
to
try
to
correct
the interference
by
one
or
more
of
the following measures:
•
Reorient or relocate the receiving antenna.
•
Increase the separation between the equipment and receiver.
•
Connect the equipment into an outlet on a circuit different from that to which the receiver is
connected.
• Consult the dealer or an experienced radio/TV technician for help.
Caution:
Any
changes
or
modifications
to
this
device
not
explicitly
approved
by
manufacturer
could void your authority to operate this equipment.
This
device
complies
with
part
15
of
the
FCC
Rules.
Operation
is
subject
to
the
following
two
conditions:
(1)This
device
may
not
cause
harmful
interference,
and
(2)
this
device
must
accept
any
interference received, including interference that may cause undesired operation.
This
equipment
complies
with
FCC
radiation
exposure
limits
set
forth
for
an
uncontrolled
environment.
This
equipment
should
be
installed
and
operated
with
minimum
distance
0cm
between the radiator and your body.