材料
••
105
g双铜纸-彩
色印刷
80.00 mm
匹
T461N
使用说明书
EE
OO.O
O
l`
基本参数
·无线规格:V5.3
支持无线协议
支持
L2CAP/A2DP/AVR
CP, 用来接收
立体声音频信号, 通过协议可以
控制音频发射端的上下曲操作,
支持
H
S
P/H
F
P(Ha
n
dsfree prof
il
e), 具有免提功能, 可以进行语音通讯。
·无线传输范围 10
M
·音频性噪比 gQdb
·电池容豆. 约3600mAh
·内置电压: 3.7V
·正常音盘播放
3H
·喇叭规格: 052mm•
2
·喇叭功率:40/10W•2
·频率响应: 120Hz-20KHz
·
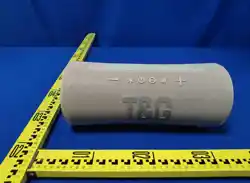
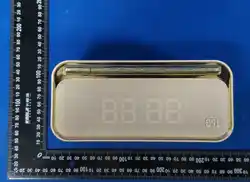
尺寸 200x101
x100mm
·单机重呈 约770g
·充电电压: DC 5V/2A
·充电时
长 3H
功能特点
1、采
用
先进的无线音频解
码
芯片 , 支持无线设备连接,
2、支持FM收音, 可直接搜索收听区域的电台,
3、音色柔和清晰有动感, 各层次分明,
4、直读TF卡和U盘,
5、无线接收距离远可长达
10
米,
6、支持L
I
NE I
N音频输入为你提供电脑音箱功能,可直接连接手机
/平板电脑/及电视无线配对播放音乐。
7、无线模式无连接,
1
0
分钟转时钟模式,
8、支持T
W
S;
9、支持时钟、闹钟,
功能指示
@
。
了ljljlj
@@ 画@@)
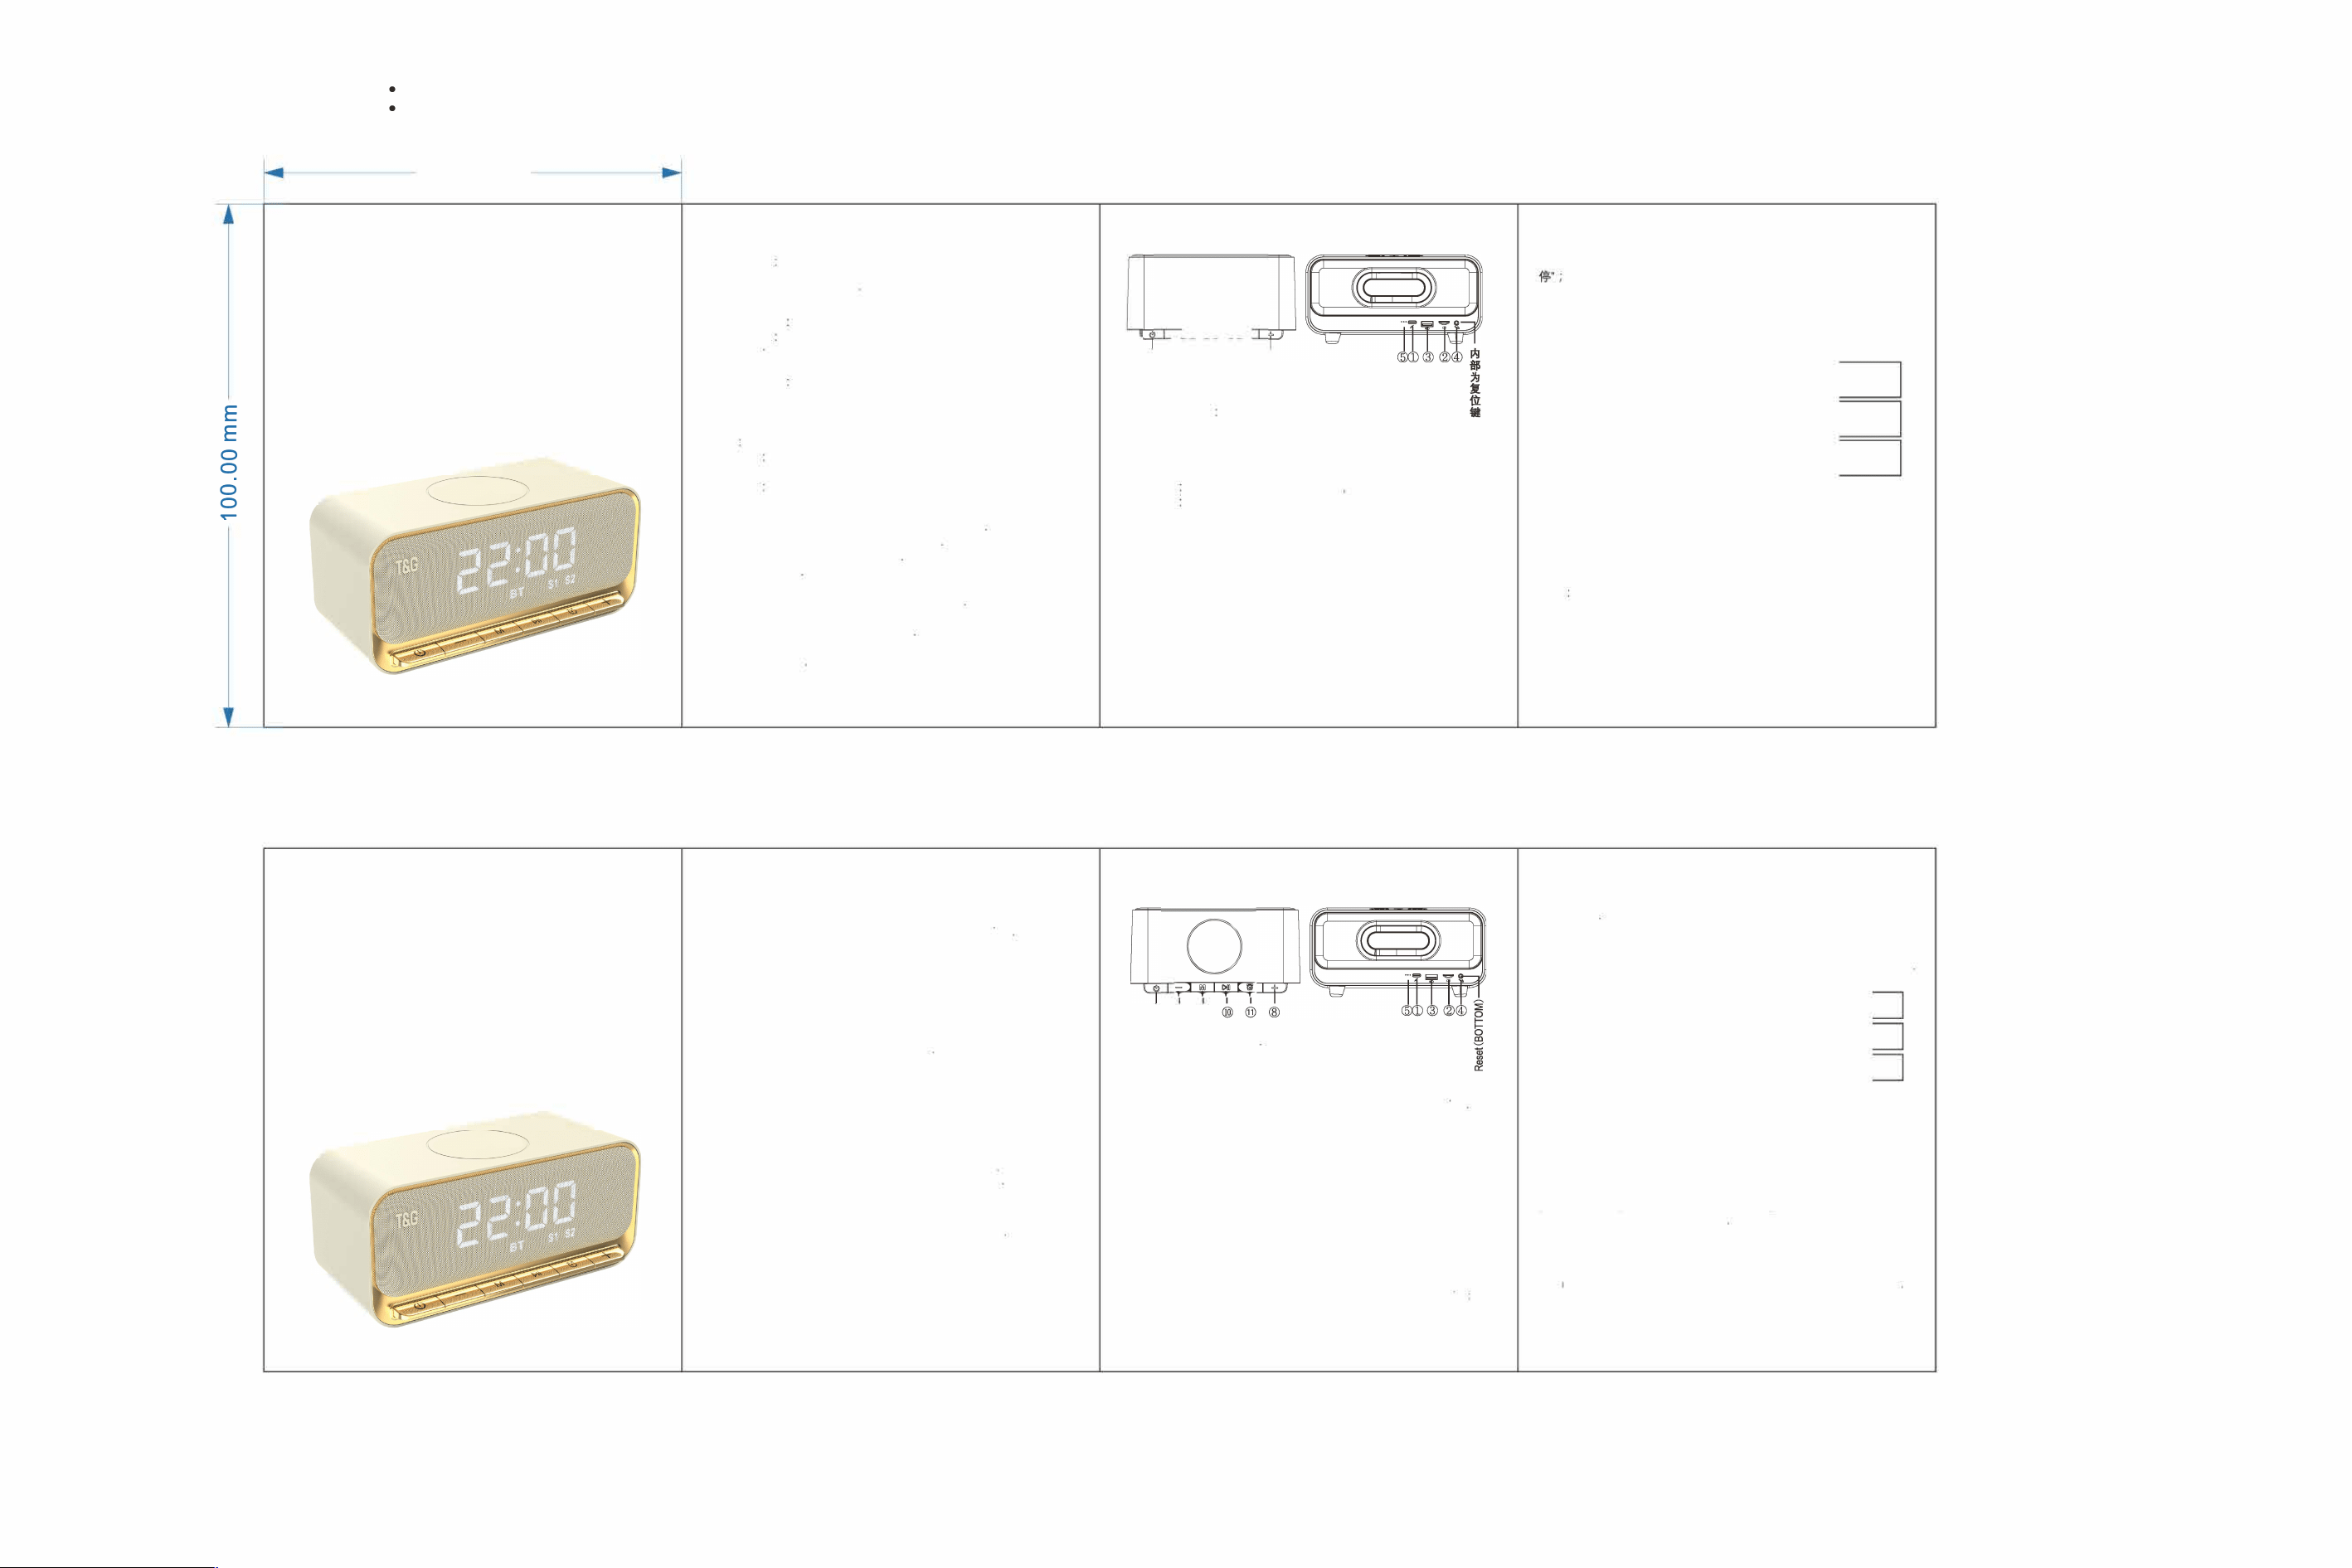
1. Type-c充电接口
。
2.
TF卡输入接口 TF卡插入时可解码M
P3/W
M
A/WAV
/
F
LAC/APE格式的音频播放。
3.
U盘输入接口:u盘插入时可解码M
P3/W
M
A/WAV
/
F
LAC/APE格式的音频播放。
4. 3.5L
I
NE IN音频输入口。
5指示灯 电池充电指示红色(充电常亮 充满灯灭) 。
6电源键 长按开关机, 双击断开或回连蓝牙。
7
在音乐的模式下, 短按为上
—
曲
''
,长按为音显减'; FM模式下短按
为上
一
电台长按为音益减';
8在音乐的模式下, 短按为下
一
曲
”
, 长按为音星加
"
; FM模式
下短按为下
一
电台长按为
“
音堂加";
9音乐模式下
(
TF卡、U
盘、无线、FM、时钟、L
i
ne 1n
)
, 短按为功
能模式切换。
TWS两台音箱同时在开机无线状态且都没有连接手机, 长按其中
一
台音箱的M键
2
-
3
S听到提示音且其中
一
台按键灯没有闪烁即连
TW
S成功再连接手机即可。
时钟亮度设置双击M键可设詈时钟亮度(
2
级-
3
级-
0
级-1级-
2
级循
环, 调至
0
级时开机默认
2
级) , 亮度越低待机时间越长。
10音乐的模式下(TF卡、U盘、无线、
L
ine in
)
, 短按为播放/暂
在FM模式下短按为自动搜索电合、在搜台过程中短按
—
下为取消往后
自动搜索电台,
在无线模式并配对手机情况下, 有电话接入时短按
一
下为免提接听,
再短按
—
下为挂断电话, 双击为重拨电话,
11阁钟/时钟设置按键
I
巨
设置时钟时间.在点亮闹钟图标S
1
和S
2
或没有闹钟臣标点亮时长按
闹钟键, 再通过+-键调整时钟时间, 短按闹钟键切换时间的时钟和
分钟。 在点亮闹钟囡标S
1
或S
2,
长按闹钟键, 再通过+-键调整闹钟时
间短按闹钟键切换阔钟时间的时钟和分钟。 设置成功后等待1
0
秒会
自动保存设笠数据, 或长按此键保存设笠数据。
短按任意退出响铃, 时钟时间同步需手机支持同步功能。
备注
-FM模式插入音频线收音效果更好。
-音频输入口后面的按键是复位键。
-
U盘(32Gm
ax
)
和TF
(32Gmax
)卡用(F
AT32方式格式化
)
。
匹
TG461
USER MANUAL
Product specifications:
.劝reless : V5.3
Support: L2CAP/A2DP/AVRCP, can receive AUDIO signal and control the
AUDIO device.
Support HSP/H FP(Handsfree p「O和e), with HANDS-FREE functions
•wireless transmission range: lOM
esNR 9Qdb
esattery: 3 7V/3600mAh
•Normal volume playing time: 3H
espeake「 dr
i
ver: 052mm• 2
•speaker Power. 4切lOW• 2
•Frequency response. 120Hz-20KHz
eunit size: 200丑01•100mm
eunit weight about 770g for engineering machines
•charging: DC 5V/2A
•charging t1me:about 3H
Product Feature:
l.lnternational advanced wireless chip and ci「cuit design techniques, support
wireless devices
2 With FM function, can search radio station broadcast automatically
3 With Hi-Fi speaker, to make sure the clear and bright sound
4 Suppo「t Mic「o SD card and USS ca『d, play MP3 fo「mat audio
5.The wi「eless working distance is 10 meters.
6.With AUX line in, can directly connect the outside devices, for example,
tablet PC/N/cell phones
7 Wireless mode without connection, 10 minutes to clock mode,
8 Support TWS
9 Suppo「t clock and alarm clock
Function indication
@
o-
®
1 Type-C charging interface
2.TF slot: It can decode and play MP3/WMA/WAV/FLAC/APE
format audio when put TF card into the slot.
3 USB slot It can decode and play MP3/WMA/WAV/FLAC/APE
format audio when put the USB card into the slot
4.AUX line in slot: Use the Mini 3.5 head input through outside devices
5 Indicator lights The batte charging 1nd1cator 1s red (constantly on
during charging and off when fully charged)
6. Power key: Press long for power on /power off, double click to
disconnect or reconnect Wireless.
7. When play music, Press short lo「 last song, long p「ess to turn down the
volume; In FM mode, Press short lo「 the previous station, long press to
turn down the volume,
8 When play music, Press short for last song, long press to turn down the
volume; In FM mode, Press short for the last station, long p「ess to turn
down the volume,
9. When play us1c, sho「t press to switch mode(TF card, U disk, wireless,
FM, clock, Line 1n),
TWS: Two speakers are wireless at the same time and are not connected
prompt sound and one of the button lights does not flash, then
connectthe TWS, and then connect the phone. Clock brightness setting
Double-click
M to set the brightness of the clock (level 2-3-0-1-2 cycle,
and default level 2 when ad」usted to level 0). The lower the brightness, the
longer the standby time.
10. When play music,(USB card/TF card/Wireless/line in), short press for
"
play/p
ause
"
In FM mode, press short to search station automatically,
press again to stop
searching.
Under wireless mode with mobile pa1「ed, when call coming,
press short to
answer a call hands-I「ee
, press again to hand up, pr
es
s
t
wice to nng up a call
11. Alarm clock / clock setting button
冒,/三
Setting clock time: When the alarm icon S1 and S2 1s lit, or when no alarm
icon 1s lit, long press the alarm button, then adJust the clock time using the +
and
-
buttons. Short press the alarm button to switch between the clock and
minute of the time. When the alarm icon S1 or S2 1s lit, long press the alarm
button, then adjust the alarm time using the + and - buttons Short press the
alarm button to switch between the clock and minute of the alarm time
Afte「 setting the clock or alarm, 1t will be saved automatically after 10 s, o「
you can long-p「ess it again to save the setting
The alarm clock can be short press any key to exit the ring; Automatically
synchronize the time of the phone after connecting the phone (the phone
needs to support time synchron,zation)
Remarks:
-FM mode inserted audio line radio effect 1s better;
-The key behind the audio input port is the 『eset key
-U d
i
sk (32Gmax) and TF (32Gmax) cards with (formatting 1n FAT 32 mode)

FCC warning statements:
This equipment has been tested and found to comply with the limits for a Class
B digital device, pursuant to part 15 of the FCC Rules. These limits are
designed to provide reasonable protection against harmful interference in a
residential installation. This equipment generates, uses and can radiate radio
frequency energy and, if not installed and used in accordance with the
instructions, may cause harmful interference to radio communications.
However, there is no guarantee that interference will not occur in a particular
installation. If this equipment does cause harmful interference to radio or
television reception, which can be determined by turning the equipment off and
on, the user is encouraged to try to correct the interference by one or more of
the following measures:
• Reorient or relocate the receiving antenna.
• Increase the separation between the equipment and receiver.
• Connect the equipment into an outlet on a circuit different from that to which
the receiver is connected.
• Consult the dealer or an experienced radio/TV technician for help.
Caution: Any changes or modifications to this device not explicitly approved
by manufacturer could void your authority to operate this equipment.
This device complies with part 15 of the FCC Rules. Operation is subject to the
following two conditions: (1) This device may not cause harmful interference,
and (2) this device must accept any interference received, including
interference that may cause undesired operation.
The device has been evaluated to meet general RF exposure requirement. The device
can be used in portable exposure condition without restriction.