UD1 Urine Wetness Reminder - User Manual
Welcome to use the UD1 Urine Wetness Reminder. Please read the instructions carefully
before use to quickly understand the product features and operations!
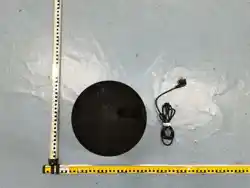
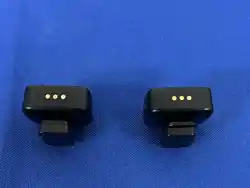
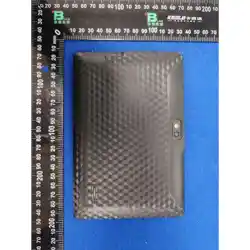
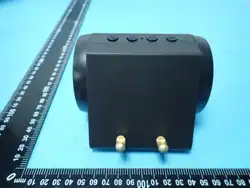
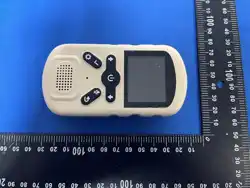
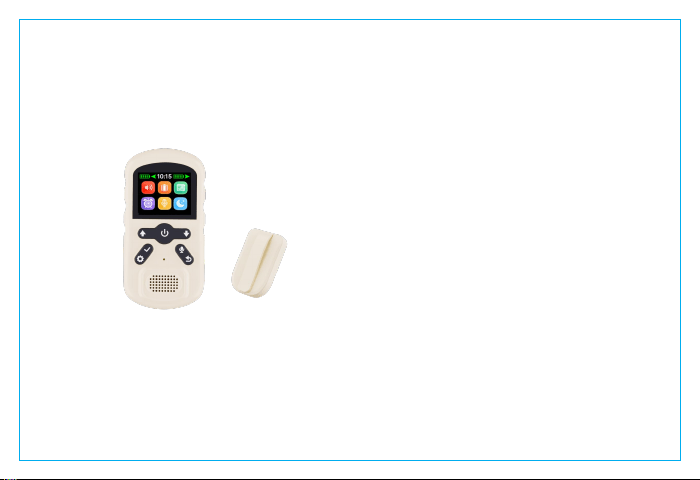
UD1 Urine Wetness Reminder consists of two parts:
Receiver (Reminder Host) - Left side
Transmitter (Sensor Unit) - Right side

� Content Summary
Section
Description
Important Precautions
4 key safety notes
Function Keys Reference
7 buttons with detailed functions
Operation Interface Overview
14 interface descriptions
Alarm Usage Steps
Step-by-step usage guide
� Important Precautions
1. After cleaning the transmitter, be sure to wipe it dry before placing it in the charging case for charging.
2. After powering on, please set the correct time first to ensure accurate alarm records and alarm clock times.
3. After powering on, the screen will automatically turn off after 30 seconds of no operation. Press the power
button to wake up the screen for further operation.
4. During product testing, when the screen is off and the receiver receives a signal, there will be a delay of
approximately 5 seconds to wake up the screen — this is a normal phenomenon. At the end of testing (i.e., when
the wet wipe or wet cloth leaves the sensing contact points), to prevent false alarms, the transmitter has a 20-second
reset time. Therefore, please wait 20 seconds before testing again after the test ends.
5.After each rinsing of the emitter, the 4 sensing contacts must be wiped dry and kept dry before it can be used
again
� Function Keys Reference
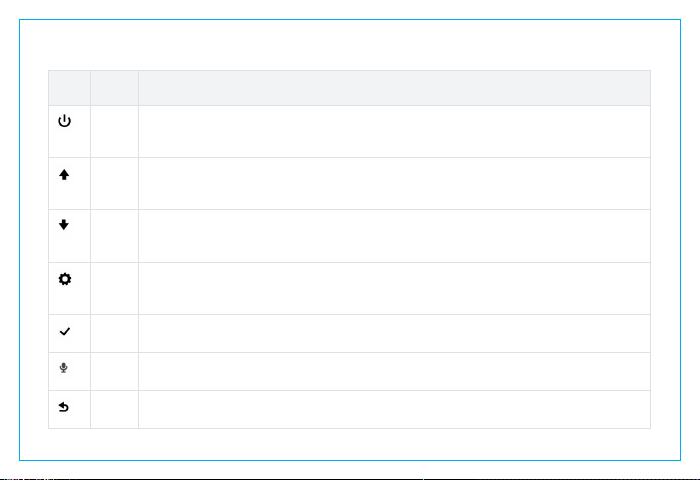
Button
Name
Usage
Power
Key
1,Long press 3s to power on/off;
2,After the receiver is turned on, if no operation is performed within 30 seconds, the screen
will turn off. Press this key to wake up the screen
Up Key
1,On the main interface, press to increase the volume.;
2,After entering the menu, press this key to scroll up
3,When setting the time and alarm, press this key to adjust the time digits.
Down
Key
1,On the main interface, press to decrease the volume.
2,After entering the menu, press this key to scroll down.
3,When setting time and alarm, press this key to adjust the number values.
Menu
Key
1,Press this key to enter the menu and select functions.
2,When setting the time and alarm, press this key to switch among year, month, day, hour and
minute.
Confirm
Key
Function Confirmation
Record
Key
Press and hold this key for 3 seconds then release to start recording. Press and hold it again
for 3 seconds to stop recording.
Return
Key
Return to previous menu
⚠ Note: When alarm sounds or sleep music plays, pressing any of Menu,
Confirm, Record, or Return key can stop it.
�
Operation Interface Overview
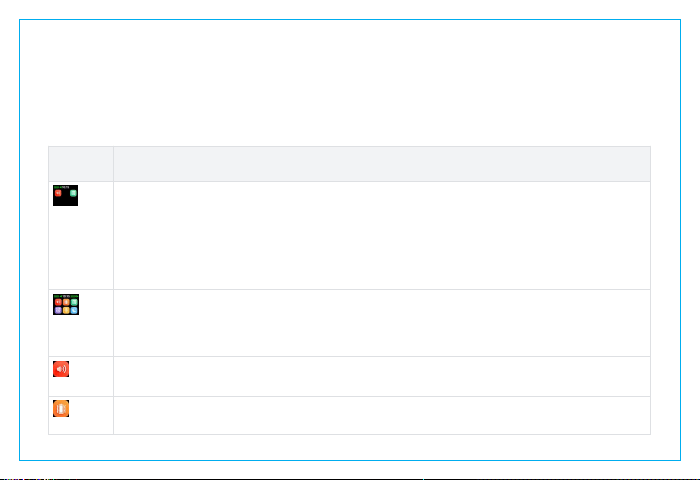
Interface
Description
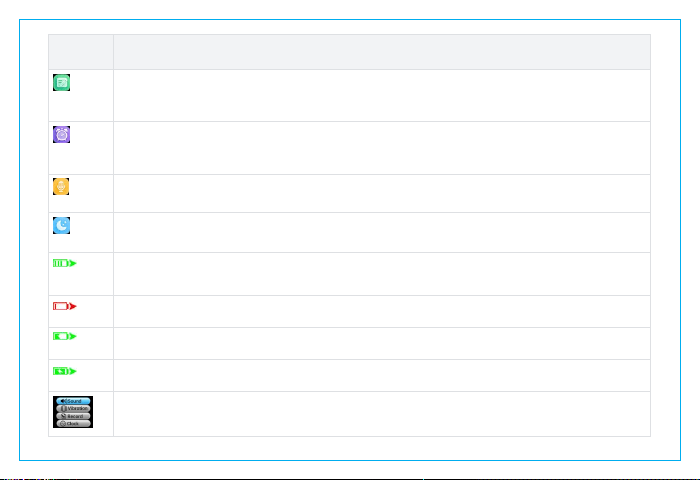
Main
Interface
On the power-on main interface, the alarm sound, alarm records and receiver battery level are displayed
by default. The vibration function needs to be enabled in the settings,and the time must be set
accurately,The recording icon will only appear after you make a recording and select the recording
option in the menu. The recorded sound is a personalized tone; after selecting the recording, it will
replace the monotonous beeping sound as the alarm tone.
Sleep-aid music needs to be turned on in the menu.
On this interface,you can adjust the volume by pressing the Up and Down keys.
Main
Interface
(Set)
This interface shows that vibration, alarm clock, and custom recording as the alarm sound have been
set, and sleep-aid music is enabled. If any function is cancelled, the corresponding icon will
disappear.
On this interface,you can adjust the volume by pressing the Up and Down keys.
Alarm
Sound
Default beep sound. Can replace with personalized recorded voice.
Vibration
Set the vibration function in the menu, which has two options: On and Off.It can be used together
with the alarm sound, or used independently.
Interface
Description
AlarmRecords
The receiver records one entry for each alarm trigger. Only the latest 5 alarm records are saved;
any new records beyond 5 will automatically overwrite the earliest ones. Records can be viewed by
accessing the menu.
Alarm Clock
After setting the correct time in the menu, check the most recent 3-5 alarm records, set an alarm
30 minutes or 1 hour earlier to wake the child up in advance for bathroom breaks, and break the
bedwetting habit.
Recording
Press and hold the record key for 3 seconds then release it to record your child's favorite music
or parents' reminder voice. Press and hold the key again for 3 seconds to finish recording.
Sleep
Music
Select sleep-aid music in the sound options of the menu. 7 options: Rain, Bonfire, Cricket, Bird,
Stream, Ocean Waves, Highland Wind。
Battery
Display
Top-left: receiver battery. Right: transmitter battery.
This icon indicates the remaining battery power.
Low Battery
Indicates battery needs charging.
Chargin
g
Indicates device is charging.
Fully Charged
Receiver: 3-4hrs. Transmitter: 2-3hrs.
Fun
Press the Menu key on the main interface to enter this page, where you can set the time, adjust sound
settings, enable vibration settings, and view records.
Interface
Description
ction
Selection
Function
Toggle
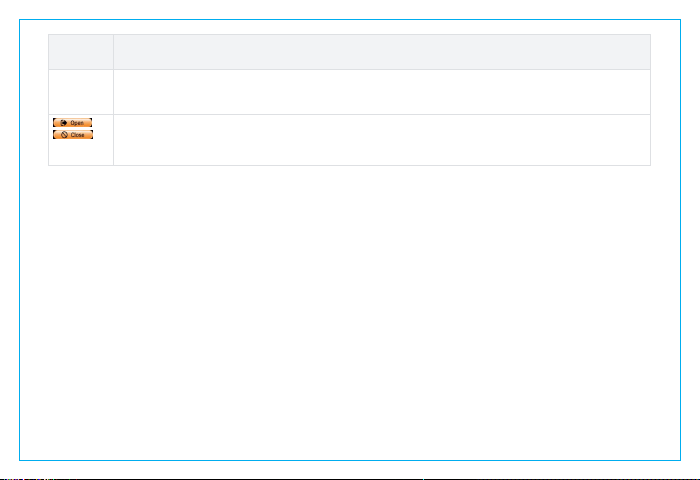
Turn functions OPEN or CLOSE
� Alarm Usage Steps
Step 1: Charging & Setup
Open receiver back cover → take out charging compartment with transmitter
Keep transmitter dry before placing in charging compartment
Transmitter auto-shuts off when fully charged
Receiver screen shows no battery icon when transmitter is fully charged
Step 2: Power On
Taking transmitter out of charging compartment auto-powers it on
10-second automatic reset time after power on
Ready for use after reset completes

Step 3: Install Transmitter
Clip transmitter near areas prone to getting wet
4 sensing points under the clip — at least 2 must contact urine to trigger alarm
Only when signal is sent will receiver alarm
Step 4: Cleaning & Waterproof
IPX7 waterproof — safe to rinse with clean water
Must be fully dry before placing in charging compartment
Step 5: Reset Time
20-second automatic reset after each use
During reset: signals will NOT trigger alarm
After reset: contact with urine/water WILL trigger alarm
Battery & Charging
Device
Charging Time
Receiver
3-4hours
Transmitter
2-3hours

FCC Warnning:
This equipment has been tested and found to comply with the limits for a Class B digital device,
pursuant to part 15 of the FCC Rules. These limits are designed to provide
reasonable
protection against harmful interference in a residential installation. This equipment generates,
uses and can radiate radio
frequency
energy
and,
if
not
installed
and
used
in
accordance
with
the
instructions,
may cause
harmful
interference
to
radio
communications.
However,
there
is
no
guarantee
that interference
will
not
occur
in
a
particular
installation.
If
this
equipment
does
cause
harmful interference to radio or television reception, which can be
determined by turning the equipment off
and
on,
the
user
is
encouraged
to
try
to
correct
the interference
by
one
or
more
of
the following measures:
•
Reorient or relocate the receiving antenna.
•
Increase the separation between the equipment and receiver.
•
Connect the equipment into an outlet on a circuit different from that to which the receiver is
connected.
• Consult the dealer or an experienced radio/TV technician for help.
Caution:
Any
changes
or
modifications
to
this
device
not
explicitly
approved
by
manufacturer
could void your authority to operate this equipment.
This
device
complies
with
part
15
of
the
FCC
Rules.
Operation
is
subject
to
the
following
two
conditions:
(1)This
device
may
not
cause
harmful
interference,
and
(2)
this
device
must
accept
any
interference received, including interference that may cause undesired operation.
This
equipment
complies
with
FCC
radiation
exposure
limits
set
forth
for
an
uncontrolled
environment.
This
equipment
should
be
installed
and
operated
with
minimum
distance
0cm
between the radiator and your body.