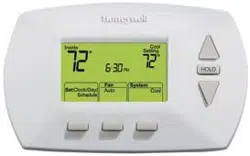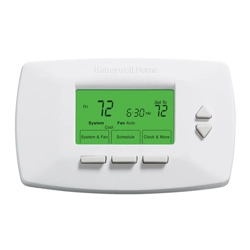
MCR33842
Go Back Next Done
6
15
2012
MCR33763
50 60 70 80 F
OFF
AUTO EM. HEAT
EM. HEATAUX. HEAT
50 60 70 80
MCR33835A
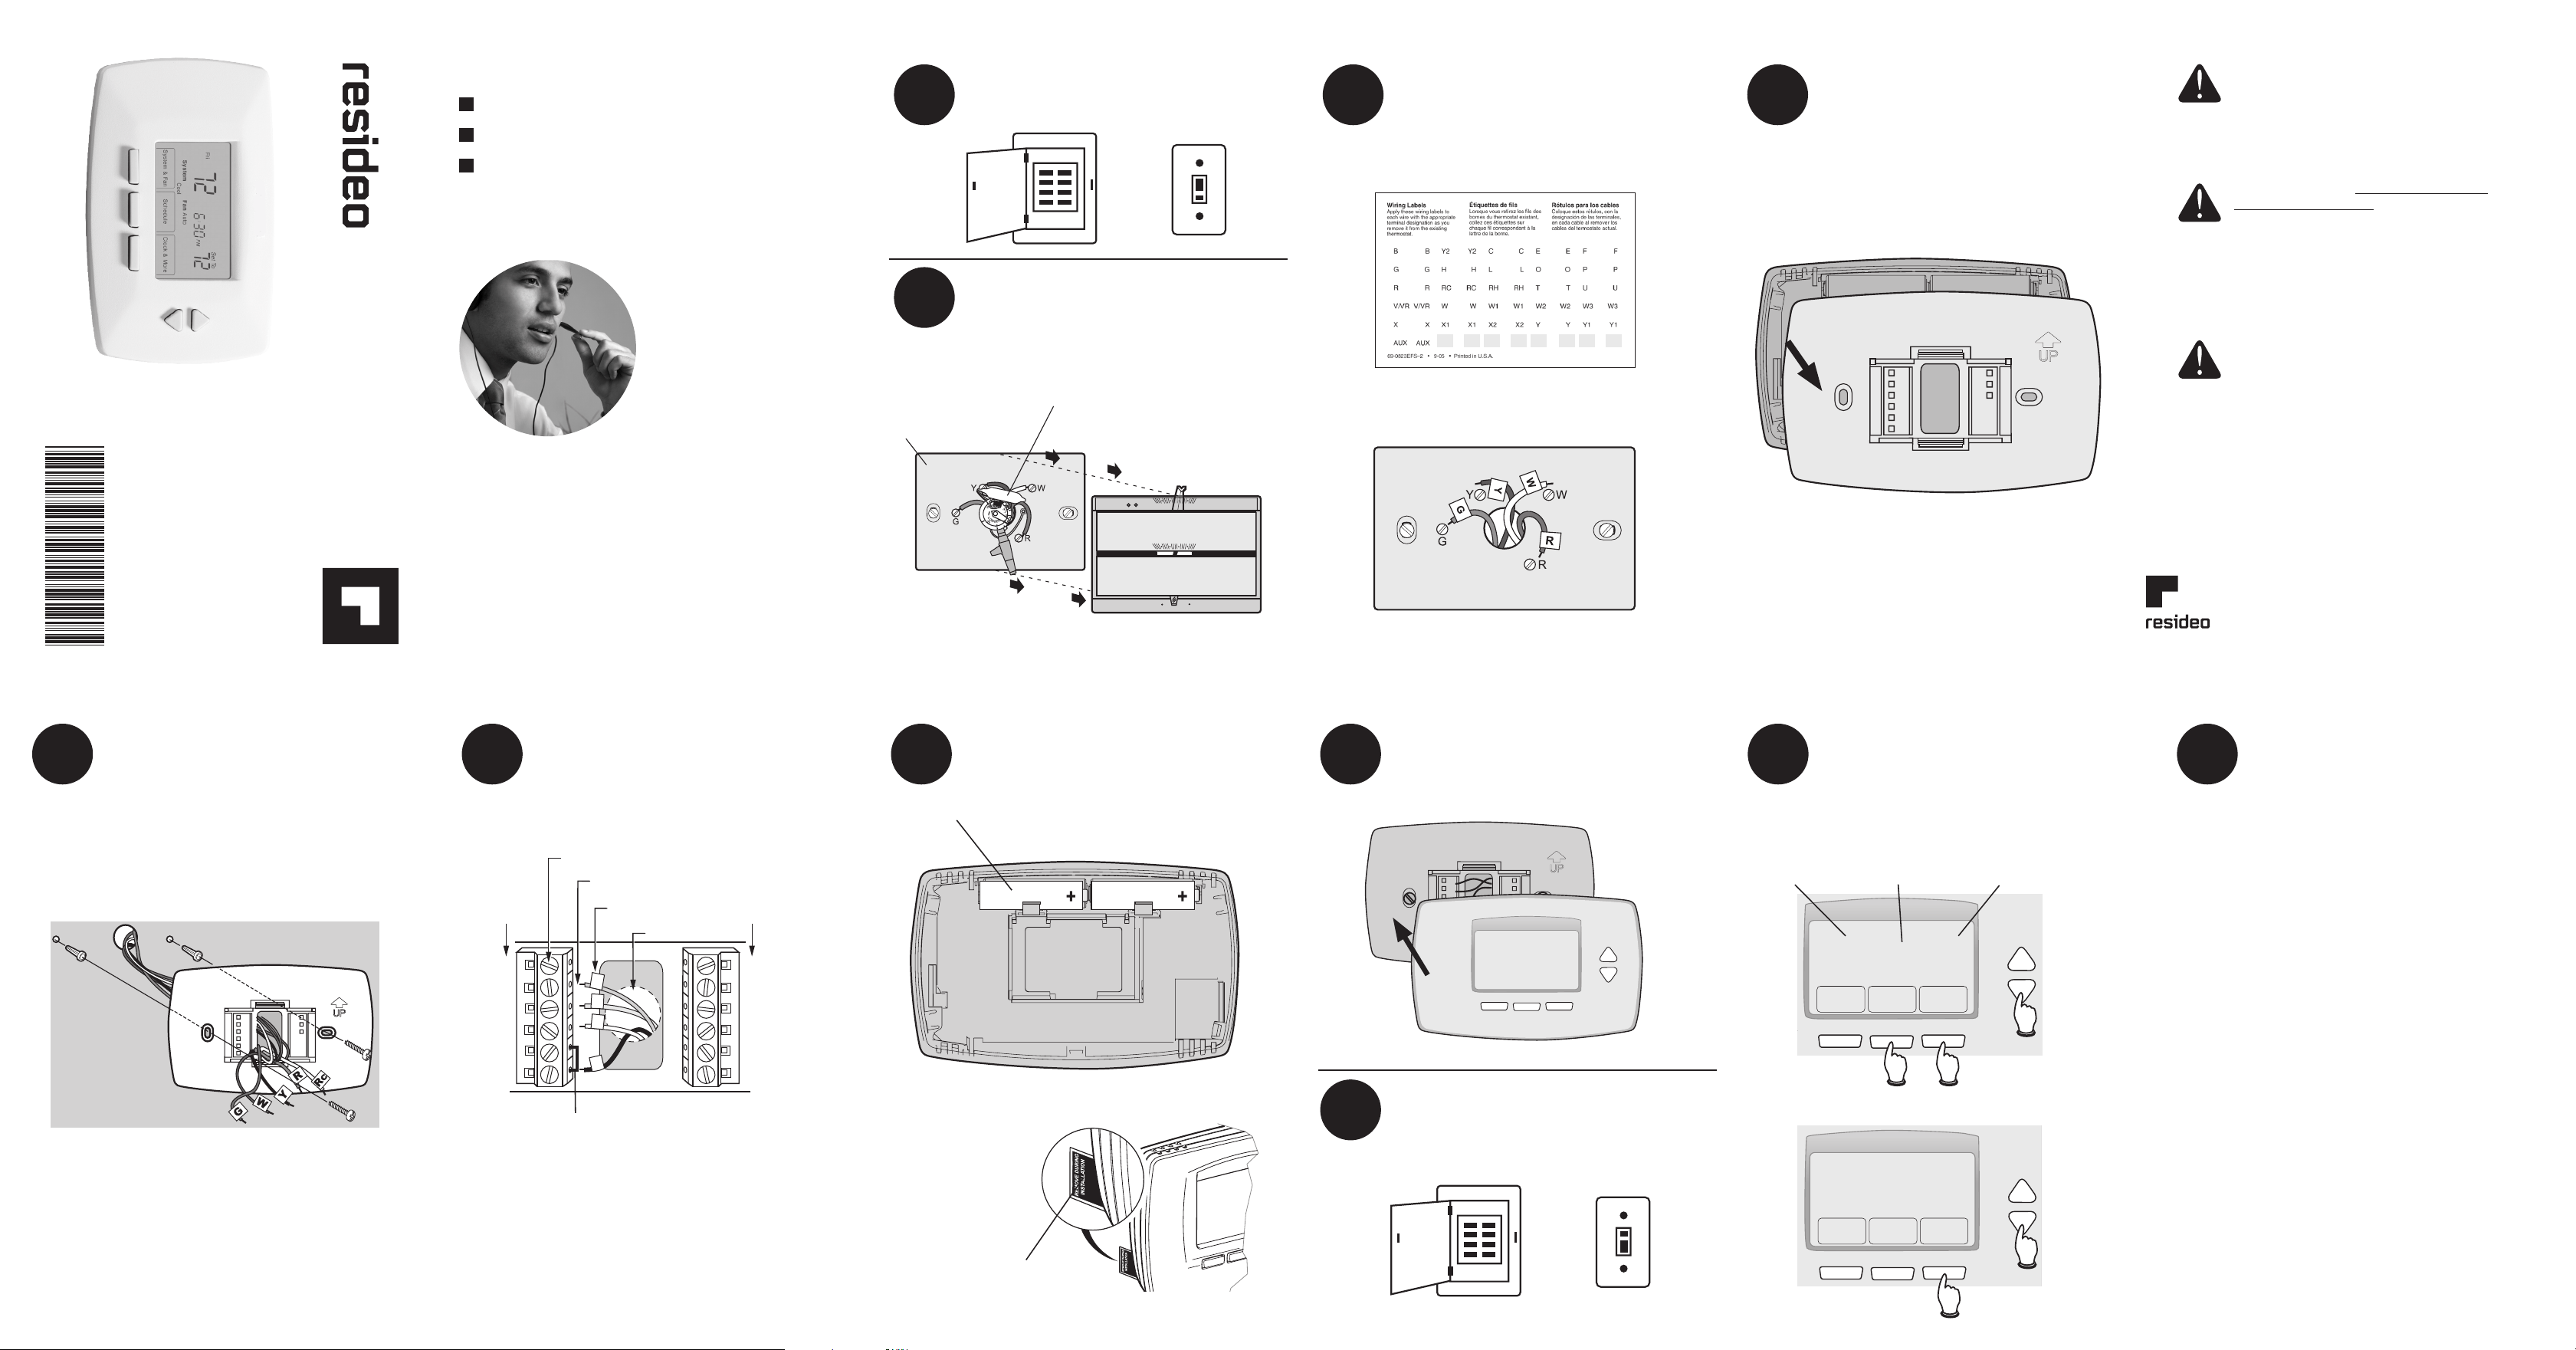
Installation is Easy
Label wires and remove your old thermostat
Install and wire your new thermostat
Set your new thermostat to match your heating/cooling
system
– This thermostat works with virtually all System
Types
– It is preset for the most common system
We are here to help.
Call 1-800-468-1502 for
wiring assistance before
returning the thermostat to
the store.
Remove old thermostat but leave wallplate with
wires attached.
2
Remove Old Thermostat
1
Turn OFF Power to Heating/Cooling
System
Is there a sealed tube containing
mercury? If so, see back cover for
proper disposal instructions.
Leave wallplate in
place
Old thermostat
Cover
Label the wires using the supplied wire labels as you
disconnect them, then remove the old wallplate.
3
Label Wires with Tags
Wire Labels
Wire color might not match labels.
M31545
Remove wallplate from the new thermostat.
M28073
4
Separate Wallplate from
New Thermostat
Wallplate
Mount the new wallplate using the included screws
and anchors.
5
Mount Wallplate
MCR28094
Drill 3/16-in. holes for drywall
Drill 7/32-in. holes for plaster
MCR28102
Simply match wire labels.
Remove metal jumper if you have both R and Rc wires.
MCR28070
W2
Y2
C
G
Y
W
RC
R
LABELED WIRES
SCREW
CONVENTIONAL
INSERT WIRES
THEN TIGHTEN SCREWS
WIRE HOLE
Y
G
R
W
CONVENTIONAL
6
Connect Wires
Labels don’t match? See Wiring Notes (over).
Have a Heat Pump system? See Wiring Notes (over).
Call 1-800-468-1502 for wiring assistance.
Install two AA alkaline batteries and remove tab.
MCR28101
Back of thermostat
Remove tab.
7
Install Batteries
M28103
Install thermostat onto the wallplate on the wall.
Turn the power back on to the heating/cooling system.
8
Install Thermostat onto Wallplate
9
Turn Power Back ON
If your system type is:
q Single Stage Heat and Cool
Congratulations, you’re done!
Thermostat is set with energy saving schedule; see
operating manual to adjust schedule.
If your system type is:
q Multistage Heat and Cool
q Heat Pump* without Backup Heat
q Heat Pump* with Backup Heat
q Heat Only
q Cool Only
Continue to step 12a to match your thermostat to your sys-
tem type.
*Heat Pump—an air conditioner that provides cooling in the
summer, and also runs in reverse in the winter to provide
heating.
This thermostat works on 24 volt or 750 mV systems. It will
NOT work on 120/240 Volt systems.
11
If your system type is...
10
Set Time and Date
Press s or t to set month, then press NEXT.
Press s or t to set day, then press NEXT.
Press s or t to set year, then press DONE.
Press s or t to set time, then press DONE to save and exit.
MERCURY NOTICE: Do not place your old
thermostat in the trash if it contains mercury in
a sealed tube. Contact the Thermostat Recycling
Corporation at www.thermostat-recycle.org
or 800-238-8192 for information on how and
where to properly and safely dispose of your old
thermostat.
CAUTION: To avoid possible compressor
damage, do not run air conditioner if the outside
temperature drops below 50°F (10°C).
This thermostat contains a Lithium battery which
may contain Perchlorate material.
Perchlorate Material—special handling may apply,
See www.dtsc.ca.gov/hazardouswaste/perchlorate
NOTE: Jumper wire used on old thermostat? If yes, note
what letters the jumper connected and review in wiring
section.
Month
Year Day
or
or
Quick Start Guide
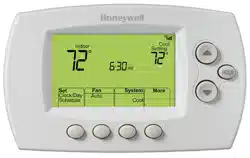
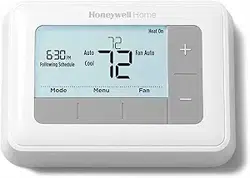
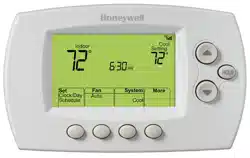
Programmable Thermostat
RTH7400/RTH7500, RET97 Series
MCR33843
Done
10:10
If you are not sure of your system type or if you have other
questions, call us toll-free at 1-800-468-1502.
69-2722-05
Resideo Technologies, Inc.
1985 Douglas Drive North, Golden Valley, MN 55422
1-800-468-1502
69-2722—05 M.S. Rev. 07-21 | Printed in United States
© 2020 Resideo Technologies, Inc. All rights reserved.
This product is manufactured by Resideo Technologies, Inc. and its affiliates.
www.resideo.com
MCR33841
NextGo Back Done
20
0120
Alternate wiring (heat pump system only)
Leave metal jumper in place, connecting R & Rc terminals.
If your old thermostat had both V and VR wires, stop now and contact a
qualified contractor for help.
If your old thermostat had separate O and B wires, attach the B wire to
the C terminal. If another wire is attached to the C terminal, stop now
and contact a qualified contractor for help.
If your old thermostat had Y1, W1 and W2 wires, stop now and contact
a qualified contractor for help.
If L terminal is used, C terminal wire must be connected (contact a
contractor if there is no C wire).
If E and Aux terminals do not each have a wire connected, use a small
piece of wire to connect them to each other.
Use the Setup and Navigation steps in 12a to set Display Preferences.
Step 3
1 Press s t to change setting.
2 Press NEXT to advance to next function.
3 Press DONE to save & exit.
Alternate wiring (conventional systems)
Remove metal jumper connecting R and Rc only if
you must connect both R and Rc wires.
If your old thermostat had both R and RH wires,
remove metal jumper. Connect the R wire to the
Rc terminal, and the RH wire to the R terminal.
If your old thermostat had only 1 C or C1 wire,
connect it to the C terminal. If your old thermostat
had 2 C or C1 wires, wrap each separately with
electrical tape and do not connect them.
C
G
Y
W
RC
R
W2
Y2
Y2
W2
W
Y
G
MCR32160
R
2
Rc
2
C
3
Conventional system
Connect wires: Heat Pump
1. Match each labeled wire with same letter on new thermostat.
2. Use a screwdriver to loosen screws, insert wires into hole
under screw, then tighten screws until wire is secure.
3. If E and Aux do not each have a wire connected, use a small
piece of wire to connect them to each other.
4. Push any excess wire back into the wall opening.
Labels don’t match?
If labels do not match letters on thermostat, see Alternate wiring
(heat pump system only)
Heat pump
2
3
5
3 5
4
6
6
MCR32161
C
G
Y
O/B
RC
R
AUX
E
L
5
6
69-2722—05
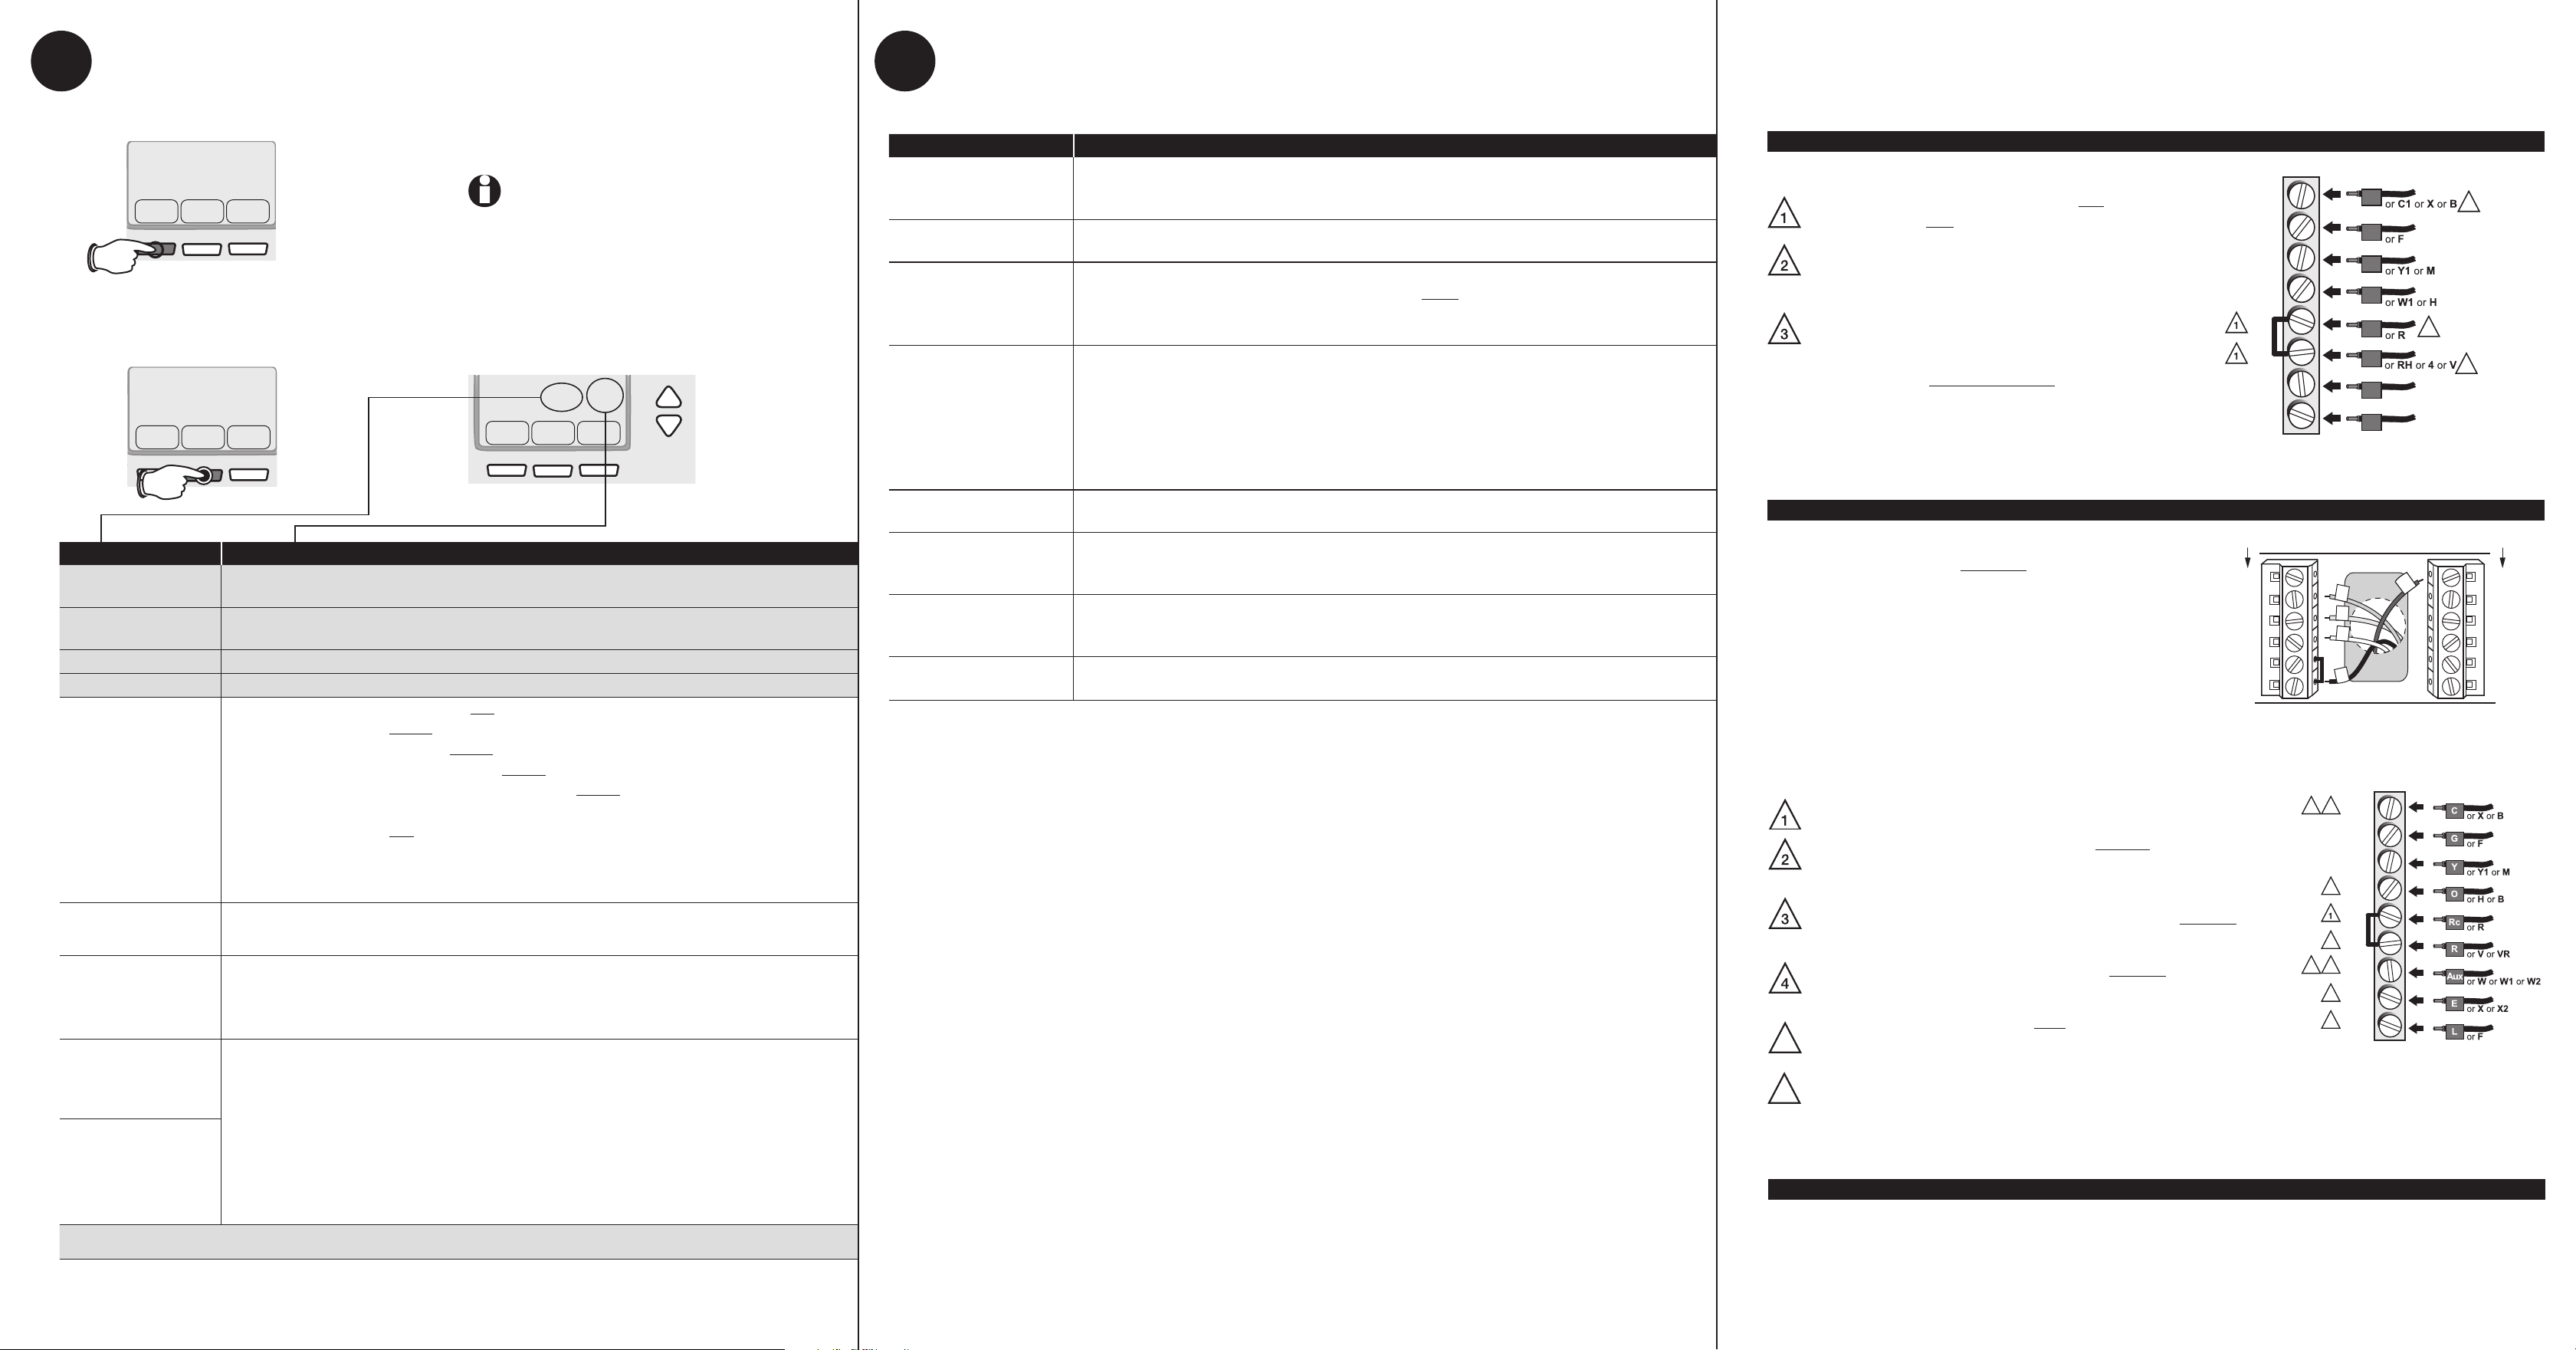
Function Settings & Options
0300
Manual/Auto
Changeover
0 Manual changeover (Heat/Cool/Off).
1 Automatic changeover (Heat/Cool/Auto/Off). Automatically turns on Heat or Cool based on room
temperature. Note: System maintains minimum 3°F difference between heat and cool settings.
0320
Temperature Format
(°F/°C)
0 Fahrenheit
1 Celsius
0330
Daylight Saving Time
On/Off
0 Off: No adjustment for daylight saving time.
1 On: Auto-change to daylight saving time (for areas that do not use the new 2007 DST calendar).
2 On: Auto-change to daylight saving time (2007 and beyond, for areas that use the new 2007 DST
calendar).
0500
Furnace Filter Change
Reminder
0 Off (no reminder)
1 Reminder in about 1 month
2 Reminder in about 3 months
3 Reminder in about 6 months
4 Reminder in about 9 months
5 Reminder in about 1 year
6 Reminder in about 3 years
0530
Smart
Response
®
Technology
1 On
0 Off
0600
Maximum Heat
Temperature Limit
(select models only)
90°F (other options: 40-89°F [4-32°C])
0610
Minimum Cool
Temperature Limit
(select models only)
50°F (other options: 51-99°F [11-37°C])
0640
Clock Format
12 12-hour clock (i.e., “3:30 pm”)
24 24-hour clock (i.e., “15:30”)
12a
System Setup
12b
Preferences (optional)
Wiring Notes
Step 1
Press and release the left button.
Step 2
Press and hold the center button until the screen
changes (approximately 5 seconds).
Customer assistance
For assistance with this product, please visit customer.resideo.com
or call Customer Care toll-free at 1-800-468-1502.
MCR33839
System & Fan Schedule Clock & More
72
6:30
Fri
System
Cool
Fan Auto
Set To
PM
72
MCR33840
System
FanDone
System
Heat Off Cool
Fan Auto
MCR33552
Aux
E
L
C
G
Y
O/B
RC
R
HEAT PUMP
Y
G
R
Aux
O
HEAT PUMP
NOTE: Some functions may not appear due to
thermostat model or previous selections made.
Function Settings & Options
0120*
Year Setting
(first two digits)
20 = Year 20xx
21 = Year 21xx
0130*
Year Setting
(second two digits)
01 - 99 (i.e., 2001 - 2099)
0140*
Month Setting
01 - 12 (i.e., January - December)
0150*
Date Setting
01 - 31
0170
Select System Type
1 Heat/cool: Gas, oil or electric heating with central air conditioning.
2 Heat pump: Heat pump without backup or auxiliary heat.
3 Heat only: Gas, oil or electric heat without central air conditioning.
4 Heat only with fan: Gas, oil or electric heat without central air conditioning.
5 Hot water heat only (no fan): Gas, oil or hot water heat without central air conditioning.
6 Cool only: Central air conditioning only.
7 Heat pump: Heat pump with backup or auxiliary heating.
8 Heat/Cool Multiple stages: 2 heat stages (wires on W and W2), 2 cooling stages (wires on Y and Y2).
9 Heat/Cool Multiple stages: 2 heat stages (wires on W and W2), 1 cooling stage (wire on Y).
10 Heat/Cool Multiple stages: 1 heat stage (wire on W), 2 cooling stages (wires on Y and Y2).
0180
Heating Fan Control
0
Gas or oil heat: Use this setting if you have a gas or oil heating system (system controls fan operation).
1 Electric heat: Use this setting if you have an electric heating system (thermostat controls fan operation).
0190
Heat Pump
Changeover Valve
(for heat pumps
only)
0
Cooling changeover valve: Use this setting if you connected a wire labeled “O” to the O/B terminal (see
page 22).
1 Heating changeover valve: Use this setting if you connected a wire labeled “B” to the O/B terminal (see
page 23).
0240
Heating Cycle Rate
5
Gas or oil furnace: Standard gas/oil furnace (less than 90% efficiency).
9 Electric furnace: Electric heating systems.
3 Hot water or high-efficiency furnace: Hot water system or gas furnace (more than 90% efficiency).
1 Gas/oil steam or gravity system: Steam or gravity heat systems.
Settings 5, 9, 3, or 1 recommended. Other settings: 2, 4, 6, 7, 8, 10, 11, 12.
The number indicates how frequently the system cycles on and off to maintain the set temperature.
A higher number means the system is on and off for shorter amounts of time, a lower number means
longer on and off times. When these settings are set to match the system type, the thermostat controls
temperature more accurately.
0270
Emergency Heat
Cycle Rate (heat
pumps only)
* Functions set in Step 10.