
1
INSTALLATION INSTRUCTIONS: 356-9474 (CL-SM1000L-2H)
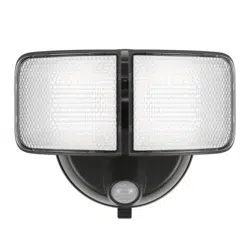
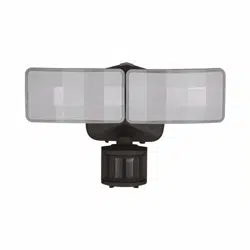
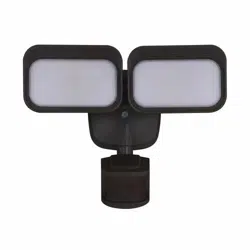
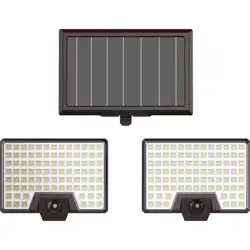
1000 LUMEN SOLAR MOTION ACTIVATED SECURITY LIGHT
If you have questions or are missing parts, please contact customer service at 1-888-745-4837
PRECAUTIONS:
Please read and understand this entire manual before installing or operating this light xture.
• Thislightxtureshouldbeinstalledoutdoorstoawalloreave.
• Donotcutthesolarpanelwire.Discontinueuseifthewirebecomesfrayedorbroken.
• Donotimmersecomponentsinliquid.
• Donotuseanyotherchargingdeviceotherthanthesinglesolarchargingpanelprovidedwiththislight.Doingsomayresultininjury
ordamagetothelightandvoidsanywarranty.
• Positionthecordsoitissecurelyfastenedandwillnotresultinhazards(suchastripping).
• Yourmotionlightandsolarpanelarebothwater-resistant.
• Neverlookdirectlyintothesolarmotionlightwhenilluminated.
• Operatingtemperature-13
o
Fto113
o
F(-25
o
Cto45
o
C)
WARNING: TopreventSERIOUS INJURY OR DEATH,neverallowchildrennearthebatteries.Ifabatteryisswallowed,seek
immediatemedicalattention.
WARNING: Whenreplacingthebattery,DO NOT useanoldbattery.Makesuretomatchthereplacementbatteryspecicationswiththebatterythat
hasbeenremoved(186503.7VLi-ionbattery,1800mAh). DO NOT DISPOSE OF THE BATTERIES IN FIRE. BATTERIES MAY LEAK OR EXPLODE
.
6xMountingScrews 6xWallAnchors 2xLightMounting
Brackets
1xSolarMounting
Bracket
2XSecurityLights 1XSolarPanel
HARDWARE:
6 x Wall plugs
6 x Mounting Screws
Please read these instructions thoroughly prior to installation, then store in a safe place for future reference.
1 x Solar Panel
1 x Motion Light
1
1 X Mounting Plate
SOLAR MOTION LIGHT
6 x Wall plugs
6 x Mounting Screws
Please read these instructions thoroughly prior to installation, then store in a safe place for future reference.
1 x Solar Panel
1 x Motion Light
1
1 X Mounting Plate
SOLAR MOTION LIGHT
SOLAR MOTION SENSOR LIGHT
PACKAGE LIST
IMPORTANT INFO
1. It is recommended to turn off the light and charge it under direct sunlight for 1-2 days before the first use. Make sure
the battery is fully charged.
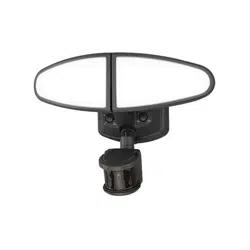
2. No matter where you mount the motion light, the solar panel must be installed outdoor facing directly to the sun to have
the maximum sun energy harvest.
3. The solar panel should be cleaned with a damp cotton cloth regularly for optimal output performance and battery
charging.
2 x Solar Motion Sensor Light
6 x Screws
6 x Wall Plugs
Be sure choose a place to install the solar panel where it can receive the maximum sunshine.
Solar panel
Solar panel
Solar panel
1x Solar panel
1x Solar panel
mountiong plate
2x Light
mountiong plate
SOLAR MOTION SENSOR LIGHT
PACKAGE LIST
IMPORTANT INFO
1. It is recommended to turn off the light and charge it under direct sunlight for 1-2 days before the first use. Make sure
the battery is fully charged.
2. No matter where you mount the motion light, the solar panel must be installed outdoor facing directly to the sun to have
the maximum sun energy harvest.
3. The solar panel should be cleaned with a damp cotton cloth regularly for optimal output performance and battery
charging.
2 x Solar Motion Sensor Light
6 x Screws
6 x Wall Plugs
Be sure choose a place to install the solar panel where it can receive the maximum sunshine.
Solar panel
Solar panel
Solar panel
1x Solar panel
1x Solar panel
mountiong plate
2x Light
mountiong plate
PowerDrill
PhillipsScrewdriver
Ladder
SafetyGlasses
Level
TOOLS REQUIRED:
1/8”DrillBit
(NOTINCLUDED)
2
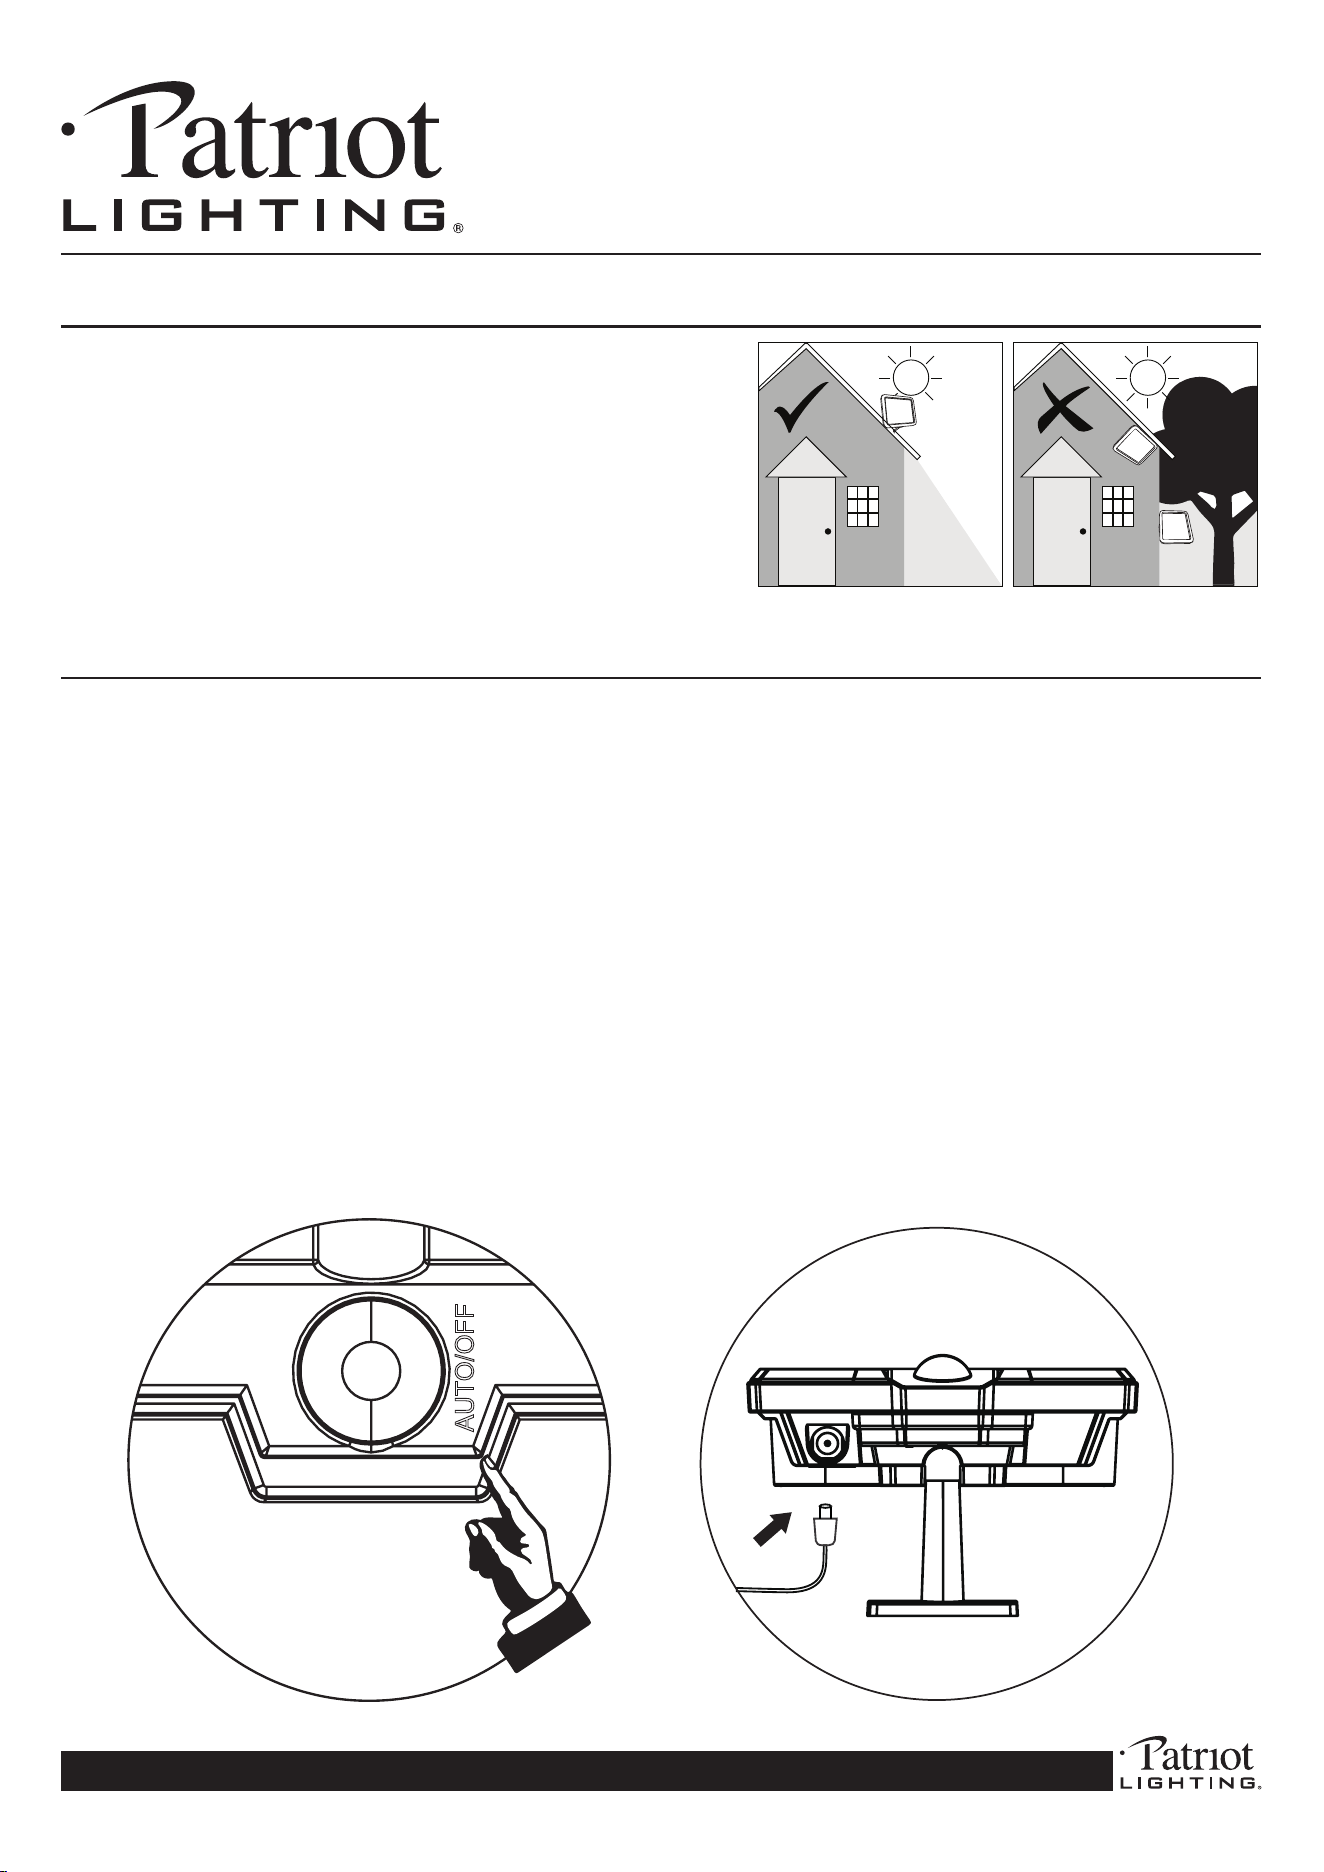
RECOMMENDED INSTALL
HEIGHT:
Installthelightbetween
6.5-8.5feetabovetheground.
Thexturewillprovidea
detectiondistanceofup
to40feet.
LOCATION OF SOLAR
PANEL:
Forthebestresults,installyour
solarpanelinanareawhereit
canabsorbmaximumsunlight
duringdaytimehours.Be
awareofobjectssuchastrees
orpropertyoverhangsthatmay
impedethepanel’sabilityto
generateacharge.
INSTALLATION INSTRUCTIONS: 356-9474 (CL-SM1000L-2H)
1000 LUMEN SOLAR MOTION ACTIVATED SECURITY LIGHT
If you have questions or are missing parts, please contact customer service at 1-888-745-4837
OPERATION GUIDE
INSTALLATION
REPLACING THE BATTERY
18650 3.7V
OPERATION GUIDE
INSTALLATION
REPLACING THE BATTERY
18650 3.7V
PRE-INSTALLATION:
1.Beforeassembly,comparepackagecontentswiththehardwarelisttomakesureallpartsare
present.
2. Prior to installing the lights, an initial charge is needed and should be done in the OFF
position for at least 1 to 2 days in direct sunlight before use (see page 3, g 5 for mode
selections). Make sure to plug the solar panel into the lights to charge the batteries.
Afterward, the included rechargeable batteries will be charged sufciently for operation.
3.Whenfullychargedandreadytoinstall,selectasuitablelocationthatcansupporttheweightof
thexture.
4.Thesolarpanelcomeswitha15ft.wire.Themaximumdistancebetweenthesolarpaneland
lightis15ft.
5.Themotionsensorislight-sensitive.Forbestperformanceatnight,ensurethereisnointerfering
lightpreventingthesensorfromworkingcorrectly
6.Estimatedinstallationtime:15Minutes
3
Cx2
Dx2
Cx2
Dx2
OPERATION GUIDE
INSTALLATION
REPLACING THE BATTERY
18650 3.7V
Fig 1
Fig 2
Fig 3
INSTALLATION INSTRUCTIONS: 356-9474 (CL-SM1000L-2H)
1000 LUMEN SOLAR MOTION ACTIVATED SECURITY LIGHT
If you have questions or are missing parts, please contact customer service at 1-888-745-4837
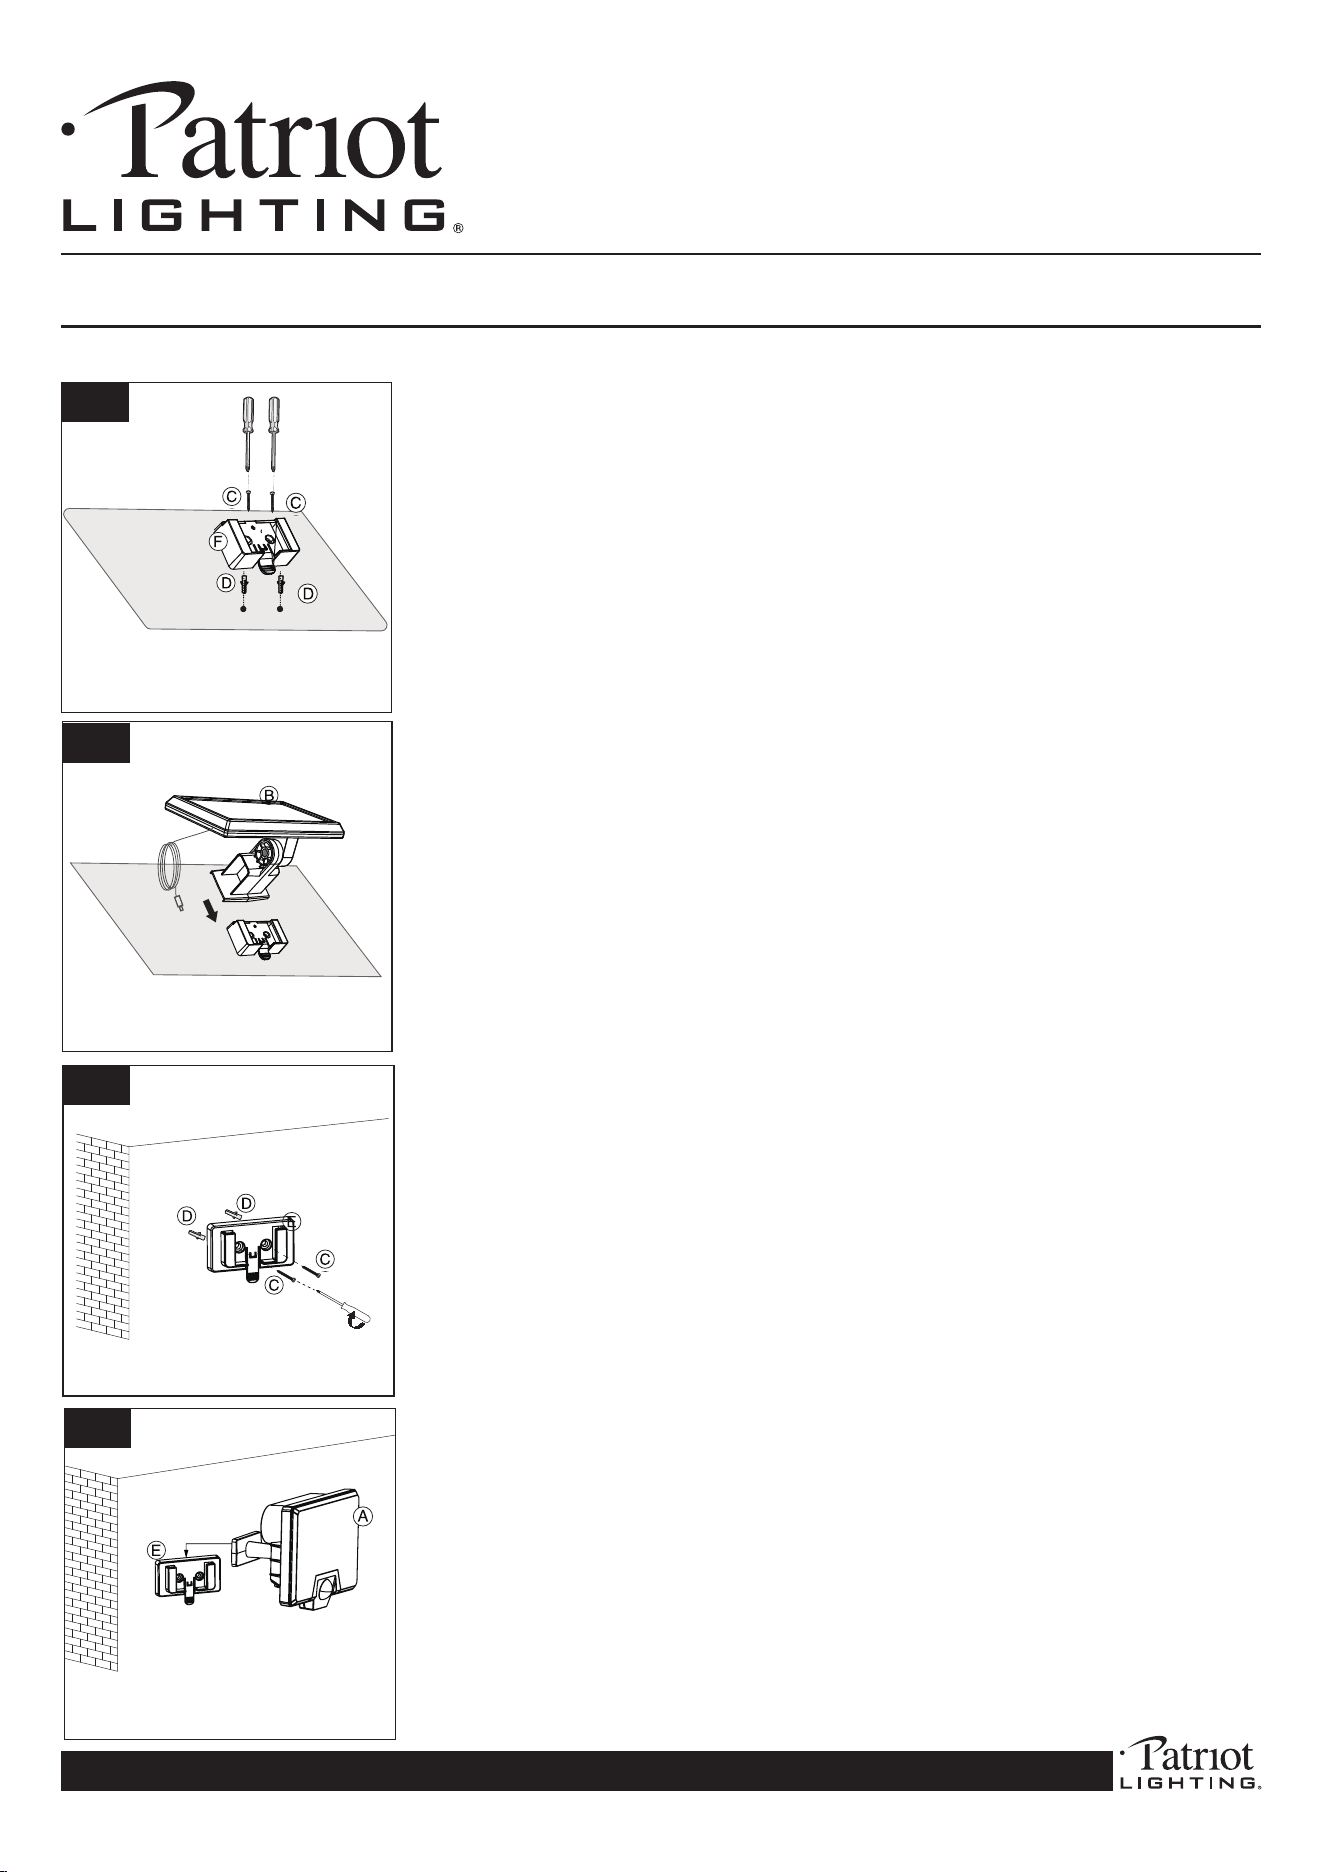
Use a drill and a 1/8” drill bit to drill the holes on your preferred
mountingsurfaceutilizingthelightmountingbracket(E)screwholes
asyourguide.Use(2)wallanchors(D),insertintoeachhole,then
use(2)screws(C)tofastenthemountingbracket(E)tothesurface.
MakesuretheclipsideisfacingoutasshowninFig3.Repeatfor
thebracketofthesecondlight.
ConnecttheLEDLight(A)tothelightmountingbracket(E)asshown
inFig4.RepeatforthesecondLEDlight.
Beforeconnectingthelighttothemountingbracket,switchtheMode
totheAutoposition(seeOperationGuidebelow).
Note: Make sure the distance between the light and solar panel
are within 15 feet.
3
4
Selectthedesiredpositionforthesecuritylightandsolarpanel.The
maximum distance between the security light and solar panel
is 15 ft.
Use a drill and a 1/8” drill bit to drill the holes on your preferred
mounting surface utilizing the solar panel mounting bracket (F)
screwholesasyourguide.Use(2)wallanchors(D),insertintoeach
hole,thenuse(2)screws(C)tofastenthemountingbracket(F)to
thesurface.MakesuretheclipsideisfacingoutasshowninFig1.
Connect the solar panel (B) to the solar mounting bracket (F) as
showninFig2.
Note: Make sure the distance between the light and solar panel
are within 15 feet.
INSTALLATION:
1
2
OPERATION GUIDE
INSTALLATION
REPLACING THE BATTERY
18650 3.7V
OPERATION GUIDE
INSTALLATION
REPLACING THE BATTERY
18650 3.7V
OPERATION GUIDE
INSTALLATION
REPLACING THE BATTERY
18650 3.7V
Fig 4
4
INSTALLATION INSTRUCTIONS: 356-9474 (CL-SM1000L-2H)
1000 LUMEN SOLAR MOTION ACTIVATED SECURITY LIGHT
If you have questions or are missing parts, please contact customer service at 1-888-745-4837
OPERATION GUIDE
INSTALLATION
REPLACING THE BATTERY
18650 3.7V
Fig 5
Fig 6
OPERATION GUIDE
INSTALLATION
REPLACING THE BATTERY
18650 3.7V
OPERATION GUIDE
INSTALLATION
REPLACING THE BATTERY
18650 3.7V
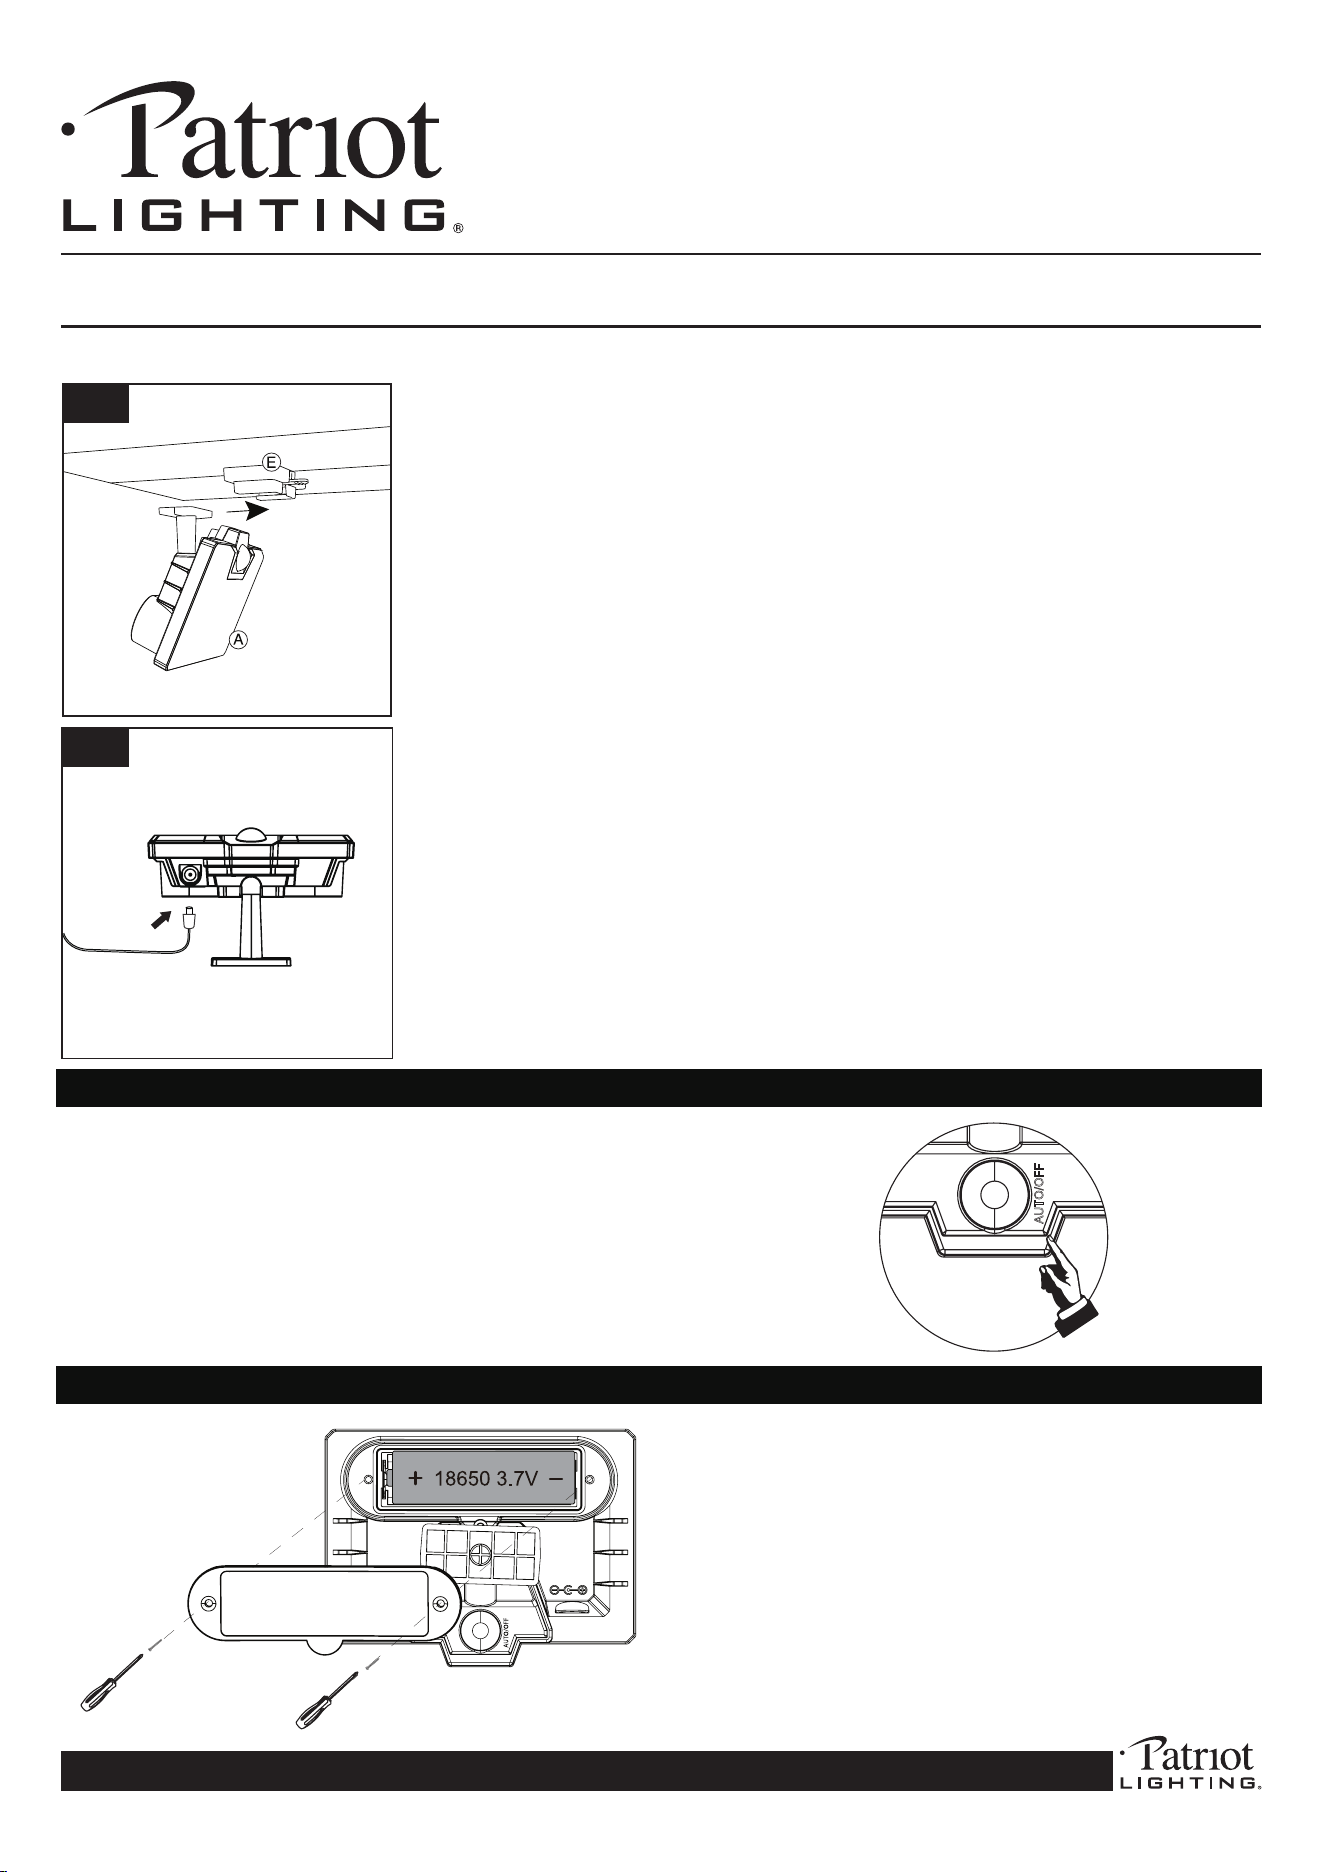
Afterinstallation,pressthemodebuttononcetoenterAuto Mode.
Thelightwillturnonfor3secondstoindicatethatAutoModehas
beenactivated.InAutoMode,thelightwillturnonfor20seconds
whenmotionisdetected(itwon’tturnonduringdaylighthours).Press
themodebuttonagaintoenterOFF Mode.Thelightwillturnoff.
DETECTION: 120
o
detectionzoneupto40’
If the battery needs to be replaced, the battery
housing panel is located on the back of each
LED light. Make sure the units are in the OFF
mode rst. Unscrew the battery housing panel.
Remove the old battery and replace it with a
Li-ionrechargeablebattery186503.7V1800mAh.
Makesurethepolarityiscorrect.Screwthecover
backonandturnthelighttoAuto(On)Mode.
Ifyouareeavemountingthesecuritylight,ensuretheceilingislevel
andthexturecansupporttheweightofthelight.FollowFig1on
page2tosecurethebracket(E).
Beforeconnectingthelighttothemountingbracket,switchtheMode
totheAutoposition(seeOperationGuidebelow).
Connectthelight(A)tothemountingbracket(E)asshowninFig5.
ConnecteachsolarpanelwiretoeachLEDlightasshowninFig5.
Installation is complete. You are now ready to enjoy your new
LED security light.
INSTALLATION (Continued):
5
6

5
INSTALLATION INSTRUCTIONS: 356-9474 (CL-SM1000L-2H)
1000 LUMEN SOLAR MOTION ACTIVATED SECURITY LIGHT
If you have questions or are missing parts, please contact customer service at 1-888-745-4837
This product has a one-year limited warranty from the date of
purchase. This guarantees against failure due to factory defects,
whether caused by materials or workmanship. The warranty is non-
transferable and only pertains to the original purchaser. Proof of
purchase is required for any repair or replacement, so please keep
your proof of purchase receipt. This warranty does not cover normal
wear and tear or damage due to misuse. Misuse of this product
includes but is not limited to:
• Using outdoors in extreme weather conditions.
• Opening the product’s housing.
• Any attempts to update, remodel or x the unit yourself.
EYES:
• DO NOT look directly at the LED lights.
• DO NOT remove the LED lights
protective covering.
TROUBLESHOOTING:
Problem Possible Cause Solution
The light does not come on The battery is dead Replace the battery
The solar panel is not Position the solar panel so it gets
positioned in direct direct sunlight
sunlight
The control dial is set to o Check the time and mode settings to ensure light
is not o
The light comes on during The light may be mounted in an Relocate the light to an area that
the day area that is too shaded has more light and no obstructions
The light comes on when it The sensor may sensing Reposition the sensor
shouldn’t small animals or trac
The lights ash or pulse The battery may be low Turn the unit o and allow the
battery to recharge. Full charge between 1 and 3 days
The sensor may be sensing Relocate the light to an area with less
shadows or no shadows
CARE AND MAINTENANCE:
• Fromtimetotime,ensuretheplugbetweenthesolarpanelandlightsaresecurelyconnected.
• Itisadvisabletoadjusttheangleofthesolarpaneltooptimizetheexposuretothesunduringthewintermonths.
• Thesolarpanelshouldbecleanedwithadampcottonclothregularly.Thatwillensureoptimalperformanceandbatterycharging.Periodically,utilizethe
sametechniquetocleanthelensesofthemotionlights.
• Neverletanyabrasivematerialcomeintocontactwiththesolarpanel.
ThisdevicecomplieswithPart15oftheFCCrules.Operationissubjecttothefollowingtwoconditions:(1)thisdevicemaynotcause
harmfulinterference,and(2)thisdevicemustacceptanyinterferencereceived,includinginterferencethatmaycauseundesiredoperation.