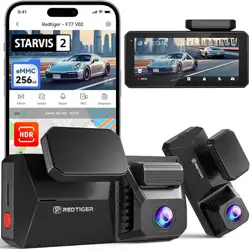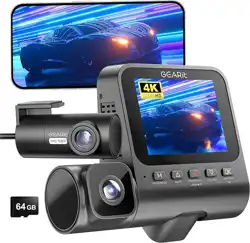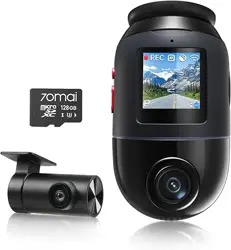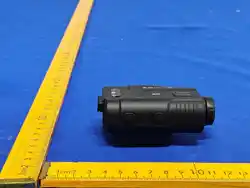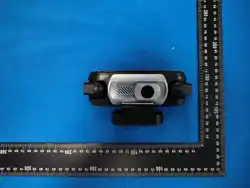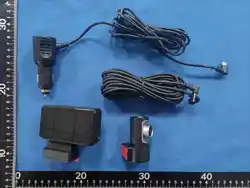
HX255D-ID9 Specification
Ⅰ.BASIC EQUIPMENT
CPU
SA255D
Front Sensor
IMX675
Rear Sensor
AHD Sensor
Reverse Image
Supported
Display
640*360 Resolution
DDRM
2G bit
SPI NOR Flash
16M Bytes
Audio
Yes,Audio Recording Supported
G-Sensor
Supported
GPS
Supported
WIFI
5.8G/2.4G Dual-Band
RTC
Yes,Built-in Real-Time Clock
Memory Card
SDHC Class10(32GB-256GB),Speed Class 10 or Above
Key
5 key
Compression Format
H264
File Formats
Video: TS; Photo: JPG
Voice Control
Supported
Operating Temperature
-20-70℃ (Storage Temperature: -30-80℃)
Operating Current
5V 900ma(Requires 5V / 2A Car Charger)
RTC Standby Current
2uA (Coin Cell Fully Charged Lasts Approx. 1 Month)
Device Standby Current
6mA
II. MAIN FEATURES
1. Recording Mode
When a TF card is inserted, the device automatically starts recording after power-on.
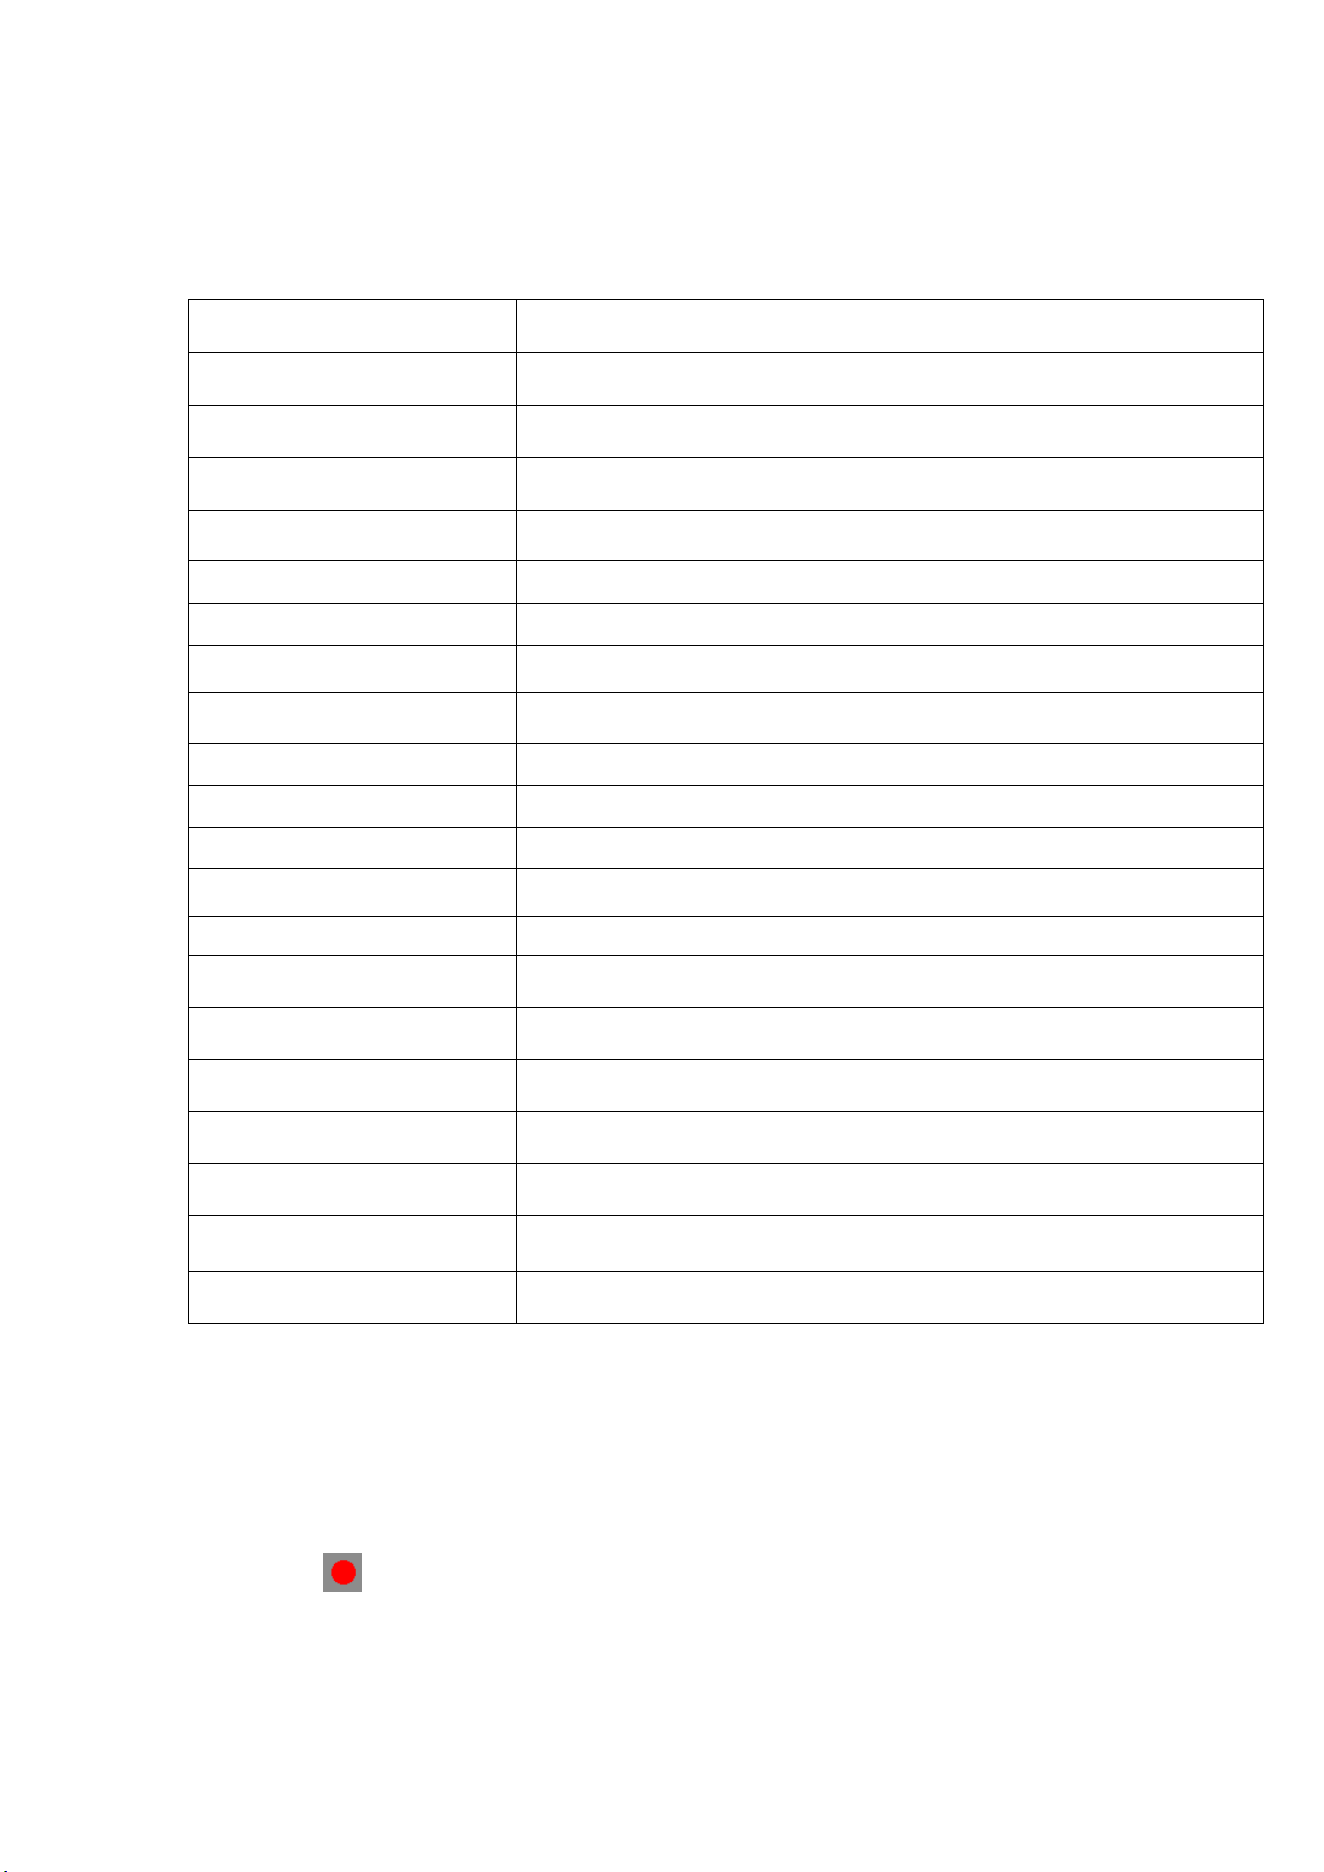
A flashing icon in the top-left corner indicates active recording.
Short press OK: Stop / Start Recording; Long press OK (approx. 2 seconds): Capture
Photo (Snapshot)

Short press M: Enter Main Menu
Short press Up: Capture Photo (Snapshot); Long press Up: Turn WiFi On / Off
Short press Down: Switch Preview Display; Long press Down: Lock / Unlock
Recording File
Note: Short press the Power Button to turn off the screen in any interface; long press the
Power Button to power off the device.
2.Playback Mode (File Management)
After power-on, the device enters auto-recording. Short press the M key to enter the Main
Menu, then select File Management.
In the file list interface:
Short press OK: Play the selected file
Short press M: Return to the previous level
Short press Up: Select previous file
Long press Up: Lock / Unlock file (not available in the photo folder)
Short press Down: Select next file
Long press Down: Delete file
During file playback:
Short press OK: Pause / Resume playback
Short press M: Exit playback and return to the file list
Short press Down: Switch to next file
Short press Up: Switch to previous file
Note: Normal files occupy 70% of the total card capacity; locked files occupy 30%.
When capacity is full, the oldest files will be cyclically overwritten first.
3. System Settings
After power-on, the device enters auto-recording. Short press the M key to enter the Main
Menu, then select System Settings.
Recording Resolution: 1080P+1080P, 2.5K+1080P, 2.5K+2.5K, 4K+1080P,
4K+2.5K, 4K+4K
Loop Recording: 1 min, 2 min, 3 min
Light Frequency (Anti-Flicker): 50Hz, 60Hz
G-Sensor Sensitivity: Off, Low, Medium, High
Parking Monitor: Off, Low, Medium, High
Time-Lapse Recording: Off, 1 FPS/S, 2 FPS/S, 5 FPS/S
Time-Lapse Duration: 12h, 24h, 48h, 72h
Audio Recording: On, Off
Video Watermark: On, Off
Rear Camera Orientation: Off, Flip 180°, Preview Mirror, Flip 180° + Preview
Mirror

Volume: Off, Low, Medium, High, Max
Key Tone: On, Off
Screen Saver (Screen Sleep): Off, 1 min, 3 min
Language: English, Simplified Chinese, Traditional Chinese, Japanese, Russian,
Thai, Vietnamese, Arabic, Malay, Pilipino
WiFi Infomation: On, Off, WiFi Name, WiFi Password
WiFi Band: 2.4GHz, 5.8GHz
Voice Control: On, Off, Command Instructions
Time Setting: RTC System Time
Format Card: Confirm, Cancel
Version Infomation: System Version Number
Factory Reset: Confirm, Cancel
III. PRECAUTIONS
1. Do not insert or remove the TF card while the device is operating, as this may cause
damage.
2. Pay attention to the insertion direction of the TF card. Inserting it in reverse may
damage both the device and the card.
3. After inserting a TF card, the device will set it as the default storage device; data on
the previously used card may become unreadable.
4. Supports up to 128GB. If the TF card is incompatible with the device, please reinsert
it or try another card.
5. If the device displays "Card Full" or "Card Error" and cannot record, check whether
the G-Sensor sensitivity is set to High. If the sensitivity is too high, bumps and shakes
during driving will cause files to be locked. Locked files cannot be overwritten by
loop recording; an accumulation of too many locked files will result in the memory
card being full and recording being unable to continue.
6. For first-time use of a new card, please format it on the device before use.
7. If a "Card Error" prompt appears or the device cannot read the card, try reinserting the
TF card and formatting it on the device. If the problem persists, try formatting the
card on a computer; if it cannot be formatted, the card is likely damaged.
IV. SYSTEM ERROR MESSAGE DEFINITIONS
Error Message
Description
Solution
No Card Inserted
No TF card detected,
recording unavailable
Insert a TF card
No File
No card inserted / No
recording yet
Insert card and record or
take photos
Card Error / Please
Format
Incorrect card format
Go to menu to format the
card
SENSOR FAIL
Sensor initialization error,
cannot record
If it persists, please contact
the dealer for repair
SD Card Full
Insufficient space when
taking a photo, displayed
during photo capture
Delete or unlock some
files to free up space
V. WiFi INSTRUCTIONS
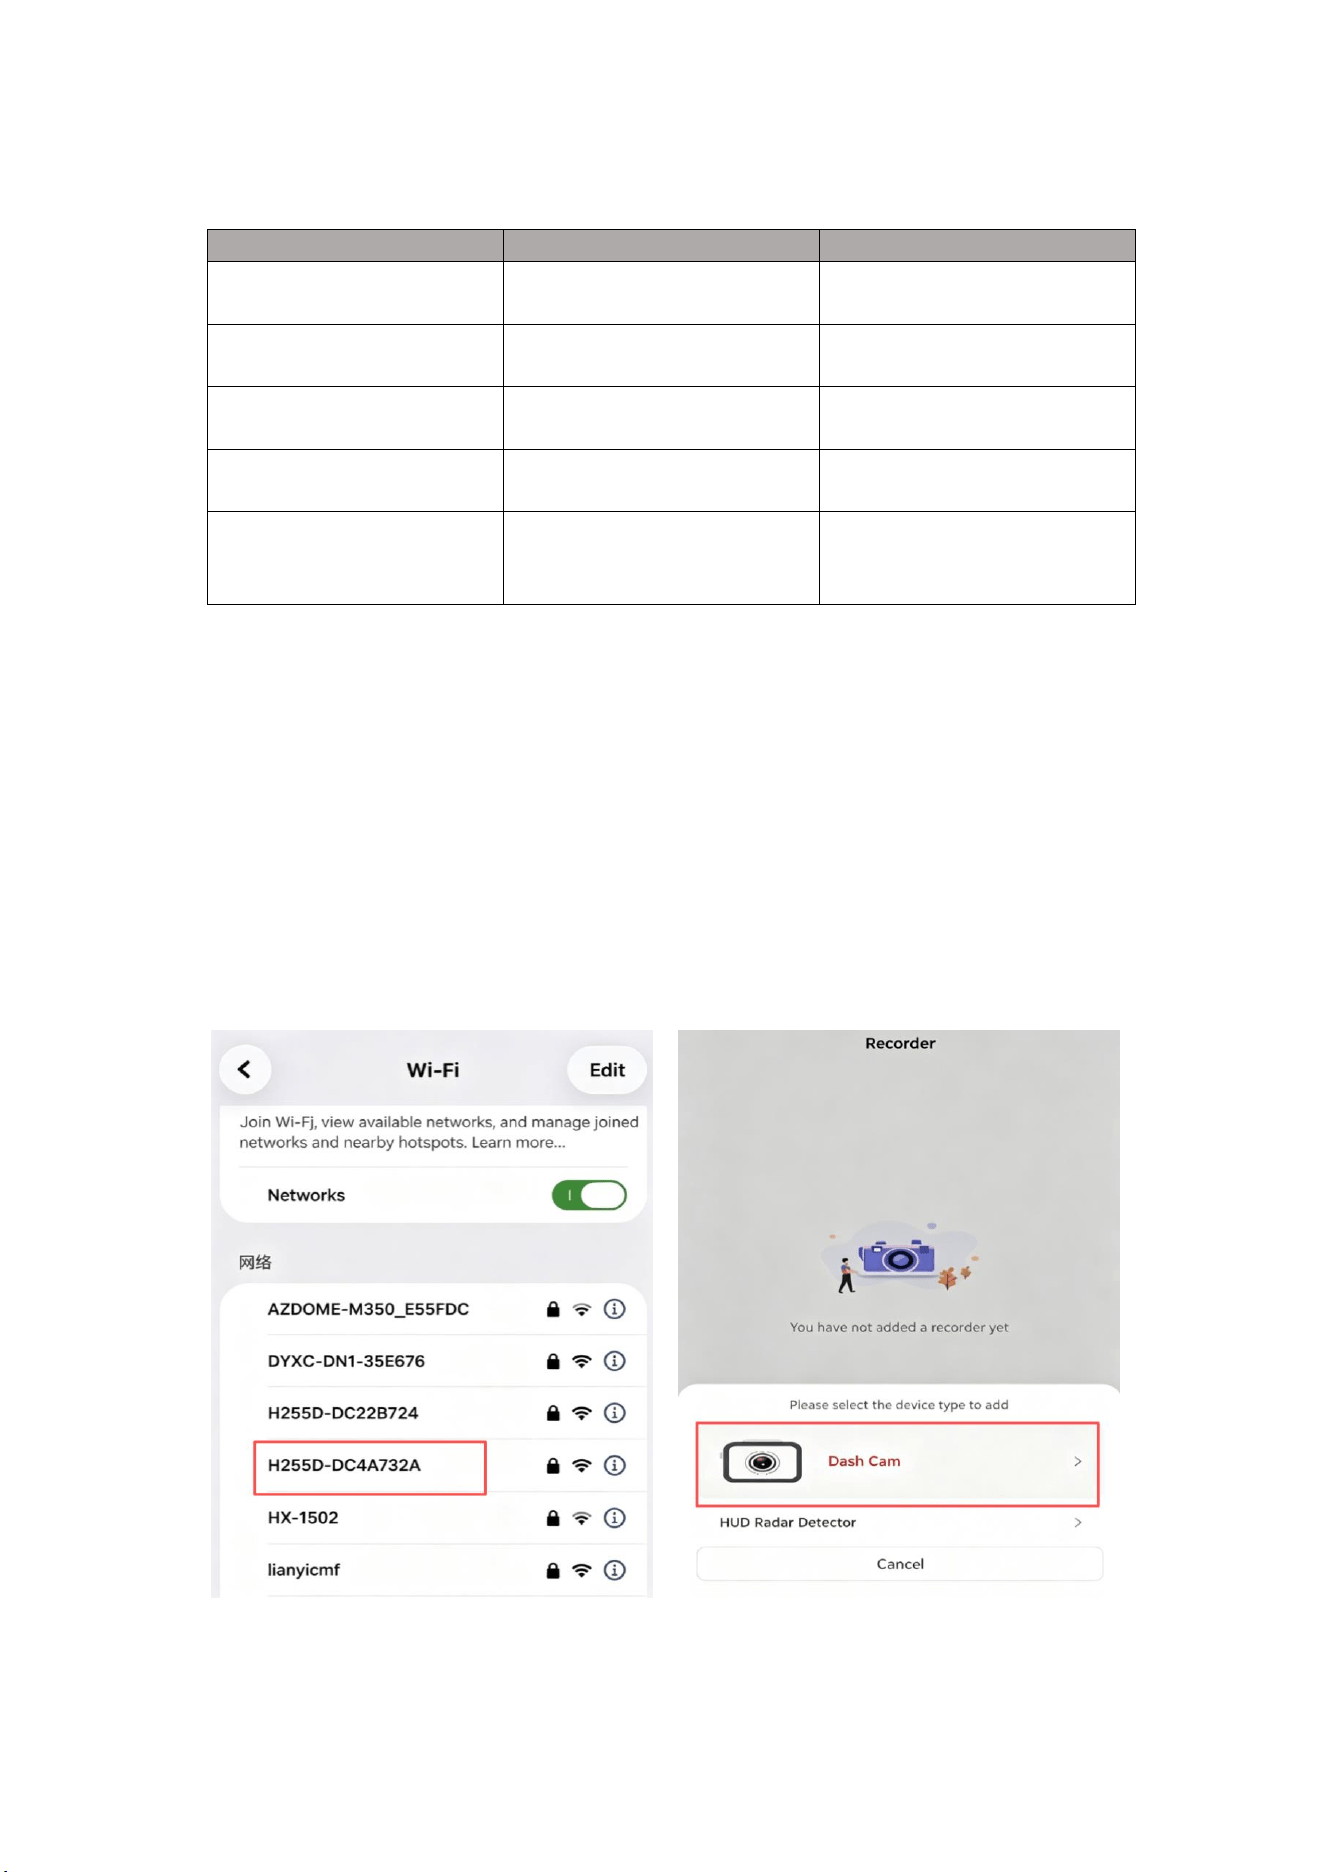
1. Install the mobile app by scanning the QR code in the device's WiFi Infomation, or
search for “Viidure” in the app store to download and install.
2. WiFi Connection
a. Enable WiFi via WiFi Info in the device’s System Settings, or long-press the
Up key on the preview screen to turn WiFi on.
b. Search for WiFi networks on your mobile phone. Select the WiFi name:
H255D-********, password: 12345678 to connect. After successful
connection, launch the APP and add the dashcam following the on-screen
instructions.
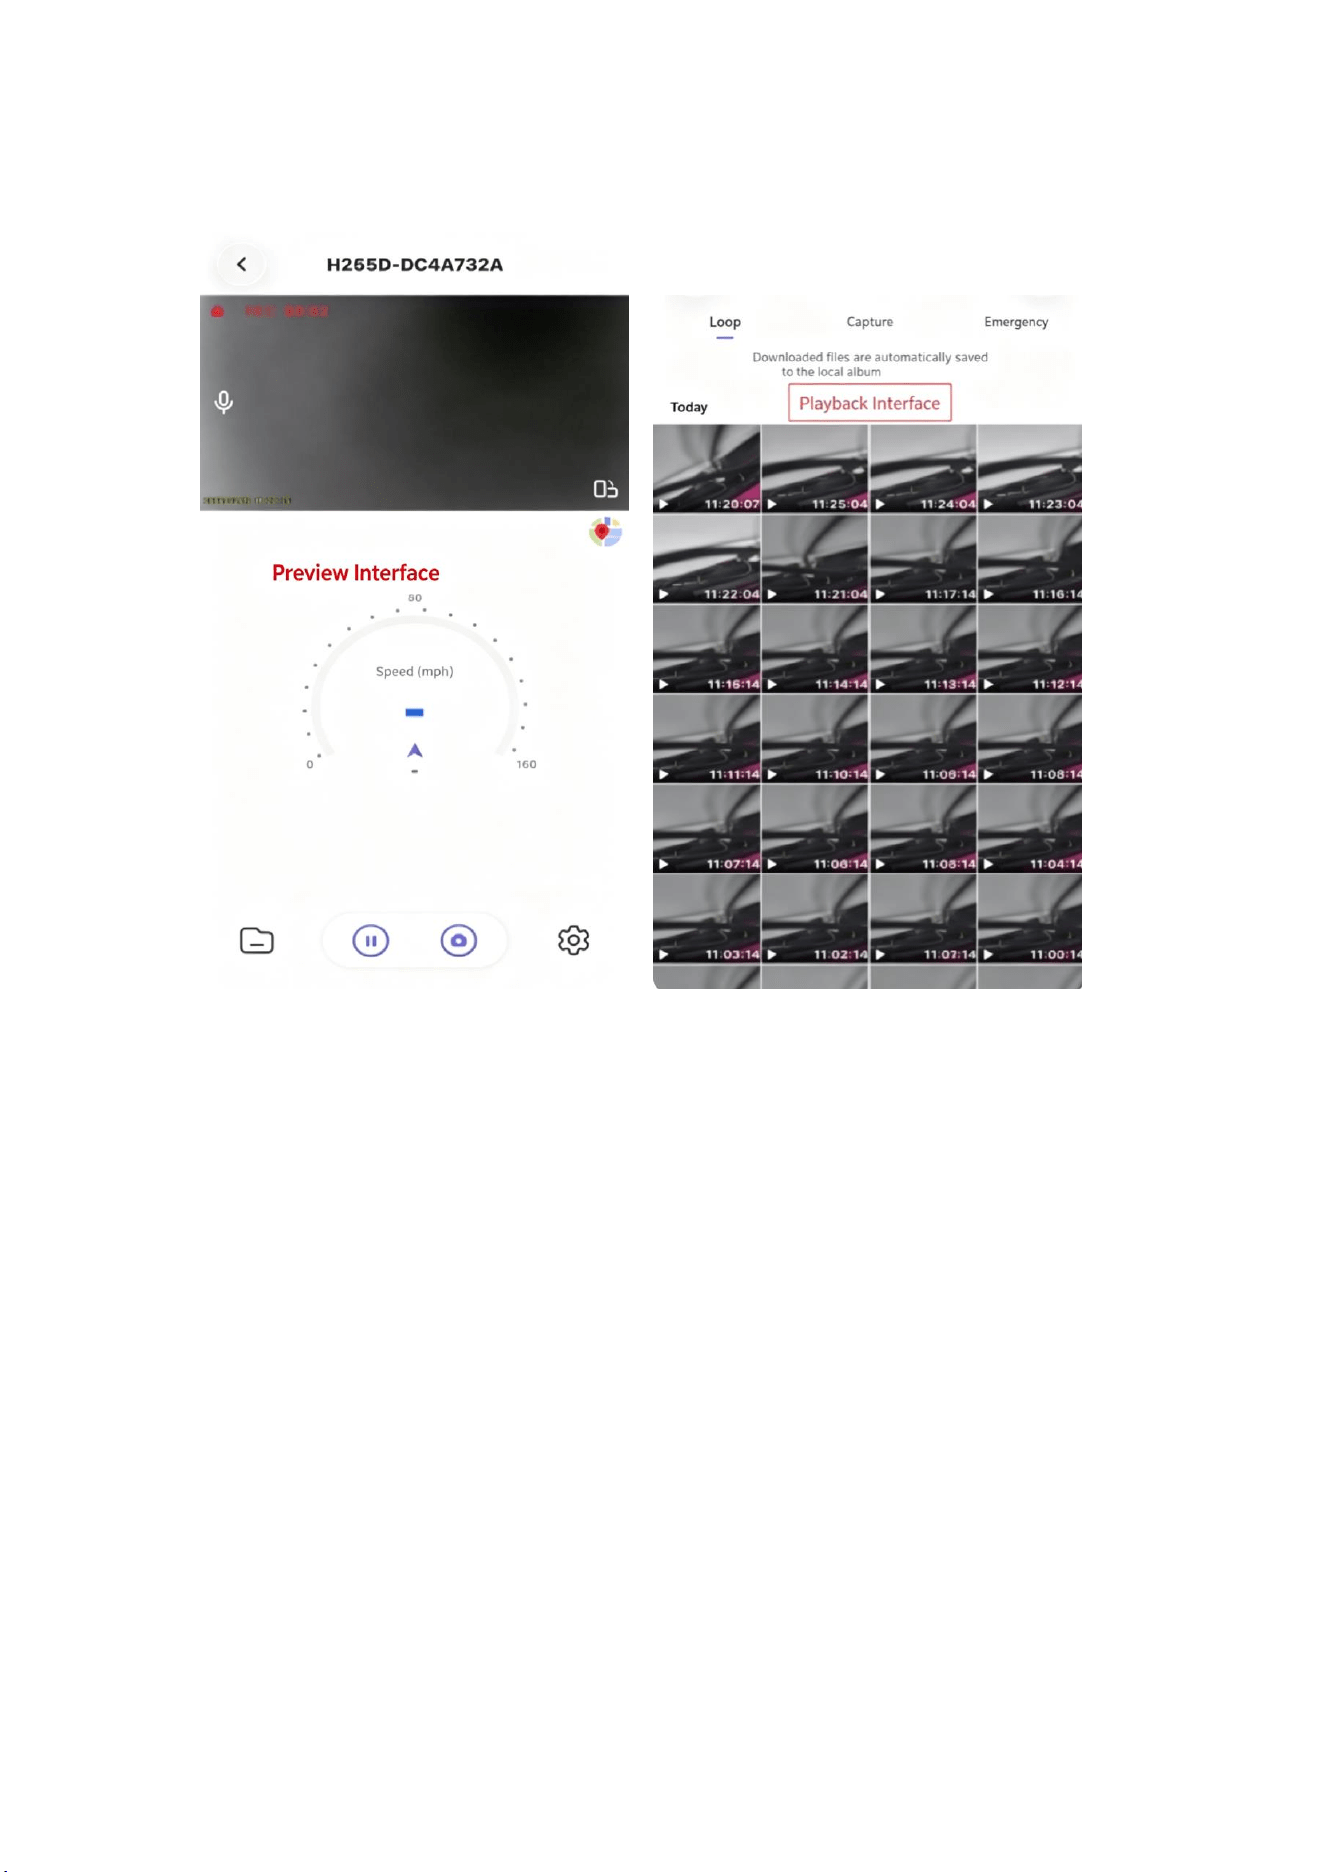
3.After successful addition, you can access the Preview, Settings and Playback
interfaces.
Note: Only one mobile phone can connect to one dashcam at a time.
4. Tap the preview thumbnail to enter playback mode. Long‑press the preview thumbnail
for batch‑selecting files to download or delete.(Videos played before downloading are
in low resolution. It is recommended to download them first for playback.)
5. Other Notes:
WiFi connection fails: Confirm whether the dashcam WiFi is turned on, or if
another phone is already connected. (Only one phone can be connected at one
time.)
Dashcam fails to record: Check whether the SD card is full or damaged. Try
formatting or replacing the SD card for troubleshooting.
Stuttering video in APP: Close background apps on your phone, move your phone
closer to the dashcam, restart the APP. (WiFi co‑channel competition and
adjacent‑channel interference may affect performance.)
Blurry image quality: Check for dirt on the dashcam lens and vehicle windshield.
6. This system supports Micro SD card up to 128GB. For smooth video recording, please
use high‑speed Class 10 or above cards. Do not insert or remove the SD card while
the system is powered on to avoid damaging the card.
7.SD cards are consumable items. Perform regular maintenance and format the card every
1‑2 months.

FCC Warning
This device complies with Part 15 of the FCC Rules. Operation is subject to the following two conditions:
(1) This device may not cause harmful interference, and (2) this device must accept any interference received, including
interference that may cause undesired operation.
NOTE 1: This equipment has been tested and found to comply with the limits for a Class B digital device, pursuant to part
15 of the FCC Rules. These limits are designed to provide reasonable protection against harmful interference in a
residential installation. This equipment generates, uses and can radiate radio frequency energy and, if not installed and
used in accordance with the instructions, may cause harmful interference to radio communications. However, there is no
guarantee that interference will not occur in a particular installation. If this equipment does cause harmful interference to
radio or television reception, which can be determined by turning the equipment off and on, the user is encouraged to try
to correct the interference by one or more of the following measures:
- Reorient or relocate the receiving antenna.
- Increase the separation between the equipment and receiver.
-Connect the equipment into an outlet on a circuit different from that to which the receiver is connected.
-Consult the dealer or an experienced radio/TV technician for help.
NOTE 2: Any changes or modifications to this unit not expressly approved by the party responsible for compliance could
void the user's authority to operate the equipment.
RF Exposure Statement
To maintain compliance with FCC'S RF Exposure guidelines, This equipment should be installed and operated with
minimum 20cm between the radiator and your body. This device and its antenna(s) must not be co-located or operation in
conjunction with any other antenna or transmitter.