Quick Start Guide
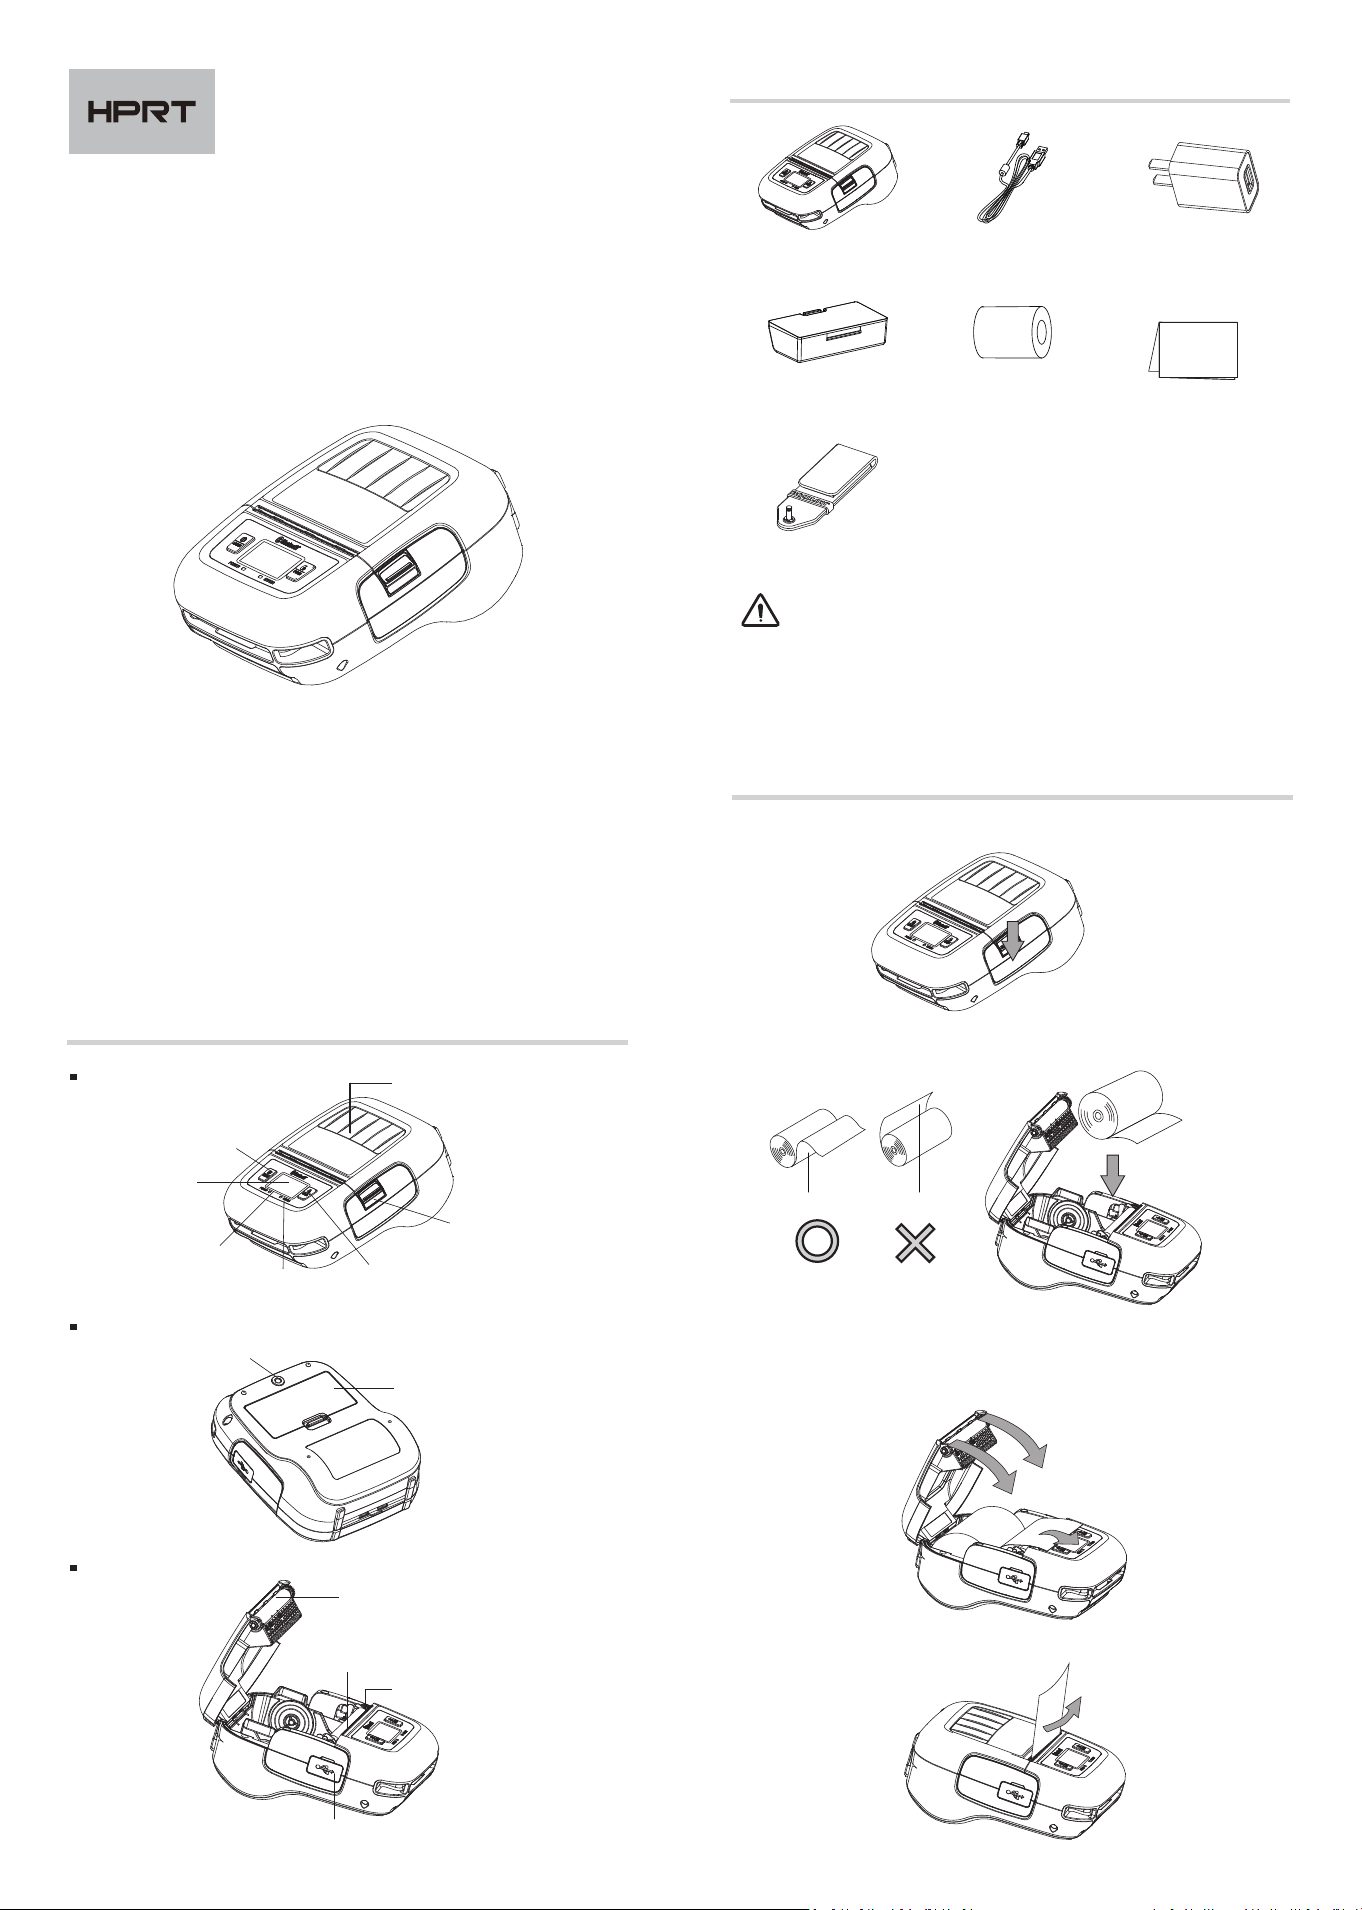
Appearance and Components
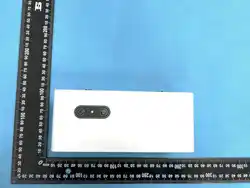
Front
Back
Ba�ery
Inside
Platen
Cu�er
USB Interface
Thermal Head
Belt Clip Screw Hole
Paper Roll Perspec�ve
Window
[FEED] Bu�on
[MODE] Bu�on
Power LED
Error LED
Cover Opening Bu�on
LCD
Paper Loading
1. Press the cover opening bu�on to open the printer cover.
2. Load the roll paper in the orienta�on shown in the figure below.
Thermosensi�ve layer
3. Pull the end of the roll straight toward you. Then press down on both sides
of the printer cover to close it firmly. When you close the printer cover, make
sure that it is closed on both sides.
4. Use the tear bar to cut the extra paper.
Packing List
Quick Start Guide
Printer
USB Cable
Roll Paper
Ba�ery
AC Adapter
1. The items in the package are actually based on the order.
2. The AC adapter varies by country or region.
Note
HM-T3 PRO
Belt Clip
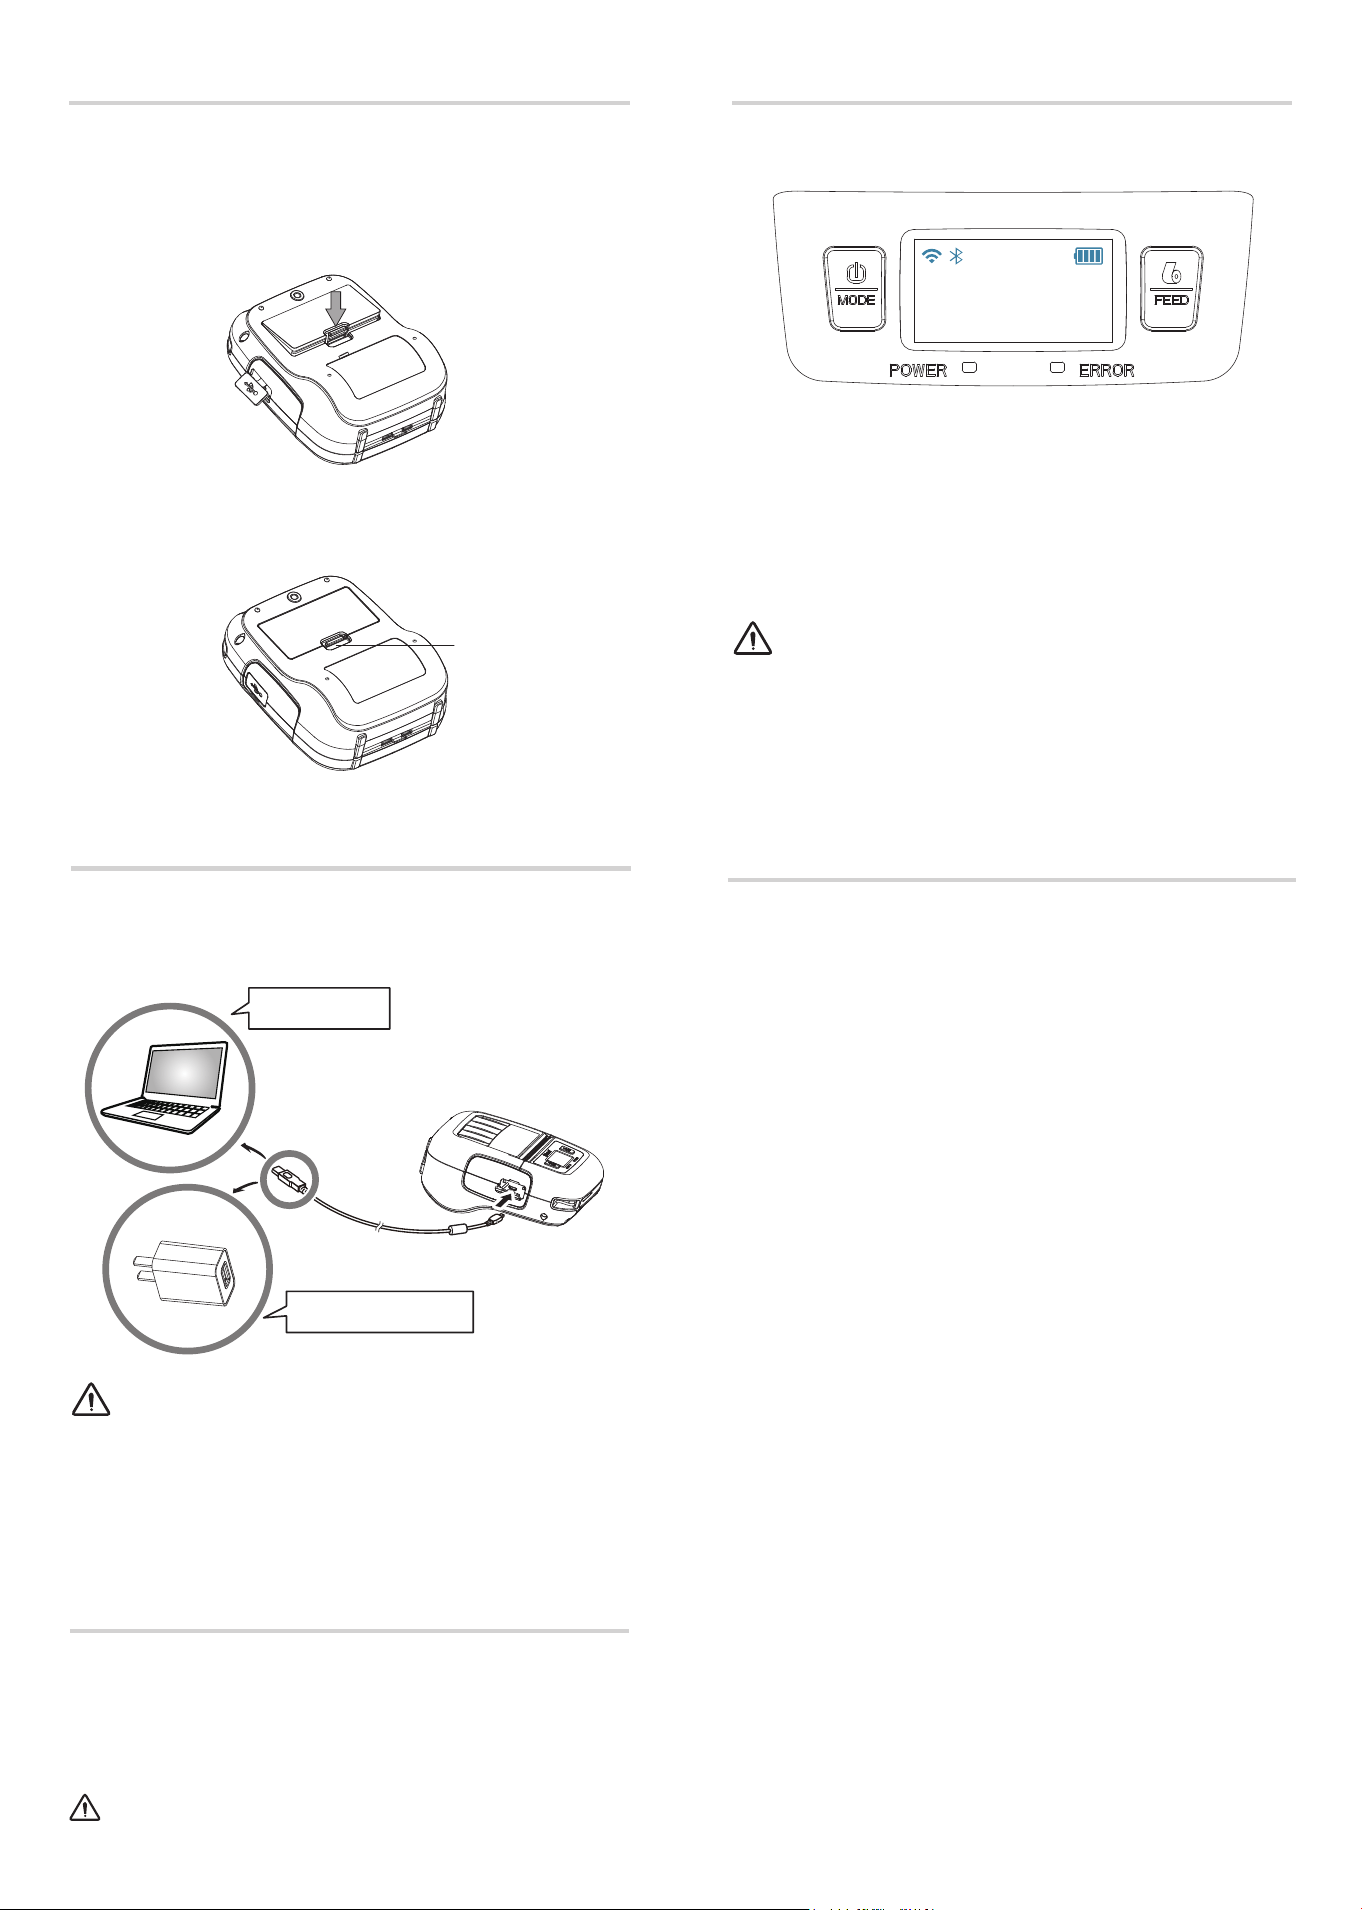
Plug in socket with USB charging.
When ba�ery pack runs out of power, the ba�ery icon will flash. It powers off
automa�cally when con�nues prin�ng. If you want to go on, please charge it.
◆ POWER lamp will always flash in green color and goes off when fully charged.
◆ Charging the printer when it is on, even if ba�ery icon on the LCD shows fully
charged, turn off the printer and let the ba�ery charge un�l the POWER lamp
goes off for fully charge.
Note
Charging via AC Adapter
Charging via PC
Ba�ery Charging
3. To remove the ba�ery back, pull back the hook, and use the opposite
procedure from the one you used to insert the ba�ery pack.
Ba�ery Installa�on
1. Make sure that the printer has been turned off before you insert or remove
the ba�ery pack.
2. Insert the ba�ery pack into the back of the printer as the figure shown below,
following the direc�on of the arrow. Press down on the ba�ery pack un�l the
hook click into place.
Wi-Fi Se�ngs
Note: This se�ng is only available for the models with Wi-Fi.
Printer Wi-Fi factory default is Off, and it needs to be turned on through menu
before use. In AP mode, the IP address is “192.168.1.1”, SSID is “T3PRO_AP-
XXXX” (last four digits of Wi-Fi Mac address). If you need to change the Wi-Fi
se�ngs, please set it by the U�lity tool.
2. Press and hold MODE & FEED bu�ons, release the bu�ons a�er you surely
confirm the screen display“Enter Menu Mode”, to get a printer into the se�ng
mode.
3. Press the MODE bu�on, choose the item or return to previous menu.
4. Press the FEED bu�on, you can move the cursor(“_”) or confirm the new
se�ng.
◆ Before changing the menu se�ng, please make sure that the communica�on
with a host device is disconnected.
◆ When the printer is under the Bluetooth communica�on with a host device,
it cannot enter the Menu Se�ng mode.
Note
Menu Se�ngs
1. Press and hold MODE bu�on for approx. 2 seconds, and printer is turned on.
LCD display is shown as follows.
Label
Bluetooth
HM-T3 PRO-9FEA
Ready
Hook
FCC WARNING
This device complies with part 15 of the FCC Rules. Opera�on is subject to the
following two condi�ons: (1) this device may not cause harmful interference,
and (2) this device must accept any interference received, including interference
that may cause undesired opera�on.
Any changes or modifica�ons not expressly approved by the party responsible
for compliance could void the user's authority to operate the equipment.
NOTE: This equipment has been tested and found to comply with the limits for
a Class B digital device, pursuant to Part 15 of the FCC Rules. These limits are
designed to provide reasonable protec�on against harmful interference in a
residen�al installa�on. This equipment generates, uses and can radiate radio
frequency energy and, if not installed and used in accordance with the
instruc�ons, may cause harmful interference to radio communica�ons. However,
there is no guarantee that interference will not occur in a par�cular installa�on.
If this equipment does cause harmful interference to radio or television
recep�on, which can be determined by turning the equipment off and on, the
user is encouraged to try to correct the interference by one or more of the
following measures:
-- Reorient or relocate the receiving antenna.
-- Increase the separa�on between the equipment and receiver.
-- Connect the equipment into an outlet on a circuit different from
that to which the receiver is connected.
-- Consult the dealer or an experienced radio/TV technician for help.
FCC RF Exposure Informa�on and Statement the SAR limit of USA (FCC) is
1.6 W/kg averaged over one gram of �ssue. This Portable Label Printer had
been tested against this SAR limit. This device was tested for typical body-worn
opera�ons with the back of the device kept 0mm from the body. To maintain
compliance with FCC RF exposure requirements, use accessories that maintain
an 0 mm separa�on distance between the user's body and the back of the
device. The use of belt clips, holsters and similar accessories should not contain
metallic components in its assembly. The use of accessories that do not sa�sfy
these requirements may not comply with FCC RF exposure requirements, and
should be avoided.
This equipment complies with ISED radia�on exposure limits set forth for an
uncontrolled environment. This equipment could be installedand operated with
minimum distance 0 cm between the radiator andyour body. End user must
follow the specific opera�ng instruc�onsfor sa�sfying RF exposure compliance.
This transmi�er must not be co-located or opera�ng in conjunc�on with any
other antenna or transmi�er.