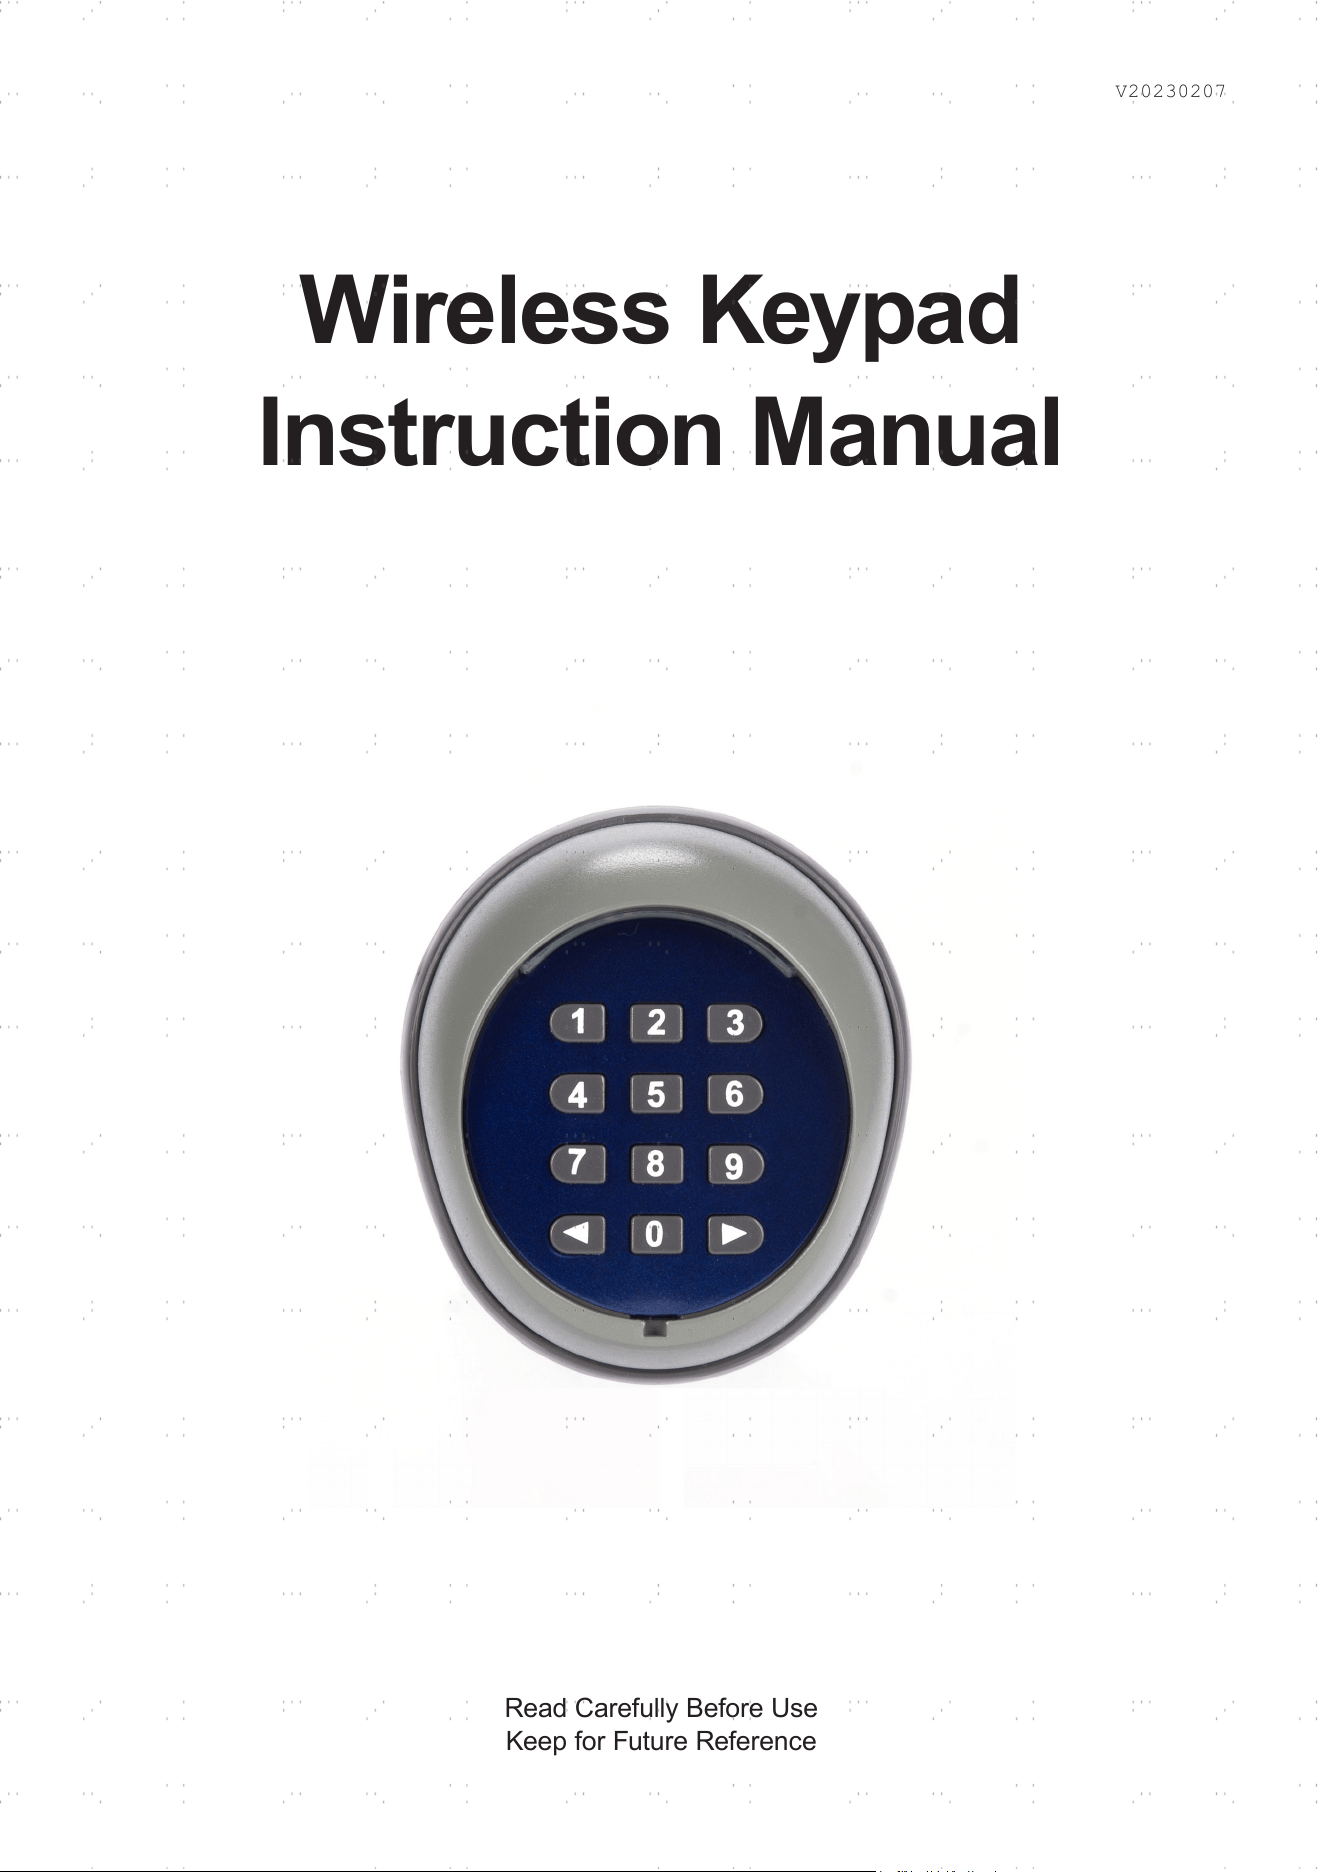
Wireless Keypad
Instruction Manual
Read Carefully Before Use
Keep for Future Reference
V20230207
1
SAFETY INFORMATION
SPECIFICATIONS
• The wireless keypad is intended only for use with gate openers and door systems. DO NOT use
it for any other purpose.
• Verify that the technical specications of the keypad match the requirements of your gate
opener or door system before proceeding.
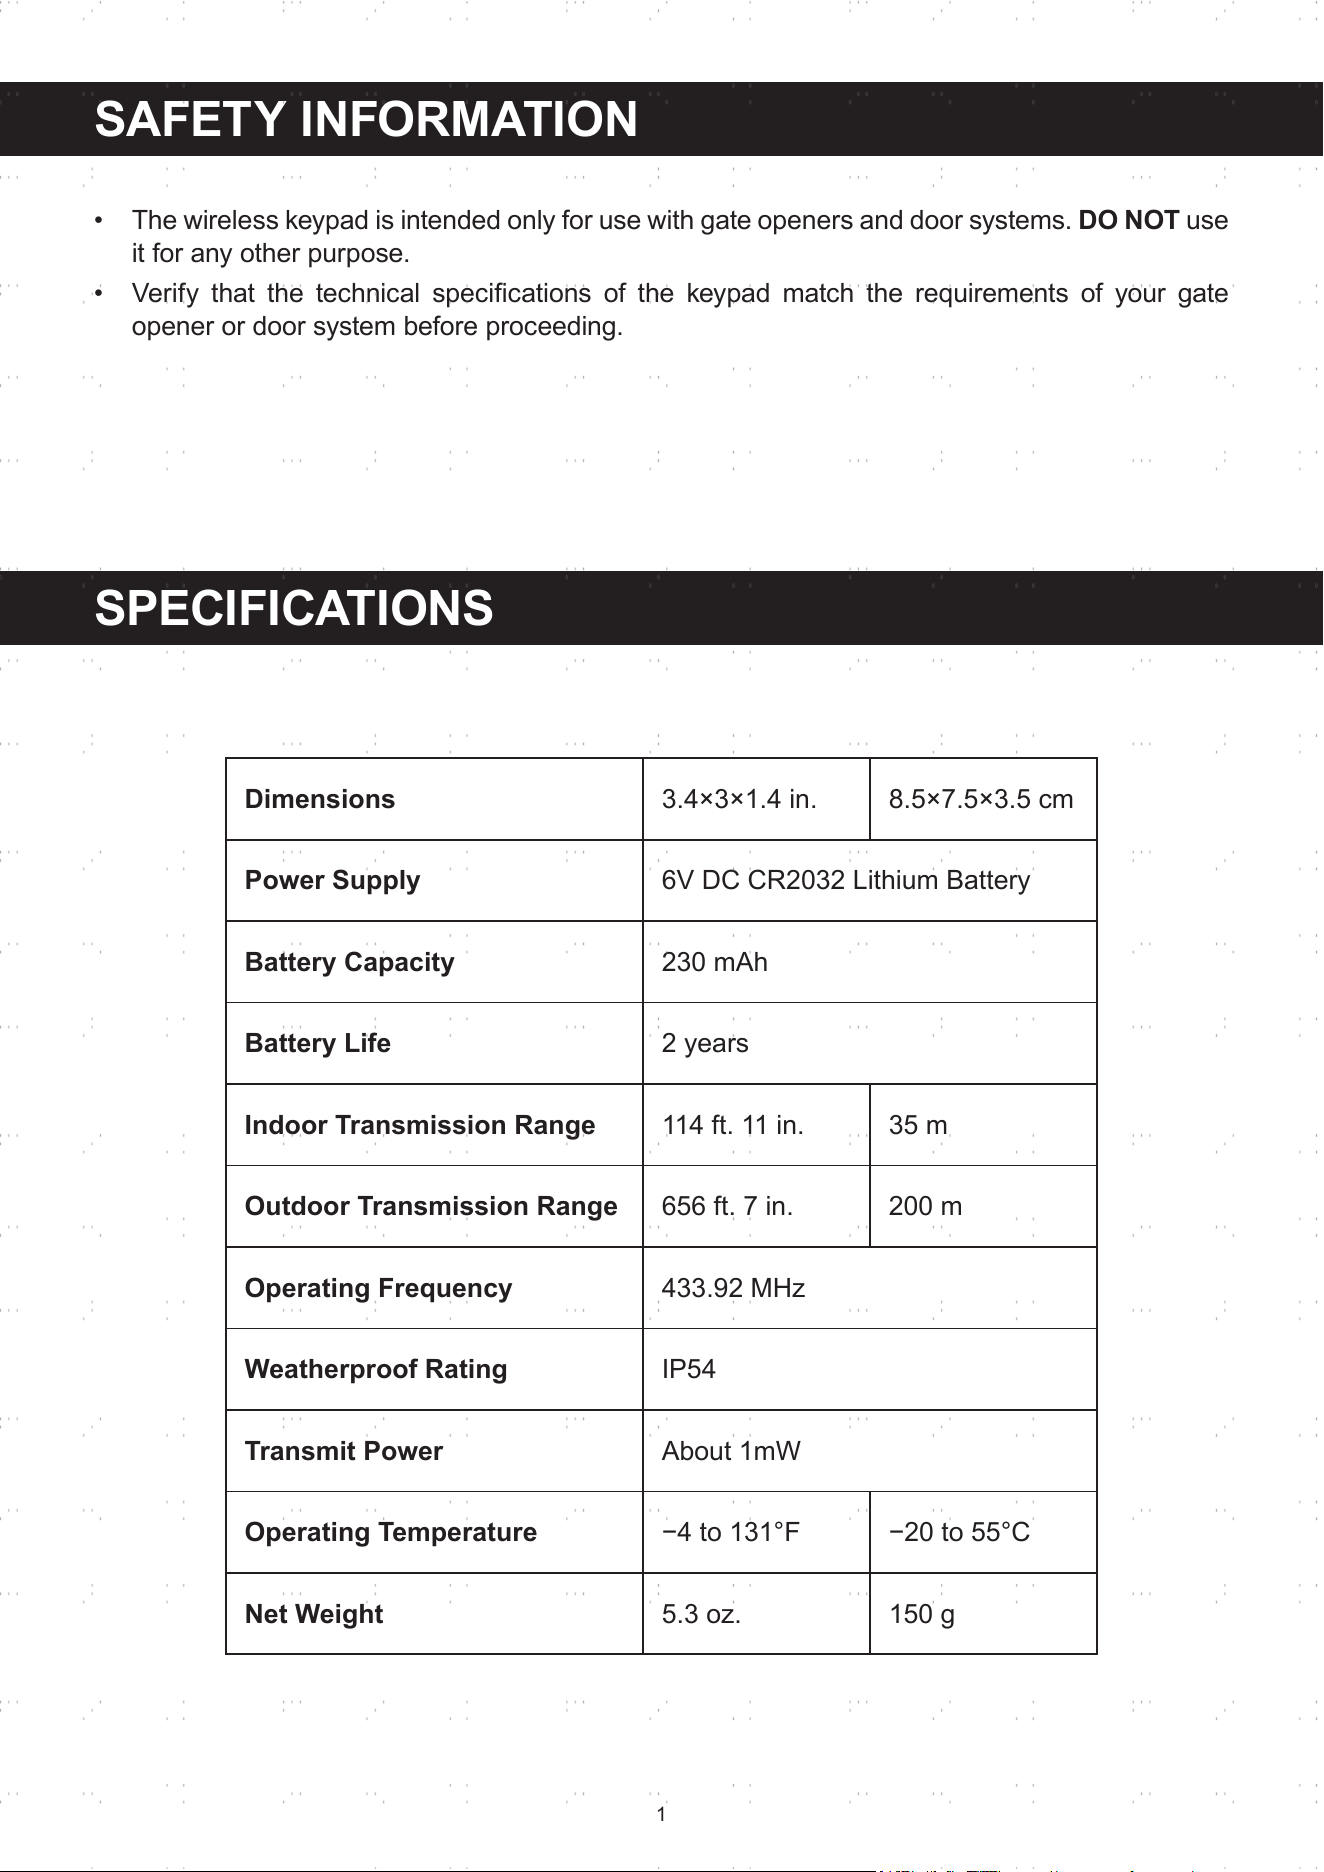
Dimensions
3.4×3×1.4 in. 8.5×7.5×3.5 cm
Power Supply
6V DC CR2032 Lithium Battery
Battery Capacity
230 mAh
Battery Life
2 years
Indoor Transmission Range
114 ft. 11 in. 35 m
Outdoor Transmission Range
656 ft. 7 in. 200 m
Operating Frequency
433.92 MHz
Weatherproof Rating
IP54
Transmit Power
About 1mW
Operating Temperature
−4to131°F −20to55°C
Net Weight
5.3 oz. 150 g
2
INSTALLATION
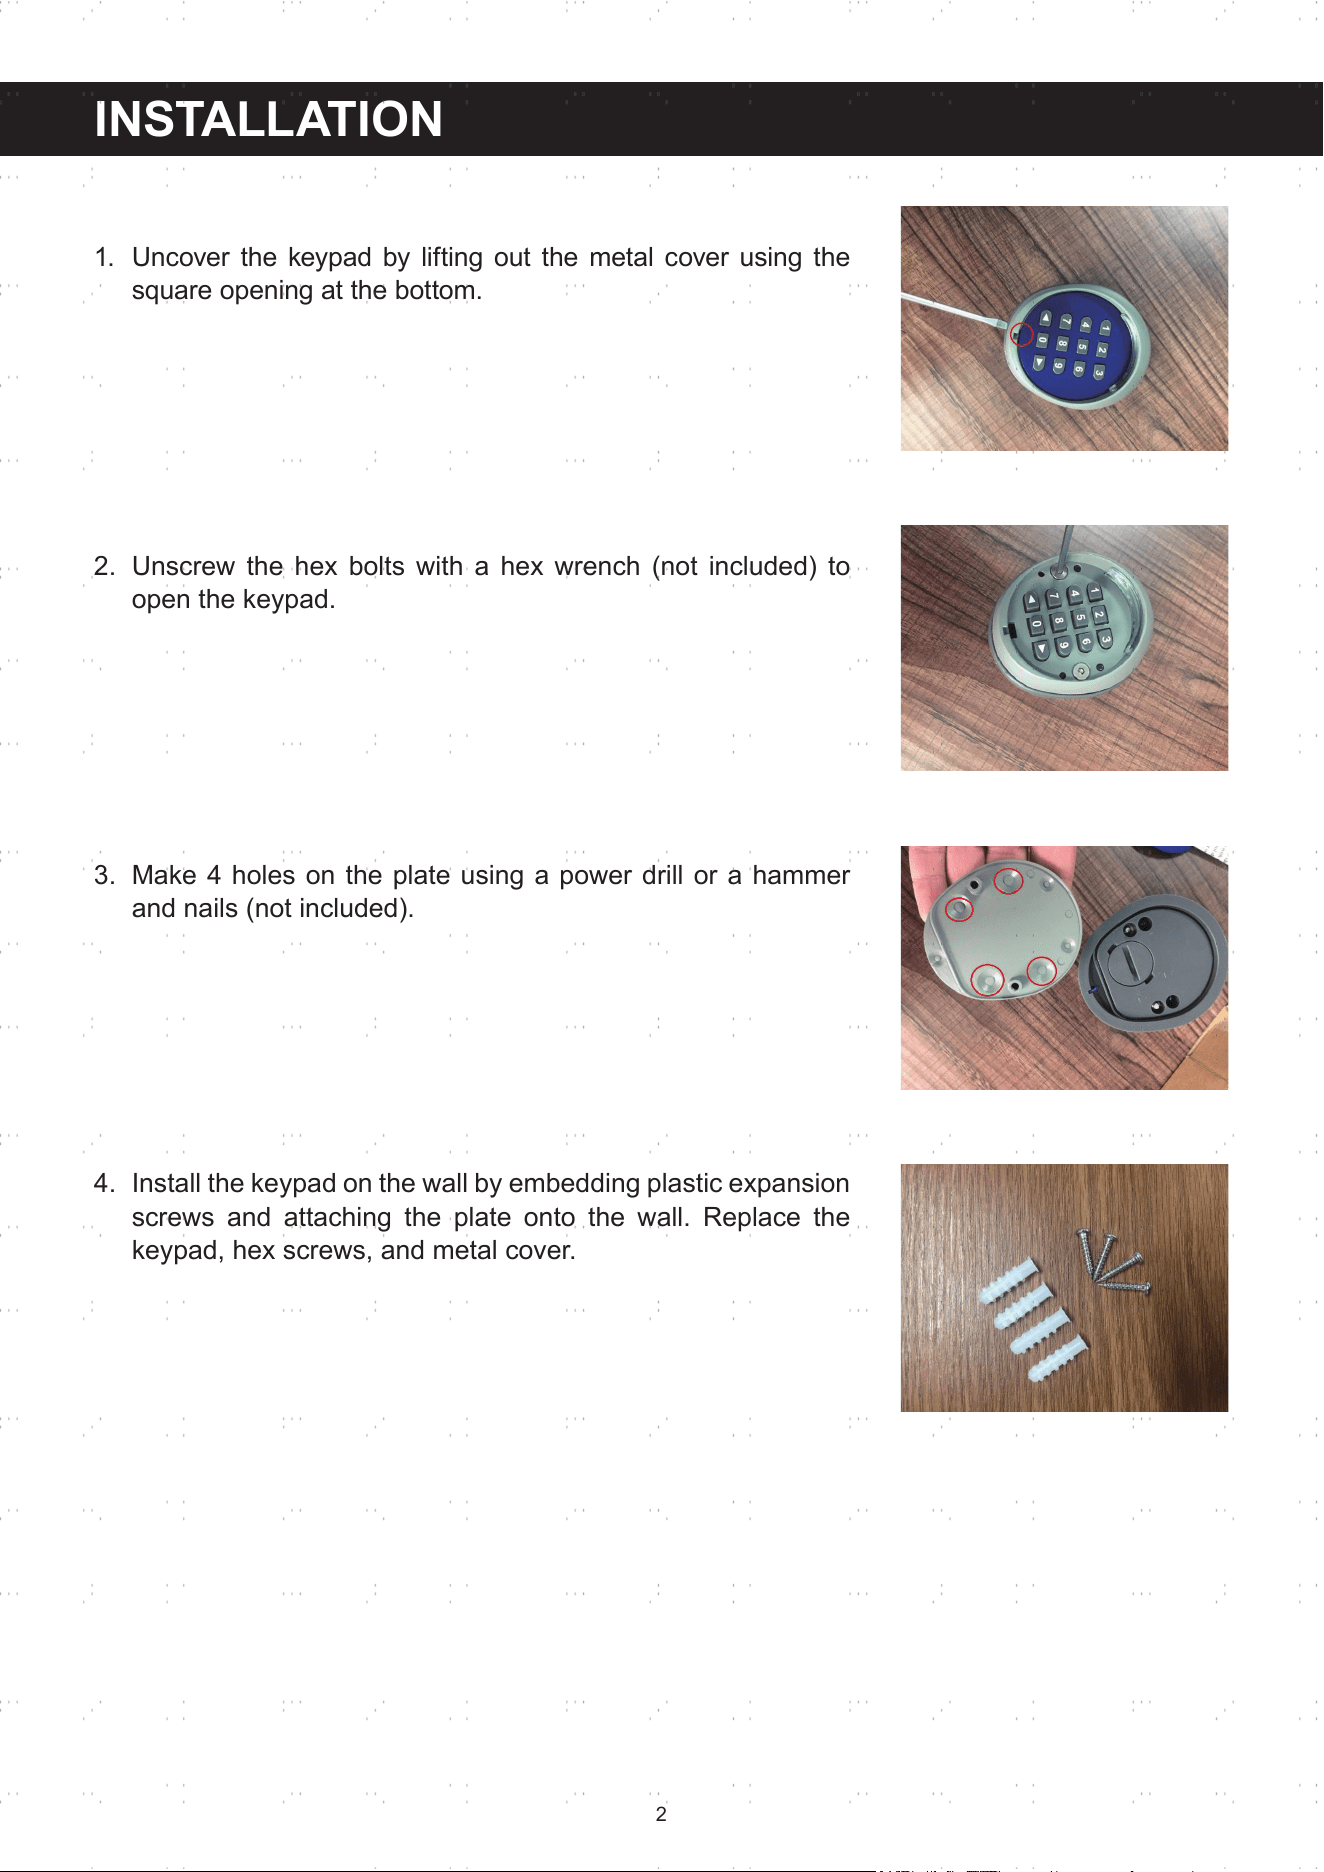
1. Uncover the keypad by lifting out the metal cover using the
squareopeningatthebottom.
2. Unscrew the hex bolts with a hex wrench (not included) to
open the keypad.
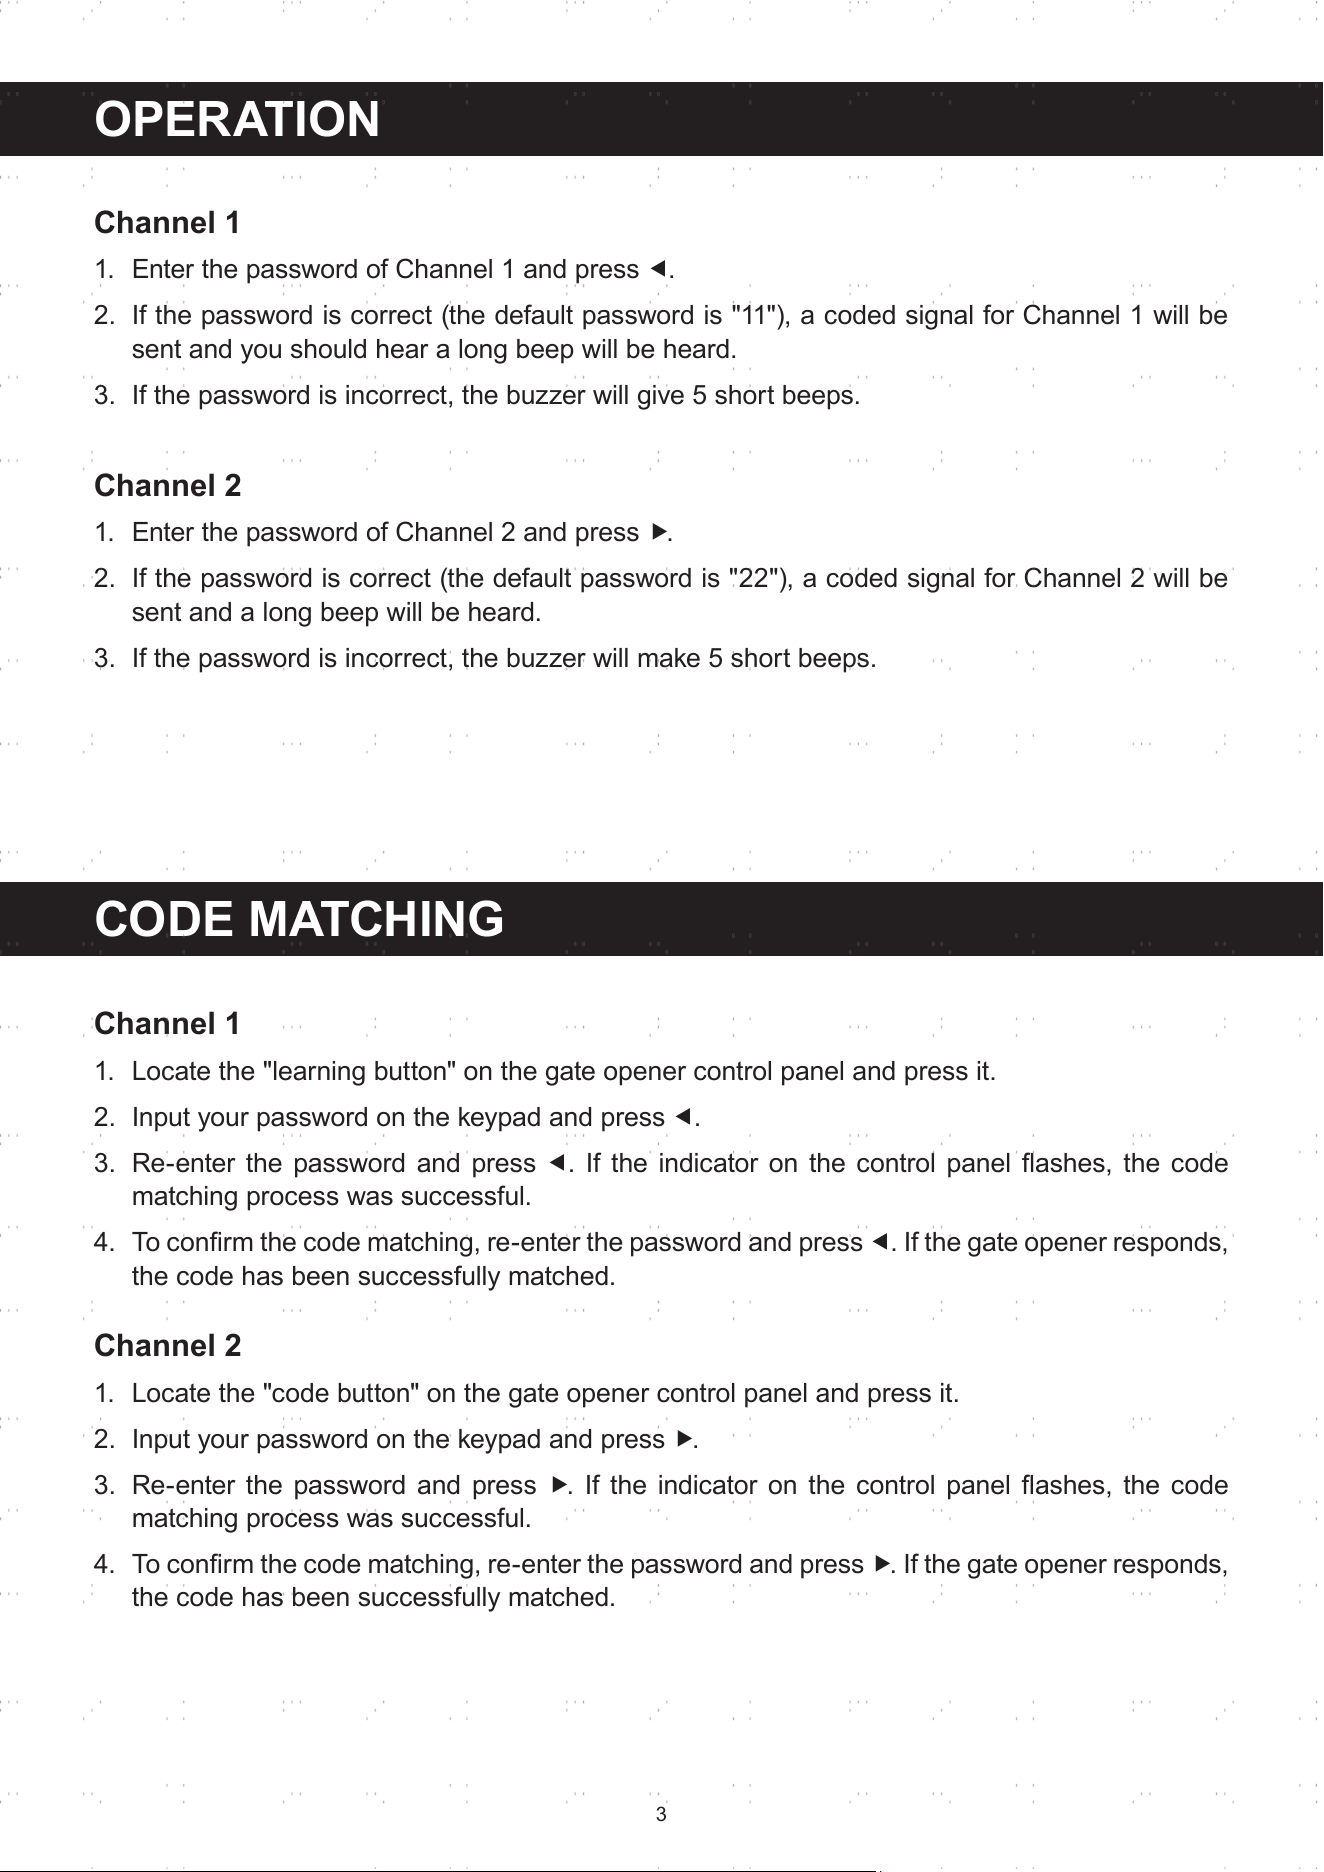
3. Make 4 holes on the plate using a power drill or a hammer
and nails (not included).
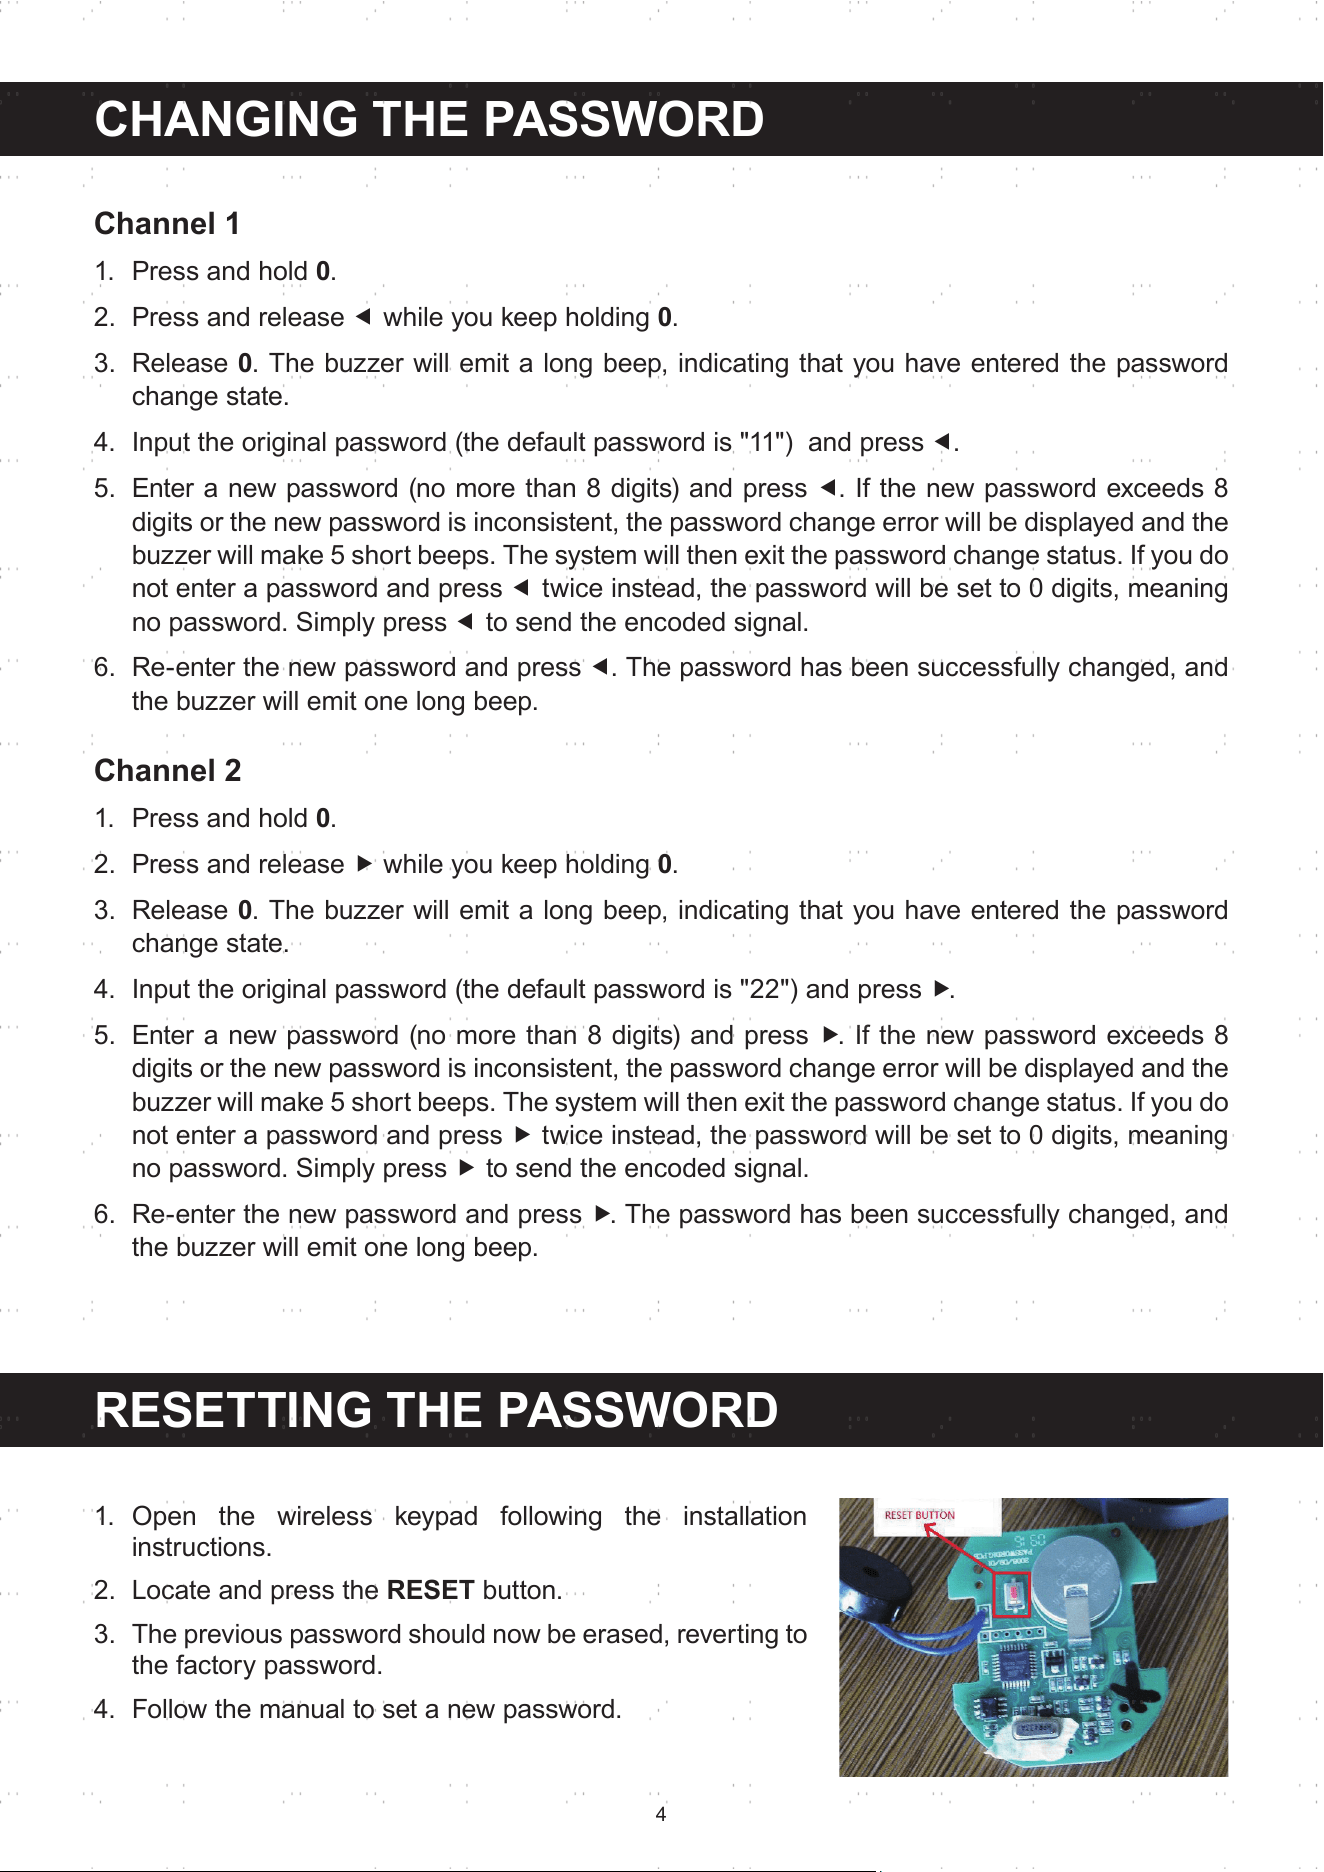
4. Install the keypad on the wall by embedding plastic expansion
screws and attaching the plate onto the wall. Replace the
keypad, hex screws, and metal cover.
3
CODE MATCHING
Channel 1
1. Locate the "learning button" on the gate opener control panel and press it.
2. Input your password on the keypad and press ⯇.
3. Re-enter the password and press ⯇. If the indicatoronthe controlpanelashes, thecode
matching process was successful.
4. Toconrmthecodematching,re-enterthepasswordandpress⯇. If the gate opener responds,
the code has been successfully matched.
Channel 2
1. Locate the "code button" on the gate opener control panel and press it.
2. Input your password on the keypad and press ⯈.
3. Re-enter the password and press ⯈.If the indicator on the controlpanelashes, the code
matching process was successful.
4. Toconrmthecodematching,re-enterthepasswordandpress⯈. If the gate opener responds,
the code has been successfully matched.
OPER ATION
Channel 1
1. Enter the password of Channel 1 and press ⯇.
2. If the password is correct (the default password is "11"), a coded signal for Channel 1 will be
sent and you should hear a long beep will be heard.
3. If the password is incorrect, the buzzer will give 5 short beeps.
Channel 2
1. Enter the password of Channel 2 and press ⯈.
2. If the password is correct (the default password is "22"), a coded signal for Channel 2 will be
sent and a long beep will be heard.
3. If the password is incorrect, the buzzer will make 5 short beeps.
4
RESETTING THE PASSWORD
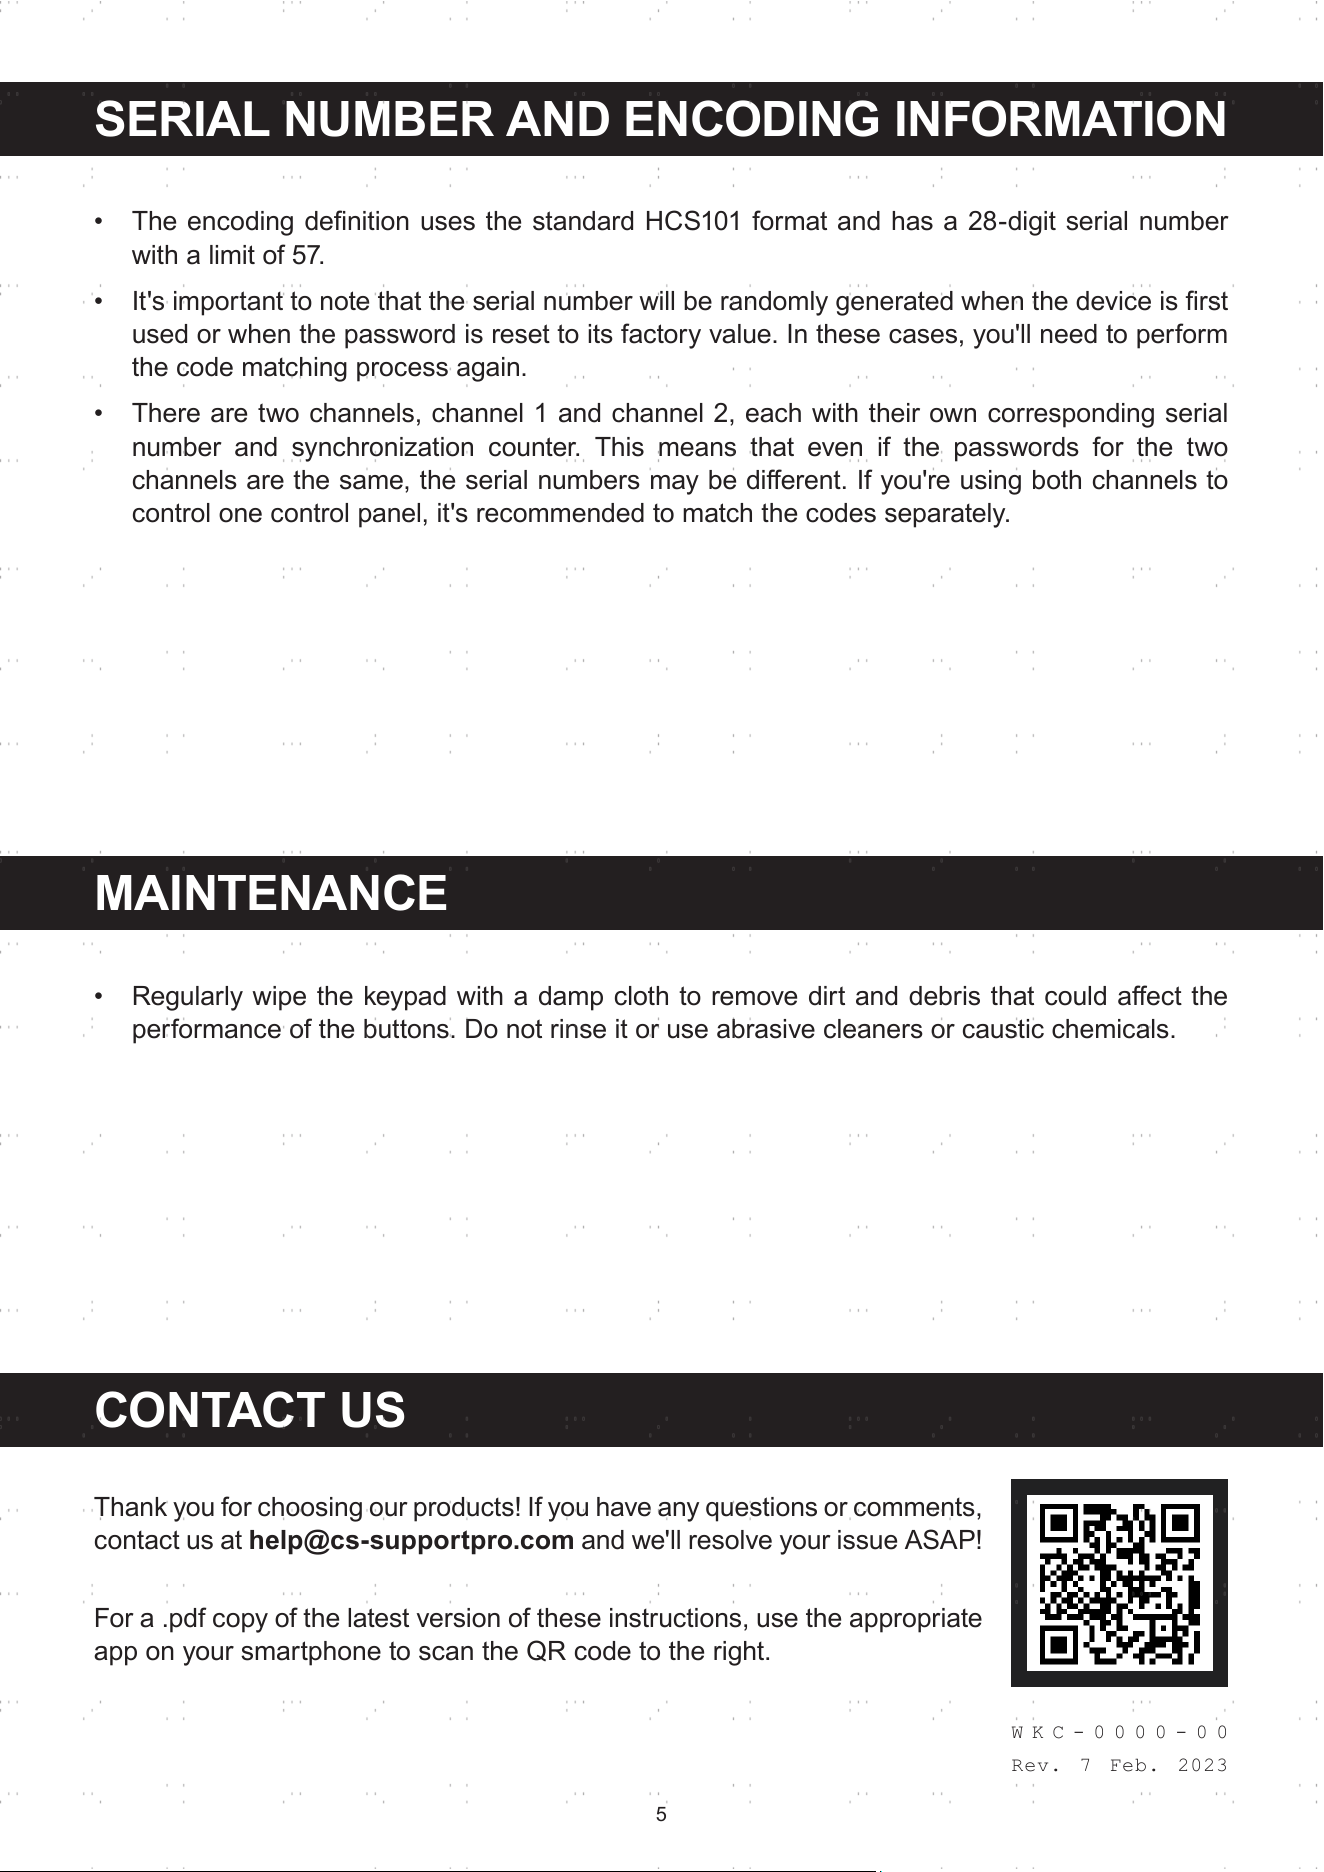
1. Open the wireless keypad following the installation
instructions.
2. Locate and press the RESET button.
3. The previous password should now be erased, reverting to
the factory password.
4. Follow the manual to set a new password.
CHANGING THE PASSWORD
Channel 1
1. Press and hold 0.
2. Press and release ⯇ while you keep holding 0.
3. Release 0. The buzzer will emit a long beep, indicating that you have entered the password
change state.
4. Input the original password (the default password is "11") and press ⯇.
5. Enter a new password (no more than 8 digits) and press ⯇. If the new password exceeds 8
digits or the new password is inconsistent, the password change error will be displayed and the
buzzer will make 5 short beeps. The system will then exit the password change status. If you do
not enter a password and press ⯇ twice instead, the password will be set to 0 digits, meaning
no password. Simply press ⯇ to send the encoded signal.
6. Re-enter the new password and press ⯇. The password has been successfully changed, and
the buzzer will emit one long beep.
Channel 2
1. Press and hold 0.
2. Press and release ⯈ while you keep holding 0.
3. Release 0. The buzzer will emit a long beep, indicating that you have entered the password
change state.
4. Input the original password (the default password is "22") and press ⯈.
5. Enter a new password (no more than 8 digits) and press ⯈. If the new password exceeds 8
digits or the new password is inconsistent, the password change error will be displayed and the
buzzer will make 5 short beeps. The system will then exit the password change status. If you do
not enter a password and press ⯈ twice instead, the password will be set to 0 digits, meaning
no password. Simply press ⯈ to send the encoded signal.
6. Re-enter the new password and press ⯈. The password has been successfully changed, and
the buzzer will emit one long beep.
5
CONTACT US
Thankyouforchoosingourproducts!Ifyouhaveanyquestionsorcomments,
contact us at help@cs-supportpro.com and we'll resolve your issue ASAP!
For a .pdf copy of the latest version of these instructions, use the appropriate
app on your smartphone to scan the QR code to the right.
WKC-0000-00
Rev. 7 Feb. 2023
SERIAL NUMBER AND ENCODING INFORMATION
MAINTENANCE
• TheencodingdenitionusesthestandardHCS101formatandhasa28-digitserialnumber
with a limit of 57.
• It'simportanttonotethattheserialnumberwillberandomlygeneratedwhenthedeviceisrst
used or when the password is reset to its factory value. In these cases, you'll need to perform
the code matching process again.
• There are two channels, channel 1 and channel 2, each with their own corresponding serial
number and synchronization counter. This means that even if the passwords for the two
channelsarethesame,theserialnumbersmaybedierent.Ifyou'reusingbothchannelsto
control one control panel, it's recommended to match the codes separately.
• Regularlywipethekeypadwithadampclothtoremovedirtanddebristhatcouldaectthe
performance of the buttons. Do not rinse it or use abrasive cleaners or caustic chemicals.