
I
ZKX6550
Installation Guide
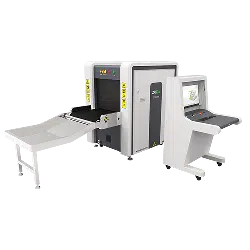
Micro Dose X-ray Security Inspection Device
Version: 1.2
Date: June, 2018
①
②
③
④
①
③
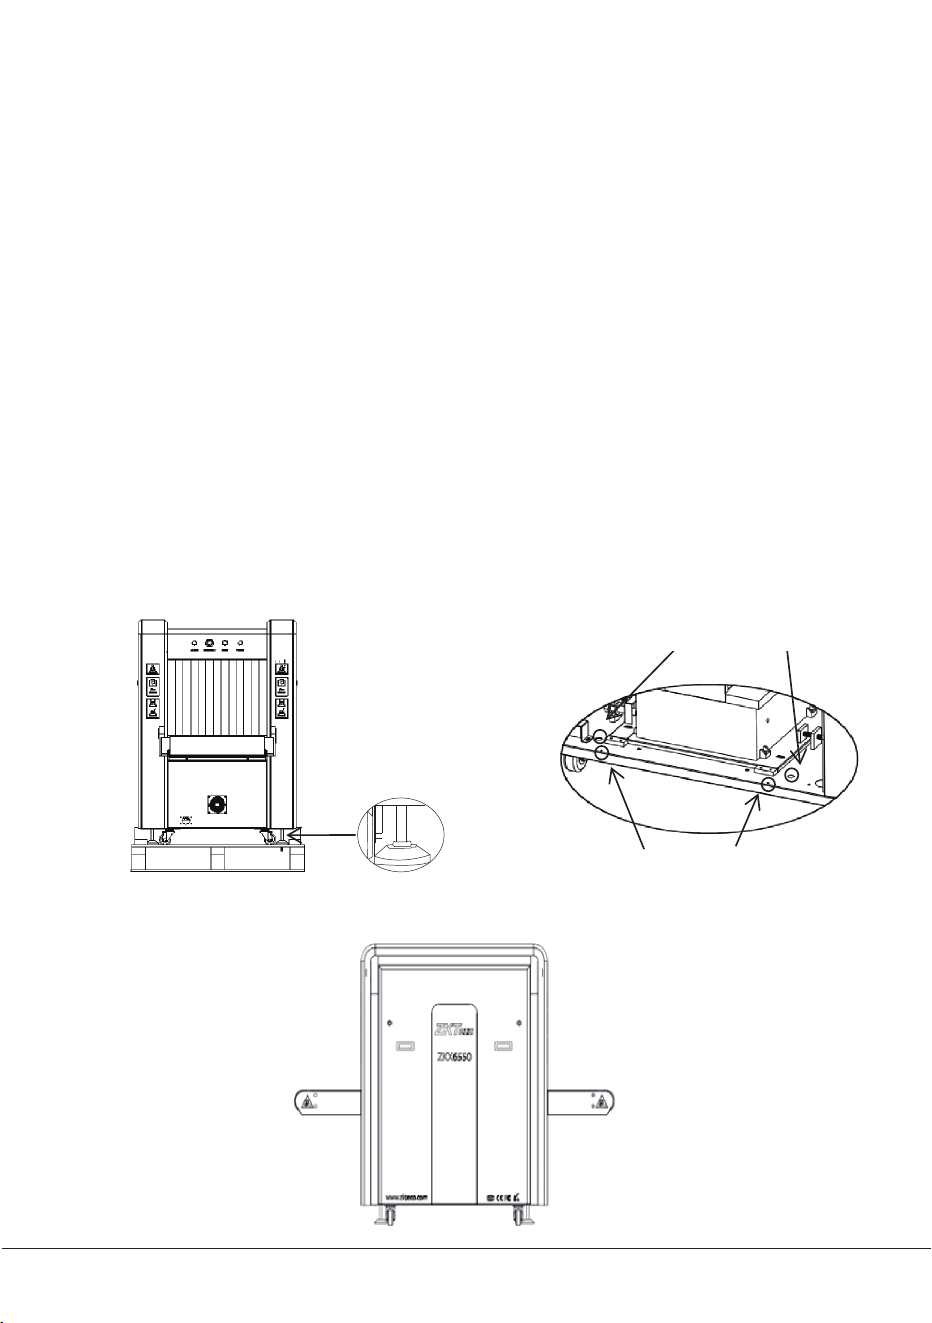
Open the side panel with the triangle key.
Notice: You have to lift the side panel up and then remove it because there are
two positioning nails connecting the side panel and the device.
Loose and take out the four internal hexagon bolts.
Using a wrench, lower the four support leg under the device clockwise to raise
the device, and then pull out the two support bars under the device. Twist the
four foot cups counterclockwise to raise it until the wheels touches ground.
Move the equipment to where you want to install, close two sides(When closing,
pay attention to the positioning nails at the bottom). Finally, twist the foot cups
clockwise to lower it and ensure that the device is fixed well and then locks the
nut of foot cups.
1 Unpacking
1
④
②
Internal Hexagon Bolts
Positioning Nails
①
②
③
④
①
②
③
④
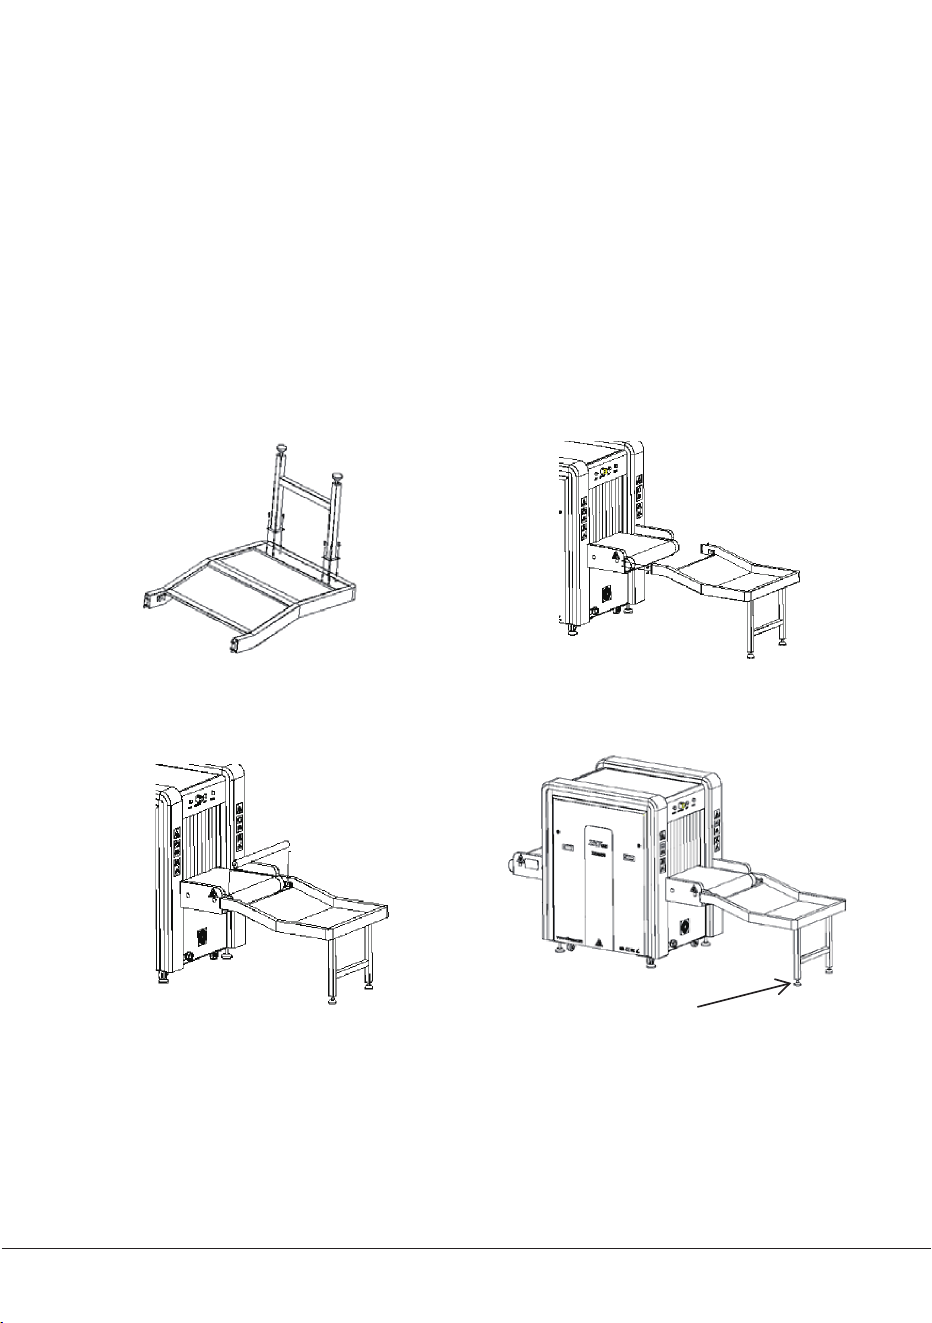
Use 8 M6 X 20 Allen screws to connect the H shape trusses to the tray.
Use 8 M6 X 20 Allen screws to connect the shelf and the device.
Put the roller on the shelf holder.
Adjust the height of the shelf foot-cup according to the height of the device.
Adjust the height of the foot-cup
2 Assemble shelf
2
①
②
①
②
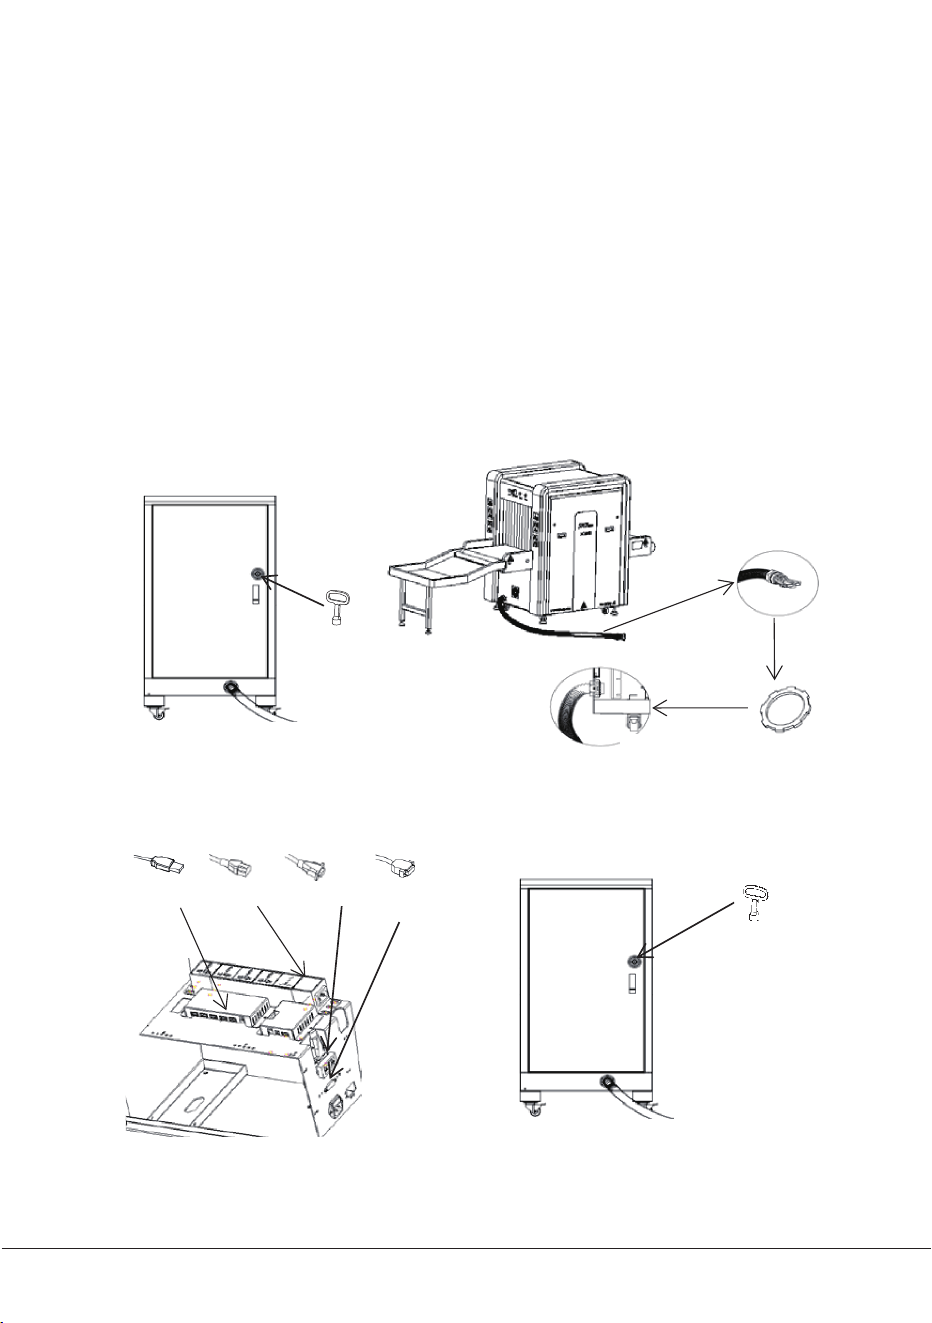
Open the back door of the console with the triangle key, unscrew the thin
metal round nut at the front end of the bellows, and fix the bellows with the
thin metal round nut to console.
Connect the power cables, VGA cable, DB15 cable, and USB cable in the
bellows to its interfaces in console. Re-lock the back door with the triangle
key.
The thin metal round nut
3 Wiring
USB
Power
VGA DB15
3
①
②
③
②
①
③
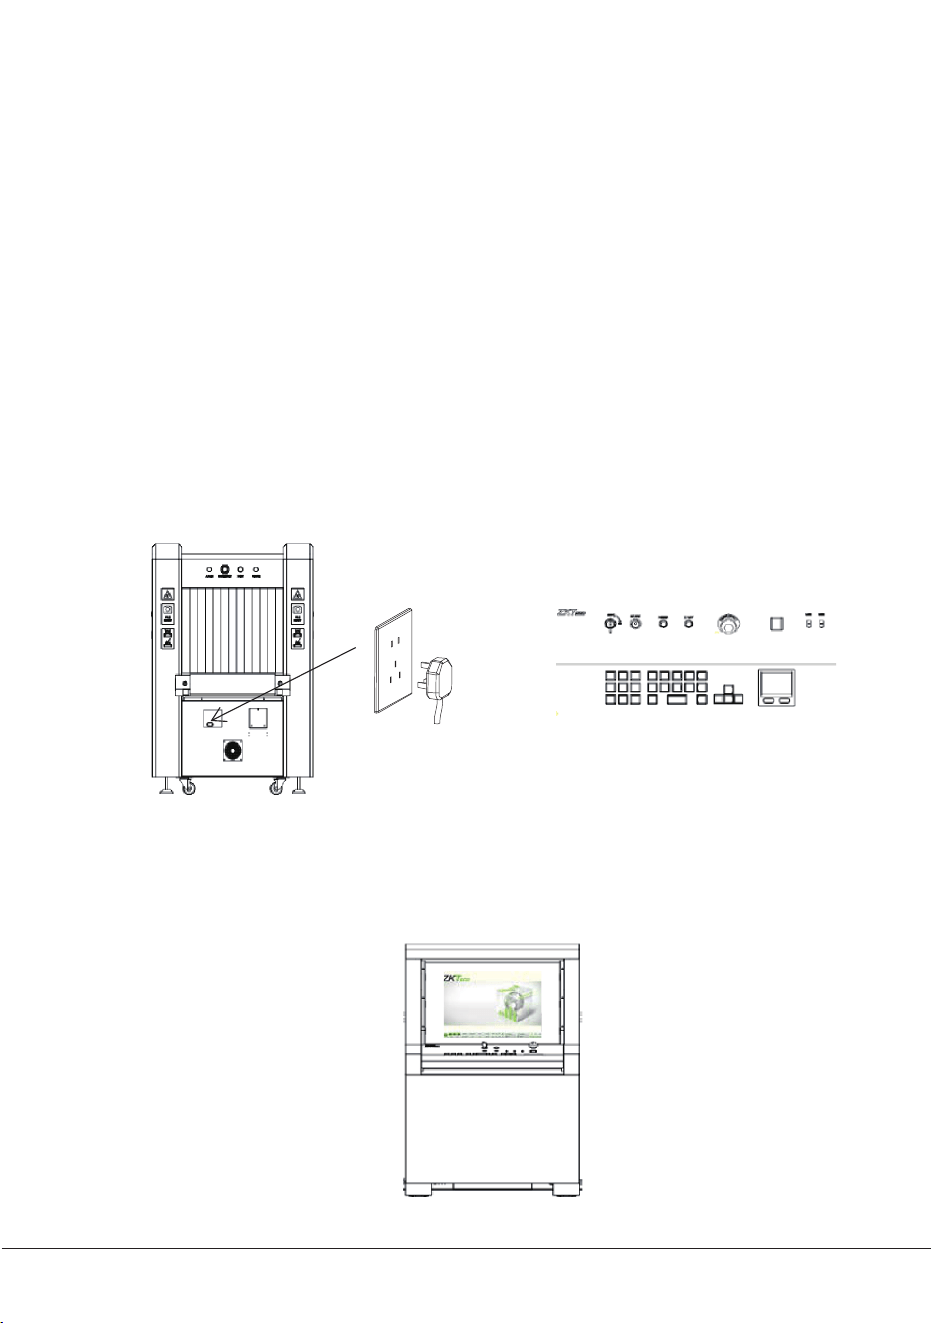
Connect the power cord to the main power supply.
After connecting the wires correctly and properly, you can reverse the key
switch to "ON", then press the start button beside it and wait for the device to
start.
After powering, the software logins automatically as an administrator by
default. The initial login details for administrator; User name: 9999 Password:
123456. We recommend to change the password after initial login.
4 Boot
4
①
②
③
①
②
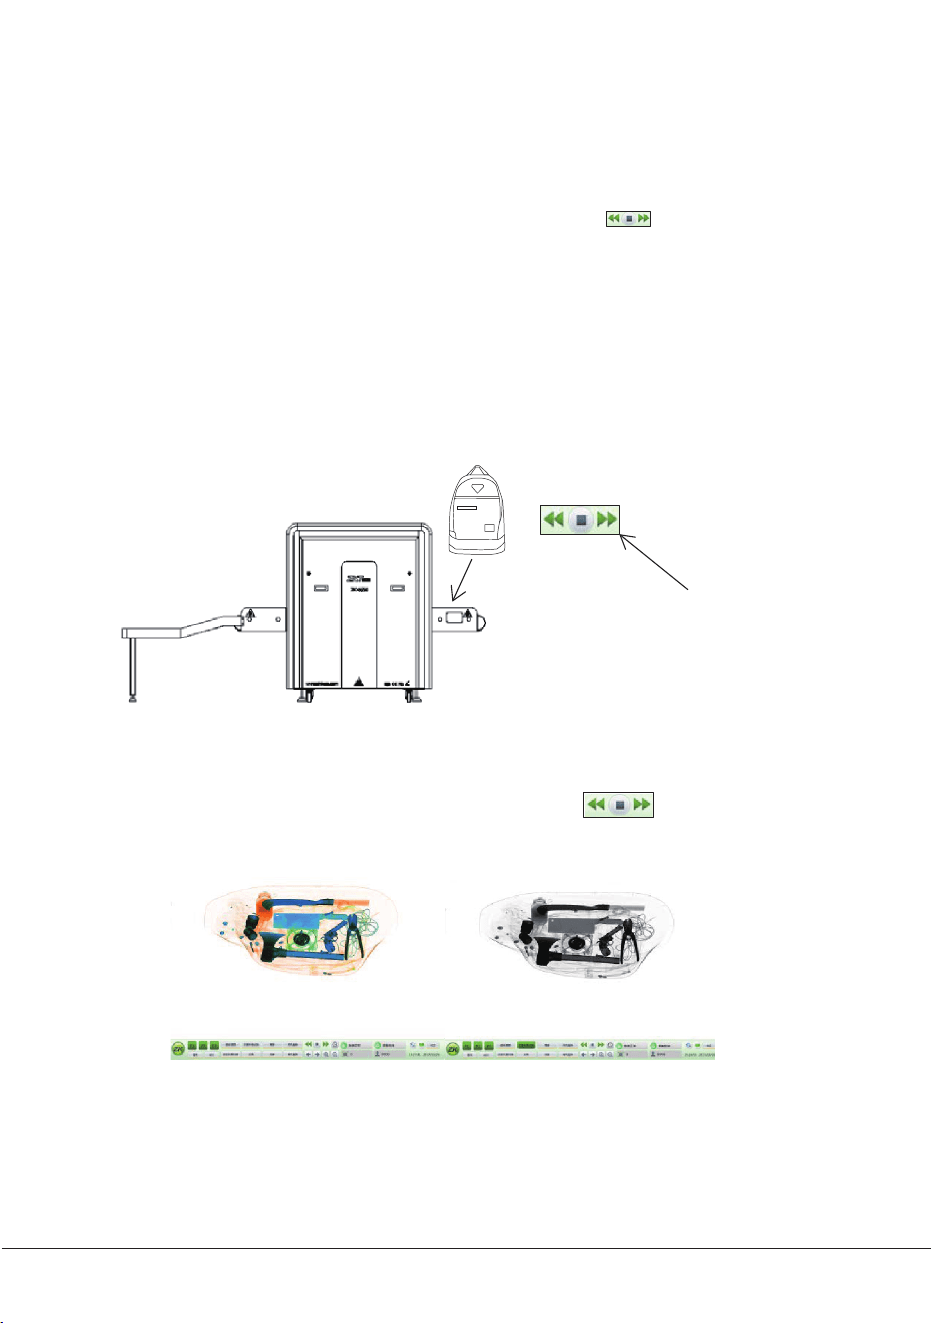
Put a baggage on belt and move it
Put a baggage on the belt at the entrance and use the mouse to click on the
"Forward" direction key to move the belt forward.
After the baggage is conveyed to the shelf via the belt, the scanned image will
appear on the screen in real-time. You can use image processing function to
change image mode.
Use the mouse to click on the "Stop" button to stop the belt and take out the
baggage from the shelf.
5 Check the scan image
5
①
②
③
②
①
③
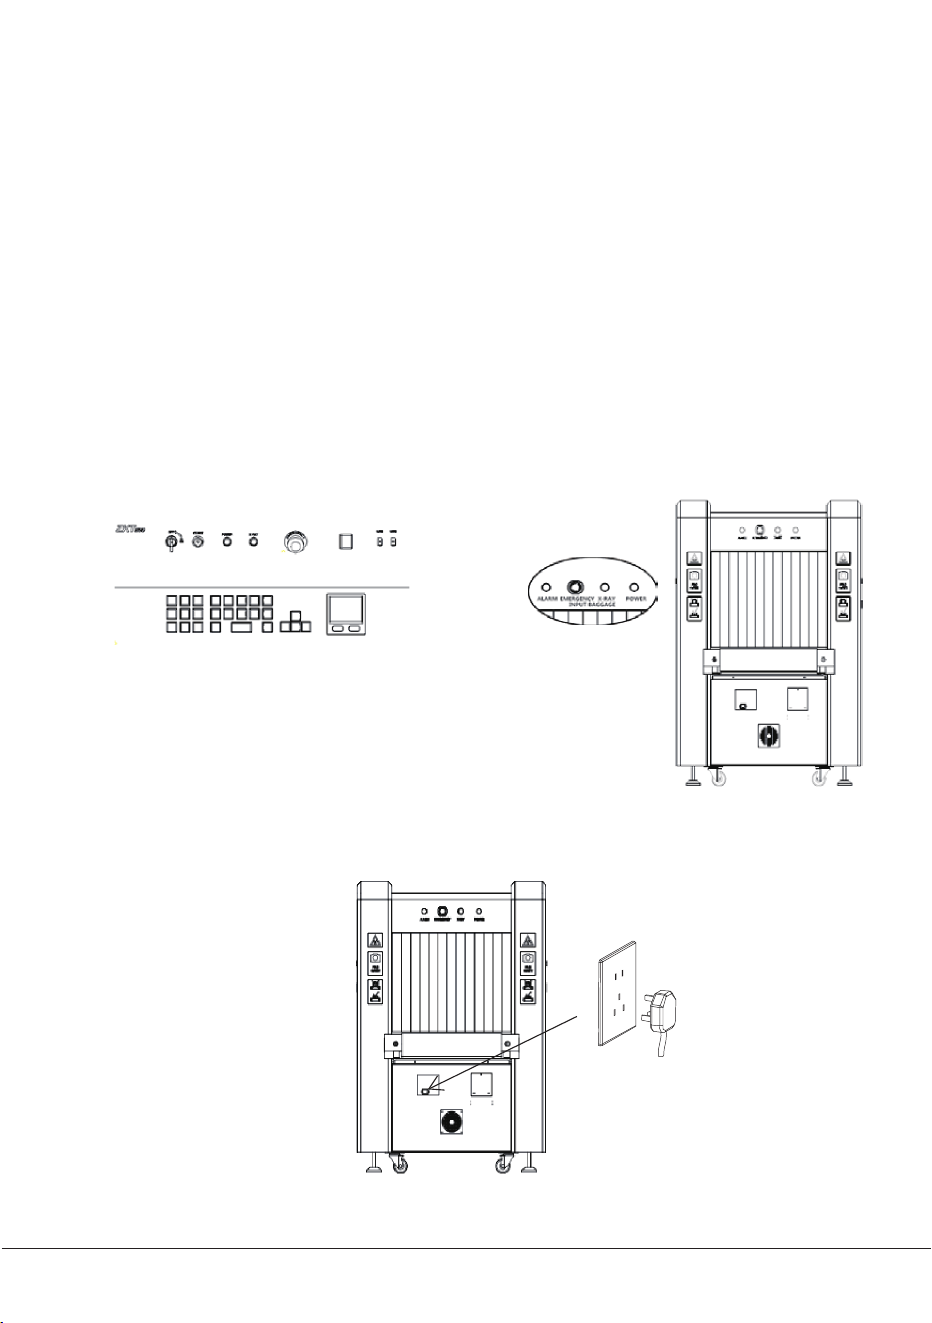
Reverse the key switch from "ON" to "OFF", when switching off the equipment.
Note: Do not unplug the power cable of the device until it is completely shut
down.
The screen will prompt "Shutdown" message followed by "Windows will shut
down within one minute.” The device is completely turned off when the green
work indicator is off.
The power cable can be disconnected after the equipment is completely
turned off. Please take out the key and keep it at a safe place.
6 Power Off
6

© Copyright 2018.ZKTeco Inc. ZKTeco Logo is a registered trademark of ZKTeco or a related company. All other product
andcompany names mentioned are used for identification purposes only and may be the trademarks of their respective
owners. All specifications are subject to change without notice. All rights reserved.
