&2))(( 0$.(5
,16758&7,21 0$18$/
02'(/ 12 &0$8/
,7(0 12&0%/$&.
&0%/$&.&6
5HDG WKLV PDQXDO WKRURXJKO\ EHIRUH XVLQJ DQG VDYH LW IRU IXWXUH UHIHUHQFH
7KDQN \RX IRU SXUFKDVLQJ WKLV SURGXFW ,I \RX KDYH TXHVWLRQV DERXW WKH SURGXFW
VXFK DV PLVVLQJ SDUWV GDPDJHG SURGXFWV SURGXFW DVVHPEOLQJ DQG RSHUDWLRQ HWF
SOHDVH FRQWDFW XV YLD FXVWRPHU VHUYLFH SKRQH RU

1
IMPORTANT SAFEGUARDS
Before using the electrical appliance, the following basic precautions should always be
followed including the followings:
1. Read all instructions.
2. Do not let the coffee maker operate without water.
3. Make sure that your outlet voltage corresponds to the voltage stated on the rating label
of the coffee maker.
4. To protect against fire, electric shock and injury to persons, do not imm erse
cord or plug
in water or other liquid.
5. Close supervision is necess
ary when your appliance is operating. Do not leave the
appliance on the standby state for a long time. And never allow the children or uninformed
persons to operate the appliance.
6. Unplug from outlet when not in use and before cleaning. Allow to cooling down before
putting on or taking off parts, and cleaning the appliance.
7. Do not operate any appliance with a damaged cord or plug or after the appliance
malfunctions, or has been damaged in any manner. Return appliance to an au
thorized
service facility for examination, repair or adjustment.
8. The use of attachments not recommended by the appliance manufacturer may result in
fire, electric shock or injury to persons.
9. Do not use outdoors.
10. Place appliance on flat surface or table, do not let cord hang over edge of table or
counter, or touch hot surface.
11. Do not place on or near a hot gas or electric burner, or in a heated oven.
12. Do not use appliance for other than intended use and place it in a dr
y environment.
14. Some parts of appliance are hot when operated, so do not touch with hand directly. Use
handles or knobs only.
15. The container is designed for use with this appliance. It must never be used on a range
top.
16. Do not clean container with cleansers, steel wool pads, or other abrasive material.
17. Never leave the empty carafe on the keeping warm plate otherwise the carafe is liable
to crack.
13. To disconnect, remove plug from wall outlet. Always hold the
plug. B
ut never
pull the cord.

1HYHU XVH WKH DSSOLDQFH LI WKH FDUDIH VKRZV DQ\ VLJQV RI FUDFNV RU FDUDIH KDYLQJ D
ORRVH RU ZHDNHQHG KDQGOH 2QO\ XVH WKH FDUDIH ZLWK WKLV DSSOLDQFH 8VH FDUHIXOO\ DV WKH
FDUDIH LV YHU\ IUDJLOH
'R QRW VHW D KRW FRQWDLQHU RQ D KRW RU FROG VXUIDFH
7KH DSSOLDQFH PXVW QRW EH LPPHUVHG
7KLV DSSOLDQFH LV LQWHQGHG WR EH XVHG LQ KRXVHKROG DQG VLPLODU DSSOLFDWLRQV DV
VWDII NLWFKHQ DUHDV LQ VKRSV RIILFHV DQG RWKHU ZRUNLQJ HQYLURQPHQWV
IDUP KRXVHV
E\ FOLHQWV LQ KRWHOV
PRWHOV DQG RWKHU UHVLGHQWLDO W\SH HQYLURQPHQWV
EHG DQG EUHDNIDVW W\SH HQYLURQPHQWV
,I WKH VXSSO\ FRUG LV GDPDJHG LW PXVW EH UHSODFHG E\ WKH PDQXIDFWXUHU LWV VHUYLFH
DJHQW RU VLPLODUO\ TXDOLILHG SHUVRQV LQ RUGHU WR DYRLG D KD]DUG
7KLV DSSOLDQFH FDQ EH XVHG E\ FKLOGUHQ DJHG IURP \HDUV DQG DERYH LI WKH\ KDYH EHHQ
JLYHQ VXSHUYLVLRQ RU LQVWUXFWLRQ FRQFHUQLQJ XVH RI WKH DSSOLDQFH LQ D VDIH ZD\ DQG LI
WKH\ XQGHUVWDQG WKH KD]DUGV LQYROYHG &OHDQLQJ DQG XVHU PDLQWHQDQFH
VKDOO QRW EH
PDGH E\ FKLOGUHQ XQOHVV WKH\ DUH ROGHU WKDQ DQG VXSHUYLVHG .HHS WKH DSSOLDQFH DQG
LWV FRUG RXW RI UHDFK RI FKLOGUHQ DJHG OHVV WKDQ \HDUV
$SSOLDQFHV FDQ EH XVHG E\ SHUVRQV ZLWK UHGXFHG SK\VLFDO VHQVRU\ RU PHQWDO
FDSDELOLWLHV RU ODFN RI H[SHULHQFH DQG NQRZOHGJH LI WKH\ KDYH EHHQ JLYHQ VXSHUYLVLRQ
RU LQVWUXFWLRQ FRQFHUQLQJ XVH RI WKH DSSOLDQFH LQ D VDIH ZD\ DQG XQGHUVWDQG WKH KD]DUGV
LQYROYHG
&KLOGUHQ VKDOO QRW SOD\ ZLWK WKH DSSOLDQFH

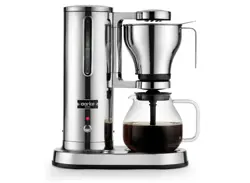
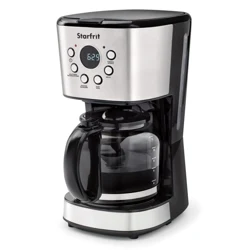
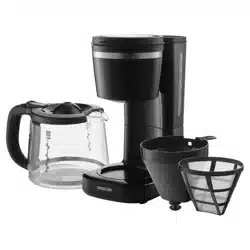
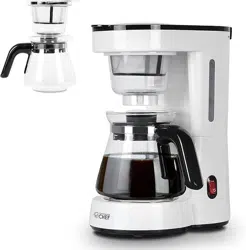
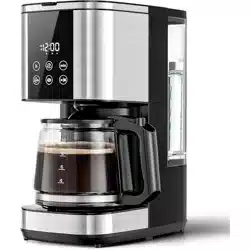
.12: <285 &2))(( 0$.(5
&21752/ 3$1(/
4
BEFORE THE FIRST USE
Check that all accessories are complete and the unit is not damaged. Add water into water
tank to the max level and brew water for several times without coffee powder, then discard
the water. Clean all detachable parts thoroughly with warm water.
USING YOUR COFFEE MAKER
1. Open the water tank cover and fill the water tank with drinking water. The water level
should not exceed the MAX level as indicated on the water level gauge.
2. Open the top cover and place th
e funnel into the funnel support, make sure it is
assembled correctly, otherwise the top cover cannot be closed. Place a
filter into the
funnel.
3. Add coffee powder into the filter. Usually a cup of coffee needs a level spoon of
coffee powder, but you may adjust according to personal taste. Close the top cover
completely.
4. Insert the carafe onto the warming plate horizontally.
5. Plug the power cord into the outlet, the LED display indicates "AM12:00" flickeringly.
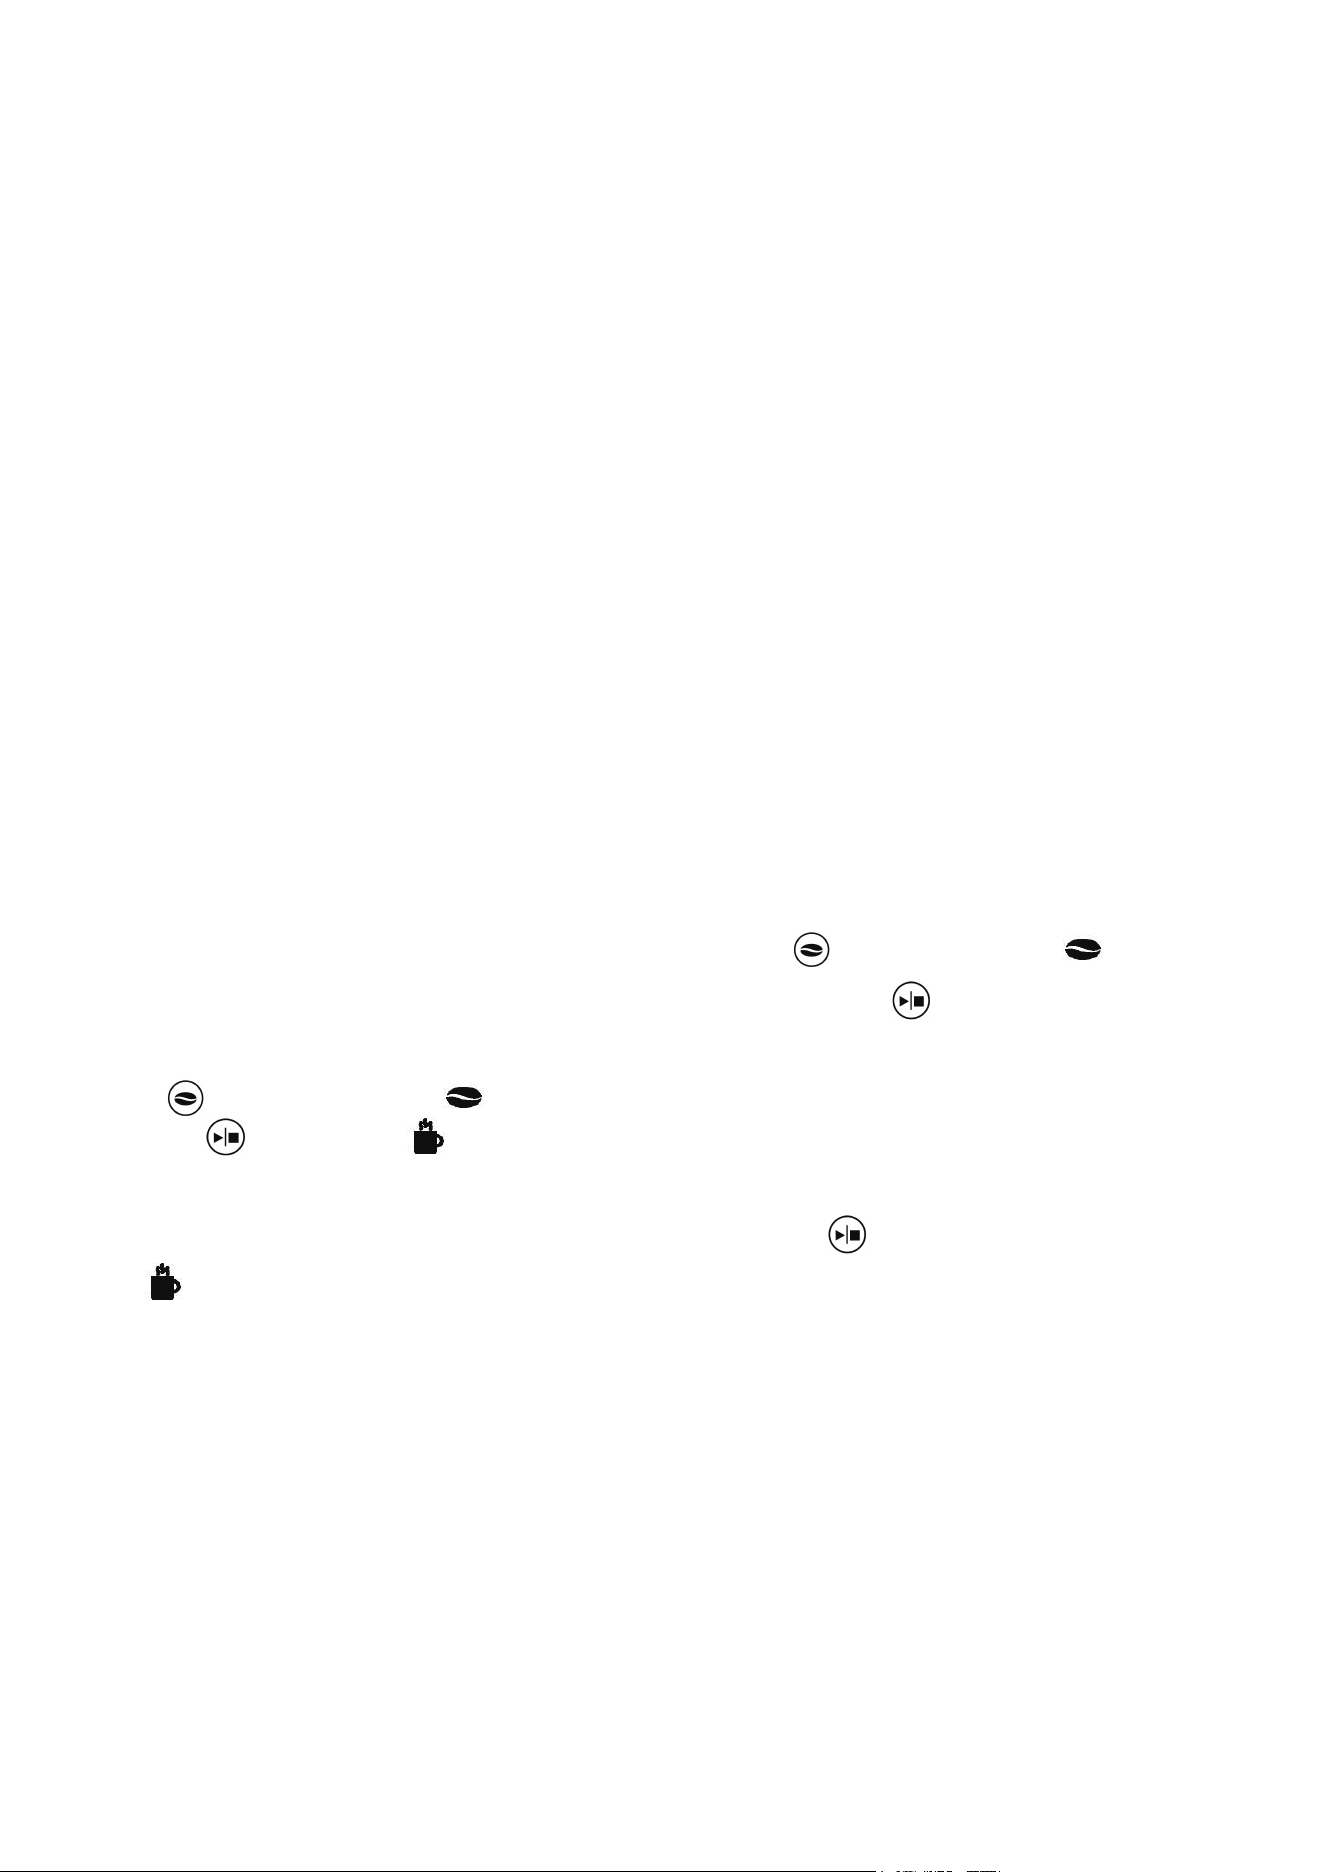
If you want to adjust the coffee strength, you can press button once, the
indicator in the LED display will illuminate, and then press the button and the
appliance will brew thick coffee. If you do not want to adjust the coffee strength, just
press button again, the indicator disappears.
6. Press
button,
the
indicator in the LED
display illuminate, and then the
appliance
begins to work.
7. The brewing process can be interrupted by pressing the
button at any time,
NOTE: You can take out carafe, pour and serve at any time. The appliance will stop
dripping automatically. But the time cannot exceed 30 seconds.
8. Remove out carafe to serve when finish brewing (about one minute later after the coffee
stops dripping out.)
NOTE: The coffee you get will less than the water you have added, as some water is
absorbed by coffee ground and adhere to the plastic.
9. W
hen the process is finished, if you do not want to enjoy immediately, make the coffee
maker be energized, and the coffee can be kept warm on the warming plate. And th
the
indicator in the LED display will extinguish, indicating your coffee maker shuts
off.
e
5
appliance will shut off automatically after 2 hours
. For an optimum coffee taste, enjoy
it just after brewing.
10. Always turn the coffee maker off and disconnect the power supply when not use.
NOTE: Pay attention to pour the coffee out, otherwise you may be hurt as the temperature
of coffee just finished is high.
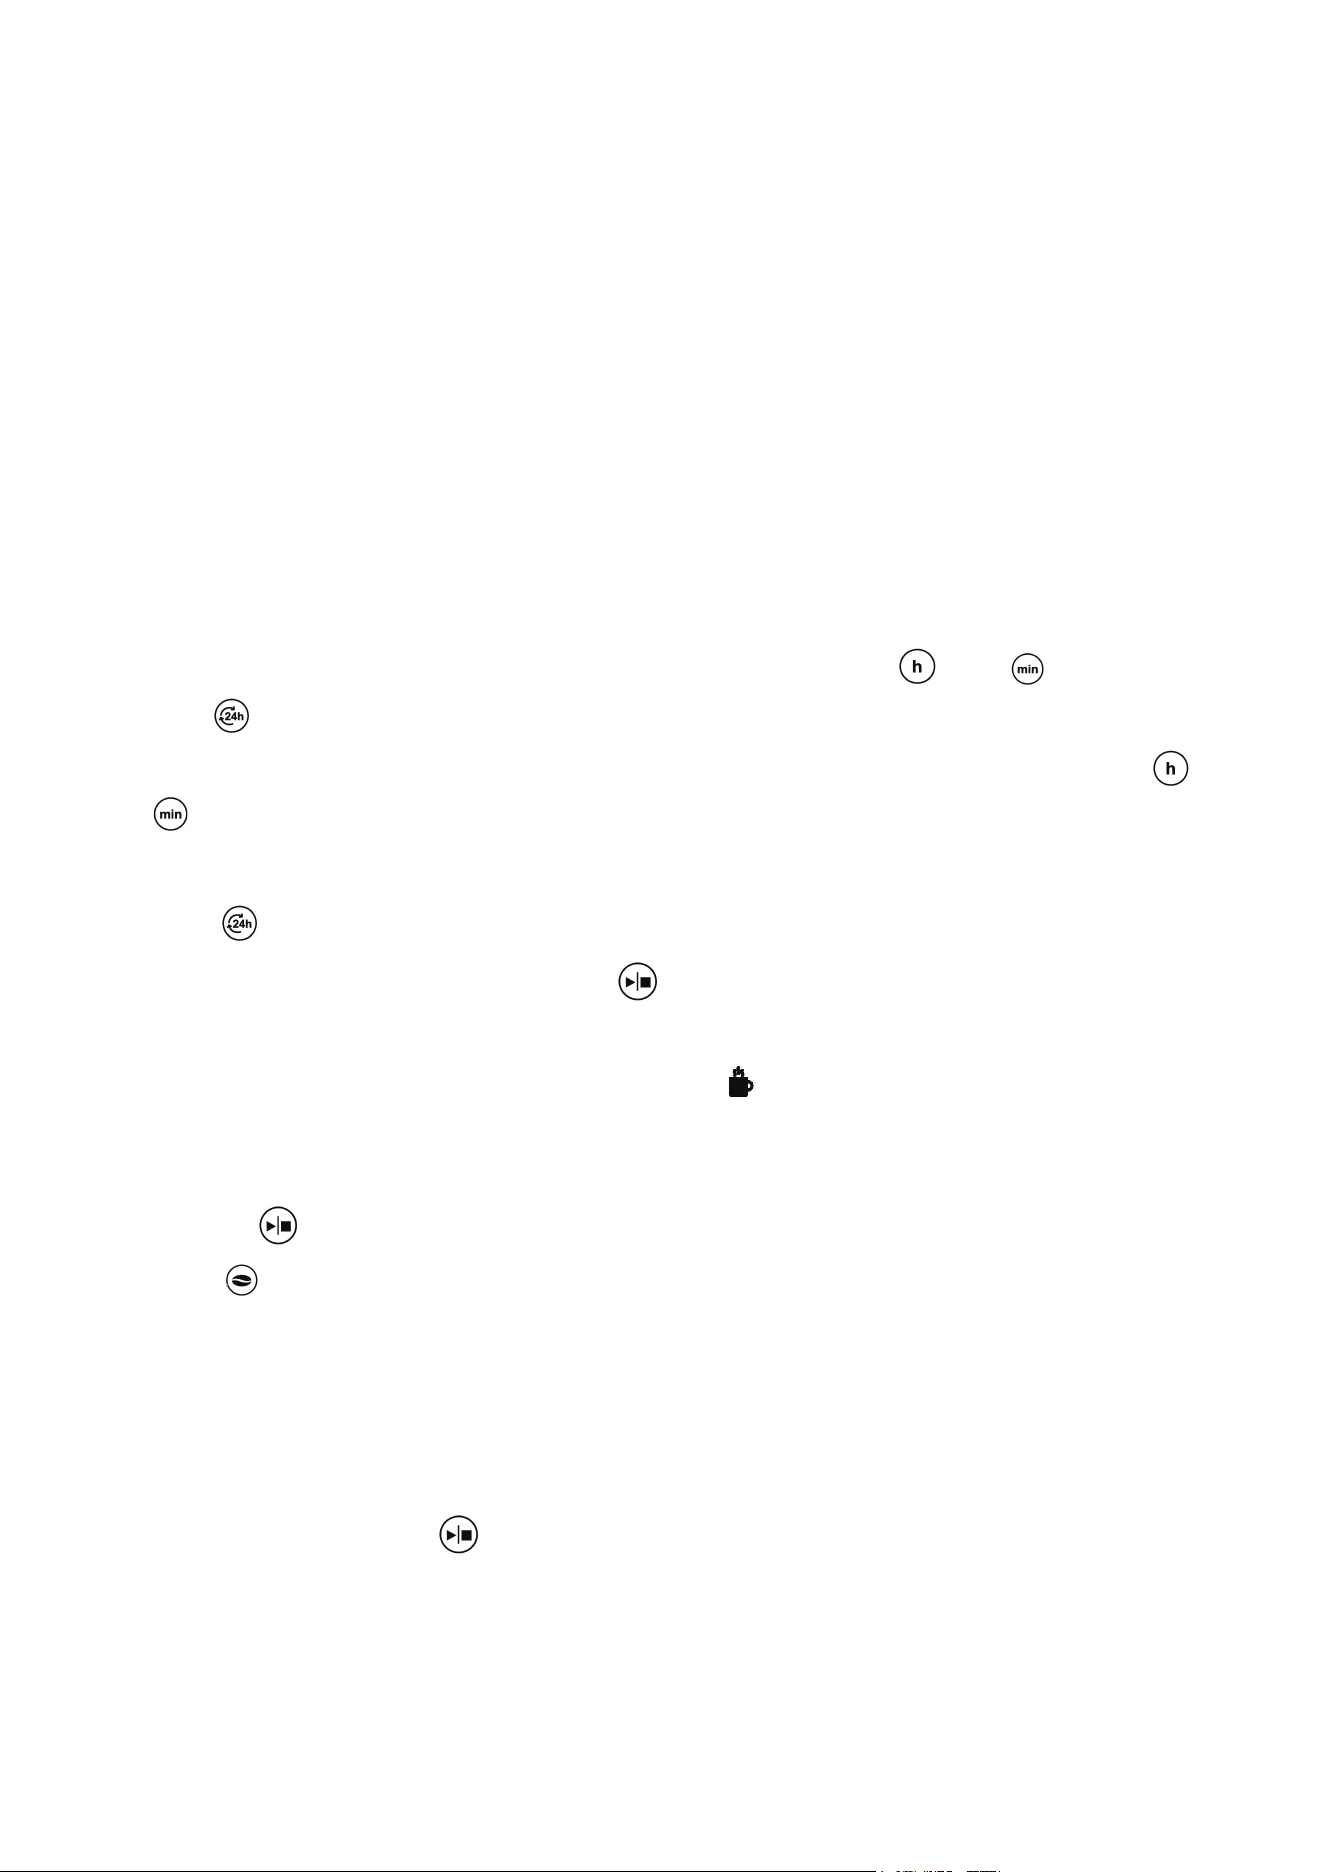
1. Set the current time that is 8:00am by pressing the buttons o
DELAY BREW FUNCTION
If you do not want the coffee maker to start operation immediately, for example now it is
8:00 am, you hope that the coffee maker will automatically start w
orking at 1:00pm
,
firstly follow steps 1 to 5 of USING YOUR COFFEE MAKER and then you can set
the automatic start function as follows:
f
and .
2. Press
button once, its corresponding indicator flashes, the LED display indicates
“AM 12:00” . Set the automatic start time that is PM 1:00
by pressing the buttons of
and .
NOTE: The time cycle is 24 hours.
Press the button in power on state, the LED display will show the time set last time.
button, the appliance will enter into the
3. After setting the auto-start time, press
delay-brew mode.
4. When the time reaches the auto-start time, the
indicator in the LED display will
illuminate at the same time, which means that the appliance will start to brew coffee.
NOTE: After the delay-brew mode is actived, you can cancel the delay-brew function by
button, and then the appliance will enter into the standby mode. You can
button to make the appliance brew thick coffee under the delay-brew mode.
pressing the
also press
5. When the automatic start time is up and the coffee brewing process is completed,
if you do not want to enjoy immediately, make the coffee
maker be energized,
and the coffee can be kept warm on the warming plate for 2 hours
. And the
appliance will shut off automatically after 2 hours. You can cancel the Keep warm
" button. For an optimum coffee taste, enjoy it just function by pressing the "
after brewing.

6
CLEANING AND MAINTENANCE
CAUTION: Be sure to unplug this appliance before cleaning. To protect against electrical
shock, do not immerse cord, plug or unit in water or liquid. After each use, always make
sure plug is first removed from wall outlet.
1) Clean all detachable parts after each use in hot, sudsy water.
2) Wipe the product’s exterior surface with a soft, damp cloth to remove stains.
3) Water droplets may buildup in the area above the funnel and drip onto the product bas
e
during brewing. To control the dripping, wipe off the area with a clean, dry cloth after each
use of the product.
4) Use a damp cloth to gently wipe the warming plate. Never use abrasive cleaner to clean
it.
5) Replace all parts and keep for next use.
REMOVING MINERAL DEPOSITS
To keep your coffee maker operating efficiently, periodically you should clean away the
mineral deposits left by the water according to the water quality in your area and the use
frequency, we recommend re
moving mineral deposits as follows:
2. Fill the water tank with water and descaler to the MAX level as indicated on the water
level gauge (the scale of water and descaler is 4:1, the detail refers to the instruction of
descaler. Please use “household descaler”, you may also use the citric acid instead of the
descaler (the one hundred parts of water and three parts of citric acid).
3. Insert the carafe onto the warming plate.
4. Ensure the funnel is assembled in place
indicator
will
.
5. Press the
button once and indicator will flash quickly, then press the
button
once, indicator
6. After finish descaling, the appliance will enter into the standby mode and the number of
working cycle will be zeroed and recounted.
7. Rinse by operating the appliance with potable water at least 3 times
will be solid on, and then the appliance will perform descaling.
.
1. When the coffee maker needs to be performed descaling, the
automatically appear and flash slowly.
127( 7KH XVHU FDQ SHUIRUP GHVFDOLQJ DW DQ\ WLPH E\ IROORZLQJ WKH DERYH RSHUDWLRQ HYHQ
WKRXJK WKH GHVFDOLQJ SURPSW LV QRW VKRZQ
+,176 )25 *5($77$67,1* &2))((
$ FOHDQ FRIIHH PDNHU LV HVVHQWLDO IRU PDNLQJ JUHDWWDVWLQJ FRIIHH 5HJXODUO\ FOHDQ WKH
FRIIHH PDNHU DV VSHFLILHG LQ WKH ³&/($1,1* $1' 0$,17(1$1&(´ VHFWLRQ $OZD\V
XVH IUHVK FROG ZDWHU LQ WKH FRIIHH PDNHU
6WRUH XQXVHG FRIIHH SRZGHU LQ D FRRO GU\ SODFH $IWHU RSHQLQJ D SDFNDJH RI FRIIHH
SRZGHU UHVHDO LW WLJKW
O\ DQG VWRUH LW LQ D UHIULJHUDWRU WR PDLQWDLQ LWV IUHVKQHVV
)RU DQ RSWLPXP FRIIHH WDVWH EX\ ZKROH FRIIHH EHDQV DQG ILQHO\ JULQG WKHP MXVW EHIRUH
EUHZLQJ
'R QRW UHXVH FRIIHH SRZGHU VLQFH WKLV ZLOO JUHDWO\ UHGXFH WKH FRIIHH¶ IODYRU 5HKHDWLQJ
FRIIHH LV QRW UHFRPPHQGHG DV FRIIHH LV DW LWV SHDN IODYRU LPPHGLDWHO\ DIWHU EUHZLQJ
&OHDQ WKH FRIIHH PDNHU ZKHQ RYHUH[WUDFWLRQ FDXVHV RLOLQHVV 6PDOO RLO GURSOHWV RQ WKH
VXUIDFH RI EUHZHG EODFN FRIIHH DUH GXH WR WKH H[WUDFWL
RQ RI RLO IURP WKH FRIIHH SRZGHU
2LOLQHVV PD\ RFFXU PRUH IUHTXHQWO\ LI KHDYLO\ URDVWHG FRIIHHV DUH XVHG
(19,5210(17 )5,(1'/< ',6326$/
<RX FDQ KHOS SURWHFW WKH HQYLURQPHQW
3OHDVH UHPHPEHU WR UHVSHFW WKH ORFDO
UHJXODWLRQV KDQG LQ WKH QRQZRUNLQJ
HOHFWULFDO HTXLSPHQWV WR DQ DSSURSULDWH ZDVWH
GLVSRVDO FHQWHU

Thank you for purchasing this product! If you have any question about
the product, such as missing parts, damaged products, product
assembling, and operation, please contact us via:
���-������� or ���-�������
IMPORTANT
Please call our customer service department for any consulting:
213-4467172
661-4358826
(8:30am - 5:30pm P.S.T.)
DATED PROOF OF PURCHASE IS REQUIRED FOR WARRANTY SERVICE.
AVIS
Veuillez appeler le service à la clientèle pour toutes questions au:
213-4467172
661-4358826
(8:30am - 5:30pm P.S.T.)
PREUVE D’ACHAT ORIGINALE REQUISE POUR SERVICE DE GARANTIE.
IMPORTANTE
Sólo hay que llamar nuestro departamento de servicio
al cliente en caso de tener preguntas o inquietudes:
213-4467172
661-4358826
(8:30am - 5:30pm P.S.T.)
SE REQUIERE PRUEBA DE COMPRA CON FECHA PARA SERVICIO BAJO
GARANTÍA.
Address: ROWAN ELECTRIC APPLIANCE LLC
���S. Valley View Avenue, San Bernardino, CA �����
Phone: ���-������� or ���-�������
8:30am-5:30pm P.S.T. Monday to Friday