Technical Support and E-Warranty Certificate www.vevor.com/support
OPERATING INSTRUCTION
MODEL:AMG39
We continue to be committed to provide you tools with competitive price.
"Save Half", "Half Price" or any other similar expressions used by us only represents an
estimate of savings you might benefit from buying certain tools with us compared to the major
top brands and doses not necessarily mean to cover all categories of tools offered by us. You
are kindly reminded to verify carefully when you are placing an order with us if you are
actually saving half in comparison with the top major brands.

- 1 -
MODEL:AMG39
Have product questions? Need technical support? Please feel free to
contact us:
CustomerService@vevor.com
NEED HELP? CONTACT US!
This is the original instruction, please read all manual instructions
carefully before operating. VEVOR reserves a clear interpretation of our
user manual. The appearance of the product shall be subject to the
product you received. Please forgive us that we won't inform you again if
there are any technology or software updates on our product.
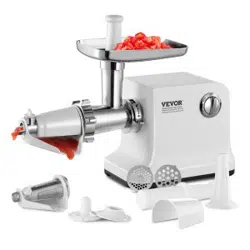
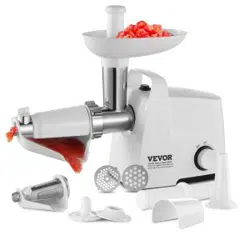
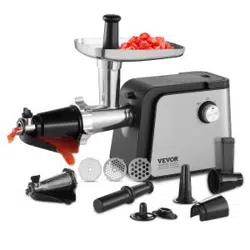
Electric Tomato Strainer

- 2 -
WARNING:
Read carefully and understand all ASSEMBLY AND OPERATI ON
I NSTRUCTI ONS before operating. Failure to follow the safety rules and other basic safety
precautions may result in serious personal injury.
FOR THE FIRST TIME
Check that voltage indicated on the rating label corresponds to the
mains voltage in your home.
Wash all parts (except the body) in warm soapy water.
Before plugging in, Do not press the button to avoid electric equipment
failure.
TECHNICAL SPECIFICATIONS
Model:
AMG39
Property
Specifications
Voltage
AC120V / 60Hz
Power
400W
Speed control mode
Rotary speed control
Reverse function
Yes
SAFETY INFORMATION
WARNING

- 3 -
• This product and related accessories contain chemicals known to the
State of California to cause cancer, congenital disabilities or other
reproductive harm.
• Risk of sudden starts: Can cause electrical shock and personal injury.
The pump motor has an automatically resetting thermal protector and may
restart unexpectedly.
• DO NOT plug in the pump while standing in water or on a wet or damp
surface.
• DO NOT use in water where fish are present (oil in the motor can kill fish).
• DO NOT pick up the pump by the power cord.
• Protect the electrical cord from sharp objects, hot surfaces, oil, and
chemicals. Avoid kinking the cord. Unplug the pump before servicing it or
attempting to clean it.
• Secure the discharge hose before starting the pump. An unsecured
discharge hose may whip, which can cause personal injury and property
damage.
• Keep the pump, base, and inlet screen free of debris and foreign objects.
• Never entire pool water or swim if the pump is present in the water for risk
of shock or personal injury.
IMPORTANT SAFEGUARDS
Home use only. Please do not use it for industrial purposes.
Unplug when assembling and disassembling the unit.
Close supervision is necessary when any appliance is used near children.
When carrying the unit, hold the body with both hands. Do not carry the unit
by the hopper plate or head.
Never push products by hand. Use a food pusher.
Do not grind hard food such as bones, nuts, etc.
Do not grind ginger and other materials with hard fiber.
Continuous running of the meat grinder should be at most 10 minutes with the

- 4 -
following 10-minute interval for motor cooling.
Operate the unit from “START” to “REVERSE” or from “REVERSE” to
“START” after the previous working condition stops more than 30 seconds, or
it may cause some abnormal cases such as moving up and down and quickly
destroy the unit.
To avoid jamming, do not force the unit to operate with excessive pressure.
When the circuit breaker activates, do not switch it on.
Never try to replace the parts and repair the unit by yourself.
◆This appliance is not intended for use by persons(including children) with
reduced physical, sensory, or mental capabilities or lack of experience and
knowledge unless they have been given supervision or instruction concerning
the use of the appliance by a person responsible for their safety.
◆Children should be supervised to avoid playing with the appliance.
◆Do not operate this appliance if the cord or plug is damaged. Return it to the
store of service or repair by a professional serviceman.
This appliance is intended to be used in the household only.
If the supply cord is damaged, it must be replaced by the manufacturer,
service agent, or similarly qualified persons to avoid a hazard.
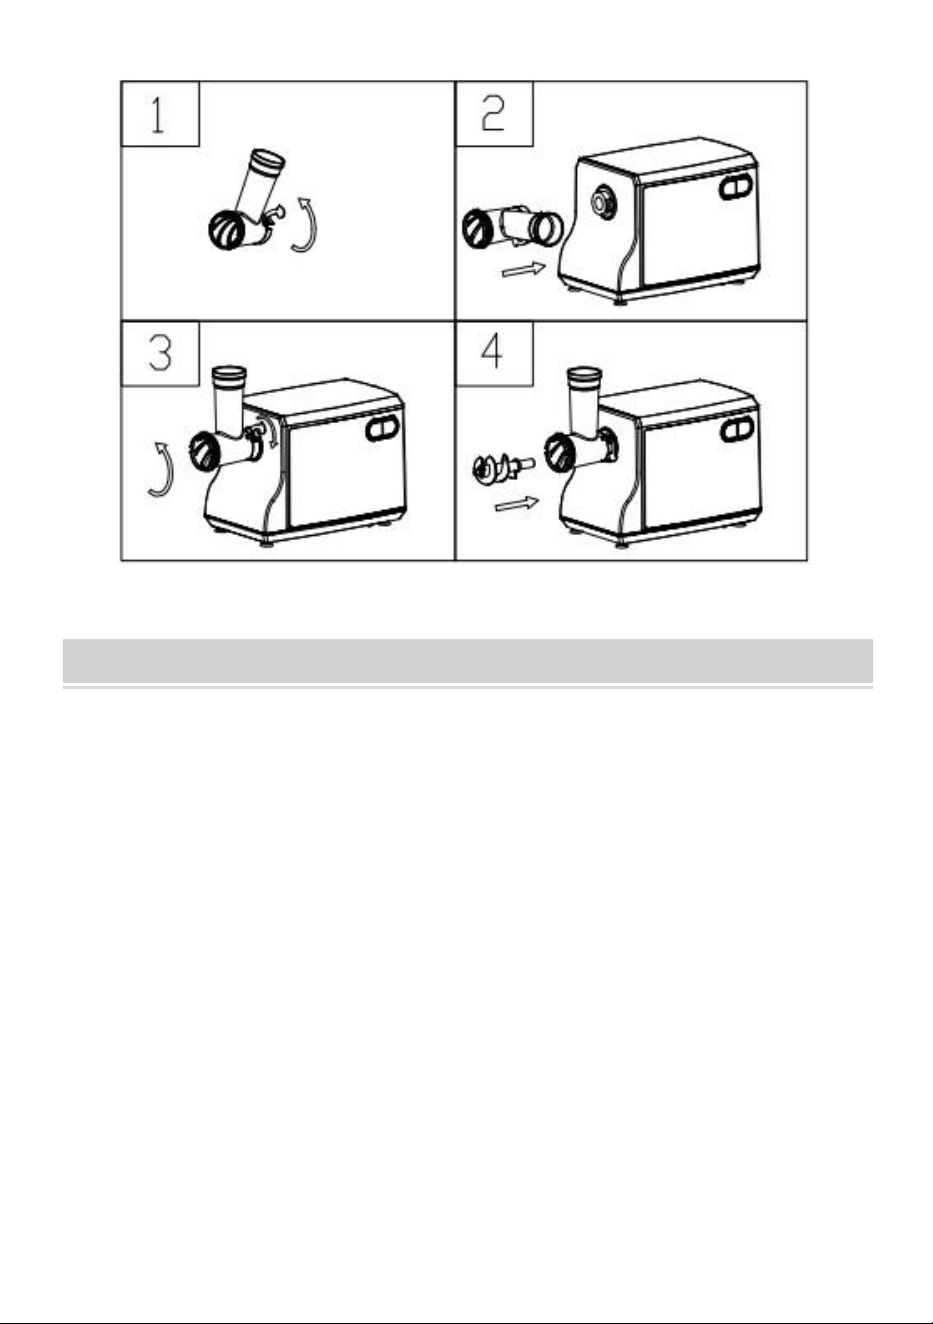
INSTALLATION INSTRUCTIONS
ASSEMBLING
hold the head and insert it into the Head inlet(fig.1.2). And press the
Locker,then move the head anticlockwise so that the head being fastened
tightly . (fig.3)
Place the snake into the head, long end first, and turn to feed the screw
slightly until it is set into the motor housing (fig.4).
- 5 -
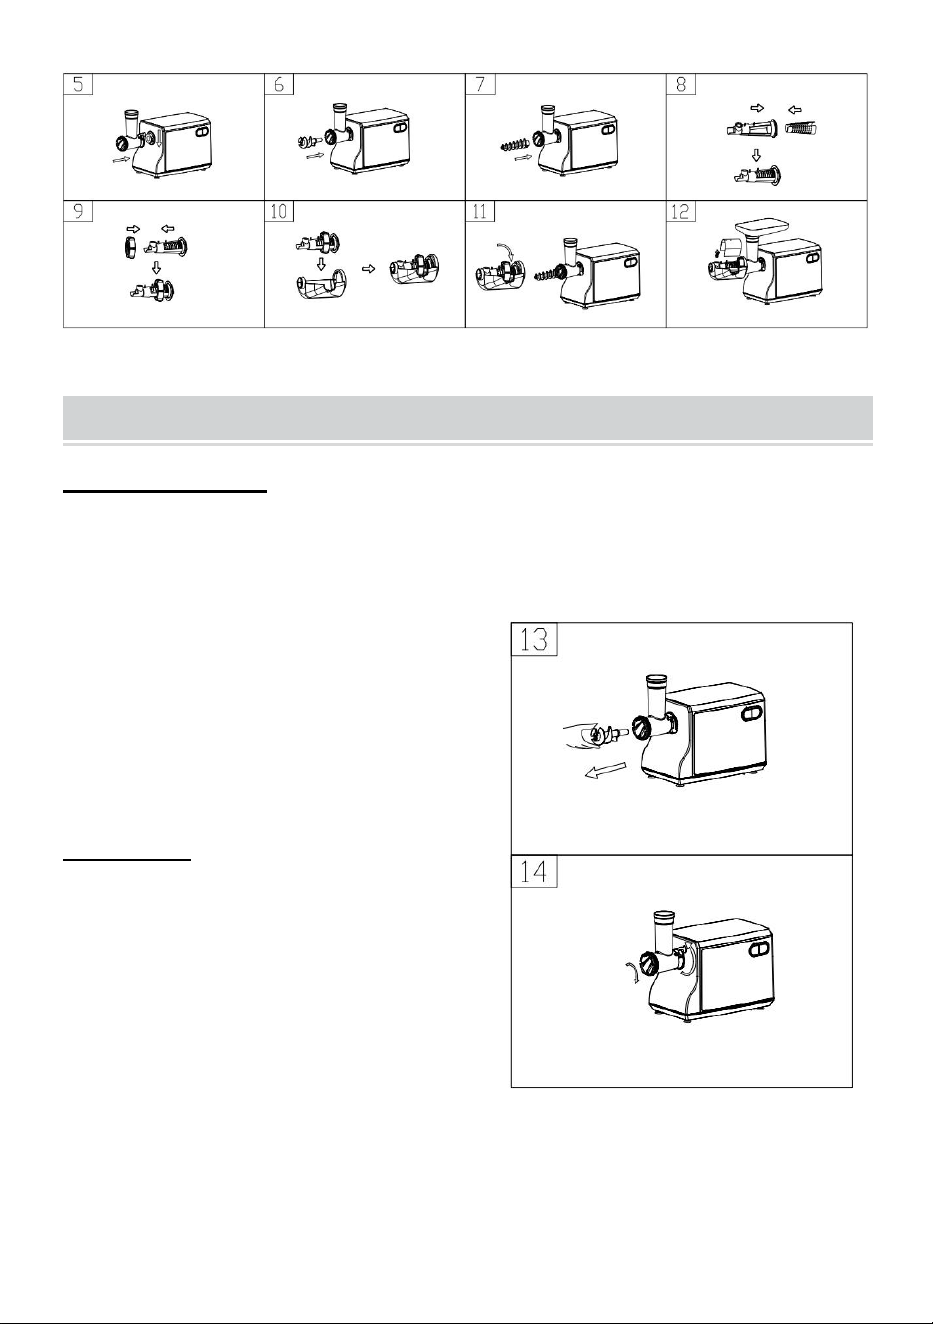
PRESSING TOMATOES
◆ Place the head into the head inlet, and press the locker tightly. (fig.5)
◆ Place the snake into the head, long end first, and turn to feed the screw
slightly until it is set into the motor housing (fig.6).
◆ Place the self-contained tomato stem (fig.7).
◆ Place the tomato mesh into the tomato stents. (fig.8).
◆ Place the fixing ring onto the tomato stents (fig.9), then put them together into
the funnel(fig.9).
◆ Place the installed funnel into the head, and screw the fixing ring tightly
(fig.11).
◆ Place the adjustment knob lock onto the tomato stents, then put the block juice
plank on it (fig.12).
◆ Please put the tomatoes into the hopper plate after the tomatoes are wishing
clear. And then use the food pusher to pressure down.
- 6 -
CLEANING AND MAINTENACE
DISASSEMBLING
Make sure that the motor has stopped completely.
Disconnect the plug from the power outlet.
Disassemble by reversing the steps from 8-12 pictures.
Place the snake out of the
head(fig.13).
Press the lock Clockwise, move the
head as per the direction illustrated in
fig 14, then you can take out the head.
CLEANING
Remove foods, etc. Wash each part in
warm soapy water.
A bleaching solution containing
chlorine will discolor aluminum
surfaces.
Do not immerse the motor housing in
water. Only wipe it with a damp cloth.
Thinners and petrol will crack or change the color of the unit.
Wipe all the cutting parts by vegetable oil -a wet cloth
- 7 -
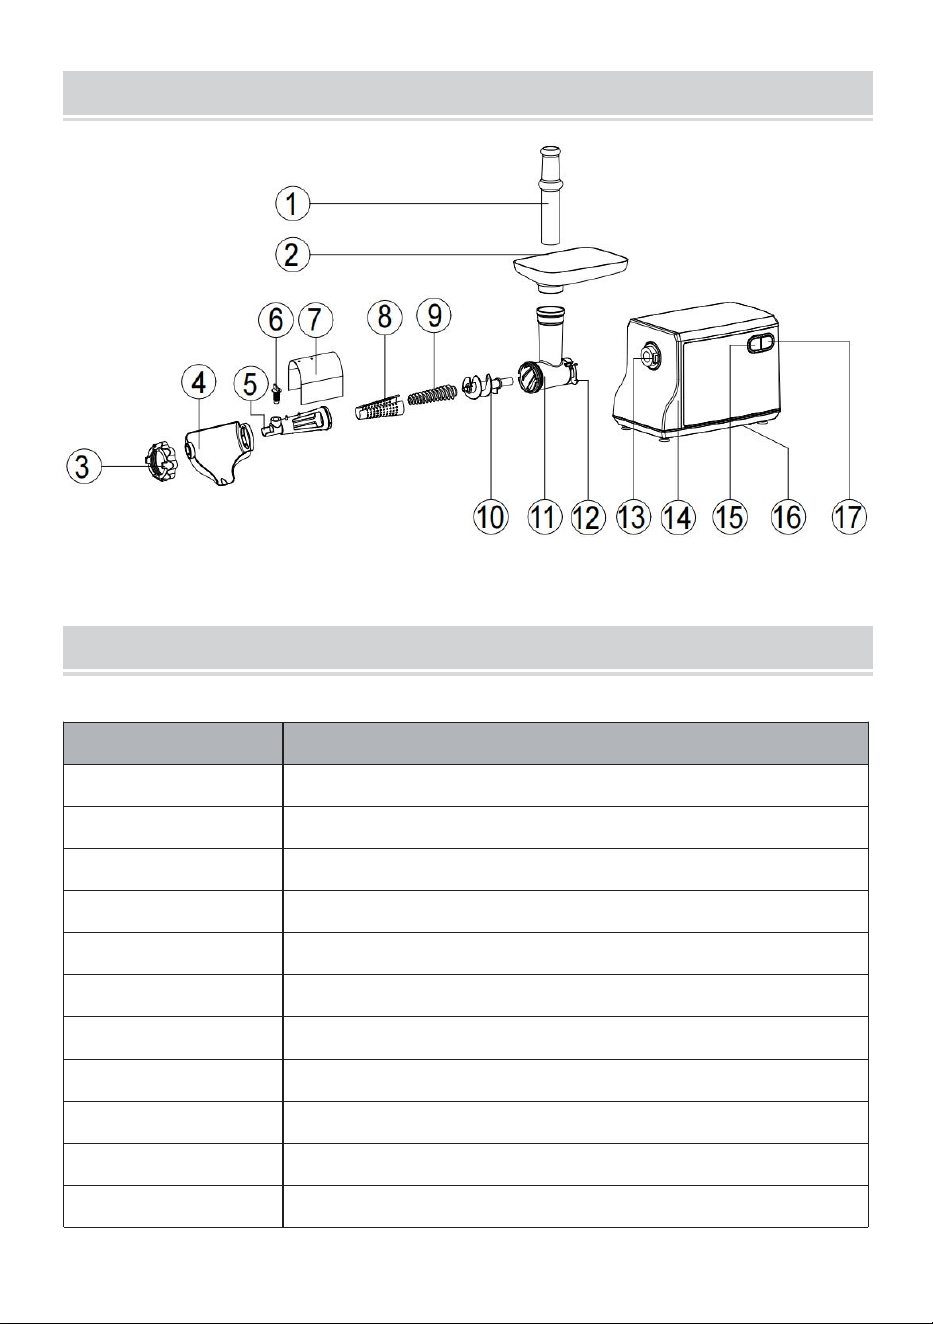
PARTS DIAGRAM
PARTS LIST
Part No.
Description
1
Food pusher
2
Hopper plate
3
Fixing ring
4
Funnel
5
Tomato stents
6
Adjustment knob
7
Block juice plank
8
Tomato mesh
9
Tomato self-contained stem
10
Snake
11
Head

- 8 -
12
Lock
13
Gear box connector
14
Body
15
Reverse button
16
Tibet line holes
17
ON/OFF button
Manufacturer:Zhongshan Aouball Electric Appliances Co., Ltd.
Add.:No. 1, Wanrui Street, Nantou Town, ZHONGSHAN CITY Guangdong
Made In China