www.silverstonetek.com
User manual
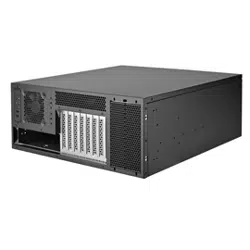
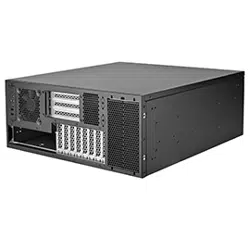
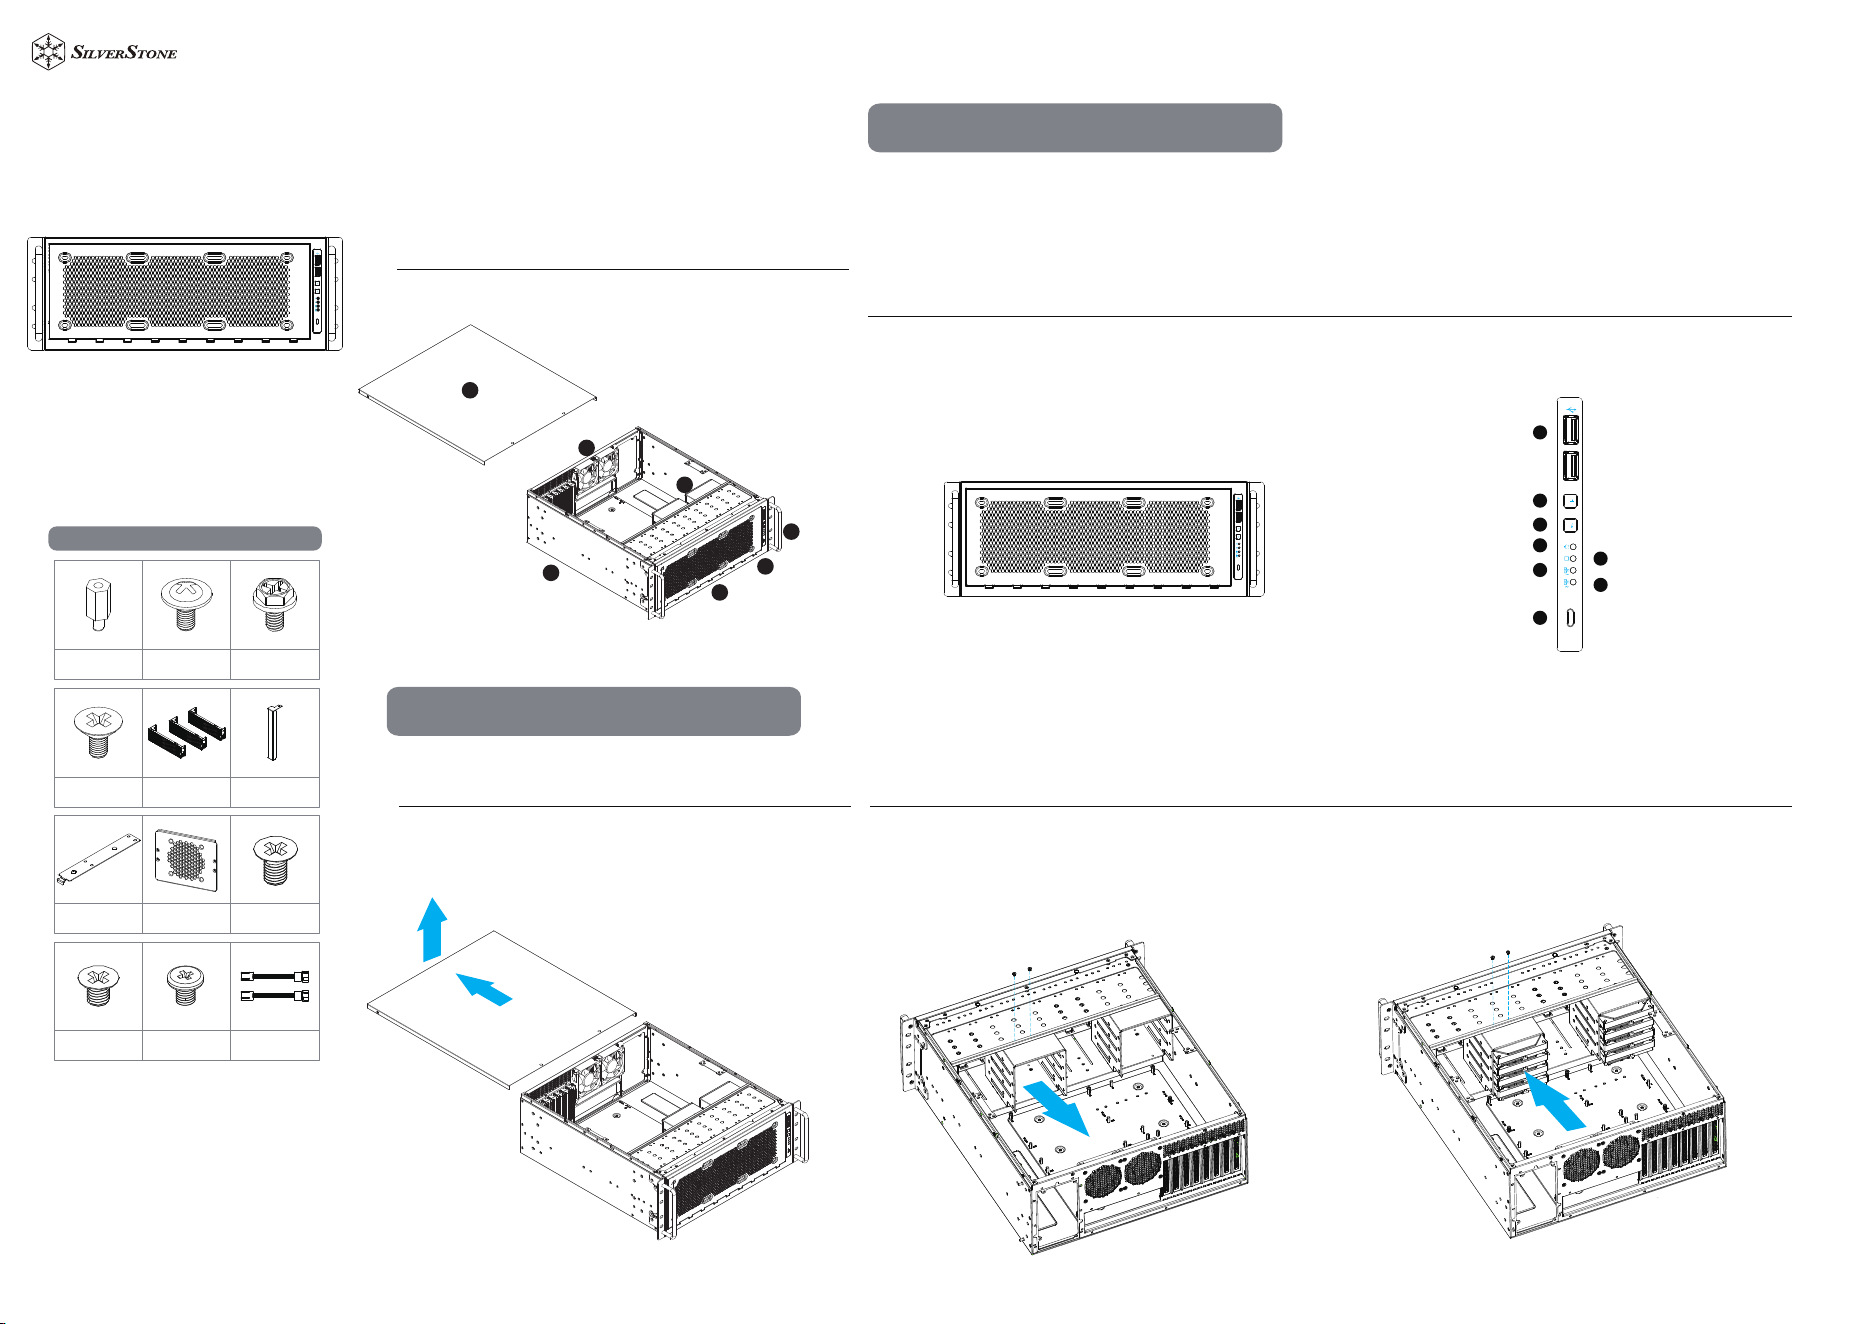
1. TOP COVER
2. BOTTOM CHASSIS
3. OPTIONAL POWER SUPPLY
4. 8CM FANS
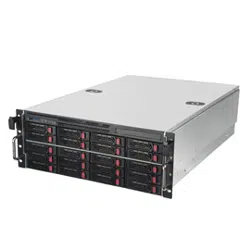
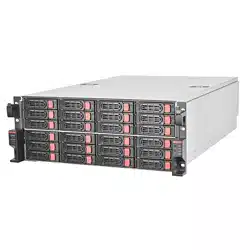
5. 4BAYS-3.5”/1BAY-2.5”DRIVE CAGE
6. 2BAYS-2.5”DRIVE CAGE
7. FRONT PANEL IO AND INDICATORS
8. RACK HANDLES
1. USB 3 TYPE-A x2 ports
2. POWER ON LED
3. HDD ACTIVITY LED
4. LAN1 LED
5. LAN2 LED
6. USB3 TYPE-C
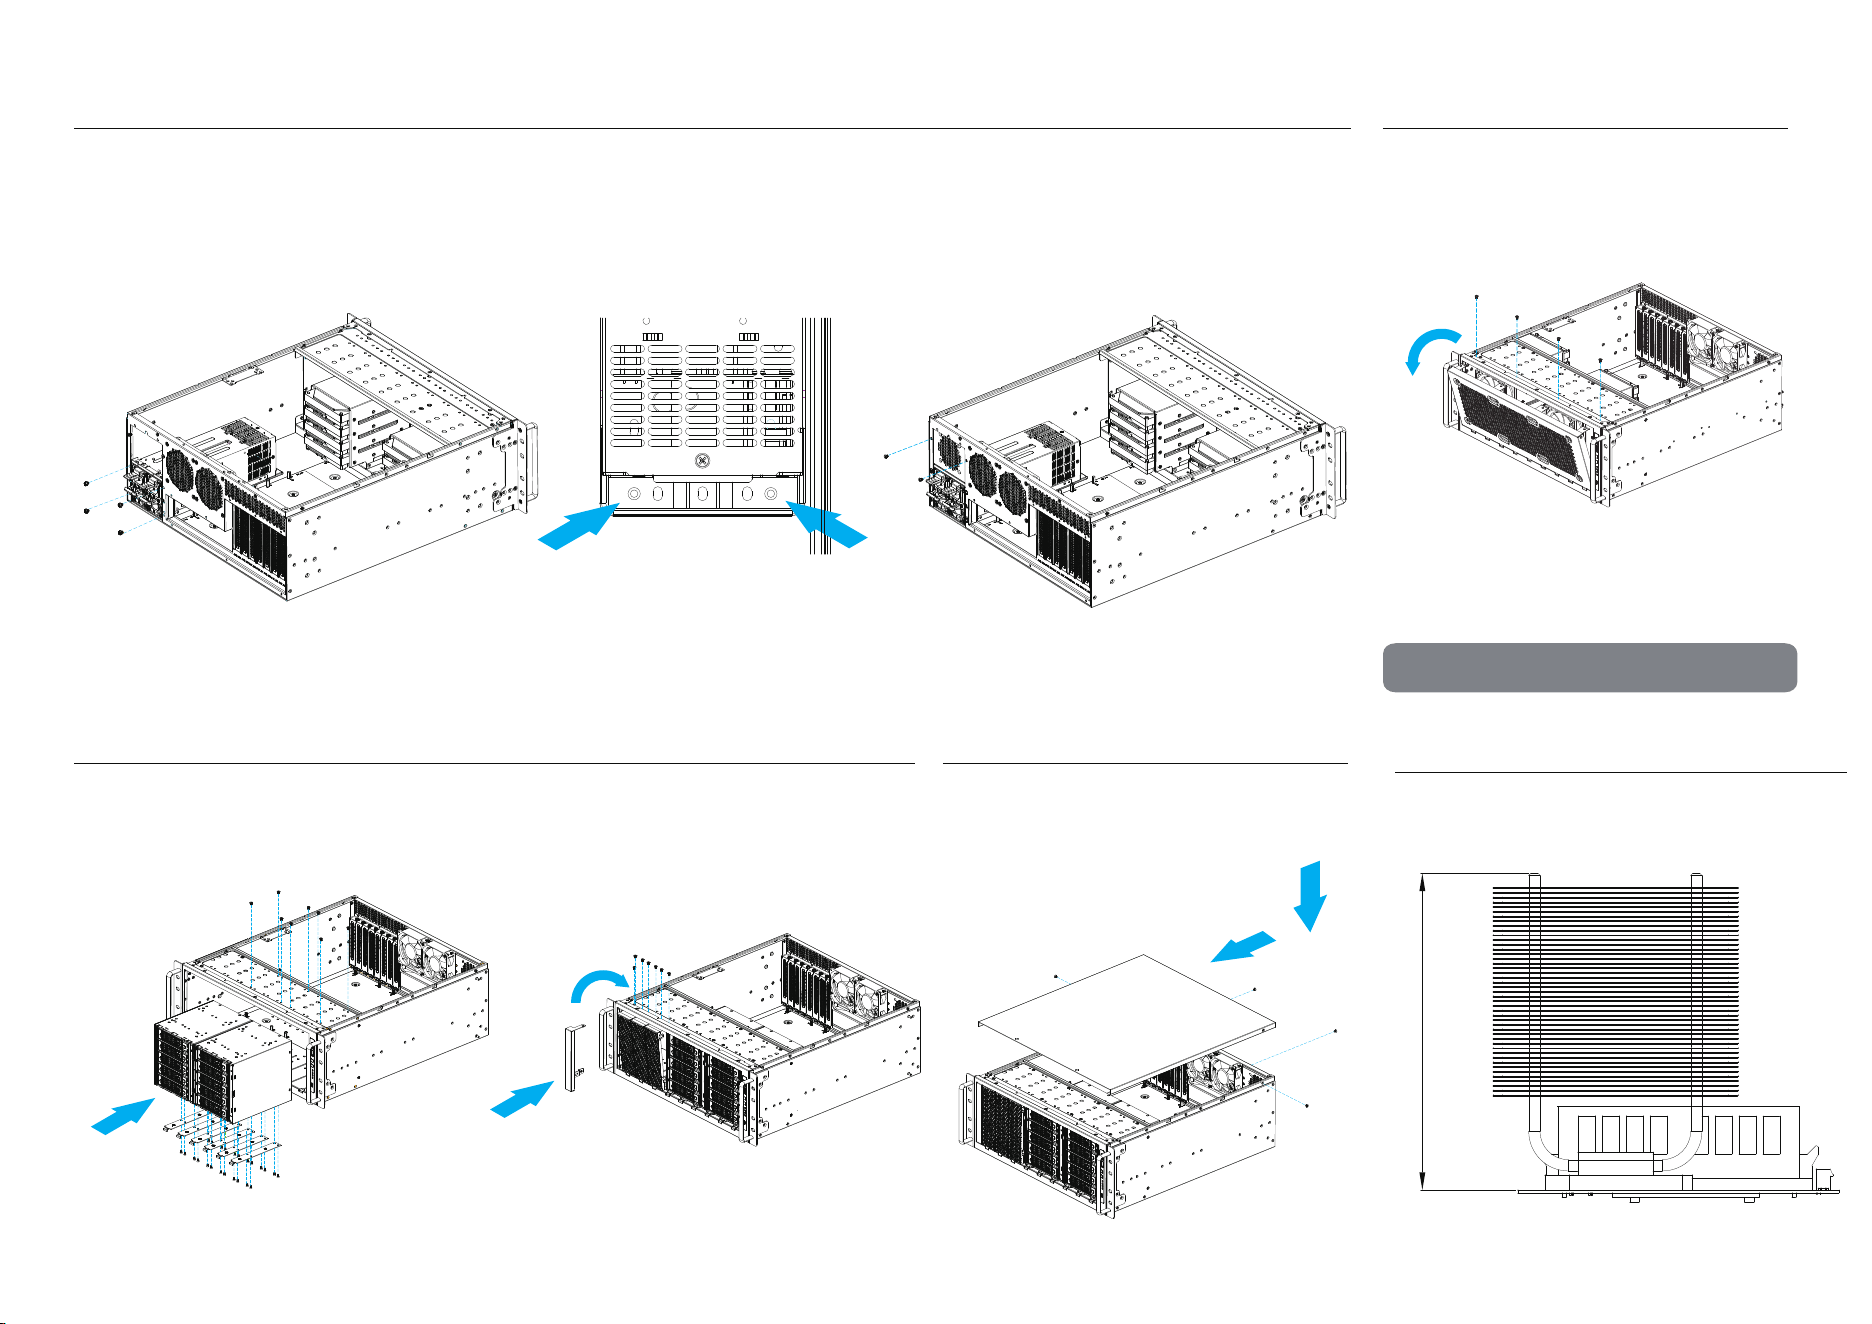
1. Removing the top cover
Front panel
1. Release 2-screws of the top cover on each side
2. Push the top cover backward about 1” and lift it off the chassi
2. 4bays-3.5”/1bays-2.5” HDD cage and cooling fan assembly How to remove the drive cage :
RM45-360
1
1
2
3
4
6
5
7
8
Installation Guide
1. Loose 2 screw and lift off the drive cage.
2. Once hard drive assembled, secure the drive cage back with the same 2-screws.
Motherboard
Standoff
Accessories Content
Motherboard /
5.25" Device Screw
5.25" Guide Rail
Screws
PSU Screw
5.25" Ventilation
Bezel
5.25" Bezel
5.25" Guide Rail x9 CRPS Cover
3.5" HDD
2.5" SSD
5.25 VENTILATION
BEZEL
Fan Extension
Cable
4
5
2
6
3
7
1
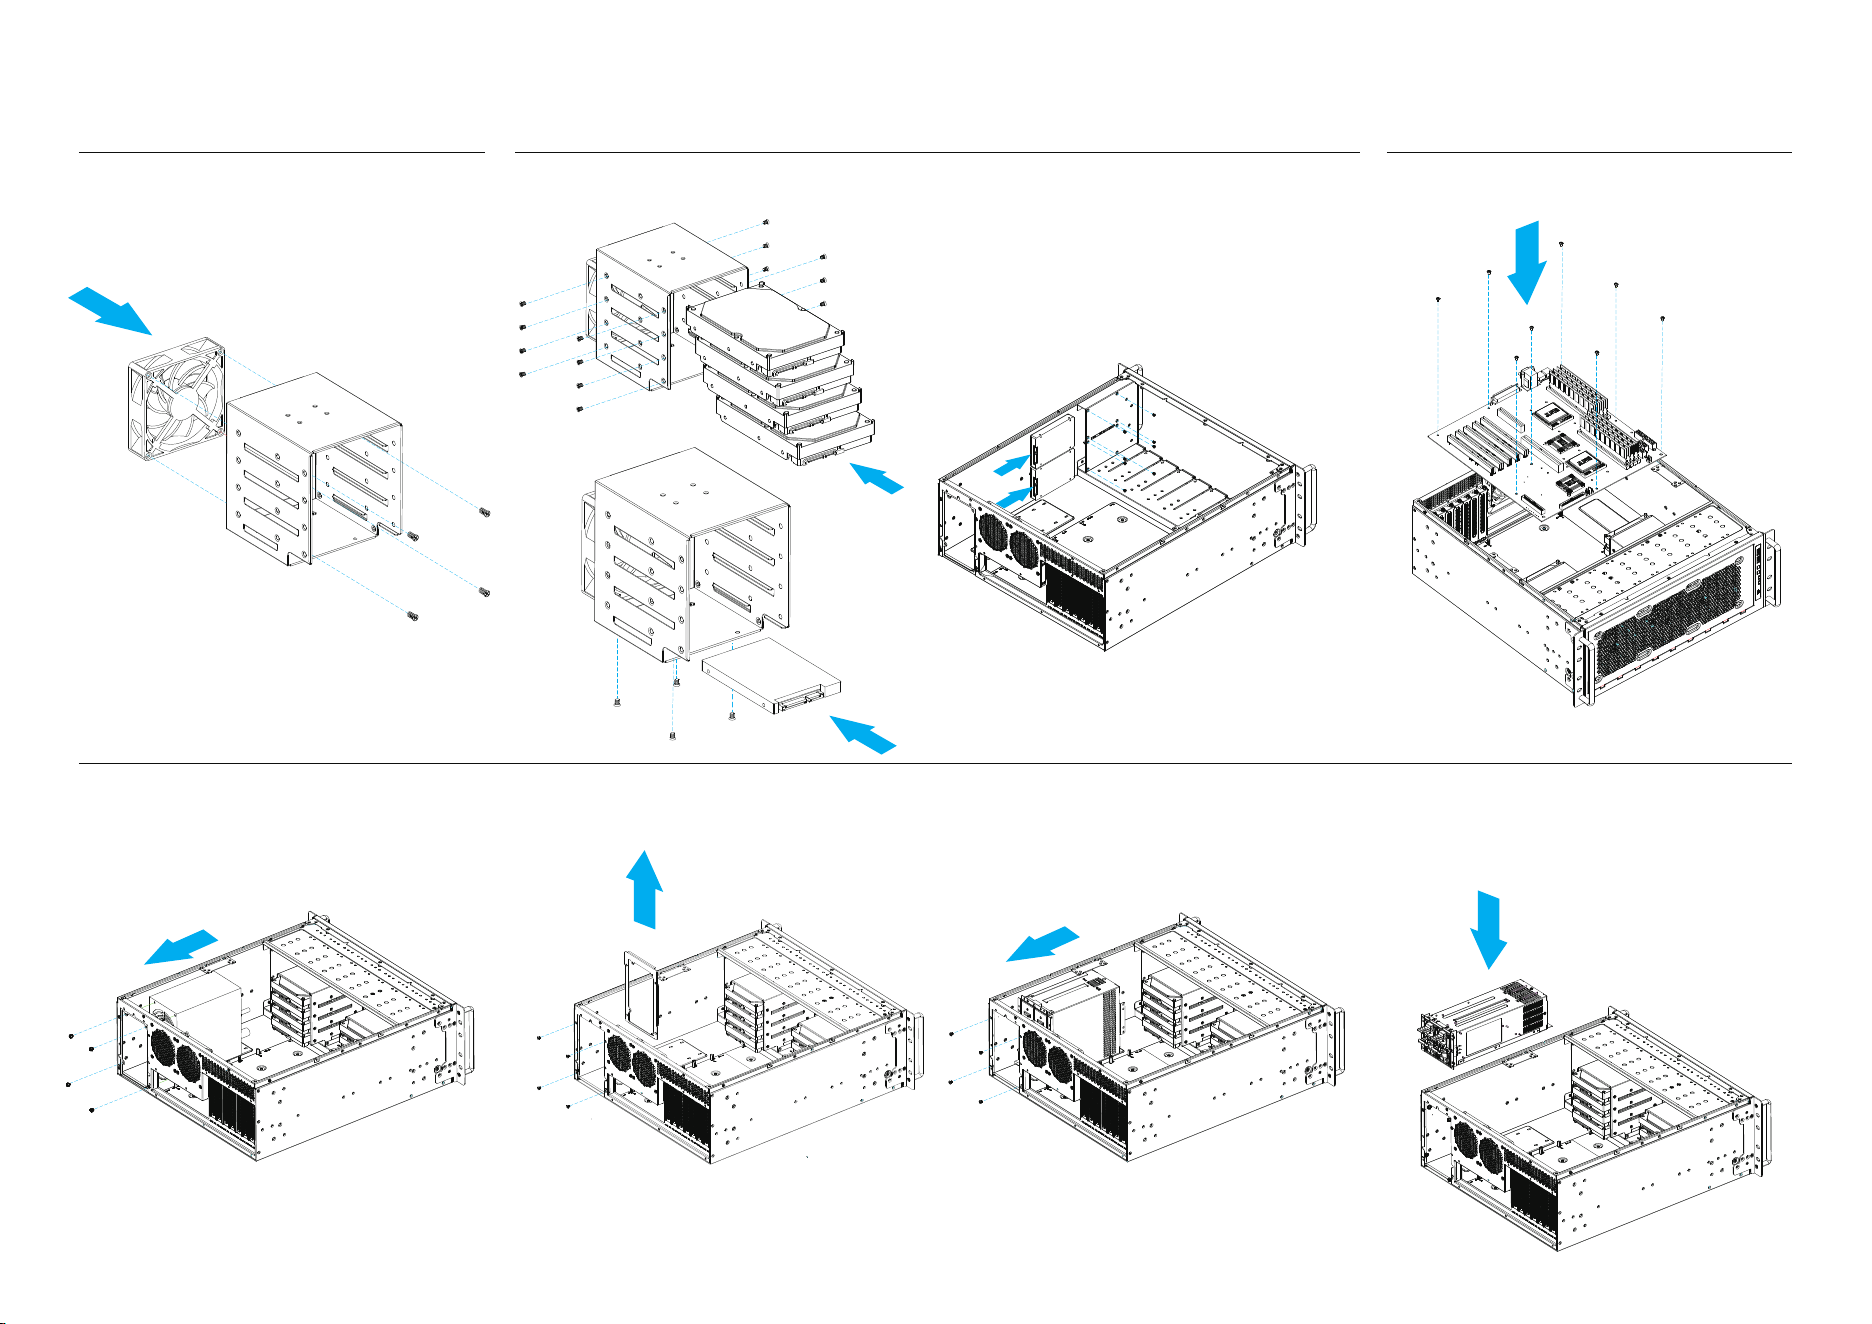
1. Place the SSD/HDD in the drive bay
2. Secure SSD/HDD with screws
1. Insert the 2.5”SSD in the drive bay.
2. Secure 2.5”SSD with screws.
1. Install the PSU to the PSU mount inside the chassis
2. Secure with 4 screws.
3. 2.5”SSD/3.5”HDD devices assembly 2bays-2.5”SSD cage assembly
1.Remove the ATX PSU bracket pre-installed on the PSU mount
2.Install the Mini Redundant PSU and secure with 4 screws at the rear of the chassis
Mini Redundant PSU Installation
5. PSU Assembly
2
3.
Optional cooling fan assembly :
Fix 92mm fan with 4-screws.
4. Install motherboard
1. Put the motherboard into the case.
2. Secure with 8 screws.
2U Redundant PSU installation:
1.Remove the ATX PSU bracket pre-installed on the PSU
mount, then install the 2U Redundant PSU to the PSU
mount.
2.Secure with 4 screws.
ATX PSU Installation
3
6. 5.25" ODD installation
1. Remove the front 360mm radiator bracket.3.Secure the screws at the end of the 2U Redundant PSU.
4.Place and secure the ventilation cover above the powe supply.
5.When installing a 2U Redundant PSU, remove the original bracket at the rear and replace with the extended bracket.
2.Attach the 5.25 guide rail to the 5.25" device, then slide the device in and secure it with guide rail screws.
3.Install the 5.25" bezel, if 5.25" device mounts are unallocated, you can replace the 5.25" bezel with 5.25" ventilation
panel to increase intake airflow.
7. Close Top Cover
1. Put the Top Cover on and push it forward.
2.Secure with 4 screws
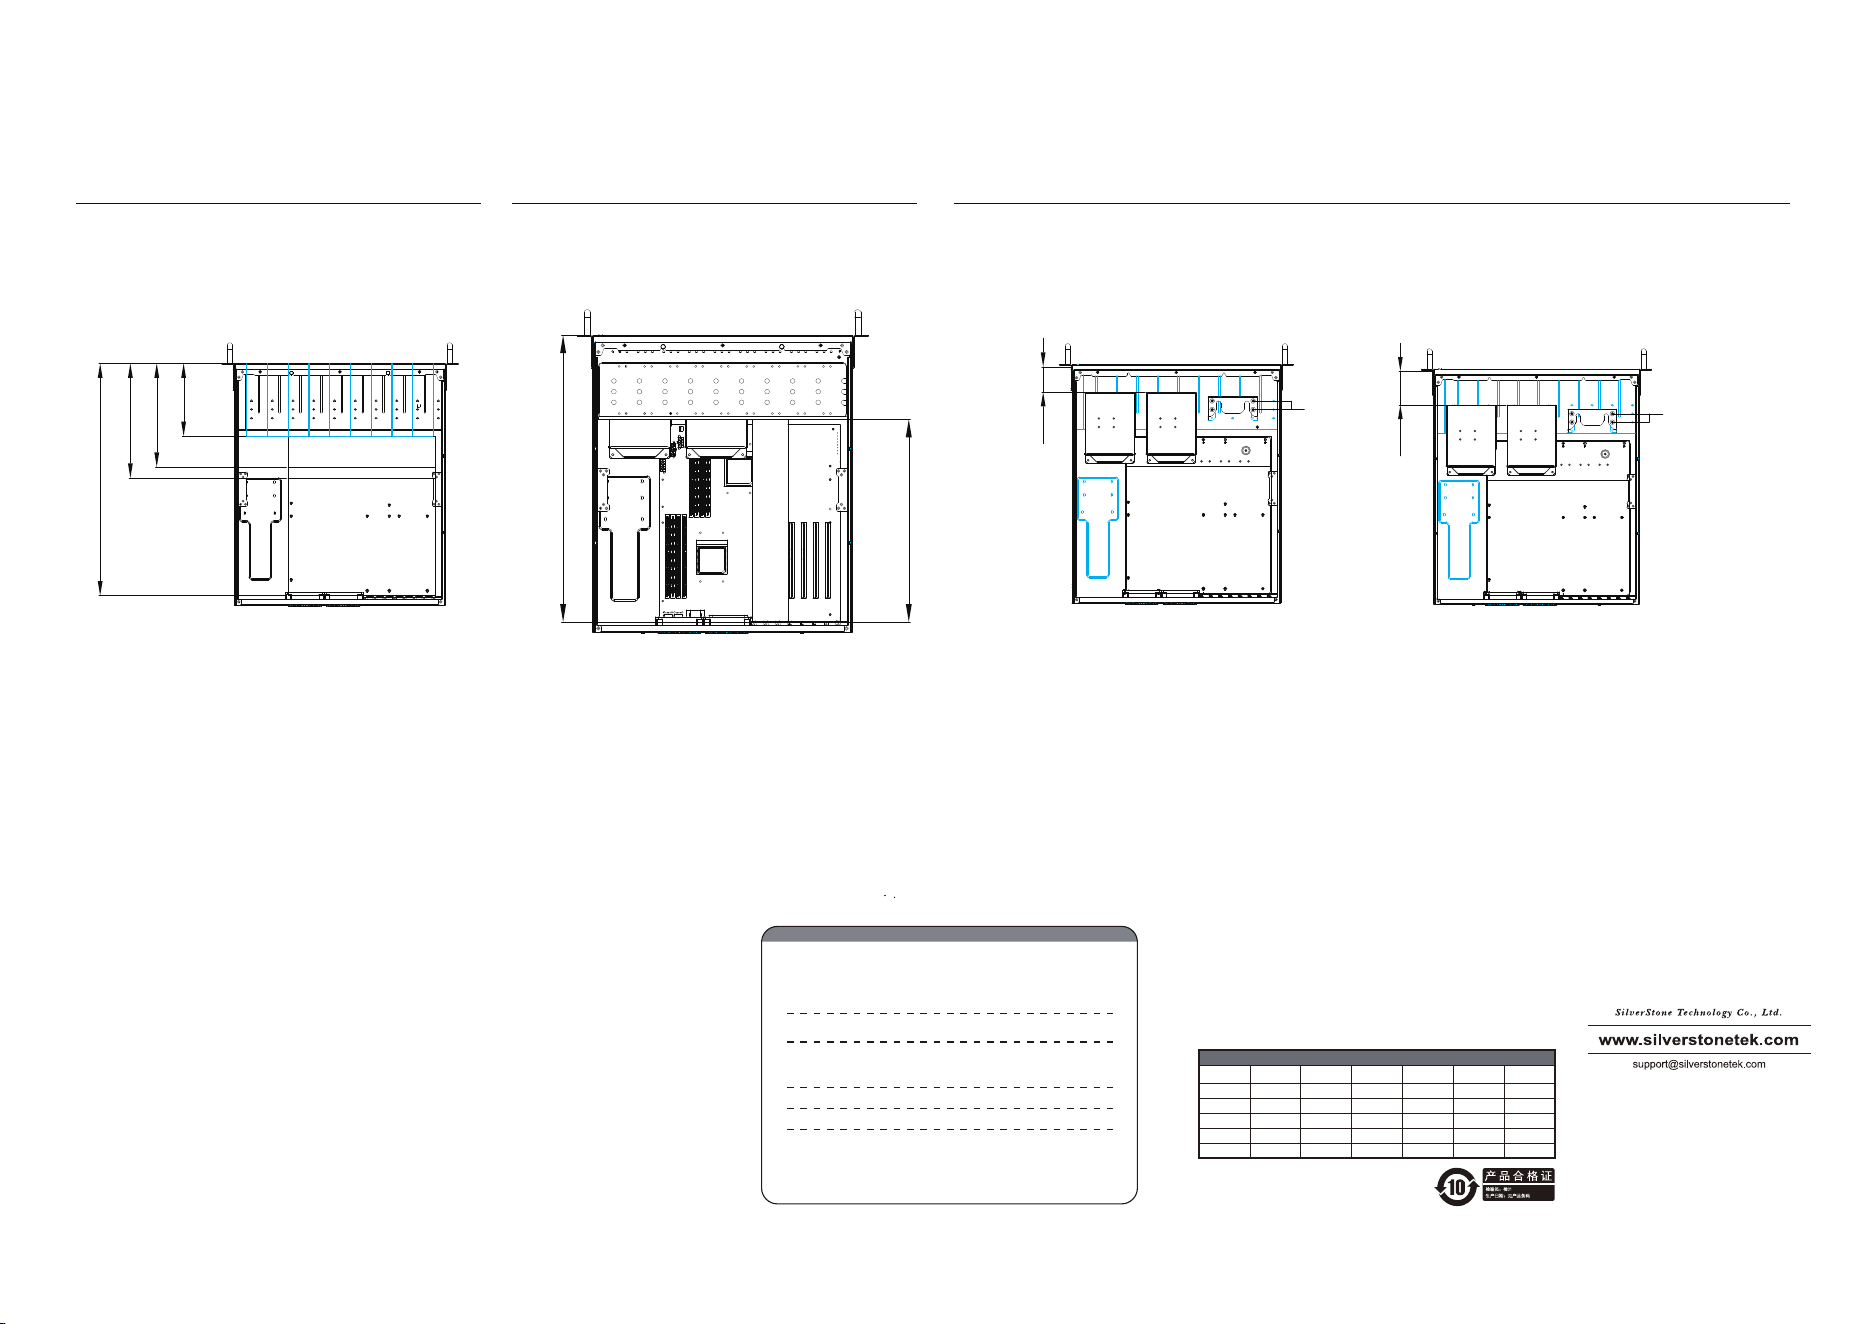
Limitation
1. CPU cooler height limitation with expansion card retainer is
130mm, and 148mm without.
132mm
Warranty terms & conditions
Warranty Information
This product has a limited 1 year warranty in North America and Australia.
For information on warranty periods in other regions, please contact your reseller or SilverStone authorized distributor.
ᵢӝ㠠䍣Ҧҁᰛ䎭θӄѣള൦δу◩䰞θ俏⑥⢯ࡡ㺂᭵εӡᴿжᒪᴿ䲆䍙Աؓരδ䜞࠼ӝѰӂᒪθпᒪᡌӊᒪεȾ
䈜㓼ؓരᒪ䲆䈭৸➝ᇎᯯ㖇ㄏKWWSVVLOYHUVWRQHWHNFRPFQޢᐹҁӝශѰדᦤȾ
1. Product component defects or damages resulted from defective production is covered under warranty.
Defects or damages with the following conditions will be fixed or replaced under SilverStone
Technology’s jurisdiction.t
a) Usage in accordance with instructions provided in this manual, with no misuse, overuse, or other
inappropriate actions.
b) Damage not caused by natural disaster (thunder, fire, earthquake, flood, salt, wind, insect, animals, etc…)
c) Product is not disassembled, modified,
or fixed. Components not disassembled or replaced.
d) Warranty mark/stickers are not removed or broken.
Loss or damages resulted from conditions other than ones listed above are not covered under warranty.
2. Under warranty, SilverStone Technology’s maximum liability is limited to the current market value for
the product (depreciated value, excluding shipping, handling, and other fees). SilverStone Technology
is not responsible for other damages or loss associated with the use of product.
3. Under warranty, SilverStone Technology is obligated to repair or
replace its defective products. Under
no circumstances will SilverStone Technology be liable for damages in connection with the sale,
purchase, or use including but not limited to loss of data, loss of business, loss of profits, loss of use
of the product or incidental or consequential damage whether or not foreseeable and whether or not
based on breach of warranty, contract or negligence, even if SilverStone Technology has been advised
of the possibility of such damages.
4. Warranty covers only the original purchaser through authori
zed SilverStone distributors and resellers
and is not transferable to a second hand purchaser.
5. You must provide sales receipt or invoice with clear indication of purchase date to determine warrant
y
eligibility.
6. If a problem develops during the warranty period, please contact your retailer/reseller/SilverStone
authorized distributors or SilverStone http://www.silverstonetek.com.
Please note that: (i) You must provide proof of original purchase of the product by a dated itemized
receipt; (ii) You shall bear the cost of
shipping
(or otherwise transporting) the product to SilverStone authorized distributors. SilverStone authorized
distributors will bear the cost of shipping (or otherwise transporting) the product back to you after
completing the warranty service; (iii) Before you send the product, you must be issued a Return
Merchandise Authorization (“RMA”) number from SilverStone. Updated warranty information will be
posted on SilverStone’s official website.
Please visit http://www.silverstonetek.com for the latest updates.
Additional info & contacts
For North America (usasupport@silverstonetek.com)
SilverStone Technology in North America may repair or replace defective product with refurbished product that is not new but has been
functionally tested.
Replacement product will be warranted for remainder of the warranty period or thirty days, whichever is longer. All products should be sent
back to the place of purchase if it is
within 30 days of purchase, after 30 days, customers need to initiate RMA procedure with SilverStone Technology in USA by fi
rst downloading
the “USA RMA form for end-users”
form from the below link and follow its instructions. http://silverstonetek.com/contactus.php
For Australia only (support@silverstonetek.com)
Our goods come with guarantees that cannot be excluded under the Australian Consumer Law.
You are entitled to a replacemen
t or refund for a major failure and for compensation for any other reasonably foreseeable loss or damage.
You are also entitled to have the goods repaired or replaced if the goods fail to be of acceptable qual
ity and the failure does not amount to a
major failure.
Please refer to above “Warranty terms & conditions” for further warranty details.
SilverStone Technology Co., Ltd. 12F No. 168 Jiankang Rd., Zhonghe Dist., New Taipei City 235 Taiwan R.O.C. + 886-2-8228-1238 (standard
international call charges apply)
For Europe (support.eu@silverstonetek.de)
For China (support@silverstonetek.com.cn)
For all other regions (support@silverstonetek.com)
ᴿ∈ᴿᇩ⢟䍞ݹ㍖ެᆜ䠅㺞
䜞Ԭ〦
伄
ᵰ༩
δ䠇ኔε
⊔
(Hg)
䭿
(Cd)
ޣԭ䬢
(Cr(VI))
ཐ⓪㚊㤥
(PBB)
ཐ⓪ӂ㤥䟐
(PBDE)
Ȗ Ȗ Ȗ Ȗ Ȗ
䫻
(Pb)
Ȗ
Ȗ Ȗ Ȗ Ȗ ȖȖ
㓵ᶆ
Ȗ Ȗ Ȗ Ȗ ȖȖ
㷰ѓ
Ȗ Ȗ Ȗ Ȗ Ȗ
Ȗ
ᶆ
Ȗ Ȗ Ȗ Ȗ Ȗ
Ȗ
Ȗφ㺞⽰䈛ᴿ∈ᴿᇩ⢟䍞൞䈛䜞Ԭᡶᴿൽ䍞ᶆᯏѣⲺ䠅ൽ൞*%7㿺ᇐⲺ䲆䠅
㾷≸ԛсȾ
ᵢ㺞Ṳדᦤ6-7Ⲻ㿺ᇐ㕌
hφ㺞⽰䈛ᴿ∈ᴿᇩ⢟䍞㠩ቇ൞䈛䜞ԬⲺḆжൽ䍞ᶆᯏѣⲺ䠅䎻࠰*%7㿺ᇐⲺ
䲆䠅㾷≸Ⱦ
G11252470
4
5.25" CD-ROM
151
214
237
481
1
2 3 4
5
6
7
8 9
EEB
CEB
ATX
CEB
ATX
EEB
483mm
341mm
Graphics card
3. The maximum length allowed for the graphics card is
341mm When combined with the 5.25" device, the total
length extends to 483mm. The maximum length allowed for
the power supply is 341mm. When combined with the 5.25"
device, the total length extends to 483mm.
4. There are 2 positions for 3.5” HDD installation.
A. The thickness limitation of water cooler with fan is 54mm, and the CEB motherboard is allowed.
B. The thickness limitation of water cooler with fan is 72mm, and the ATX motherboard is allowed.
2. The combined length of 5.25” devices and motherboard equals to
481mm, the length of 5.25” devices allowed by various
motherboard form factor is as shown.
B
A
54
CEB
Posion A
72
ATX
Posion B