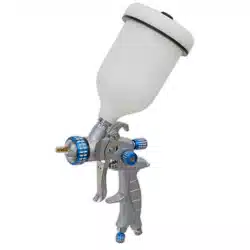

SP GRAVITY FEED SPRAY GUN 1.4MM SET-UP
MODEL NO: SP01
Thank you for purchasing a Sealey product. Manufactured to a high standard, this product will, if used according to these instructions,
and properly maintained, give you years of trouble free performance.
IMPORTANT: PLEASE READ THESE INSTRUCTIONS CAREFULLY. NOTE THE SAFE OPERATIONAL REQUIREMENTS, WARNINGS & CAUTIONS. USE
THE PRODUCT CORRECTLY AND WITH CARE FOR THE PURPOSE FOR WHICH IT IS INTENDED. FAILURE TO DO SO MAY CAUSE DAMAGE AND/OR
PERSONAL INJURY AND WILL INVALIDATE THE WARRANTY. KEEP THESE INSTRUCTIONS SAFE FOR FUTURE USE.
1. SAFETYi
9 Familiarise yourself with the application, limitations and potential hazards particular to the spray gun.
WARNING! Disconnect the spray gun from the air supply before changing accessories, servicing or performing any maintenance.
9 Maintain the spray gun in good condition (use an authorised service agent).
9 Replace or repair damaged parts. Use authorised parts only. Unauthorised parts may be dangerous and will invalidate the warranty.
9 Keep the spray gun clean for best and safest performance.
9 Ensure that the compressed air system can supply the spray gun air consumption for the model to be used.
9 Wear approved safety respiratory protection and safety eye goggles.
9 Ifsprayingisocynatebasednisher,wearapprovedrespirator/cleanairbreathingapparatusandcoverexposedskinwithlatexgloves
and impervious hooded coverall.
9 Removeill-ttingclothing.Removeties,watches,ringsandotherloosejewelleryandtiebacklonghair.
9 Locatethesprayguninasuitableworkarea.Keepareacleanandtidyandfreefromunrelatedmaterialsandensurethatthereis
adequate ventilation and lighting.
9 Keepchildrenandunauthorisedpersonsawayfromtheworkarea.
9 Whennotinuse,ensurethattheairsupplyisturnedo.
9 Avoid unintentional operation of spray gun.
9 ThespraygunhasbeentreatedwithananticorrosiveagentatthefactoryandMUSTbeushedoutthoroughlywiththinner
before use.
8 DO NOT point spray gun at yourself, other persons or animals.
8 DO NOT direct air from the air hose at yourself, other persons or animals.
8 DO NOTcarrythespraygunbythehose,oryankthehosefromtheairsupply.
8 DO NOTexceedtheworkingpressureof43psi(3bar).
8 DO NOT use the spray gun for any purpose other than that for which it is designed.
8 DO NOT allow untrained persons to operate the spray gun.
8 DO NOT get the spray gun wet or use in damp or wet locations or in areas where there is condensation.
8 DO NOToperatethespraygunifanypartsaremissingordamagedasthismaycausefailureand/orpersonalinjury.
9 When not in use, disconnect the spray gun from the air supply, clean thoroughly and store safely.
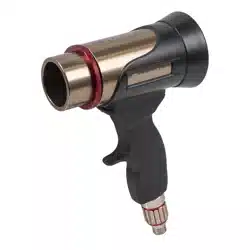
2. i INTRODUCTION
Gravityfeedspraygunusingstandardpressurewhichcreatesaatandsmoothfanpatternidealtogetthebestclearnishingcoats.
Aircapengineeredtoprovide26psiofmistpressureforfastapplicationandextendedworkingdistance.GreatereciencythanHVLP
andlessmaterialwastagethanconventionalsprayguns.MVMPtechnologyandprecisionengineeringdeliversconsistentand
unrivalledresults.Featuresairanduidowcontrolsforneadjustmentofspraypattern.
3. SPECIFICATION
Model No: .............................................................. SP01
Air Consumption: ............................................... 10.6cfm
Available Set-Up(s): ........................ 1.2,1.3,1.7,1.8mm
Pot Capacity:......................................................... 600ml
RecommendedAirPressure: ............................30-43psi
Standard Set-Up: ................................................. 1.4mm
4. AIR SUPPLY
4.1. RECOMMENDED HOOK-UP Seeg.1
4.1.1. Ensurespraygunairvalve(ortrigger)isintheopositionbeforeconnectingtotheairsupply.
4.1.2. Youwillrequireanairpressureof43psi,andanairowaccordingtospecication.
WARNING!Ensuretheairsupplyiscleananddoesnotexceed43psiwhileoperatingthespraygun.Toohighanairpressureand/or
uncleanairwillshortentheproductlifeduetoexcessivewear,andmaybedangerouscausingdamageand/orpersonalinjury.
4.1.3. Draintheairtankdaily.Waterintheairlinewillruinthepaintnishanddamagethespraygun.
4.1.4. Cleanairinletlterweekly.
4.1.5. Linepressureshouldbeincreasedtocompensateforunusuallylongairhoses(over8metres).Theminimumhosediameter
Refer to
instruction
manual
Wear
eye
protection
Wear
protective
gloves
Wear
protective
footwear
Wear respiratory
protection
Wear
protective
clothing
SP01Issue2(H,3,F)10/08/23
Original Language Version
©JackSealeyLimited
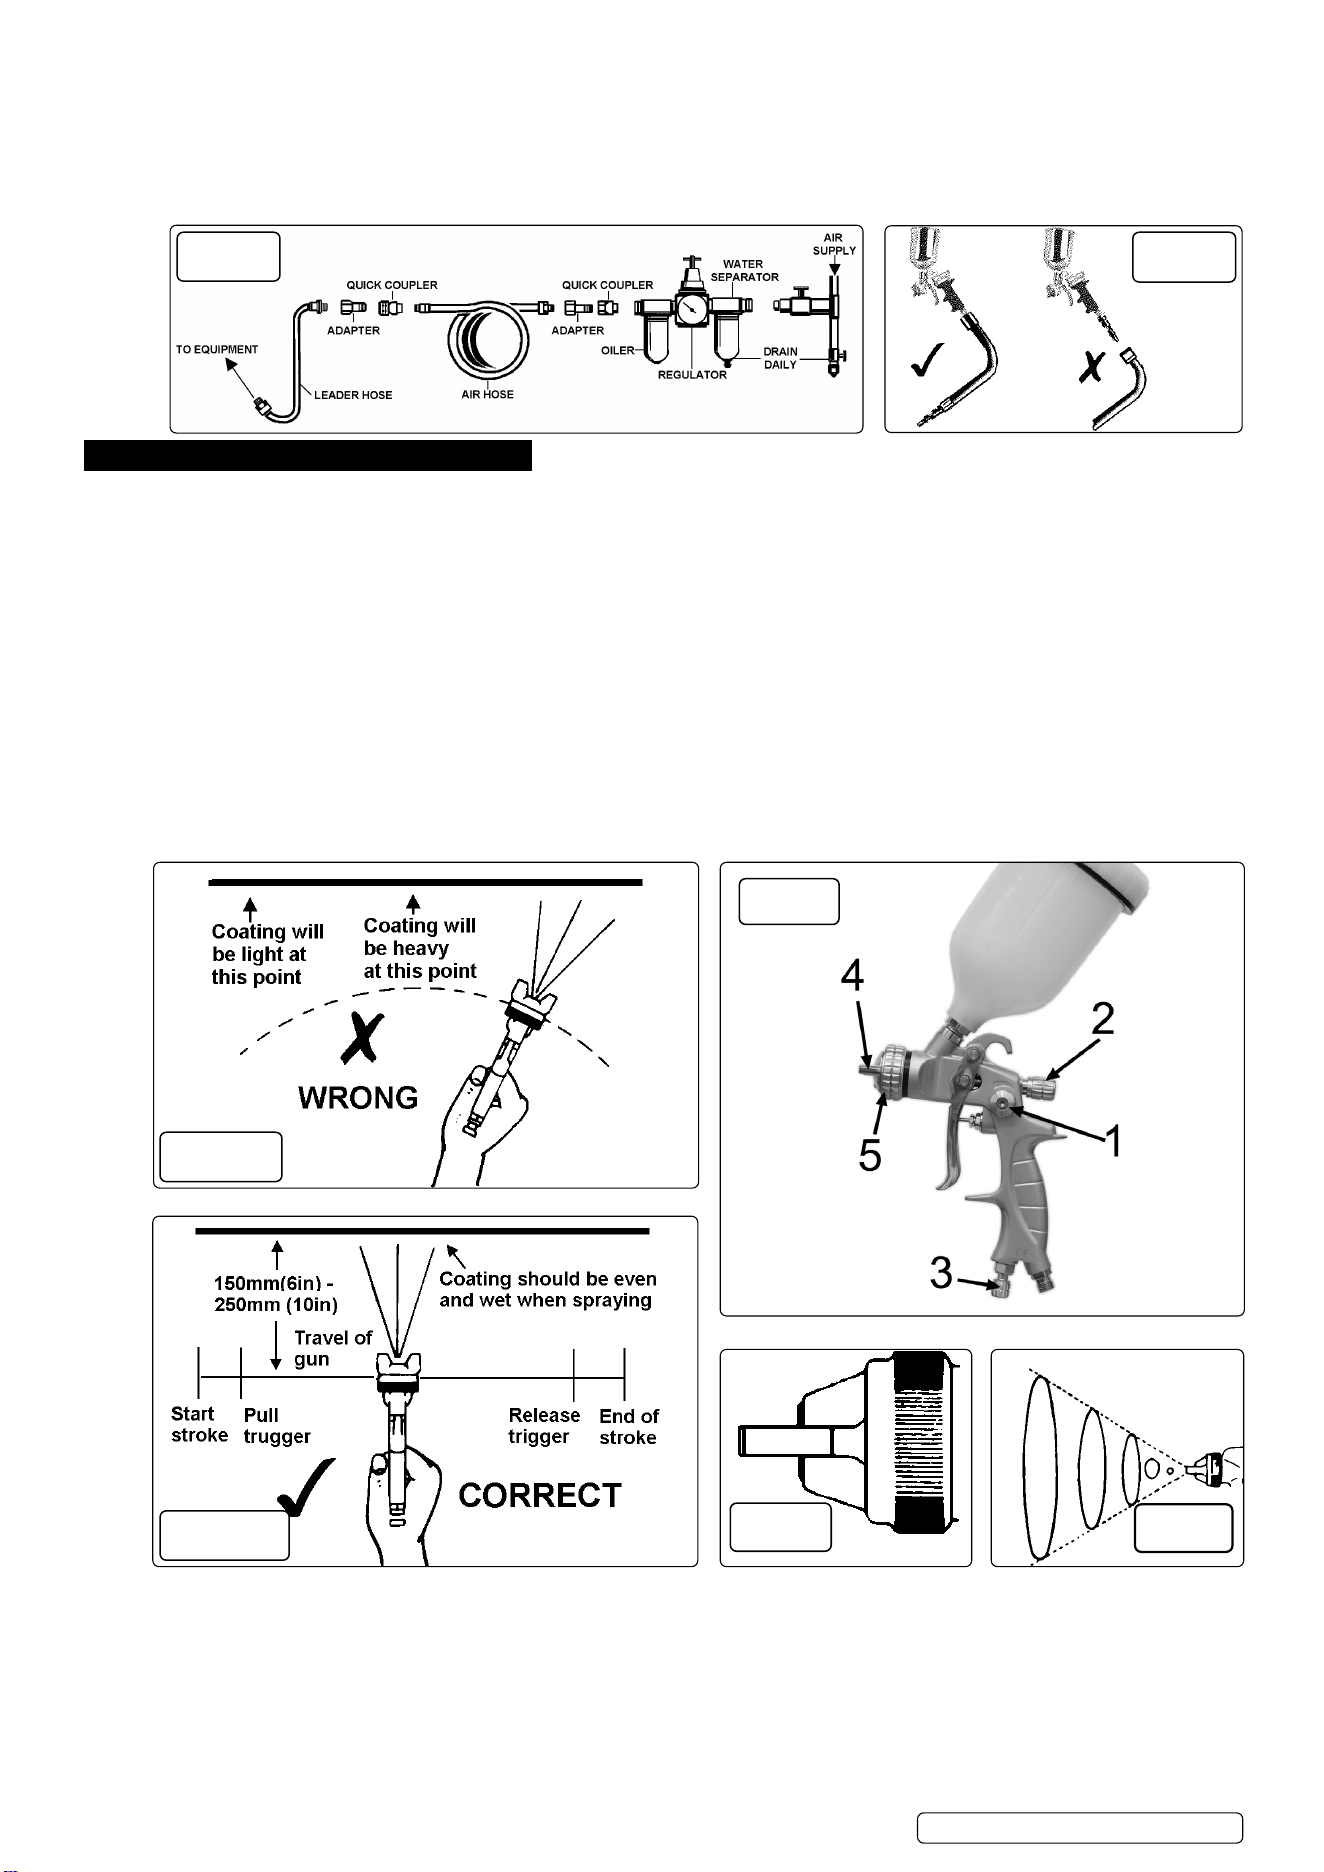
fig.2
shouldbe1/4”I.D.andttingsmusthavethesameinsidedimensions.
4.1.6. Keephoseawayfromheat,oilandsharpedges.Checkhoseforwear,andmakecertainthatallconnectionsaresecure.
4.2. COUPLINGS
Vibrationmaycausefailureifaquickchangecouplingisconnecteddirectlytothespraygun.Toovercomethis,connect
aleaderhosetothespraygun.Aquickchangecouplingmaythenbeusedtoconnecttheleaderhosetotheairlinerecoilhose
(gs.1and2).
5. OPERATION
5.1. Forbestresults,thegunshouldbeheldperpendiculartothesurfacebeingsprayedandmovedparalleltoit.Startthestrokebefore
squeezingthetriggerandreleasethetriggerbeforenishingthestroke.Thiswillenableaccuratecontrolofthegunand
material(g.3B).
5.2. Sprayfromadistanceofabout6to10inches(150to250mm)dependingonthematerialandtheatomizingpressure.Thematerial
depositedshouldalwaysbeevenandwet.Eachstrokemustoverlaptheprecedingstroketoobtainauniformnish.Toreduce
over-sprayandobtainmaximumeciency,spraywiththelowestpossibleatomizingairpressure.
5.3. Controllingthefansprayandtheuid.
a) Usetheneedle(paint)adjustmentknob(g.4.2)toadjusttheamountofpaintow.
b) Theatomizingairowiscontrolledbythecontrolknob(g.4.1).
c) Thevolumeofairinputiscontrolledbytheadjustmentknob(g.4.3).
d) As width of spray is increased more material must pass through the gun to obtain the same coverage on the increased
area.
e) Turntheairnozzle(g.4.4)toachieveahorizontalorverticalfanspray.Lockthenozzlewithretainingring(g.4.5).
Thespraypatternofthegunisvariablefromroundtoatwithallpatternsinbetween.Innormaloperation,thewingson
thenozzlearehorizontal(g.5).Thisprovidesaverticalfan-shapedpatternwhichgivesmaximum,uniformandeven
coveragewhenmovingthegunbackandforth,paralleltotheworksurface(g.6).
fig.4
fig.3A
fig.3B
fig.5
fig.6
fig.1
SP01Issue2(H,3,F)10/08/23
Original Language Version
©JackSealeyLimited
6. CLEANING
FOR OPTIMUM PERFORMANCE IT IS VERY IMPORTANT TO ENSURE THE SPRAY GUN IS CORRECTLY CLEANED AFTER
EACH USE.
Disconnect from the air supply before attempting any cleaning or maintenance.
6.1. CLEANING THE GUN
6.1.1. Flush the gun through with clean solvent.
6.1.2. Useabristlebrushandsolventtowashoaccumulatedpaint.
6.1.3. Cleantheairnozzleusingabrush.Blowcleanwithair.Handleallnozzlescarefullyanddonotmakeanyalterationsinthegun.
6.1.4. Wipe the outside of the gun with a dampened solvent rag.
6.1.5. If there is a need to probe the holes in the nozzles, ensure a tool that is softer than brass is utilised, under no circumstances use a
metaltool,astheslightestamountofdamagewilladverselyaectthespraypattern.
6.1.6. Adjusttheuidneedlevalvesothatwhenthegunistriggered,airowoccursbeforeuidow.
6.1.7. Takecarewhenre-assembling.Screwpartshandtighttoavoidcross-threading.Ifapartcannoteasilybeturnedbyhand,check
that it is the correct part, or unscrew it, realign and retry. DO NOTuseexcessiveforcewhenre-assembling.
6.1.8. Whenchangingthenozzlesize,ensurethecompletenozzlesetistted.Thisconsistsofaircap,uidnozzleandpaintneedle.
Inserttheuidnozzlebeforepaintneedle.
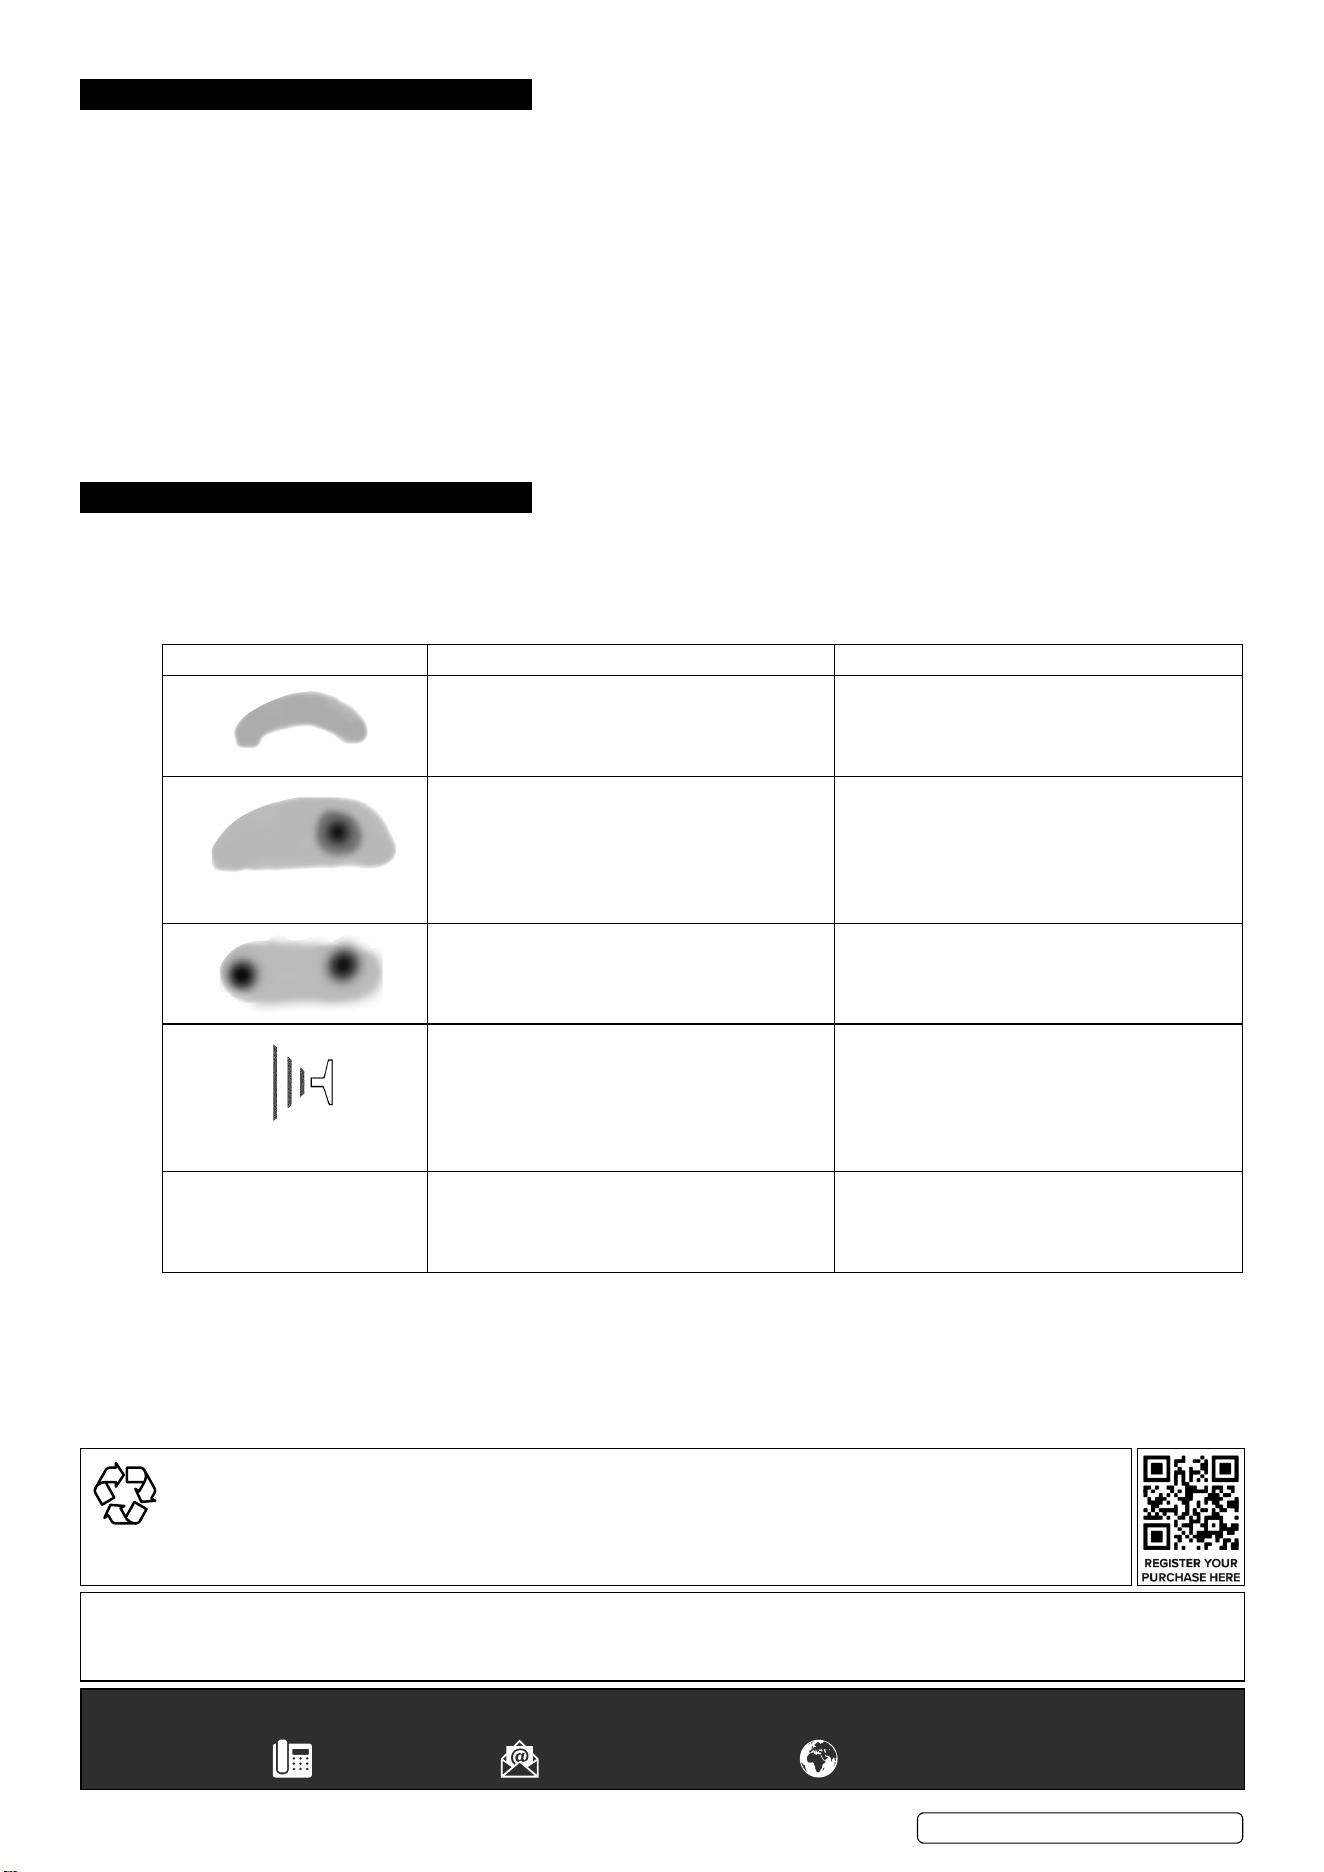
7. TROUBLESHOOTING
Afaultysprayisusuallycausedbyimpropercleaningordriedmaterialaroundtheuidnozzletiporintheairnozzle.Ifcleaningis
required,removethesepartsandsoaktheminsolvent.Thiswillsoftenthedriedmaterialwhichcanthenberemovedwithabrushora
cloth.Thesepartsarecarefullymachinedandanydamagetothemwillcauseafaultyspray.Ifeithertheairnozzleoruidnozzleare
damaged, they must be replaced before a perfect spray can be obtained.
PROBLEM POSSIBLE CAUSE SOLUTION
Dried material in a side port restricts passage
ofair.Greaterowofairfromthecleanside
port forces a fan pattern in the direction of the
clogged side.
Dissolve material in the side ports with solvent,
thenblowthegunclean.Donotpokeintothe
nozzles with metal instruments.
Driedmaterialaroundtheoutsideoftheuid
nozzle tip restricts the passage of atomizing
air at one point through the centre opening of
the air nozzle and results in the pattern shown.
This pattern can also be caused by a loose air
nozzle.
Removetheairnozzleandwipeouidtip
using a rag dampened with solvent. Tighten the
air nozzle.
Material too thin or atomization air pressure too
high.
Regulate material viscosity or reduce air
pressure.
Paintspray‘utters’
Not enough paint in bottle.
Nozzleset/seatingdirty,damagedorloosely
installed.
Rellbottle.Removetheuidnozzle,cleanthe
backofthenozzleandthenozzleseatusinga
clothdampenedwiththinner.Retthenozzle
and secure it tightly against the body.
If necessary replace nozzle set.
Materialbubblesor“boils”in
paint cup.
Atomisedairowingthroughthepaintchannel
tothebottle.Thepaintnozzleisnotsuciently
tight.
Air nozzle is not completely screwed on.
Tighten, clean or replace parts accordingly.
SP01Issue2(H,3,F)10/08/23
Original Language Version
©JackSealeyLimited
Sealey Group, Kempson Way, Suffolk Business Park, Bury St Edmunds, Suffolk. IP32 7AR
01284 757500 sales@sealey.co.uk www.sealey.co.uk
Note: It is our policy to continually improve products and as such we reserve the right to alter data, specifications and component parts without prior notice.
Important: No Liability is accepted for incorrect use of this product.
Warranty:Guaranteeis36monthsfrompurchasedate,proofofwhichisrequiredforanyclaim.
ENVIRONMENT PROTECTION
Recycleunwantedmaterialsinsteadofdisposingofthemaswaste.Alltools,accessoriesandpackagingshouldbesorted,
takentoarecyclingcentreanddisposedofinamannerwhichiscompatiblewiththeenvironment.Whentheproduct
becomes completely unserviceable and requires disposal, drain any fluids (if applicable) into approved containers and
dispose of the product and fluids according to local regulations.