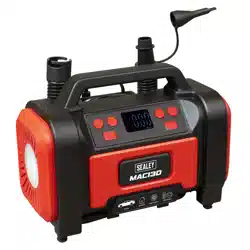
RECHARGEABLE/12V TYRE INFLATOR &
POWER BANK WITH WORKLIGHT
MODEL NO: CTI140
Thank you for purchasing a Sealey product. Manufactured to a high standard, this product will, if used according to these instructions,
and properly maintained, give you years of trouble free performance.
1. SAFETY
9 Read the manual before using this product. Thoroughly understand operating procedures, safety warnings and maintenance
requirements. Keep the manual in a convenient place for all users to see and use. Keep labels as per original.
9 The compressor operates with a 12-volt electrical system or from integral battery.
9 Consult your vehicle’s manual or a qualied mechanic for proper connection procedure.
9 After 30minutes of continuous operation, allow the unit to cool before restarting.
9 Damage can occur from continued overuse.
9 The compressor was permanently lubricated during assembly. DO NOT add oil or any other lubricant.
9 The unit will become HOT after using for a long period of time. When used for a long period of time, the compressed air hose and
device may become noticeably warm.
9 There is a risk of burn injuries! Allow the mini compressor to cool down suciently before storing.
9 Please use caution when touching the unit in order to avoid burns.
9 Only inate tyres to the manufacturer’s recommended pressure. DO NOT over inate as serious injury could occur.
9 Keep the unit away from small children.
9 Clean with a damp cloth only. DO NOT use chemicals or soap.
8 DO NOT use the unit for pumping any gas or liquid other than air.
9 The unit is not designed for use as a source for breathable air.
9 The unit is designed for use with car tyres. It is not designed for use with large tyres like tractor or truck tyres.
8 DO NOT use (or modify) the tool for any other purpose than that for which it was designed.
9 The unit is tted with safety auto stop feature but caution is advised to be prepared to stop the unit when pressure is reached.
9 The warnings, precautions, and instructions discussed in this instruction manual cannot cover all possible conditions and situations that
may occur. It must be understood by the operator that common sense and caution are factors which cannot be built into this product,
but must be supplied by the operator.
9 Failure to heed these warnings may result in fatal personal injury and/or property damage.
2. INTRODUCTION
Rechargeable unit for portability and quick inflation anywhere, supplied with 12V plug for alternative power option when battery has run
flat. Power bank with USB output 5V 2A ideal for charging mobile phones and portable devices. Suitable for inflating tyres on cars, vans,
4x4s, motorcycles and bicycles. Maximum pressure 120psi. Pressure units psi, kPa, kg/cm² and bar. Auto stop feature. Airflow 0.68CFM
19L/MIN with an inflation time 0-30psi in 261sec (175/70/R13). Backlit LED digital display. 1W SMD LED worklight with strobe and SOS
light. Accessory kit includes 170mm extension tube with Schrader connection, Presta type adaptor, ball spike, inflatables adaptor, USB
charging cable and storage bag.
3. SPECIFICATION
Airow: 0.68cfm 19l/min
Battery: 2000mAh x 2
Battery Charge Time: 3-5 Hours
Battery Run Time: 30 Minutes
Hose Length: 170mm
Ination Time: 0-30psi in 261sec (175/70/R13)
Maximum Air Supply: 120psi
Nett Weight: 0.54kg
Pressure Units: Psi, kPa, kg/cm² and bar
Max Current: 10A
USB Output: 5V/2A
12V Accessory Plug Length: 3100mm
CTI140 Issue 4 (3) 18/10/24
Original Language Version
© Jack Sealey Limited
IMPORTANT: PLEASE READ THESE INSTRUCTIONS CAREFULLY. NOTE THE SAFE OPERATIONAL REQUIREMENTS,
WARNINGS & CAUTIONS. USE THE PRODUCT CORRECTLY AND WITH CARE FOR THE PURPOSE FOR WHICH IT
IS INTENDED. FAILURE TO DO SO MAY CAUSE DAMAGE AND/OR PERSONAL INJURY AND WILL INVALIDATE THE
WARRANTY. KEEP THESE INSTRUCTIONS SAFE FOR FUTURE USE.
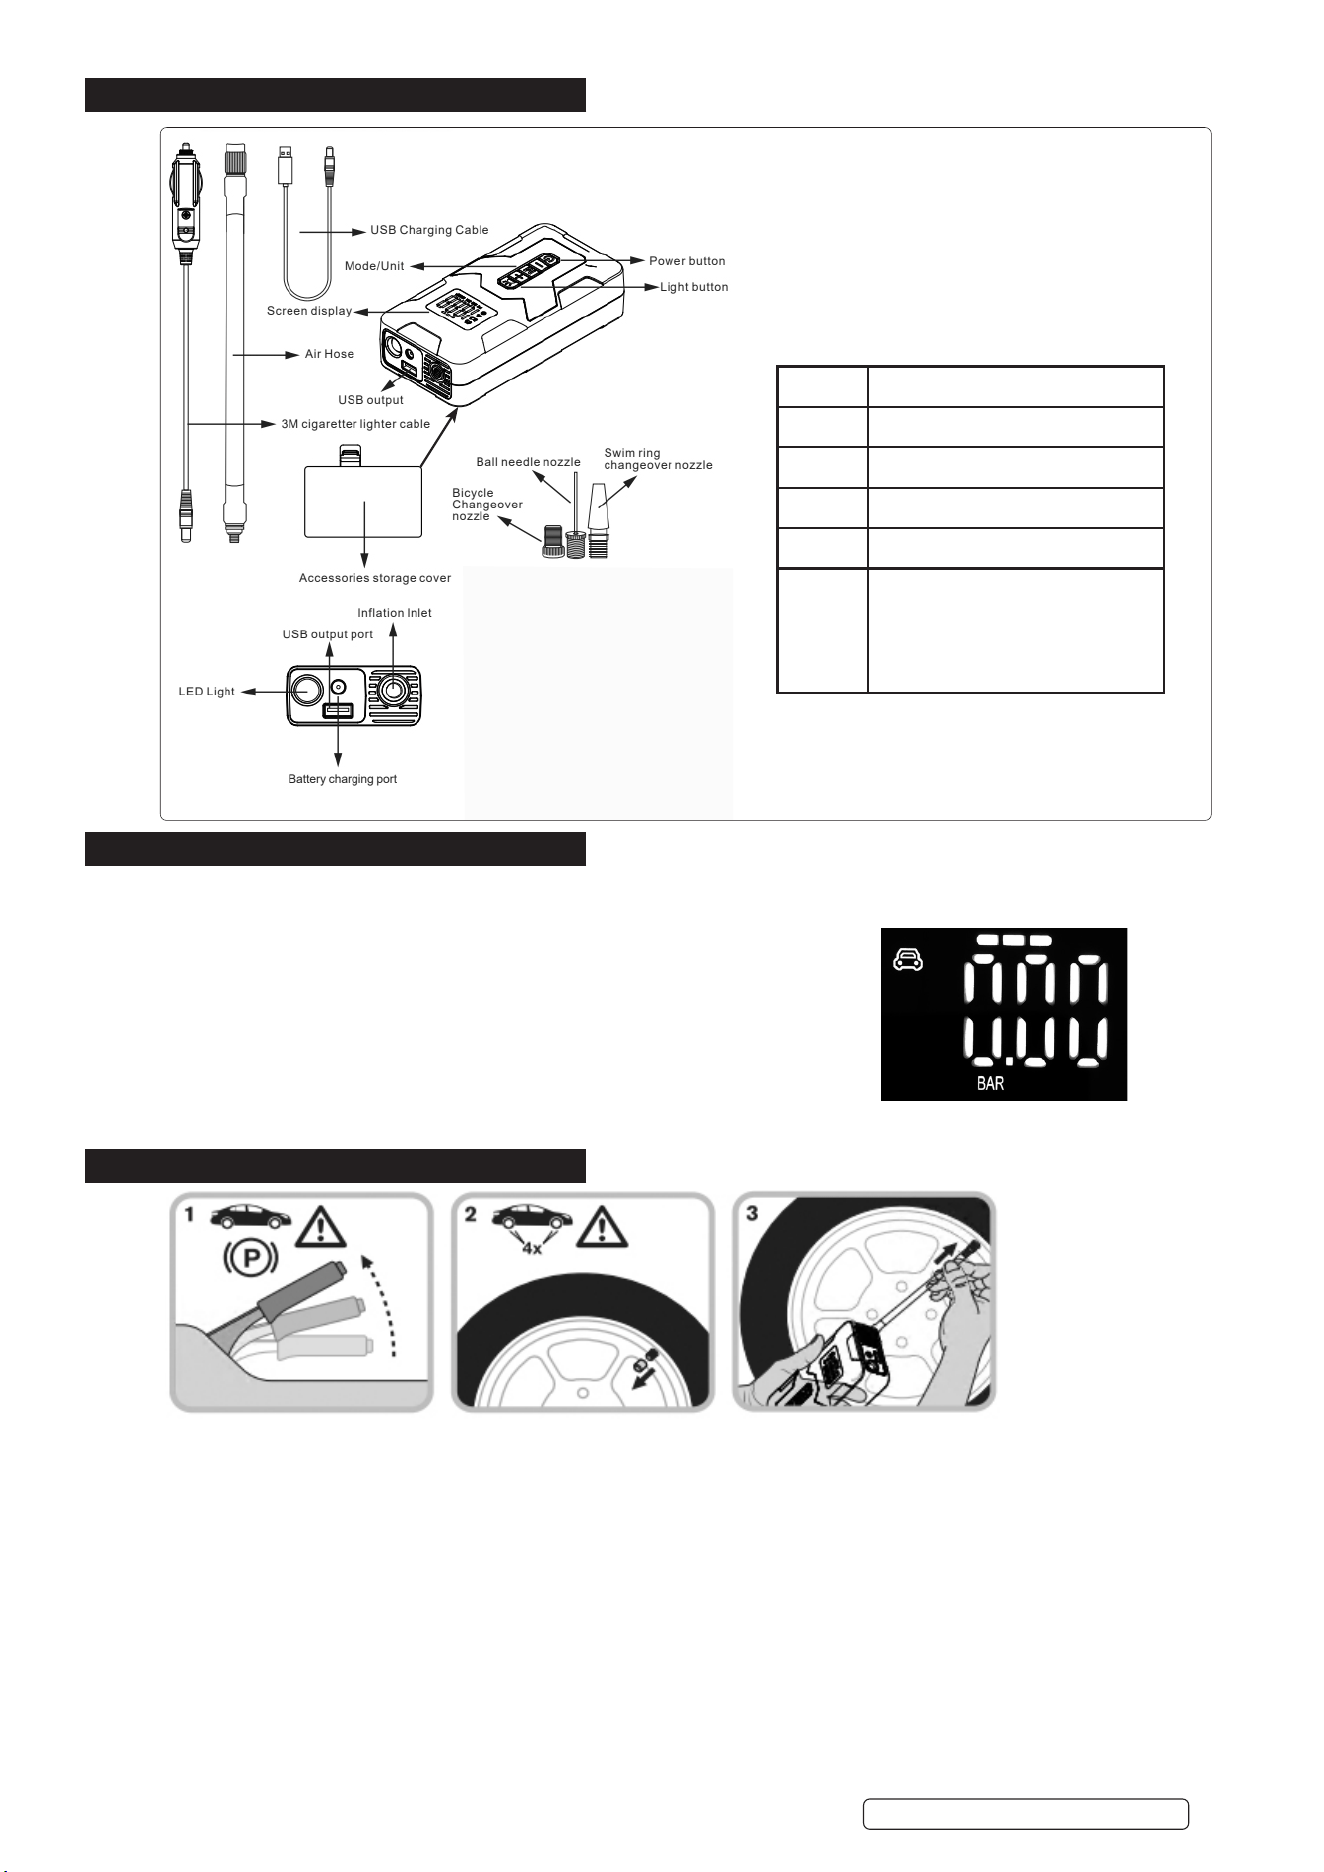
4. CONTENTS
5. LITHIUM BATTERY CHARGING
NOTE: Charge the wireless digital tyre pump for 5 hours before initial use. After the initial charge, the battery will take between
3-5hours to achieve a full charge.
5.1. Plug the USB cable into the USB port and connect to the port on the pump.
5.2. During charging,the battery indicator symbol will ash continually on the unit.
5.3. When fully charged, the battery symbol will display a full charge ---
5.4. To maintain optimum performance and long term battery life we suggest the following:
5.4.1. Where practical keep the battery fully charged.
5.4.2. After each use, recharge the battery.
5.4.3. Every 3 months fully charge the battery even if not used.
5.4.4. Charge the battery for at least 3 hours until it is fully charged.
5.4.5. During charging, the battery symbol will ash continually on the unit.
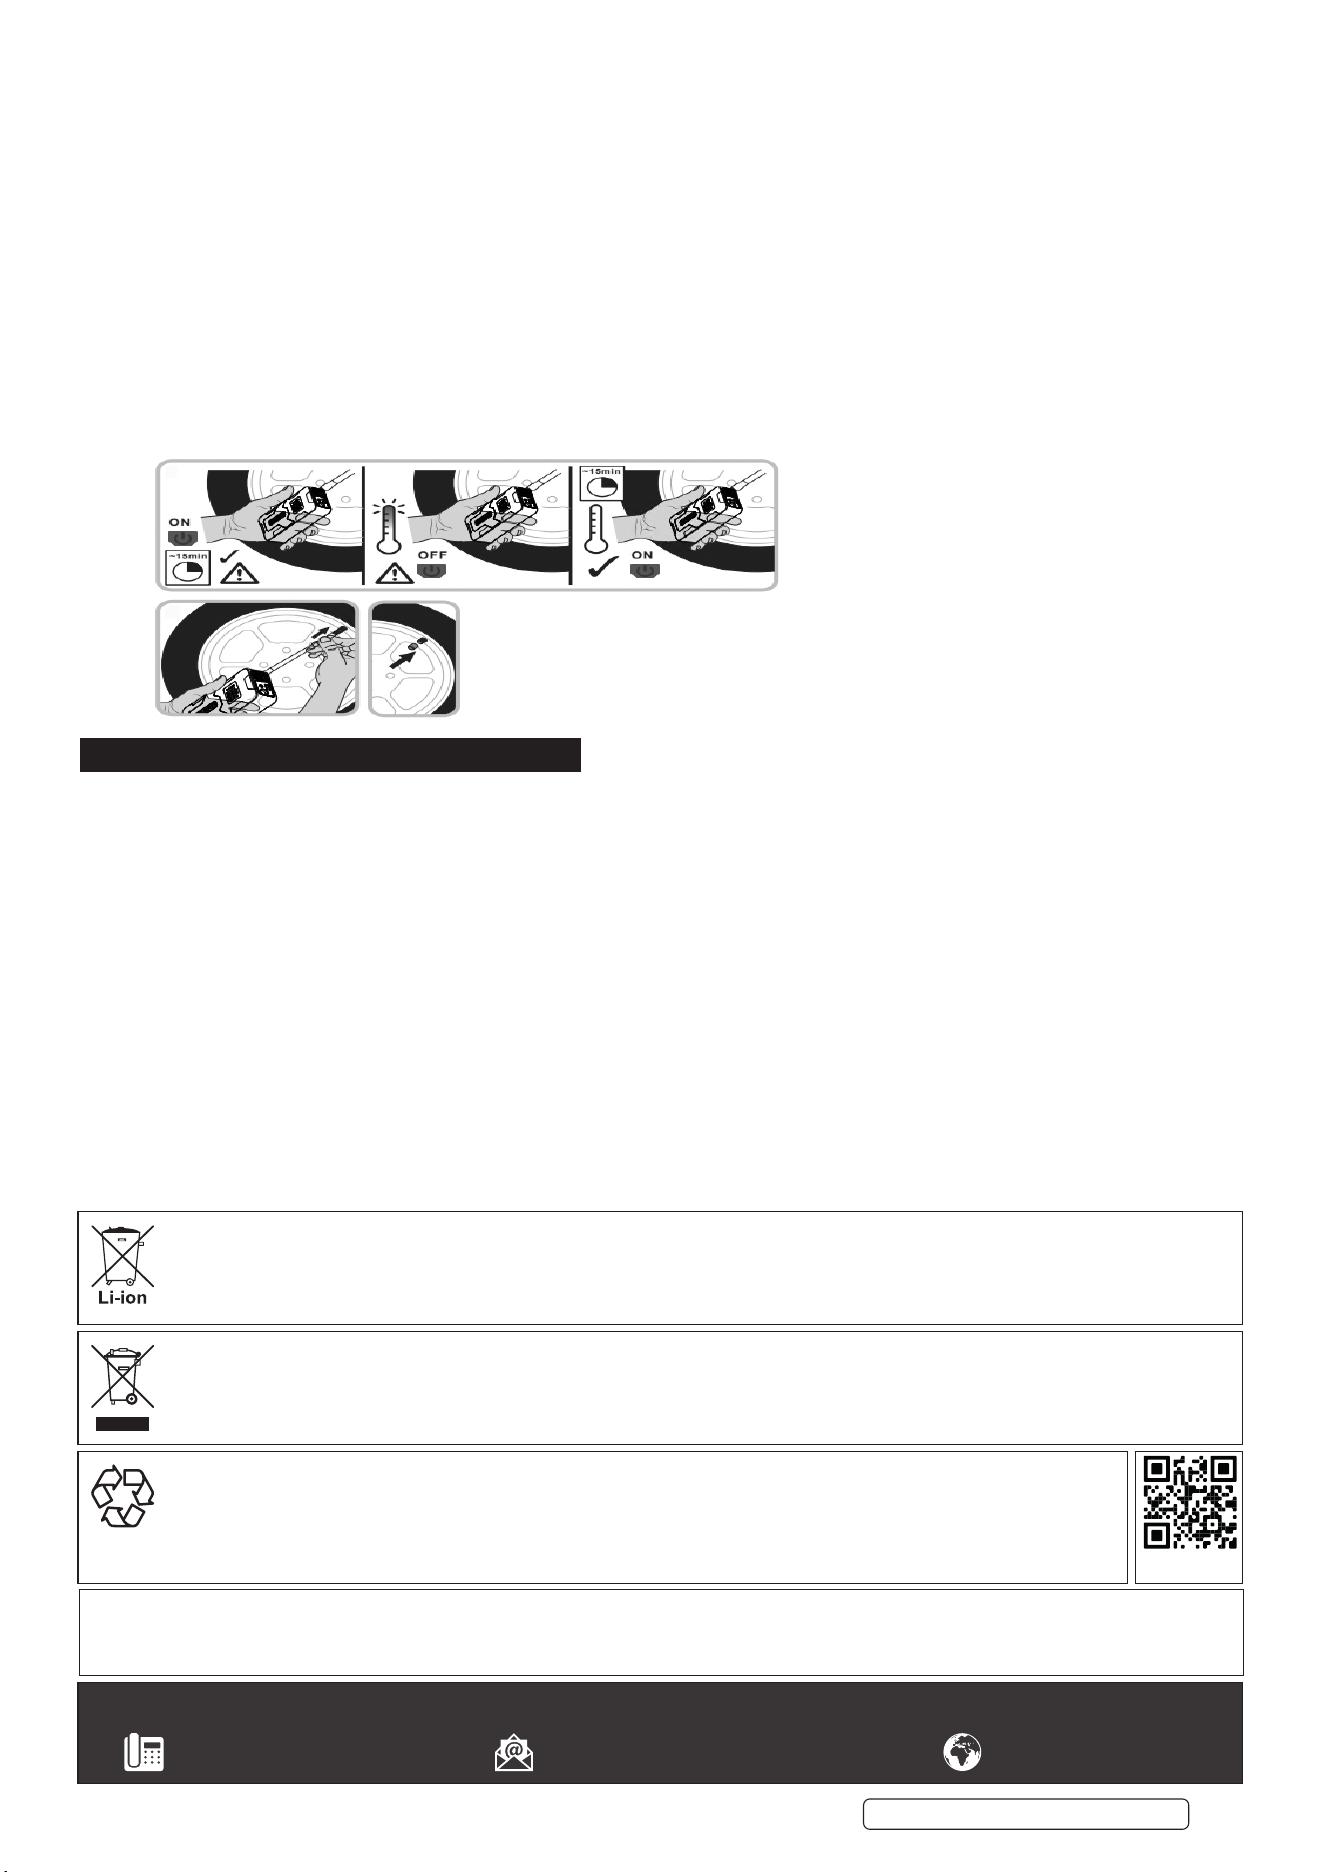
6. OPERATION
6.1. Accessories can be accessed by removing storage cover from the back of the unit.
6.2. Screw the air hose with threaded connector into the hose port, press rmly and tighten clockwise.
6.3. Tighten the hose to the tyre valve.
6.4. START/STOP
6.4.1. Press power button to start/stop the tyre inator.
6.4.2. The tyre inator will turn o automatically if left for 180s without being used.
6.4.3. Long press the power button for 3 seconds to start or turn o the tyre inator.
6.4.4. Short press M button: Change and select Modes:
6.4.4.1. Bicycle Mode (Presetting Value 60PSI)
6.4.4.2. Motorcycle Mode (Presetting Value 35PSI)
6.4.4.3. Car Mode (Presetting Value 35PSI)
6.4.4.4. Basketball Mode (Presetting Value 8PSI)
6.4.5. Long press M button for 3 seconds until the unit ashes, then short press M button to Change Units.
6.4.6. Insert the air hose connector into the valve of the tyre and the display will show the current tyre pressure at the time of connection.
Quantity Contents
1 Digital tyre pump
1 Air hose
1 Instruction manual
1 USB Charging Cable
1 of
each
Air lnation nozzle
Ball needle
Plastic Nozzle
(Brass
Accessory for Bicycle)
Original Language Version
© Jack Sealey Limited
CTI140 Issue 4 (3) 18/10/24
6.4.7. Press “+ -” to adjust the preset air pressure short press to increase or decrease, long press 3 seconds to switch to fast increase or
decrease pressure.
6.5. MEMORY FUNCTION
6.5.1. Without changing the mode, the preset air pressure value will remember the last value entered when next used.
6.5.2. The tyre inator starts to inate the tyre. When the set pressure is reached, the device will stop automatically.
6.6. LIGHT FUNCTION
6.6.1. The light button, Press twice to turn on LED light, and again for SOS ashlight once more to turn o.
6.6.2. Remove the air hose from the tyre and replace the tyre cap on the tyre if necessary.
6.6.3. Put all accessories and air hose into the storage room on the rear of the tyre inator and install the storage cover.
6.6.4. You can connect the 3M auxiliary cable for alternative power supply if battery has run at
NOTE: The hose will hold 0.5 to 1 psi depending on outside temperature. When the tyre inator stops it will read the correct tyre
pressure. If it is consistently 0.5 below the pre-set, please increase the pre-set pressure by 0.5.
NOTE: If the tyre inator turns on and no pressure is registered for 3 minutes, the tyre inator will turn o automatically. To restart
the pump, press the power button.
NOTE: If running the tyre inator for 30 minutes continuously, allow the tyre inator to cool o for 5-10 minutes so the battery can
recuperate. This will help extend the life of the battery.
7. MAINTENANCE
7.1. Clean regularly with a cloth and fully charge battery every 3 months
Original Language Version
© Jack Sealey Limited
Sealey Group, Kempson Way, Suffolk Business Park, Bury St Edmunds, Suffolk. IP32 7AR
01284 757500 sales@sealey.co.uk www.sealey.co.uk
Note: It is our policy to continually improve products and as such we reserve the right to alter data, specications and component parts without prior notice.
Important: No Liability is accepted for incorrect use of this product.
Warranty: Guarantee is 12 months from purchase date, proof of which is required for any claim.
ENVIRONMENT PROTECTION
Recycle unwanted materials instead of disposing of them as waste. All tools, accessories and packaging should be
sorted, taken to a recycling centre and disposed of in a manner which is compatible with the environment. When
the product becomes completely unserviceable and requires disposal, drain any uids (if applicable) into approved
containers and dispose of the product and uids according to local regulations.
REGISTER YOUR
PURCHASE HERE
WEEE REGULATIONS
Dispose of this product at the end of its working life in compliance with the EU Directive on Waste Electrical and Electronic Equipment
(WEEE). When the product is no longer required, it must be disposed of in an environmentally protective way. Contact your local solid
waste authority for recycling information.
BATTERY REMOVAL
Under the Waste Batteries and Accumulators Regulations 2009, Jack Sealey Ltd are required to inform potential purchasers of products
containing batteries (as defined within these regulations), that they are registered with Valpak’s registered compliance scheme. Jack
Sealey Ltd’s Batteries Producer Registration Number (BPRN) is BPRN00705.
CTI140 Issue 4 (3) 18/10/24