TYRE INFLATORS WITH PUSH-ON AND CLIP-ON
CONNECTORS
Thank you for purchasing a Sealey product. Manufactured to a high standard, this product will, if used according to these instructions,
and properly maintained, give you years of trouble free performance.
IMPORTANT: PLEASE READ THESE INSTRUCTIONS CAREFULLY. NOTE THE SAFE OPERATIONAL REQUIREMENTS, WARNINGS & CAUTIONS. USE
THE PRODUCT CORRECTLY AND WITH CARE FOR THE PURPOSE FOR WHICH IT IS INTENDED. FAILURE TO DO SO MAY CAUSE DAMAGE AND/OR
PERSONAL INJURY AND WILL INVALIDATE THE WARRANTY. KEEP THESE INSTRUCTIONS SAFE FOR FUTURE USE.
1. SAFETY
9 Disconnect the gauge from the air supply before changing accessories, servicing or performing any maintenance.
9 Maintain the gauge in good condition (use an authorised service agent), and keep the gauge clean for best and safest performance.
9 Replace or repair damaged parts. Use recommended parts only. Unauthorised parts may be dangerous and will invalidate the warranty.
9 Locate gauge in a suitable work area, keep area clean and tidy and free from unrelated materials and ensure there is adequate lighting.
9 Keep children and unauthorised persons away from the work area.
8 DO NOT direct gauge outlet at yourself or at other persons or animals.
8 DO NOT carry by the hose, or yank the hose from the air supply.
8 DO NOT use the gauge for a task which it is not designed to perform.
8 DO NOT operate the gauge when you are tired or under the inuence of alcohol, drugs or intoxicating medication.
8 DO NOT operate gauge if parts are missing or the gauge is damaged, as this may cause failure and/or personal injury.
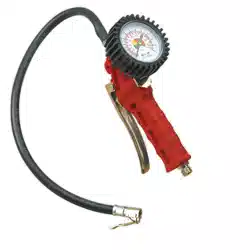
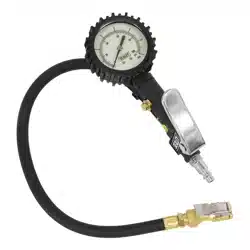
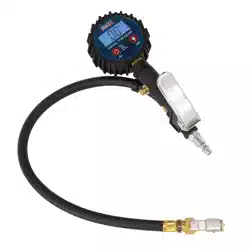
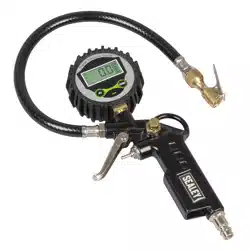
2. INTRODUCTION
Durable body tyre inators with large Ø80mm gauge with rubber protectors. Calibrated in bar/psi. Fitted with 750mm and 400mm
rubber hoses with respective push-on and clip-on connectors. Includes 1/4”BSP connection. Model No’s SA9304 and SA9314 feature
anti-shock, high accuracy oil lled gauges. Model No’s SA9302 and SA9312 feature rotating gauge for ease of use and visibility.
3. SPECIFICATION
Refer to
instruction
manual
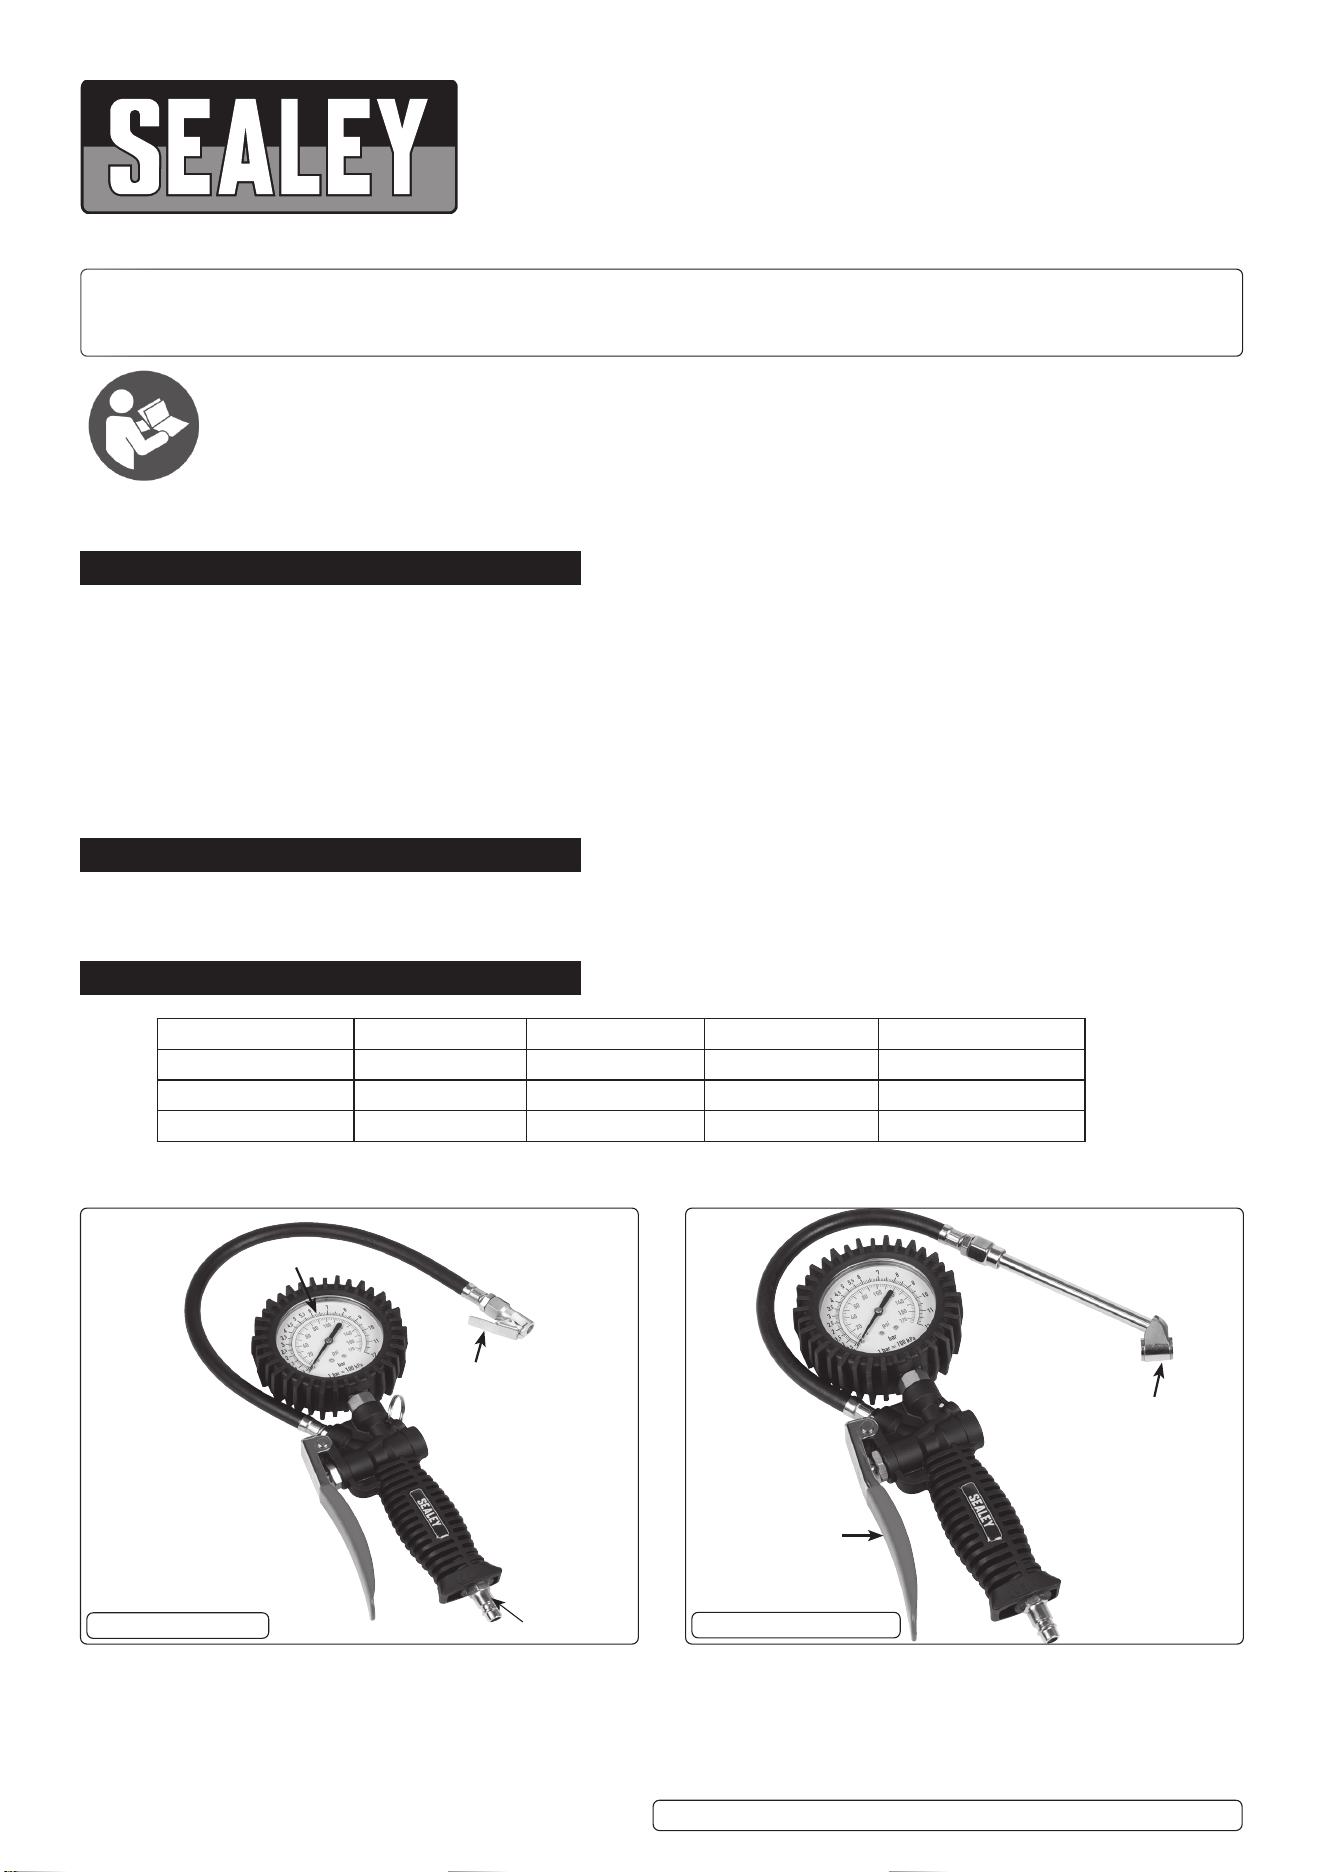
Gauge
Clip-on Connector
1/4” BSP Male
SA9302.V2 SA9304
Operating Lever
Push-on
Connector
SA9314 SA9312.V2
SA9302.V2 SA9304 SA9314 SA9312.V2 Issue 3 25/02/25
Original Language Version
© Jack Sealey Limited
Model No: SA9302.V2 SA9304 SA9314 SA9312.V2
Inlet Size: 1/4”BSP 1/4”BSP 1/4”BSP 1/4”BSP
Maximum Air Supply: 8bar (117psi) 8bar (117psi) 8bar (117psi) 8bar (117psi)
Range: 0-12bar (0-174psi) 0-12 bar (0-174psi) 0-12bar (0-174psi) 0-12bar (0-174psi)
MODEL NO’S: SA9302.V2, SA9304, SA9314, SA9312.V2
SA9302.V2 SA9304 SA9314 SA9312.V2 Issue 3 25/02/25
4. INSTALLATION
4.0.1. AIR SUPPLY - MAXIMUM PRESSURE 8bar (117psi)
4.1. The supply must be clean and dry - use a suitable lter/water trap if necessary. The supply pressure at the gauge inlet should ideally be
2-8bar (29-117psi).
NOTE: Maximum tyre ination pressure cannot exceed the supply pressure.
5. OPERATION
5.1. ATTACH ADAPTOR TO VALVE
5.1.1. SA9314 and SA9312.V2 - Push and hold the connector onto the tyre valve using the valve connector.
5.1.2. SA9302.V2 and SA9304 - squeeze the thumb clip on the connector, push the connector onto the tyre valve and release the clip.
5.2. TO INFLATE
5.2.1. Momentarily depress and release lever to display tyre pressure.
5.2.2. When reading the pressure, hold the gauge at with respect to the eye to minimise error.
5.2.3. Fully depress lever until the required pressure is reached. avoid over ination, release lever frequently to check the pressure.
5.3. TO DEFLATE
5.3.1. Depress lever half-way (until air can be heard escaping) for an appropriate period.
5.3.2. Fully depress lever momentarily then release to display new pressure.
IMPORTANT - ALWAYS MOMENTARILY DEPRESS AND RELEASE LEVER TO DISPLAY TYRE PRESSURE.
6. MAINTENANCE.
6.1. PERIODIC CHECKS AND MAINTENANCE
6.1.1. For long service and accuracy, the following actions should be carried out at the recommended intervals.
6.2. CHECK OPERATION (WEEKLY)
6.2.1. The gauge should be checked weekly for correct operation.
6.2.2. Look for smooth lever operation and fast, smooth gauge movements.
6.2.3. Check for leaks from tyre connector seals, and for chang or wear of the exible hoses.
6.2.4. Any problems should be immediately rectied.
6.3. CHECK CALIBRATION (QUARTERLY)
6.3.1. We recommend the accuracy of the gauge be checked against a calibrated ‘master’ gauge every 3 months, or at shorter intervals
depending on operator’s own quality procedures.
Sealey Group, Kempson Way, Suffolk Business Park, Bury St Edmunds, Suffolk. IP32 7AR
01284 757500 sales@sealey.co.uk www.sealey.co.uk
ENVIRONMENT PROTECTION
Recycle unwanted materials instead of disposing of them as waste. All tools, accessories and packaging should be sorted,
taken to a recycling centre and disposed of in a manner which is compatible with the environment. When the product
becomes completely unserviceable and requires disposal, drain any fluids (if applicable) into approved containers and
dispose of the product and fluids according to local regulations.
Original Language Version
© Jack Sealey Limited
REGISTER YOUR
PURCHASE HERE
Note: It is our policy to continually improve products and as such we reserve the right to alter data, specifications and component parts without prior
notice. Please note that other versions of this product are available. If you require documentation for alternative versions, please email or call
our technical team on technical@sealey.co.uk or 01284 757505.
Important: No Liability is accepted for incorrect use of this product.
Warranty: This product comes with a 24 month Guarantee against manufacturing defects.