Loading ...
Loading ...
Loading ...
d) Cut on the push stroke, until ⅓ of the trunk is left,
to complete the safe corner. (Fig. 97)
3. Put a wedge in the kerf straight from behind. (Fig.
98)
4. Cut off the corner to make the tree fall.
Note: If the tree does not fall, hit the wedge until it
does.
5. When the tree starts to fall, use the path of retreat
to move away from the tree. Move a minimum of 5
m/15 ft away from the tree.
To free a trapped tree
WARNING: It is very dangerous to
remove a trapped tree and there is a high
accident risk. Keep out of the risk zone and
do not try to fell a trapped tree.
(Fig. 99)
The safest procedure is to use one of the following
winches:
• Tractor-mounted
(Fig. 100)
• Portable
(Fig. 101)
To cut trees and branches that are in tension
1. Figure out which side of the tree or branch that is in
tension.
2. Figure out where the point of maximum tension is.
(Fig. 102)
3. Examine which is the safest procedure to release the
tension.
Note: In some situations the only safe procedure
is to use a winch and not your product.
4. Keep a position where the tree or branch can not hit
you when the tension is released. (Fig. 103)
5. Make one or more cuts of sufficient depth necessary
to decrease the tension. Cut at or near the point of
maximum tension. Make the tree or branch break at
the point of maximum tension. (Fig. 104)
WARNING: Do not cut straight
through a tree or branch that is in
tension.
WARNING: Be very careful when
you cut a tree that is in tension. There is
a risk that the tree moves quickly before
or after you cut it. Serious injury can
occur if you are in an incorrect position
or if you cut incorrectly.
6. If you must cut across tree/branch, make 2 to 3 cuts,
1 in. apart and with a depth of 2 in. (Fig. 105)
7. Continue to cut more into the tree until the tree/
branch bends and the tension is released. (Fig. 106)
8. Cut the tree/branch from the opposite side of the
bend, after the tension is released.
Maintenance
Introduction
WARNING: Read and understand the
safety chapter before you do maintenance
on the product.
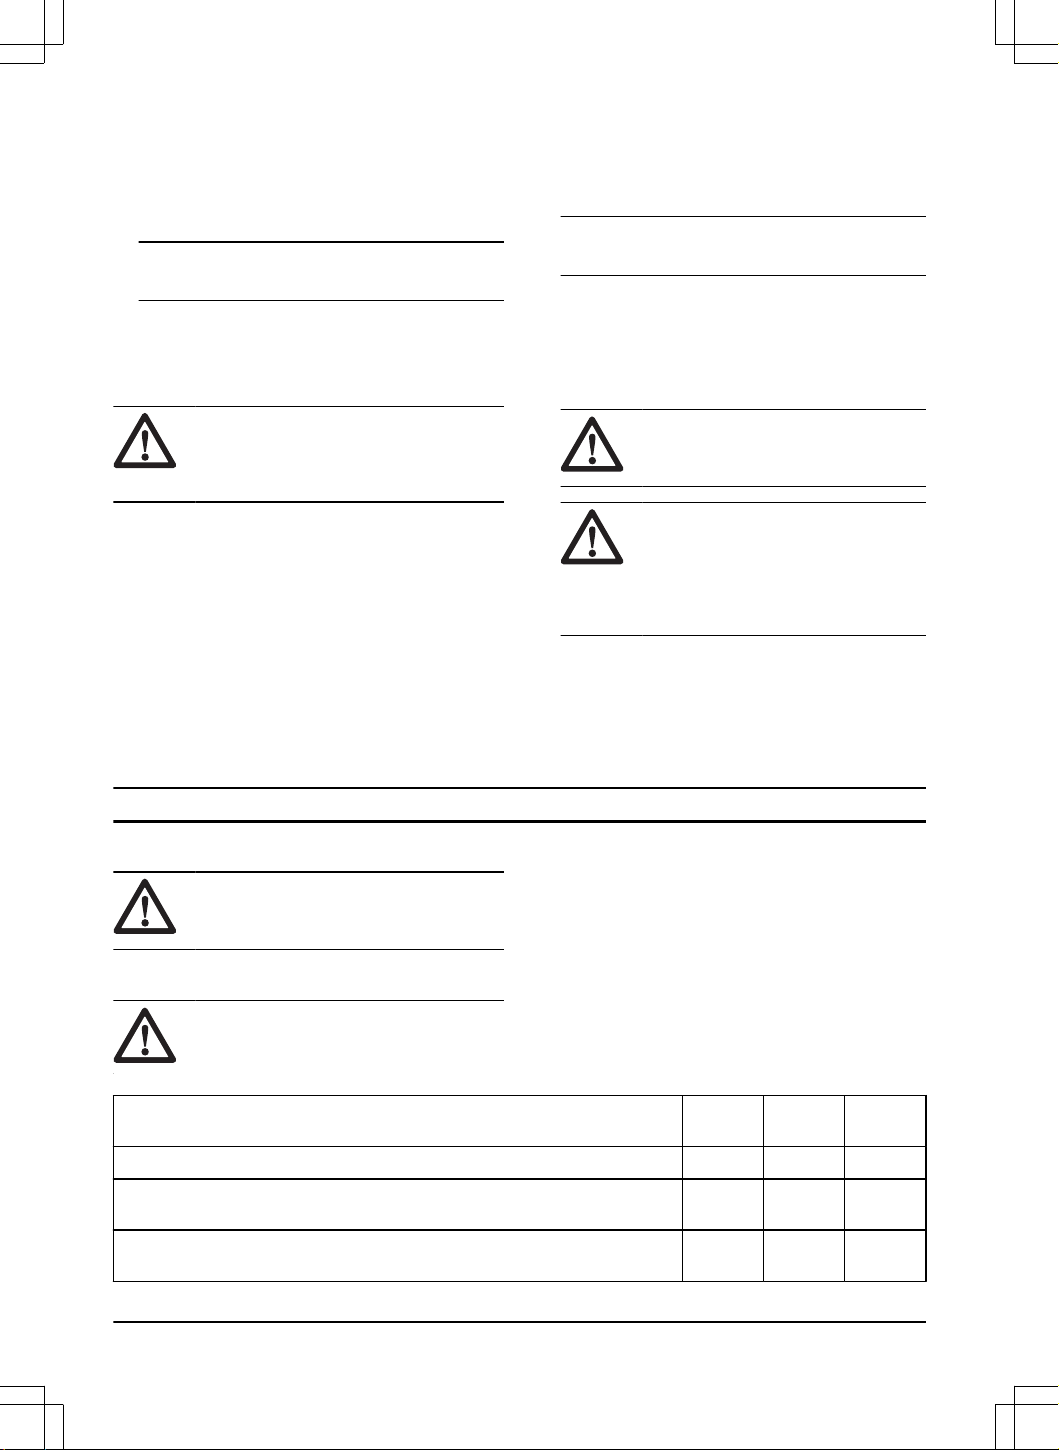
Maintenance schedule
WARNING: Remove the battery before
you do maintenance.
The following is a list of the maintenance steps that you
must do on the product. See
Maintenance on page 34
for more information.
Maintenance Before
use
Weekly Monthly
Clean the external parts of the product. X
Make sure that the power trigger and the power trigger lockout function correctly
from a safety point of view.
X
Clean the chain brake and make sure that it operates safely. Make sure that the
chain catcher is not damaged. Replace it if necessary.
X
34 1860 - 007 - 09.01.2024
Loading ...
Loading ...
Loading ...