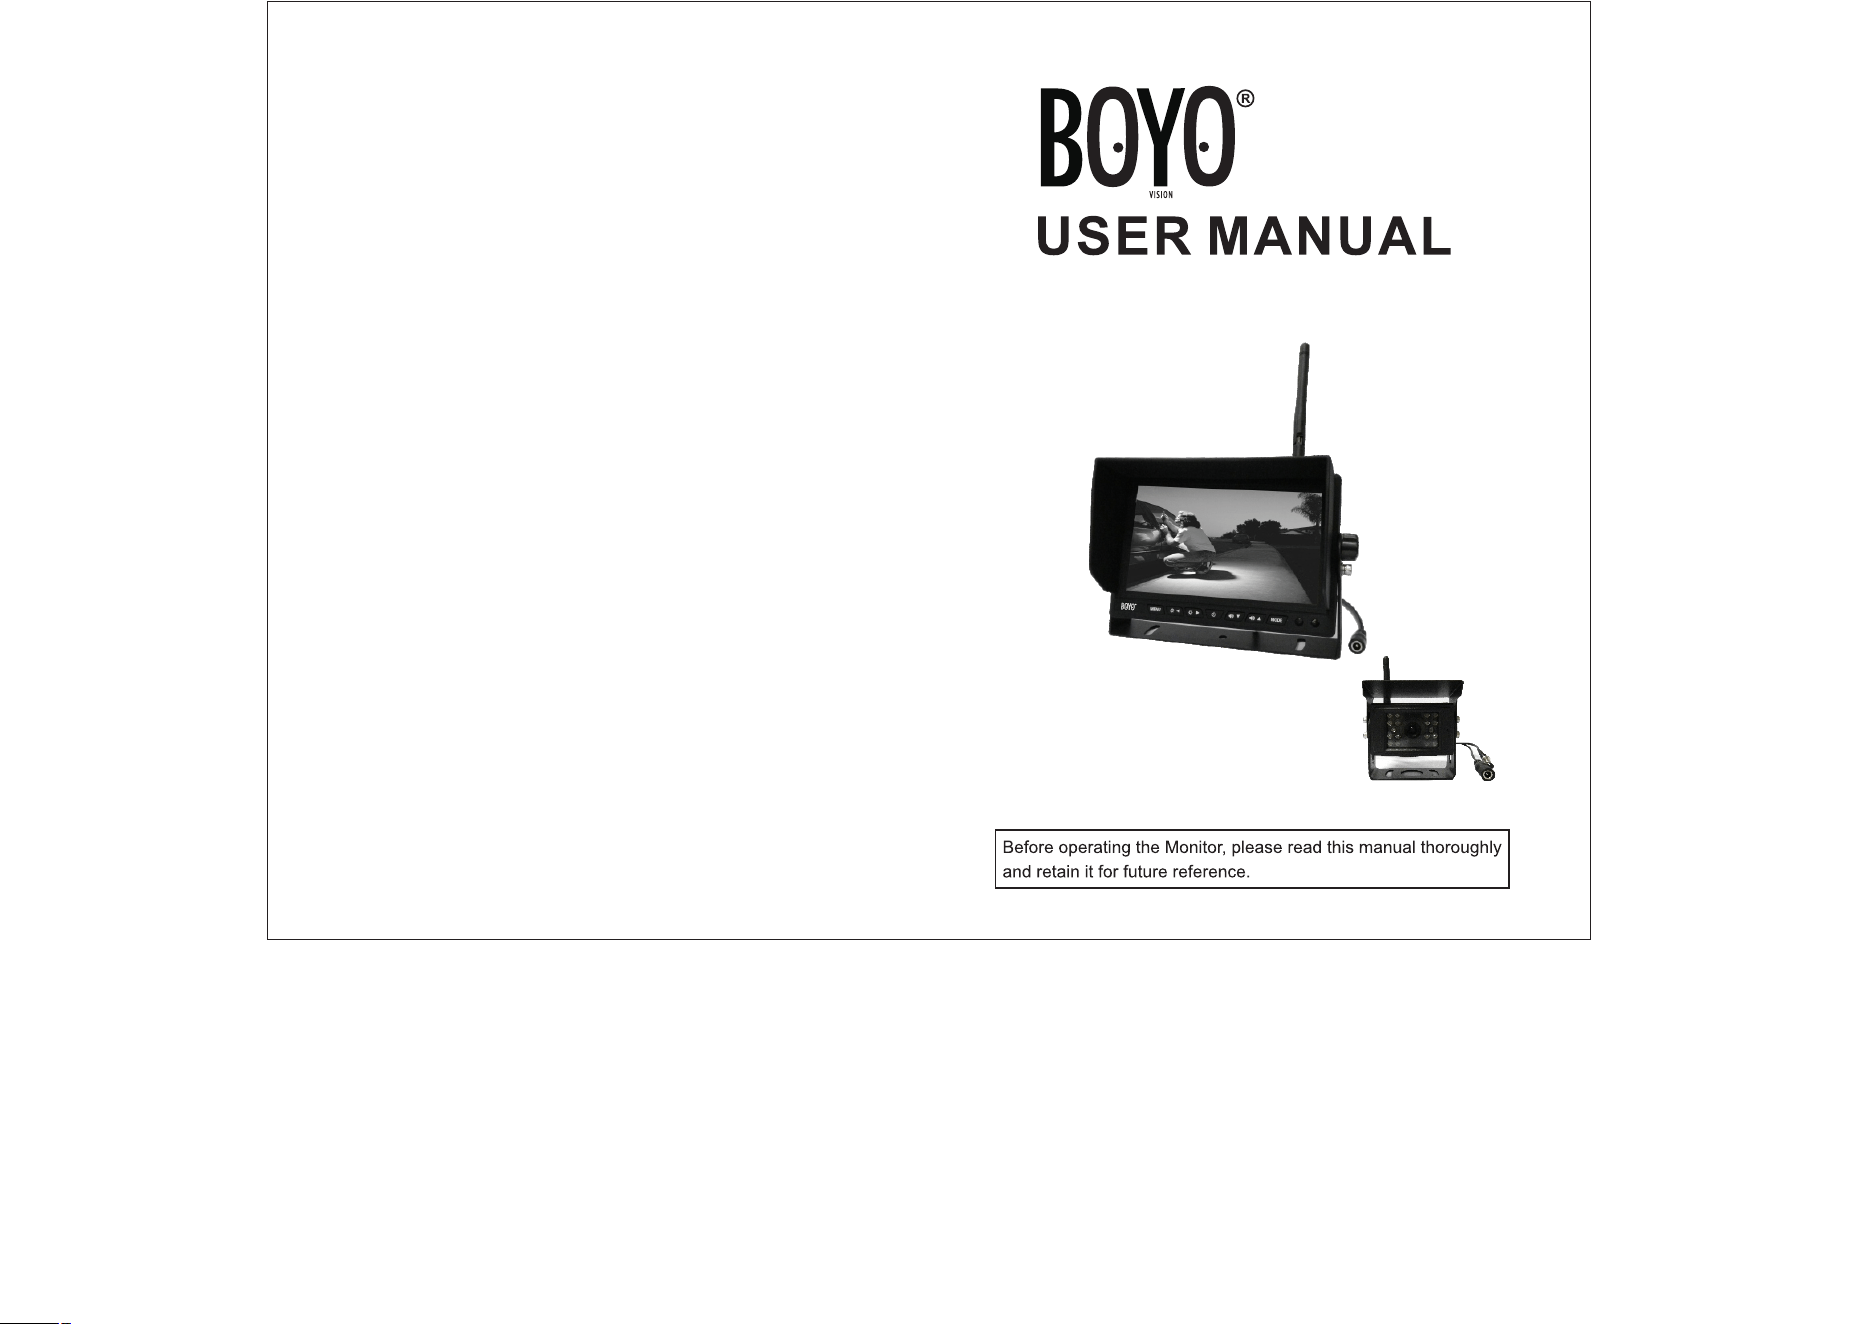
VTC702R
For your safety, please do not watch video or operate the monitor when driving.
Non-professionals please do not dismantle the machine. If the machine doesn't work,
please consult customer services or send the machine to local maintenance departments.
Warning:Please install this machine in the place where laws and regulations allowed,
our company take no responsibility for illegal product installation.
Notice: The machine may appear dark screen phenomenon when start up in the cold days,
after power on and machine’s temperature gradually rising up, the display screen would
gradually return to normal.
1.Attention
2-1. Product function
7 inch digital panel
Screen Ratio: 16: 9
Resolution: 800*RGB*480
1 wireless video and audio input
Adopt digital wireless encryption technology to code connection ,
have strong anti-interference capacity
14PCS 2.4G wireless signal frequency (2412MHz~2484MHz)
Power Supply: DC12-24V
Power Consumption: 6W
Working temperature: 0℃~60℃
Storage temperature: -10℃~70℃
Size: 180*121*24mm
This product adopted high resolution TFT color digital screen and
2.4G digital wireless technologies, which used embedded processor
and embedded operating system, combined several latest technologies
in the IT field, such as audio and video compression/decompression
technology, special shockproof technology. It has no radiation, low
power consumption, flicker-free and gorgeous vivid color and could
be easily installed and widely used in various kinds of vehicles.
2-2. Product Application
2-3. Product introduction
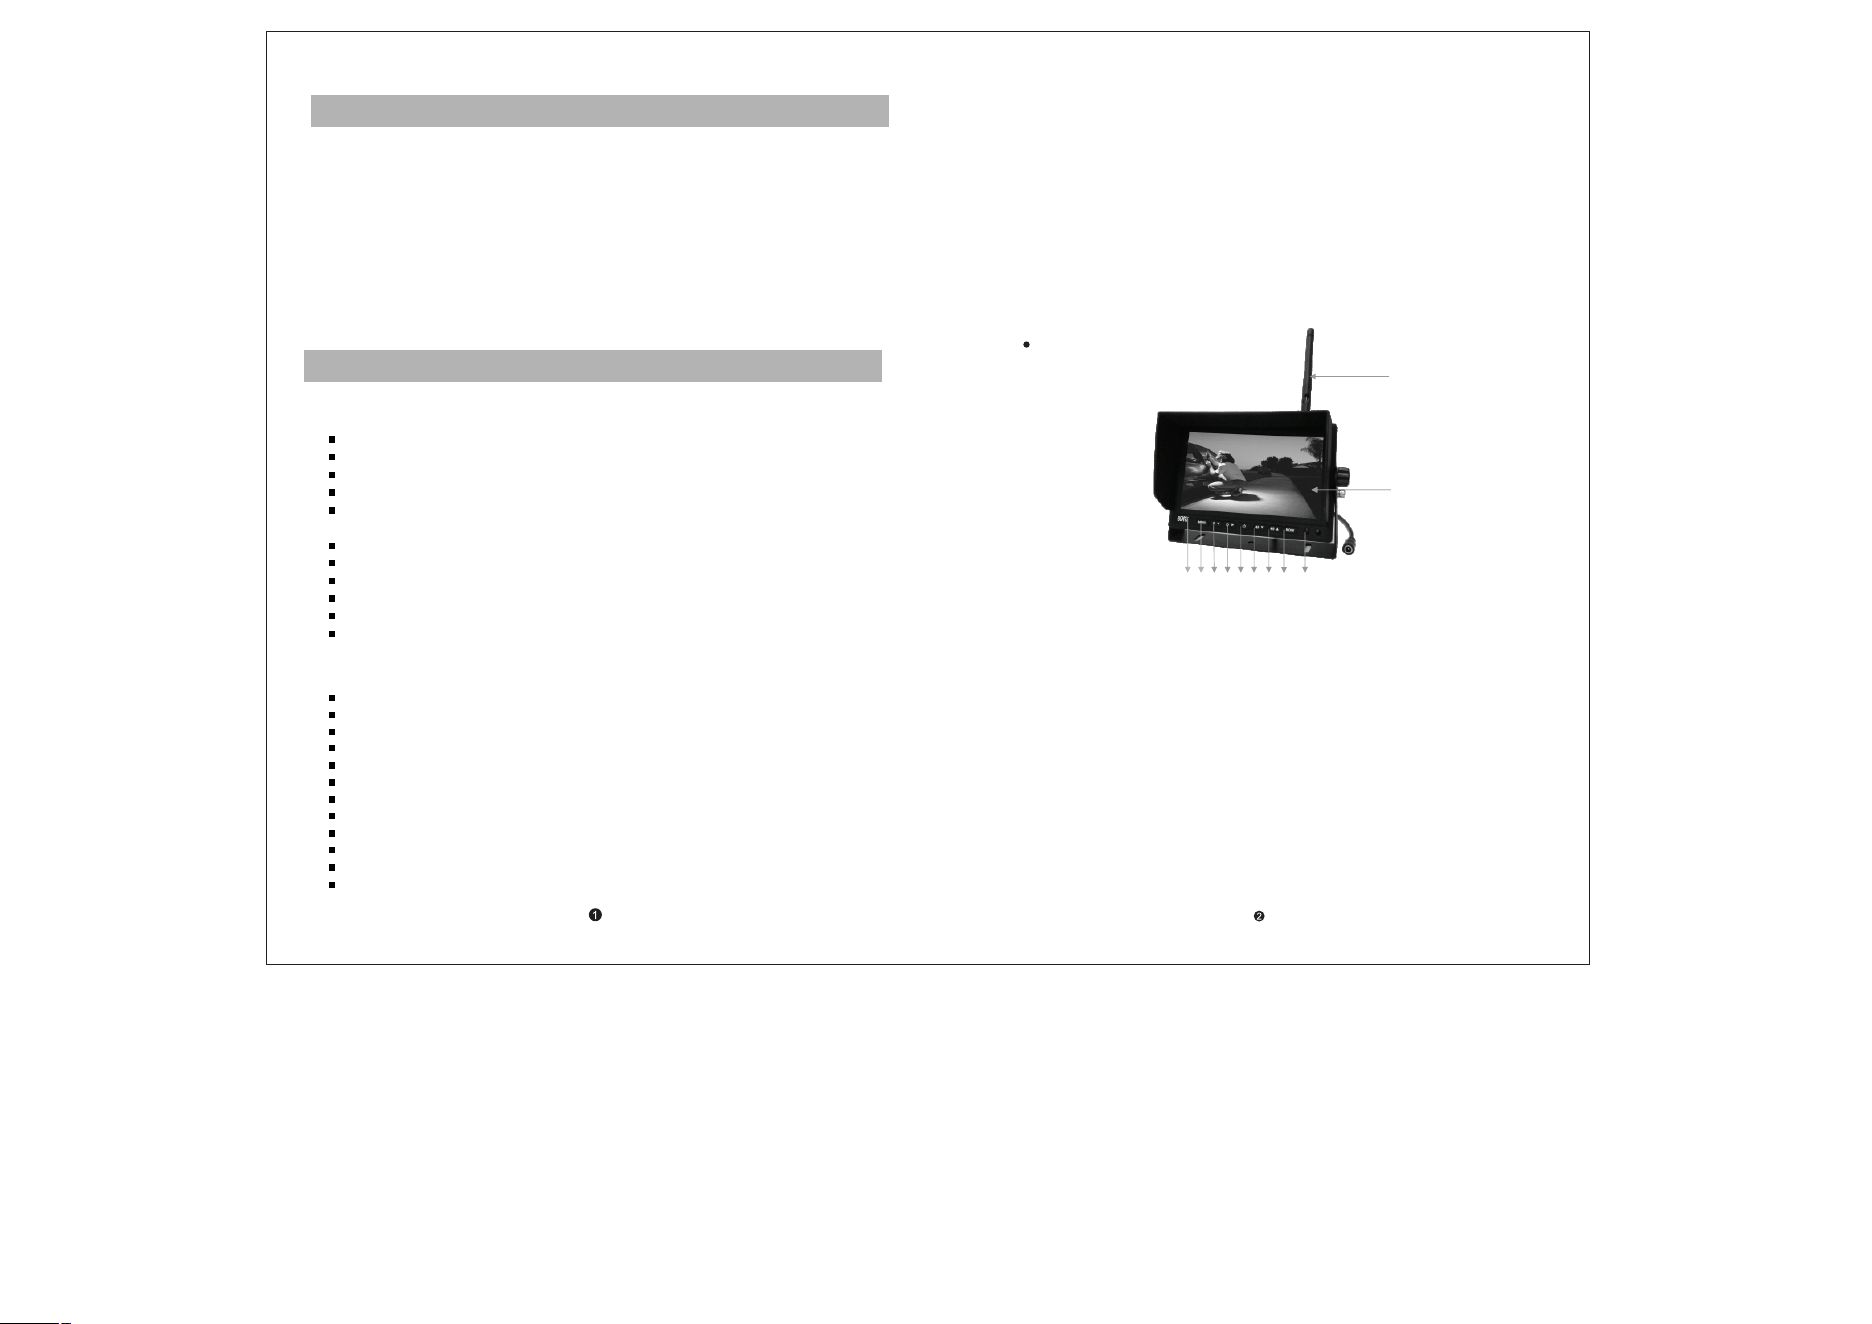
A. Front panel introduction
1
2
3 4 5 6 7 8 9 1 0 1 1
1.2.4G antenna
2.Display screen
3.Metal LOGO plate
4.MENU: open or exit the menu
5.Brightness decrease: decrease the screen brightness value
6.Brightness increase: increase the screen brightness value
7. Power: Under power off state, press shortly to start up, press and
hold to power off; under power on state, press shortly to close the
display screen, press and hold to power off
8. Volume decrease: decrease the volume
9. Volume increase: increase the volume
10. MODE: up, down, left, right rotation
11.Remote control window
Monitor Panel Introduction
2.Product function and application introduction
Wireless Monitor
1/4 CMOS OV7725 sensor
640*480 VGA resolution, 300 thousand pixel
100 degree viewing angle
10ft night viewing distance
Built-in high sensitive microphone
Waterproof level: IP66
2.4G wireless transmitting distance can reach 200ft in open area
Power supply: DC12-24V
Power Consumption: 6W
Working temperature: 0℃~60℃
Storage temperature: -10℃~70℃
Size: 86.5mm*74.5mm*77mm
Wireless camera
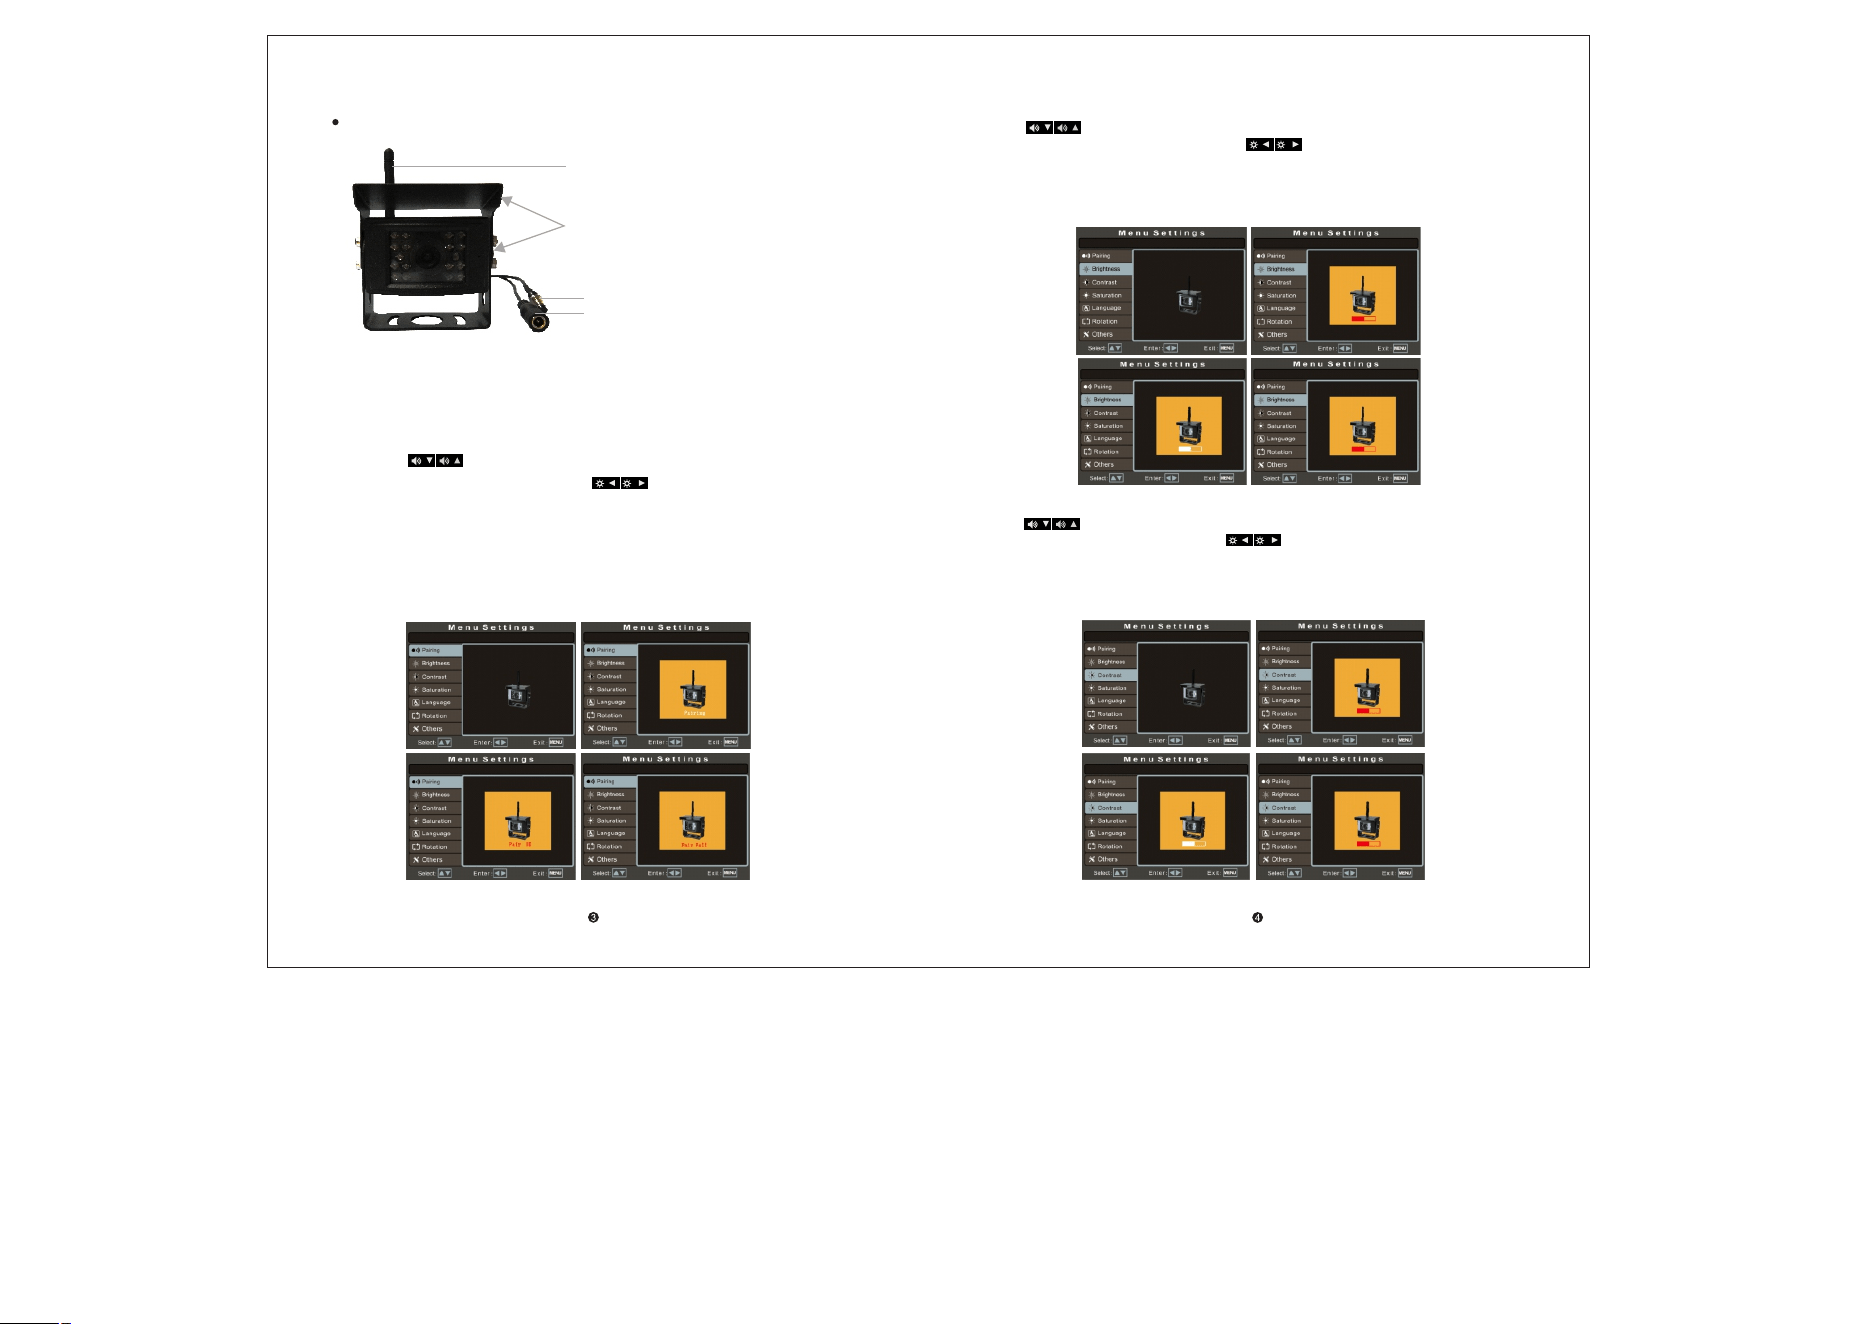
Camera Introduction
1
2
4
3
1.2.4G antenna
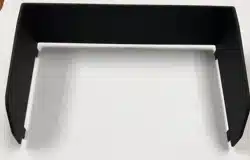
2.U shaped bracket and sun shade
3.Power cable: DC 12-24V input
4.Pairing button
B.Menu Setup Introduction
2. Camera brightness Setting
Press “ ” on the panel or “VIDEO” “MODE”on remote control to switch
to“Brightness”option, and then press “ ” on the panel or “LEFT”
“RIGHT”on remote control to enter into the camera brightness setting and
press them again to adjust the specific parameters. Press “MENU” to confirm
the adjusted parameter and press it again to exit the current setting. Just as
shown in the following pictures.
3.Camera contrast Setting
Press “ ” on the panel or “VIDEO” “MODE”on remote control to switch
to“Contrast”option, and then press “ ”on the panel or “LEFT” “RIGHT”
on remote control to enter into the camera contrast setting and press them
again to adjust the specific parameters. Press “MENU” to confirm the adjusted
parameter and press it again to exit the current setting. Just as shown in the
following pictures.
1. Pairing setting
Press the “MENU” key on the panel or remote control to open the menu interface;
then press “ ” on the panel or “VIDEO” “MODE”on remote control to switch
to the “Pairing” option; and then press “ ” on the panel or “LEFT” “RIGHT”
on remote control, at the same time, hold the camera pairing button to pair. There
will show “Pair OK” after 2-5 seconds if pair successfully, otherwise will show
“Pair fail” and need to re-pair. Press “MENU” to exit current setting. Just as shown
in the following pictures.
6. Rotation Setting
Press “ ” on the panel or “VIDEO” “MODE”on remote control to switch to
“Rotation”option, and then press “ ” on the panel or “LEFT” “RIGHT”on
remote control to enter into rotation setting, press them again to make the image
up/down/left/right rotated. Press “MENU” to exit the current setting. Just as shown
in the following pictures.
7. Reversing delay setting
Press “ ” on the panel or“VIDEO” “MODE”on remote control to switch
to“Others”option, and then press “ ”on the panel or “LEFT” “RIGHT”
on remote control to enter into “Others” selection and press “ ”
on the panel or“VIDEO” “MODE”on remote control again to select the delay
time, press “ ” on the panel or “LEFT” “RIGHT”on remote control to
set it . The default value is 0 sec, closed. Press “MENU” to exit the current
setting. Just as shown in the following pictures.
4. Camera Saturation Setting
Press “ ” on the panel or “VIDEO” “MODE”on remote control to switch to
“Saturation”option, and then press “ ” on the panel or “LEFT” “RIGHT”
on remote control to enter into the camera saturation setting and press them
again to adjust the specific parameters. Press “MENU” to confirm the adjusted
parameter and press it again to exit the current setting. Just as shown in the
following pictures.
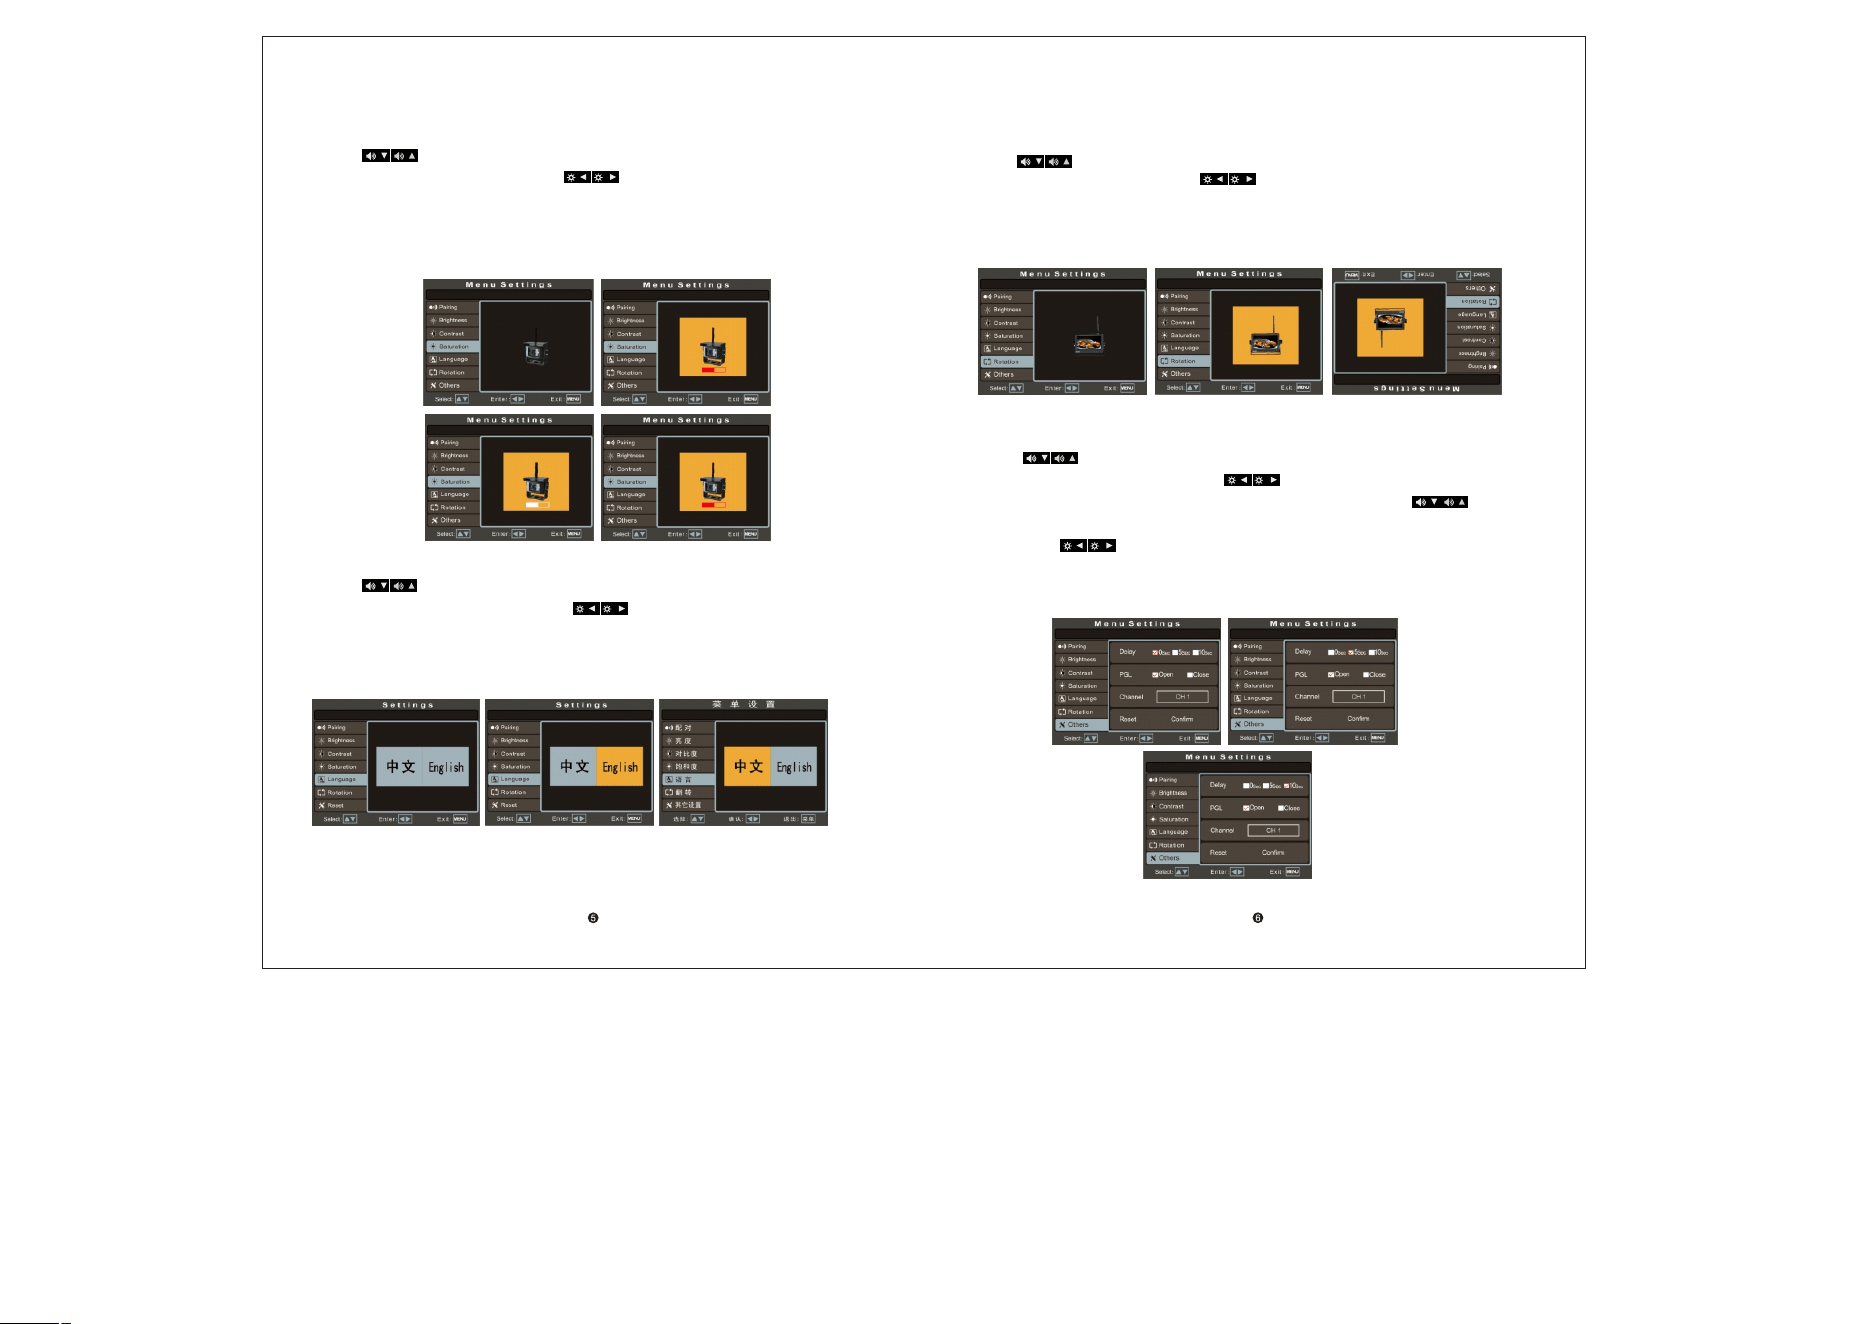
5. Langauage setting
Press “ ” on the panel or “VIDEO” “MODE”on remote control to switch
to“Language”option, and then press “ ” on the panel or “LEFT” “RIGHT”
on remote control to set the language to Chinese or English display. Press
“MENU” to exit the current setting. Just as shown in the following pictures.
10.Reset Setting
Press “ ” on the panel or“VIDEO” “MODE”on remote control to
switch to“Others”option, and then press “ ” on the panel or“LEFT”
“RIGHT”on remote control to enter into “Others” selection. Press “ ”
on the panel or “VIDEO” “MODE”on remote control again to switch to“Reset”
option,and then press “ ” on the panel or“LEFT” “RIGHT”on remote
control to confirm the reset setting. Press “MENU” to exit the current setting.
Just as shown in the following pictures.
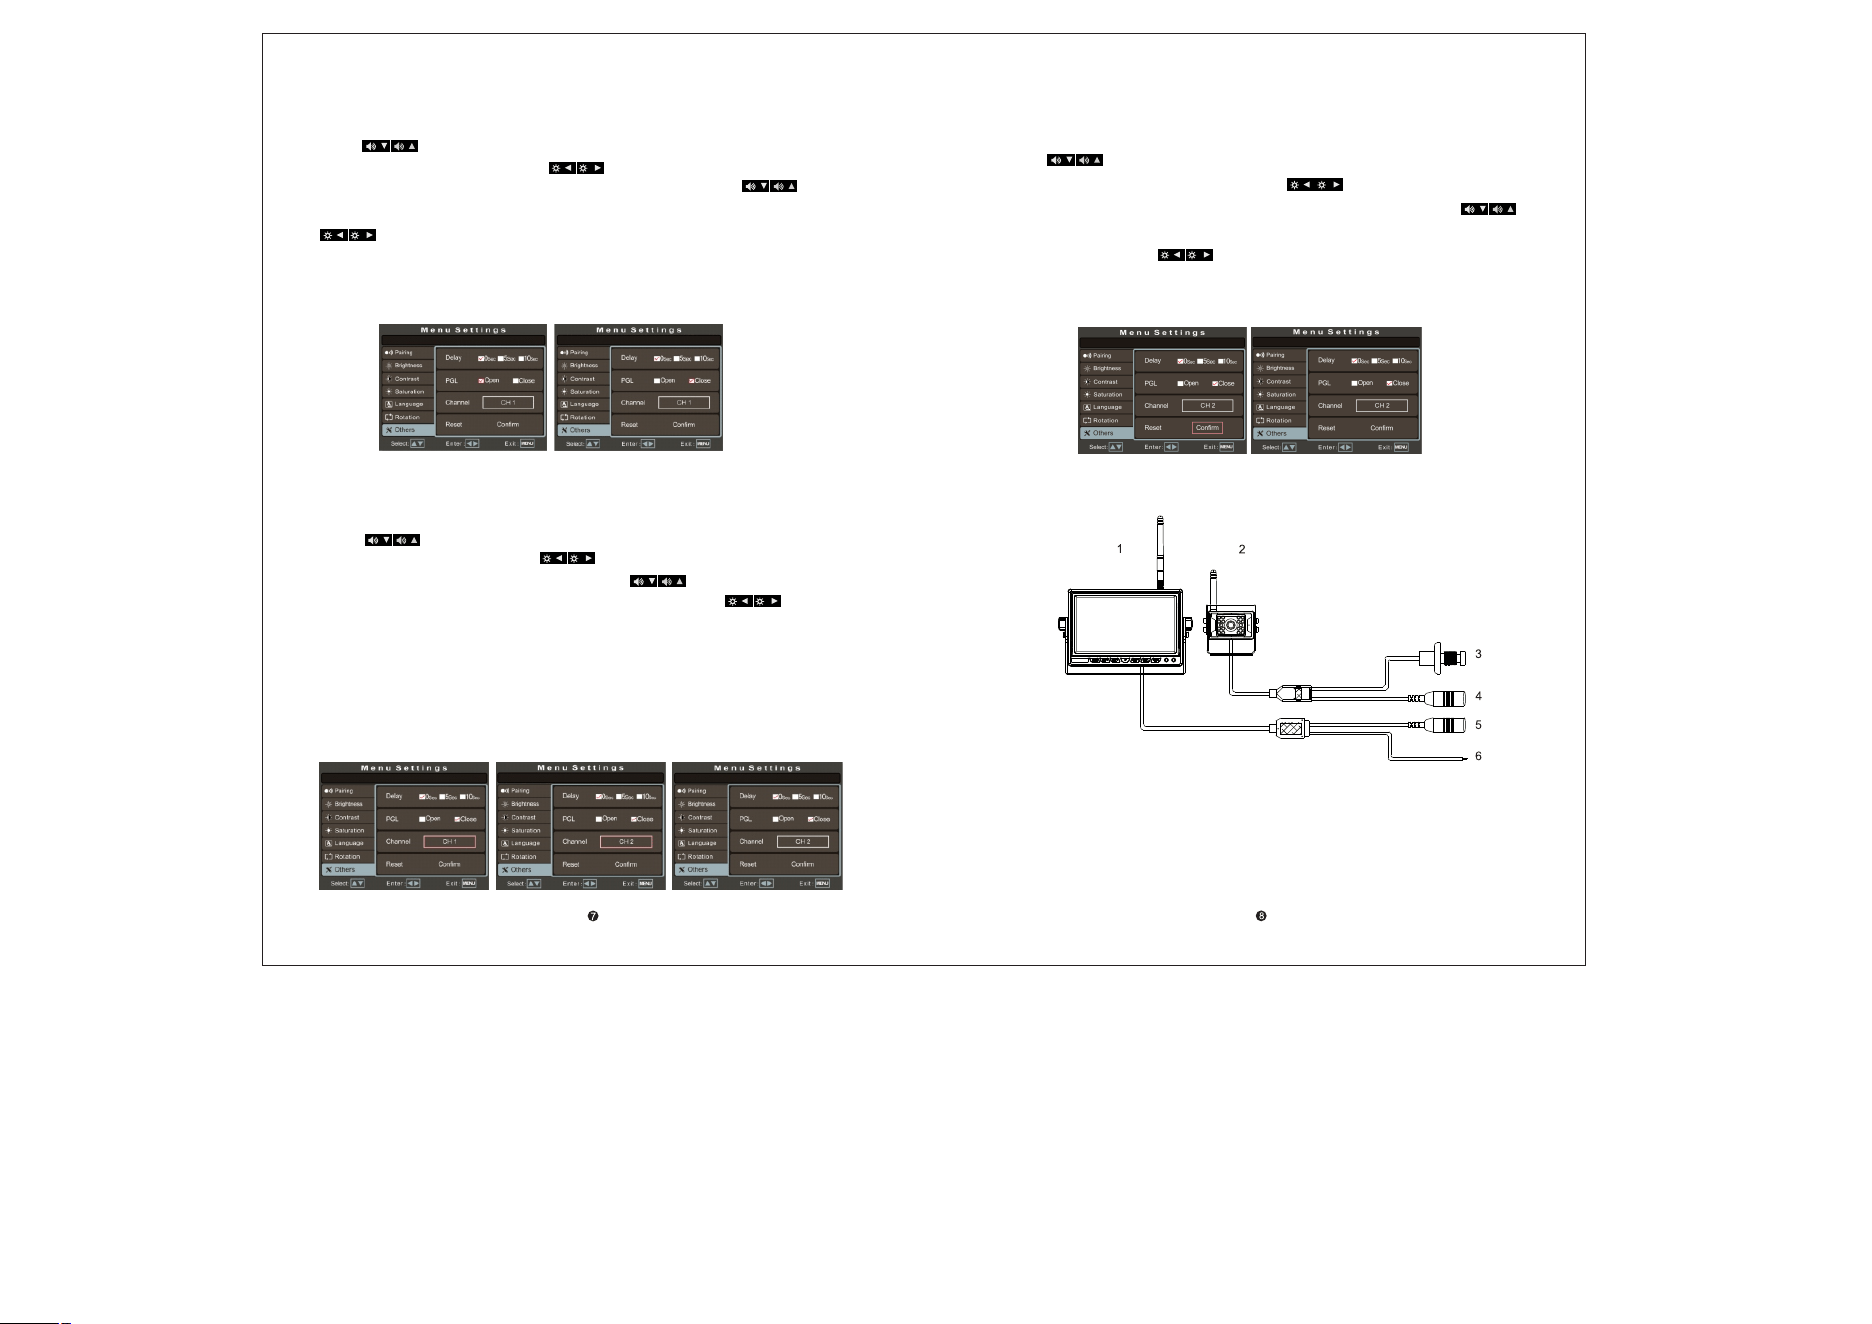
C.Connection
1.Monitor
2.Camera
3.Camera Pairing button
4.Camera power supply port: DC12-24V input
5.Monitor power supply port: DC12-24V input
6.Reversing trigger line
9.Wireless signal channel setting
Press “ ” on the panel or“VIDEO” “MODE”on remote control to switch to
“Others”option, and then press “ ” on the panel or“LEFT” “RIGHT”on remote
control to enter into “Others” selection. Press“ ”on the panel or“VIDEO” “MODE”
on the remote again to switch to “Channel” selection. Press“ ” on the panel or
“LEFT” “RIGHT”on remote control to set the wireless signal channel frequency.
The default state is CH1 channel. There are 14PCS wireless signal channel optional
(2412〜2484MHZ). If there is several monitors work on the same frequency, may
have signal unstable or image flicker problem, which could be improved by changing
the frequency. Press “MENU” to exit the currentsetting.Just as shown in the following
pictures.
8.Parking guide line switch setting
Press “ ” on the panel or“VIDEO” “MODE”on remote control to switch to
“Others”option, and then press“ ” on the panel or“LEFT” “RIGHT”on
remote control to enter into “Others” selection and press “ ” on the panel
or“VIDEO” “MODE”on remote control again to switch to the PGL selection, press
“ ” on the panel or“LEFT” “RIGHT”on remote control to open or close it .
The default state is closed. Press “MENU” to exit the current setting. Just as
shown in the following pictures.
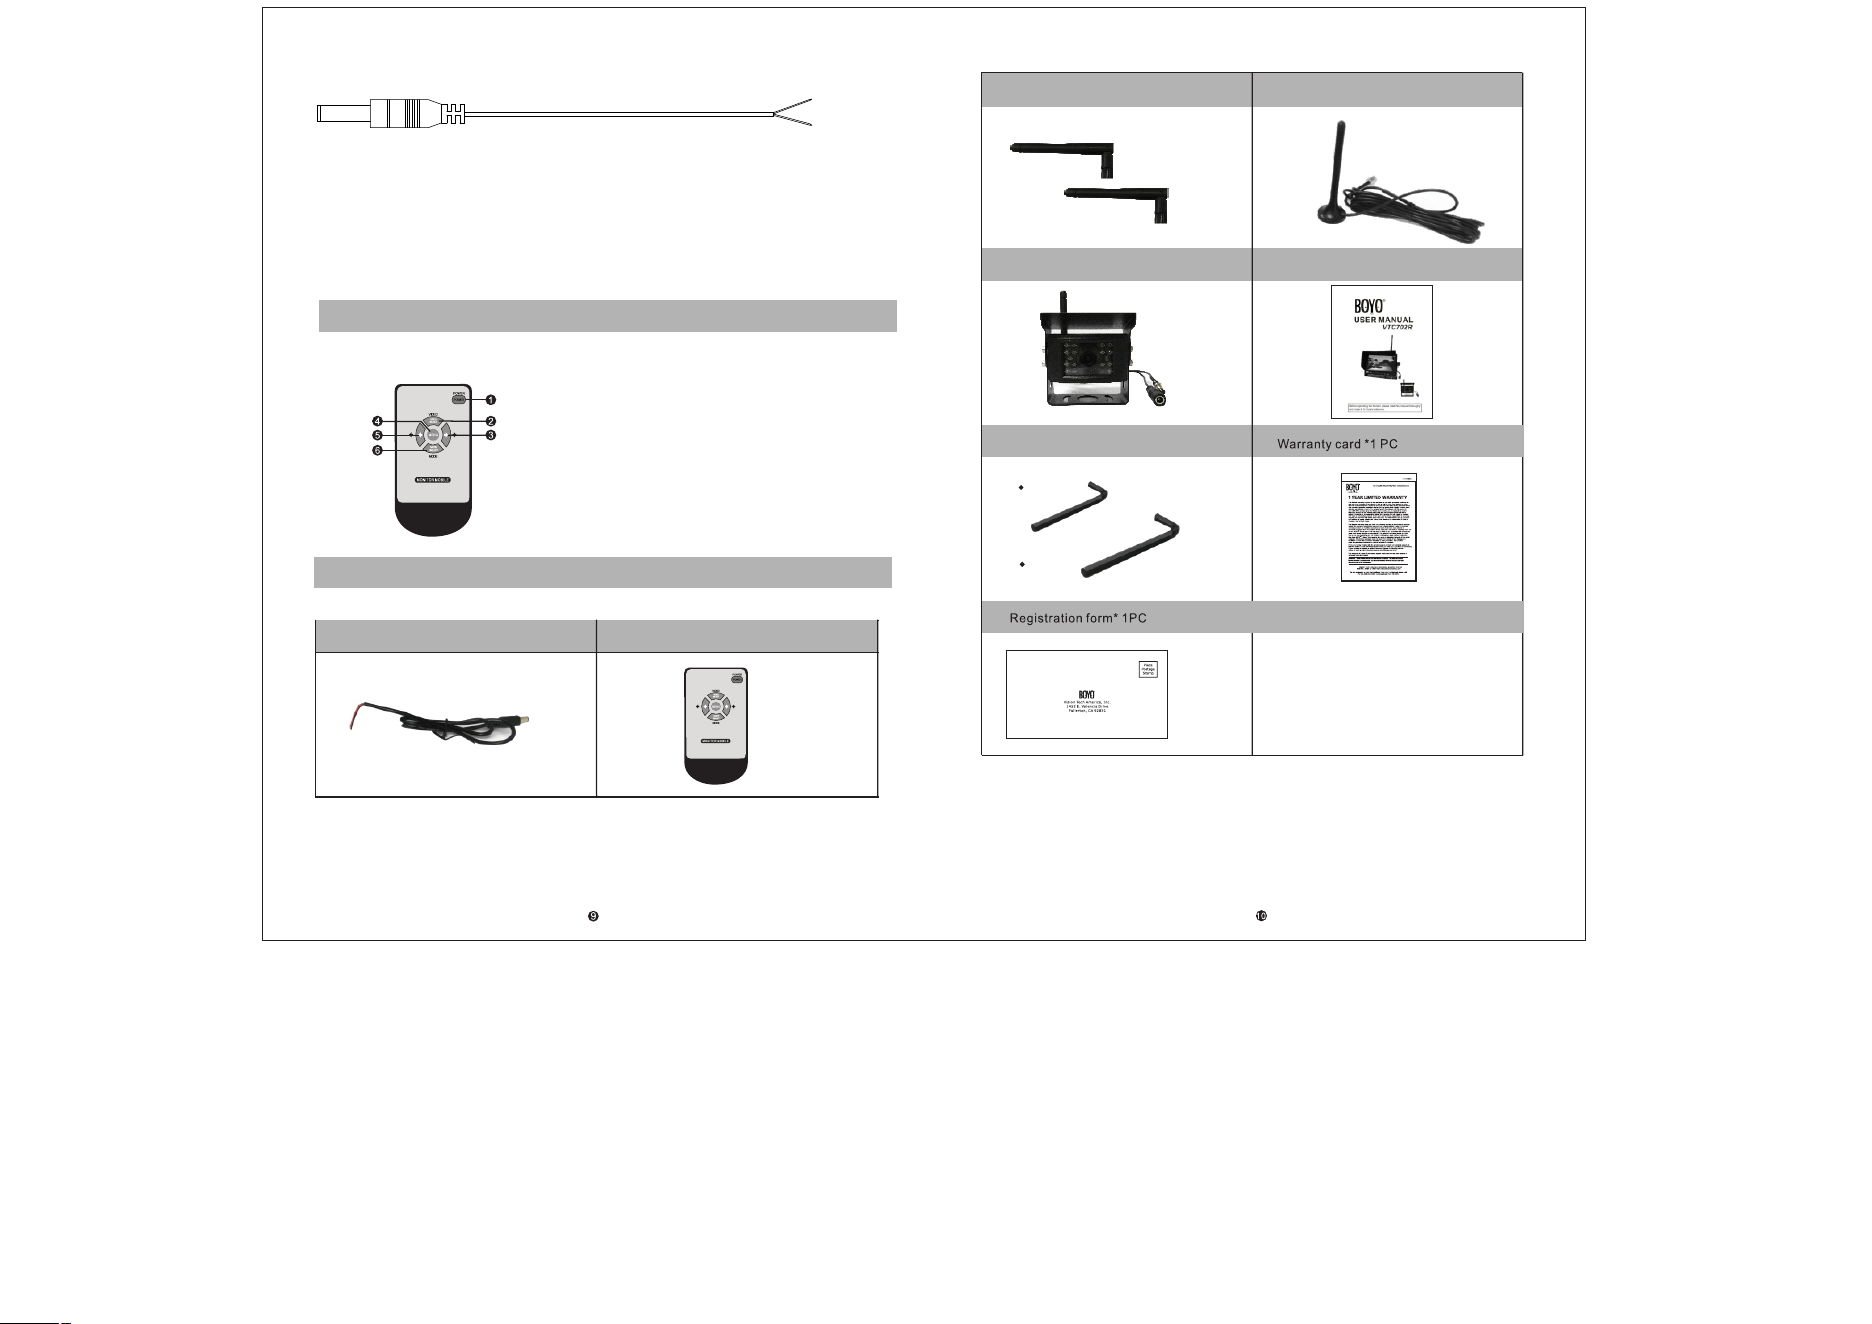
6. User Manual*1PC
3.2.4G antenna*2PCS
4.2.4G 3M antenna extension cable*1PC
5. 2.4G wireless camera*1PC
7.Hexagon wrench*2PCS
3mm
4mm
8.
9.
4.Accessories
1.Power extension cable*2PCS
2. Remote control*1PC
1
2
3
1.Red electronic wire: DC12-24V power input
2.Black electronic wire: GND
3.DC Male connector: connect to the monitor or camera
3.Remote control
1.POWER: open or close monitor
2.VIDEO: increase volume
3.Left direction key: decrease brightness
4.MENU: open or exit menu
5.Right direction key: increase brightness
6.MODE: decrease volume
Power extension cable