Loading ...
Loading ...
Loading ...

22
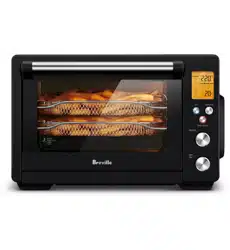
4. Ensure the crumb tray is inserted into the
oven, the wire rack is inserted in the bottom
rack height position, the baking tray is in
the middle rack height position and the air
fry basket is in the top rack height position.
5. Ensure the door is closed.
6. Store the appliance in an upright position
standing level on its support legs. Do not
store anything on top.
REPLACING THE OVEN LIGHT
WARNING
Always unplug the oven and let it cool before
replacing the bulb.
1. Remove the wire rack from the oven before
replacing the light.
2. The light is positioned on the right-hand
side of the oven cavity. Securely position
your fingers on the outside of the glass
cover and turn the glass cover counter-
clockwise to unscrew it. The tabs on the
cover should clear the grooves of the socket.
Gently pull the cover out.
3. Remove the used bulb by pulling it directly
out of its holder.
4. Replace the light bulb with one of the
same type. Using gloves or a soft dry cloth,
remove the light bulb from its packaging.
Touching the light bulb with your bare hand
can damage the light bulb and shorten its
life. Use a soft cloth to insert the new bulb
into it's holder.
REPLACEMENT LIGHT BULB
Please contact Breville Customer Service
Centre for further support.
Only use a 25 Watt, 220-240V and G9 type
oven bulb for this oven..
5. To replace the glass cover, securely position
your fingers on the outside of the glass
cover and place the tabs in the grooves
of the socket. Turn the cover clockwise to
tighten it in position.
NOTE
The oven light bulb is not covered under
warranty.
Loading ...
Loading ...